Identity Integration for Mobile Apps: LDAP & Social Login
Most apps require a user to register and log in with credentials. Most often, the app requires that the user create a user/password that is specific to the app. This is a cumbersome process that requires the user to remember yet one more password. It’s also not very secure.
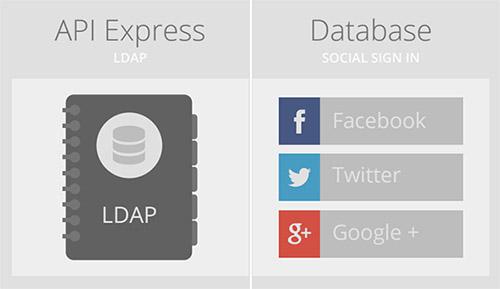
A much better approach is to enable the user to simply log in with existing credentials from another service that is trusted, like an LDAP directory in an enterprise or a social identity provider such as Facebook.