Hey, App Builders!
What if you could build your app’s user interface just by describing it? Forget spending hours dragging and dropping components. We’re excited to introduce a feature that will change the way you create apps: the AI Assistant.
 Meet Your New Co-Pilot: The AI Assistant
(Say Hello to Effortless UI Creation)
This powerful new tool, available for Ionic apps, acts as your personal coding partner. You simply tell it what you need, and it builds the UI for you instantly. This isn’t just a new feature; it’s a smarter, faster way to bring your mobile app development ideas to life on our no-code platform.
Imagine this: you’re building a new screen for your app, and you need a complex form with various input fields. Instead of dragging and dropping each component and configuring it manually, you simply describe what you need, and voila – the UI is generated for you in seconds.
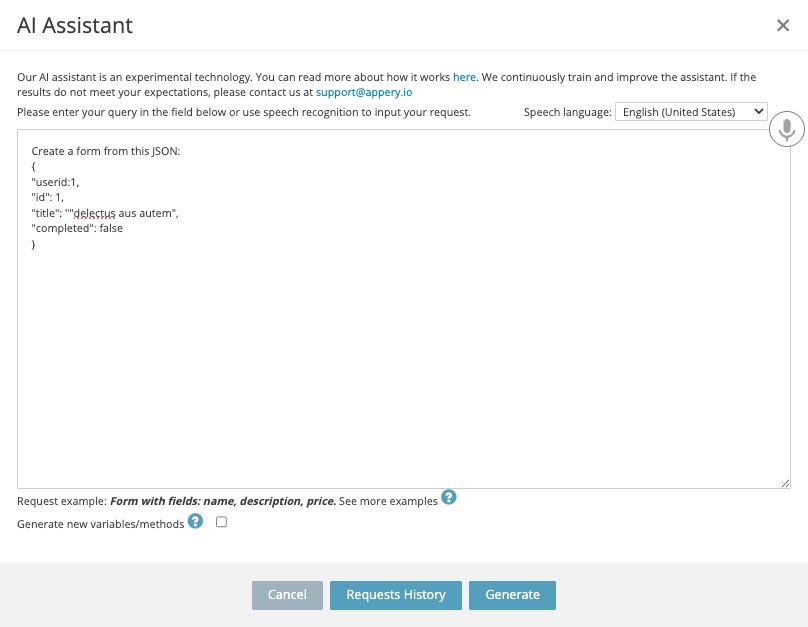
Screenshot of the AI Assistant Generation window
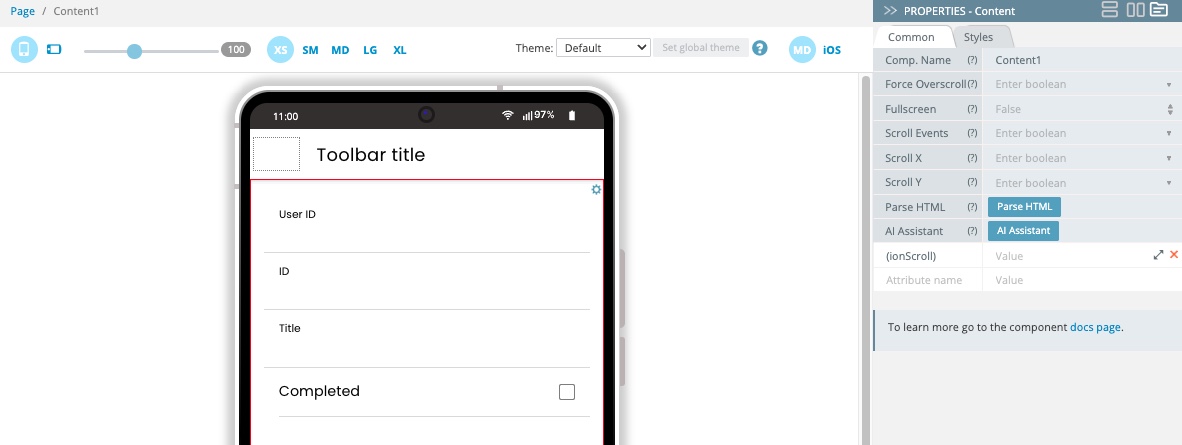
That’s the magic of the new AI Assistant, now available for the Content and Html components in the Appery.io App Builder. This powerful tool uses the latest advancements in artificial intelligence to understand your requests and generate clean, functional, and beautiful UI elements for your Ionic applications.
UI elements generated by AI
It’s that simple. You think it, and the AI builds it.
We’ve Reimagined Our Docs, Too!
Great tools deserve great documentation. That’s why we’ve completely reconstructed our docs pages to help you find answers faster.
Leading the charge is our revolutionary Ask AI functionality. Have a question or need to review the page’s Markdown? Just Ask AI! Get instant, intelligent answers without ever leaving the page.
And for those late-night coding sessions, we’ve added a beautiful new dark mode to make reading easier on your eyes.
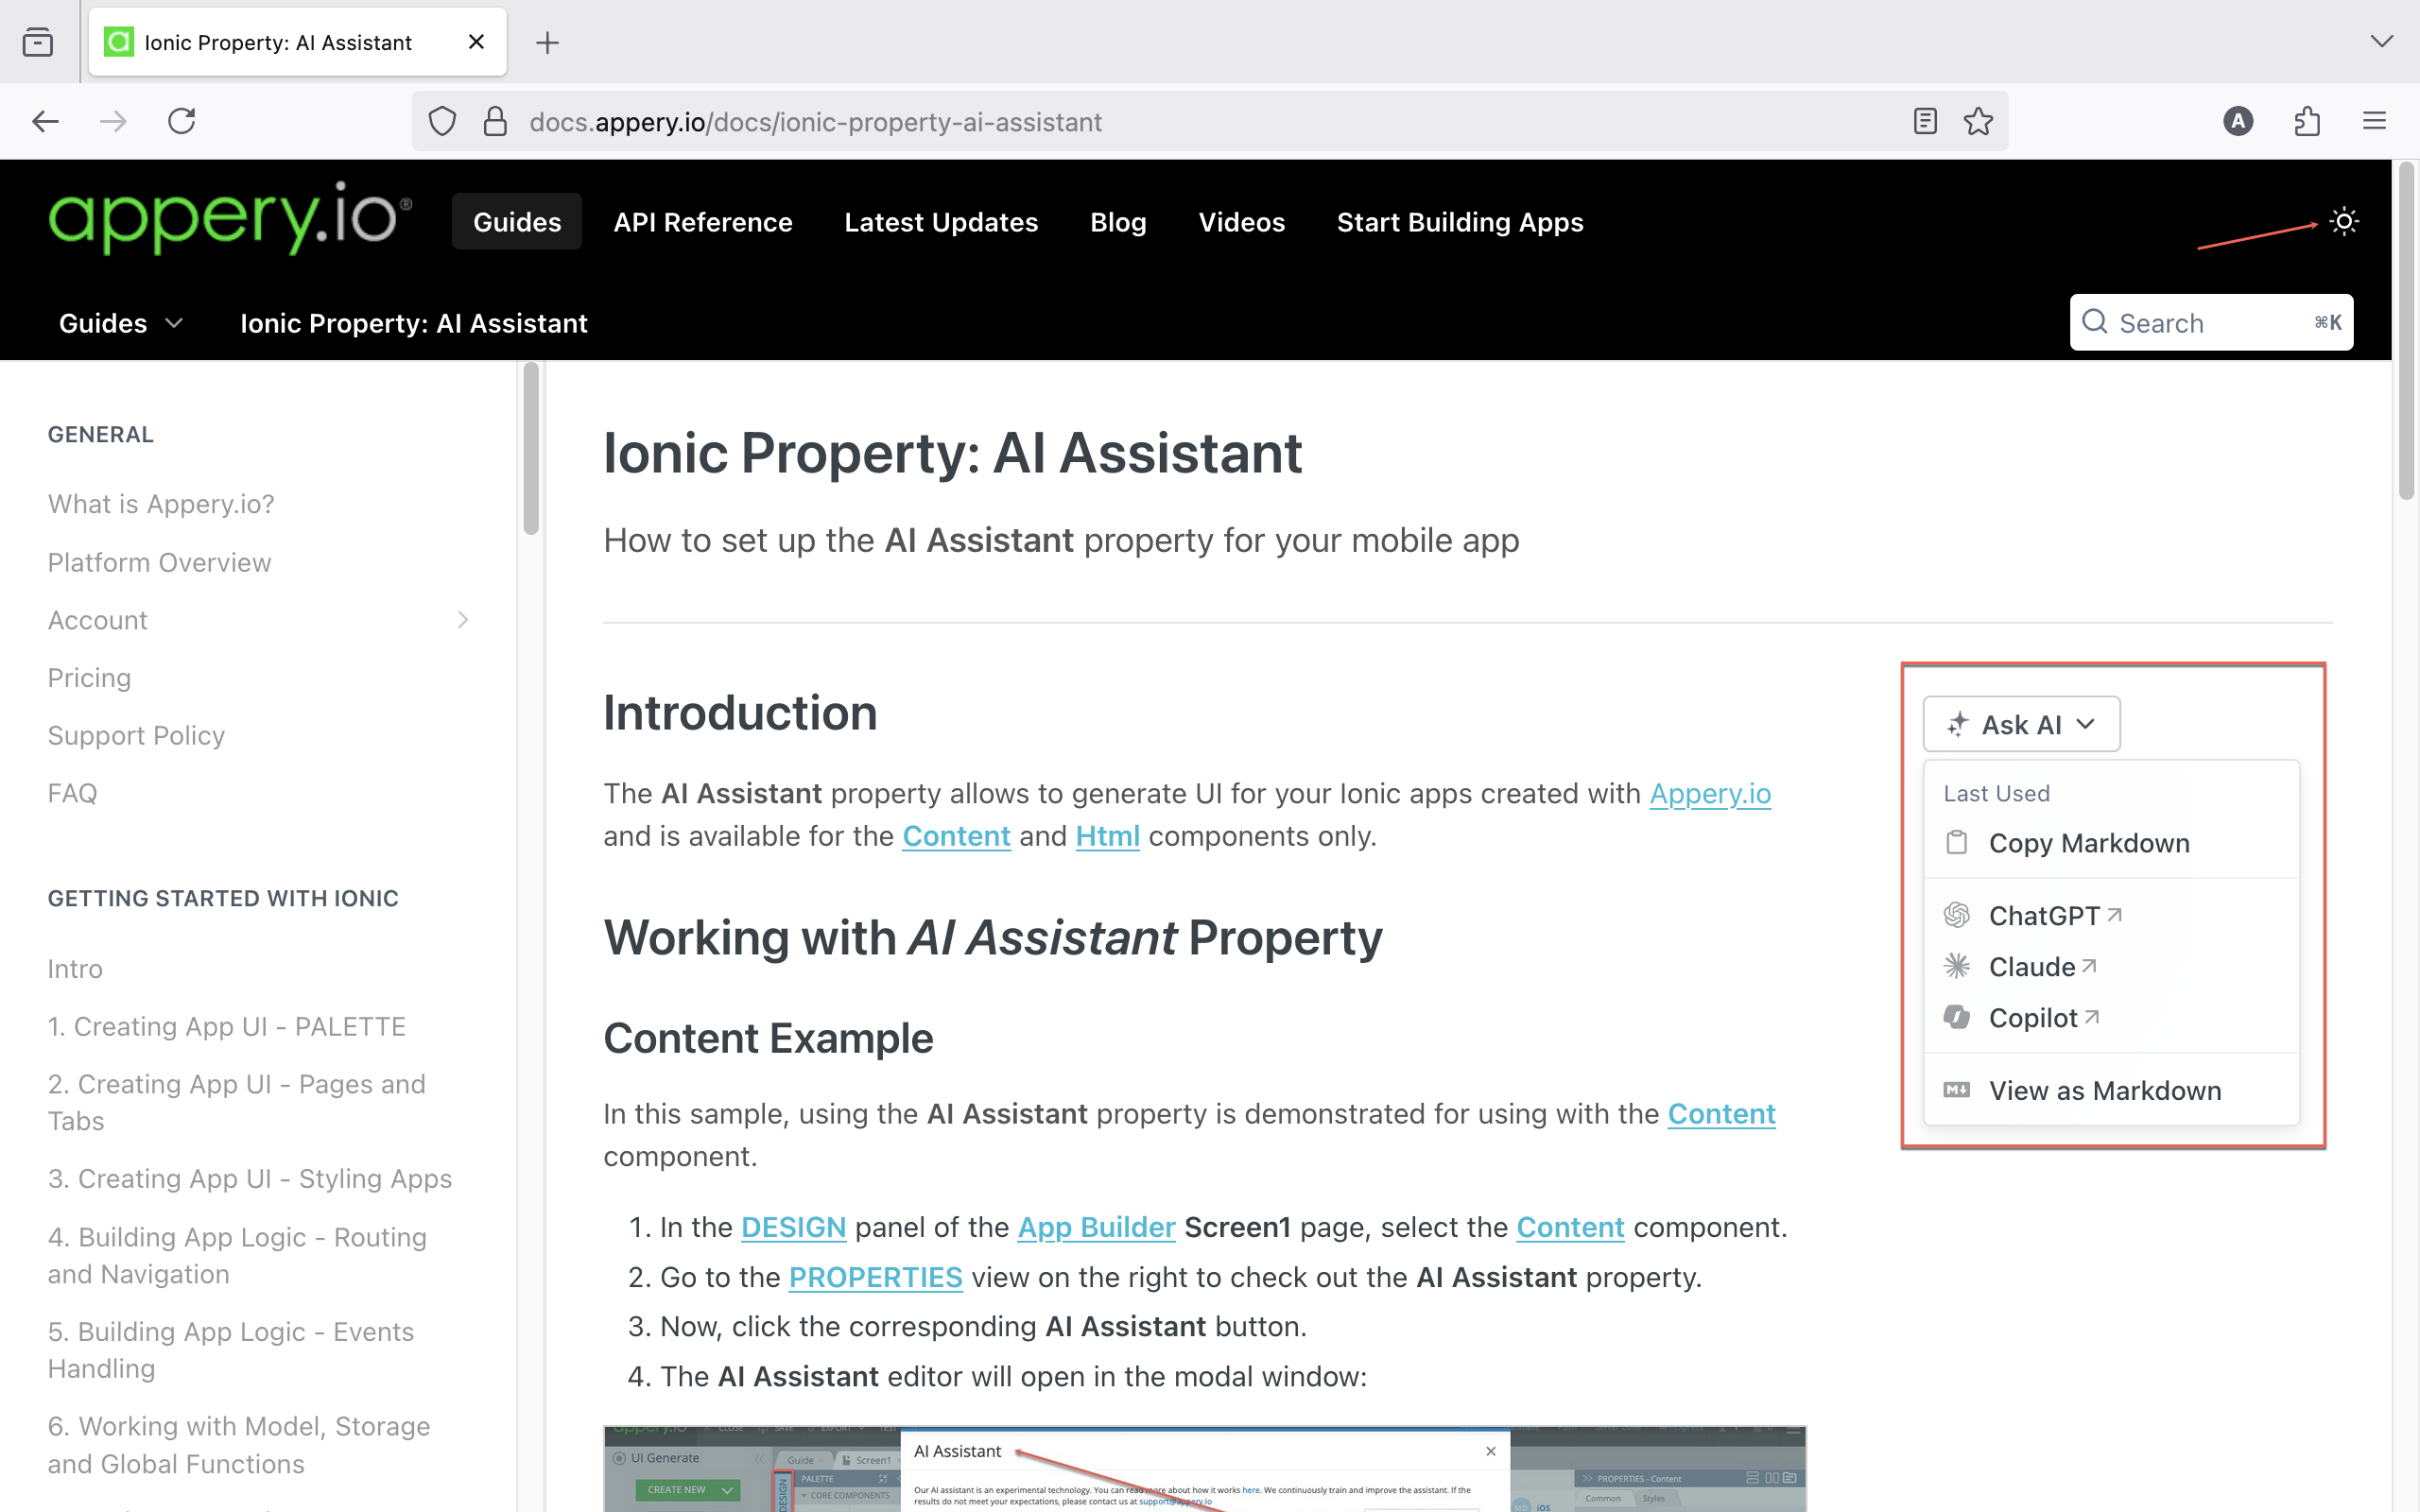
Ask AI Tools and Dark mode button
See It in Action
Ready to see how the AI Assistant can transform your workflow? All the details, examples, and step-by-step guides are waiting for you in our new documentation. Discover how this game-changing feature will help you build better apps, faster.
Ready to build something amazing? Appery.io gives you the tools to create powerful web and mobile apps without the steep learning curve. Dive in, explore the AI Assistant, and experience the future of no-code development today!