Debug Smarter, Not Harder: Insider Secrets for Mobile & Web Apps
Learn how to quickly debug mobile and web applications with Appery.io! In our new hands-on YouTube tutorial, we show you real-world methods to troubleshoot apps — using browser developer tools, console logging, remote debugging on real devices, and even debugging custom Cordova plugins.
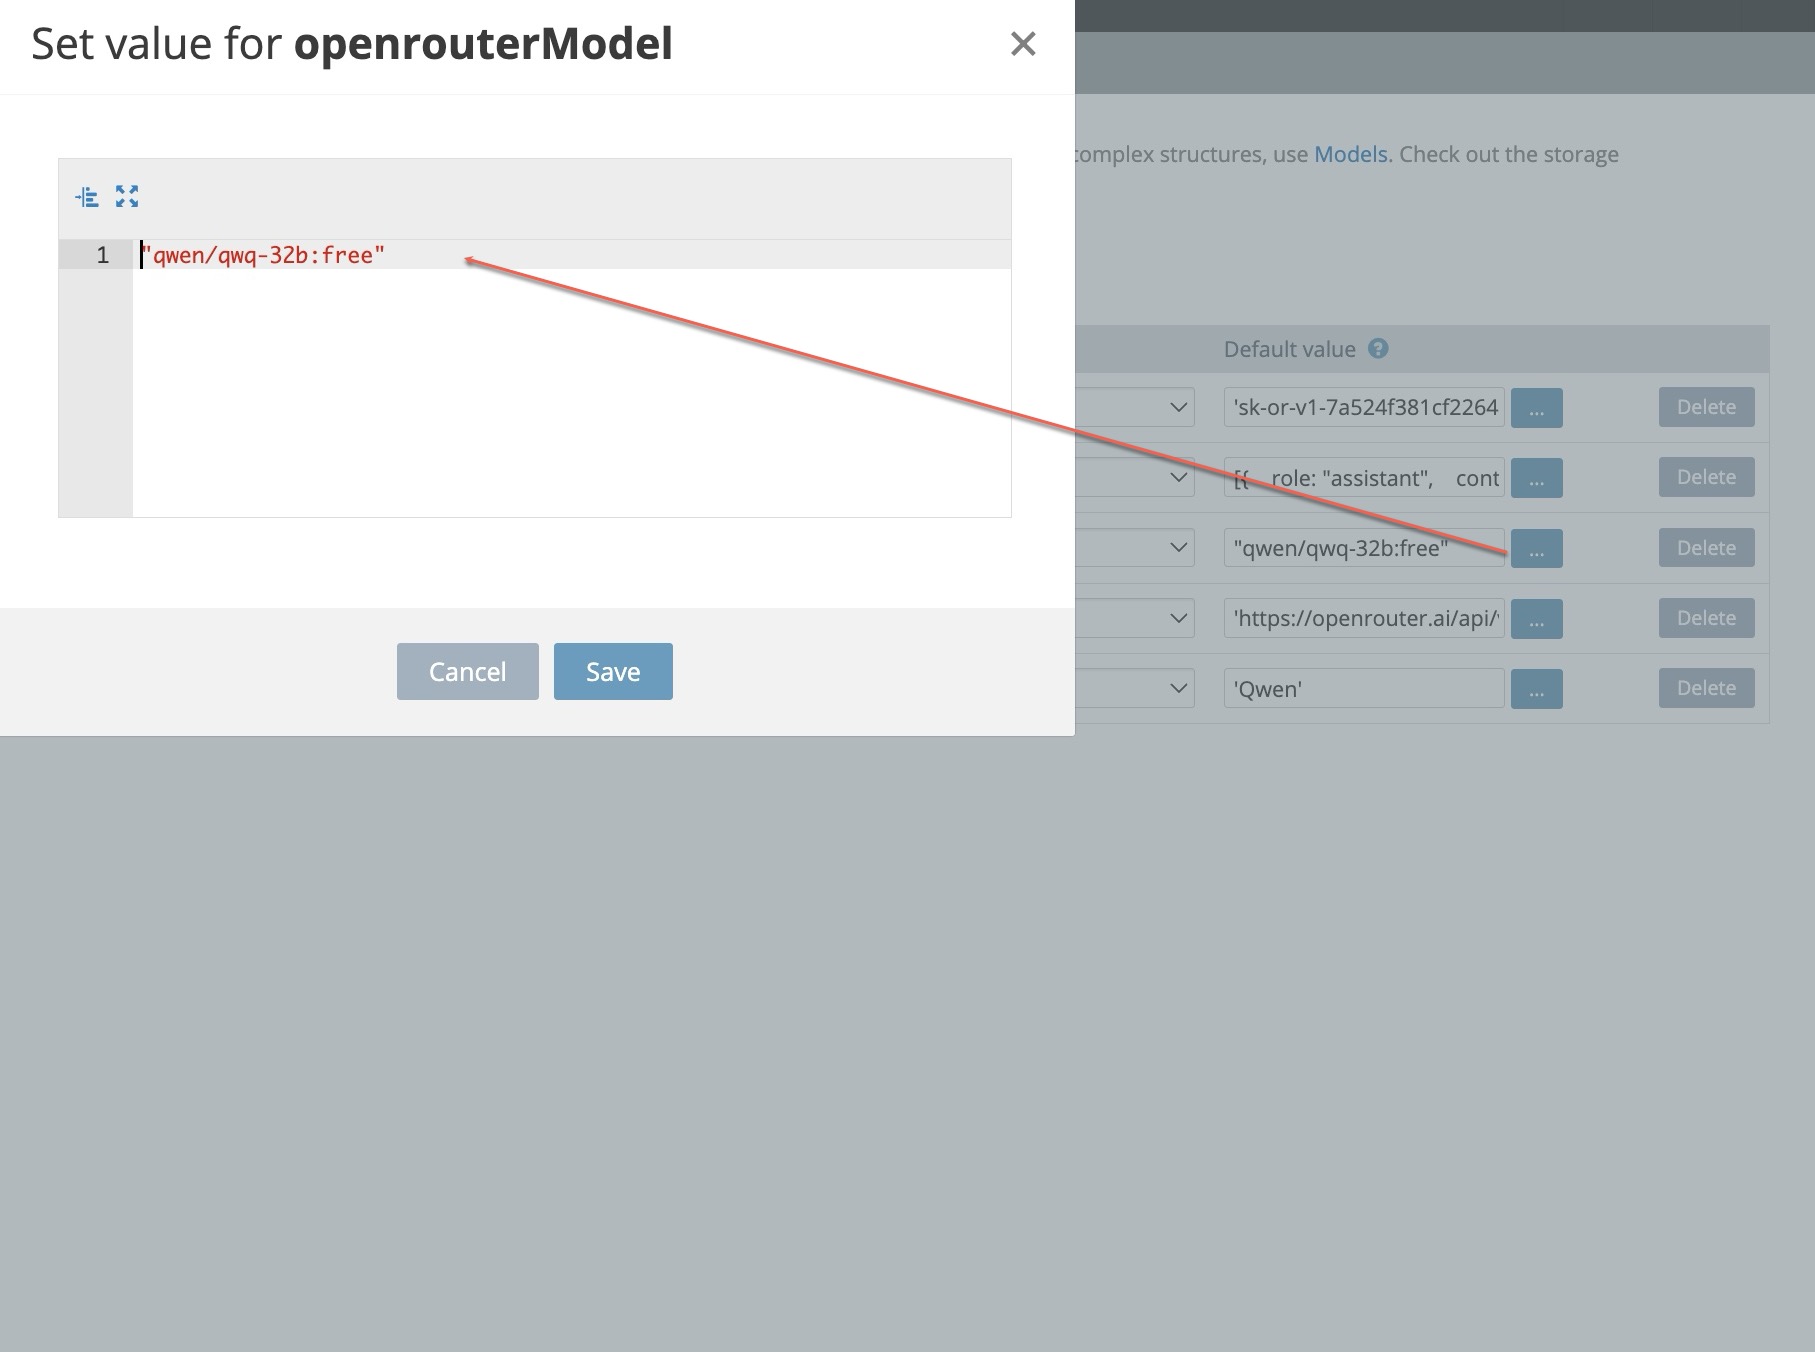
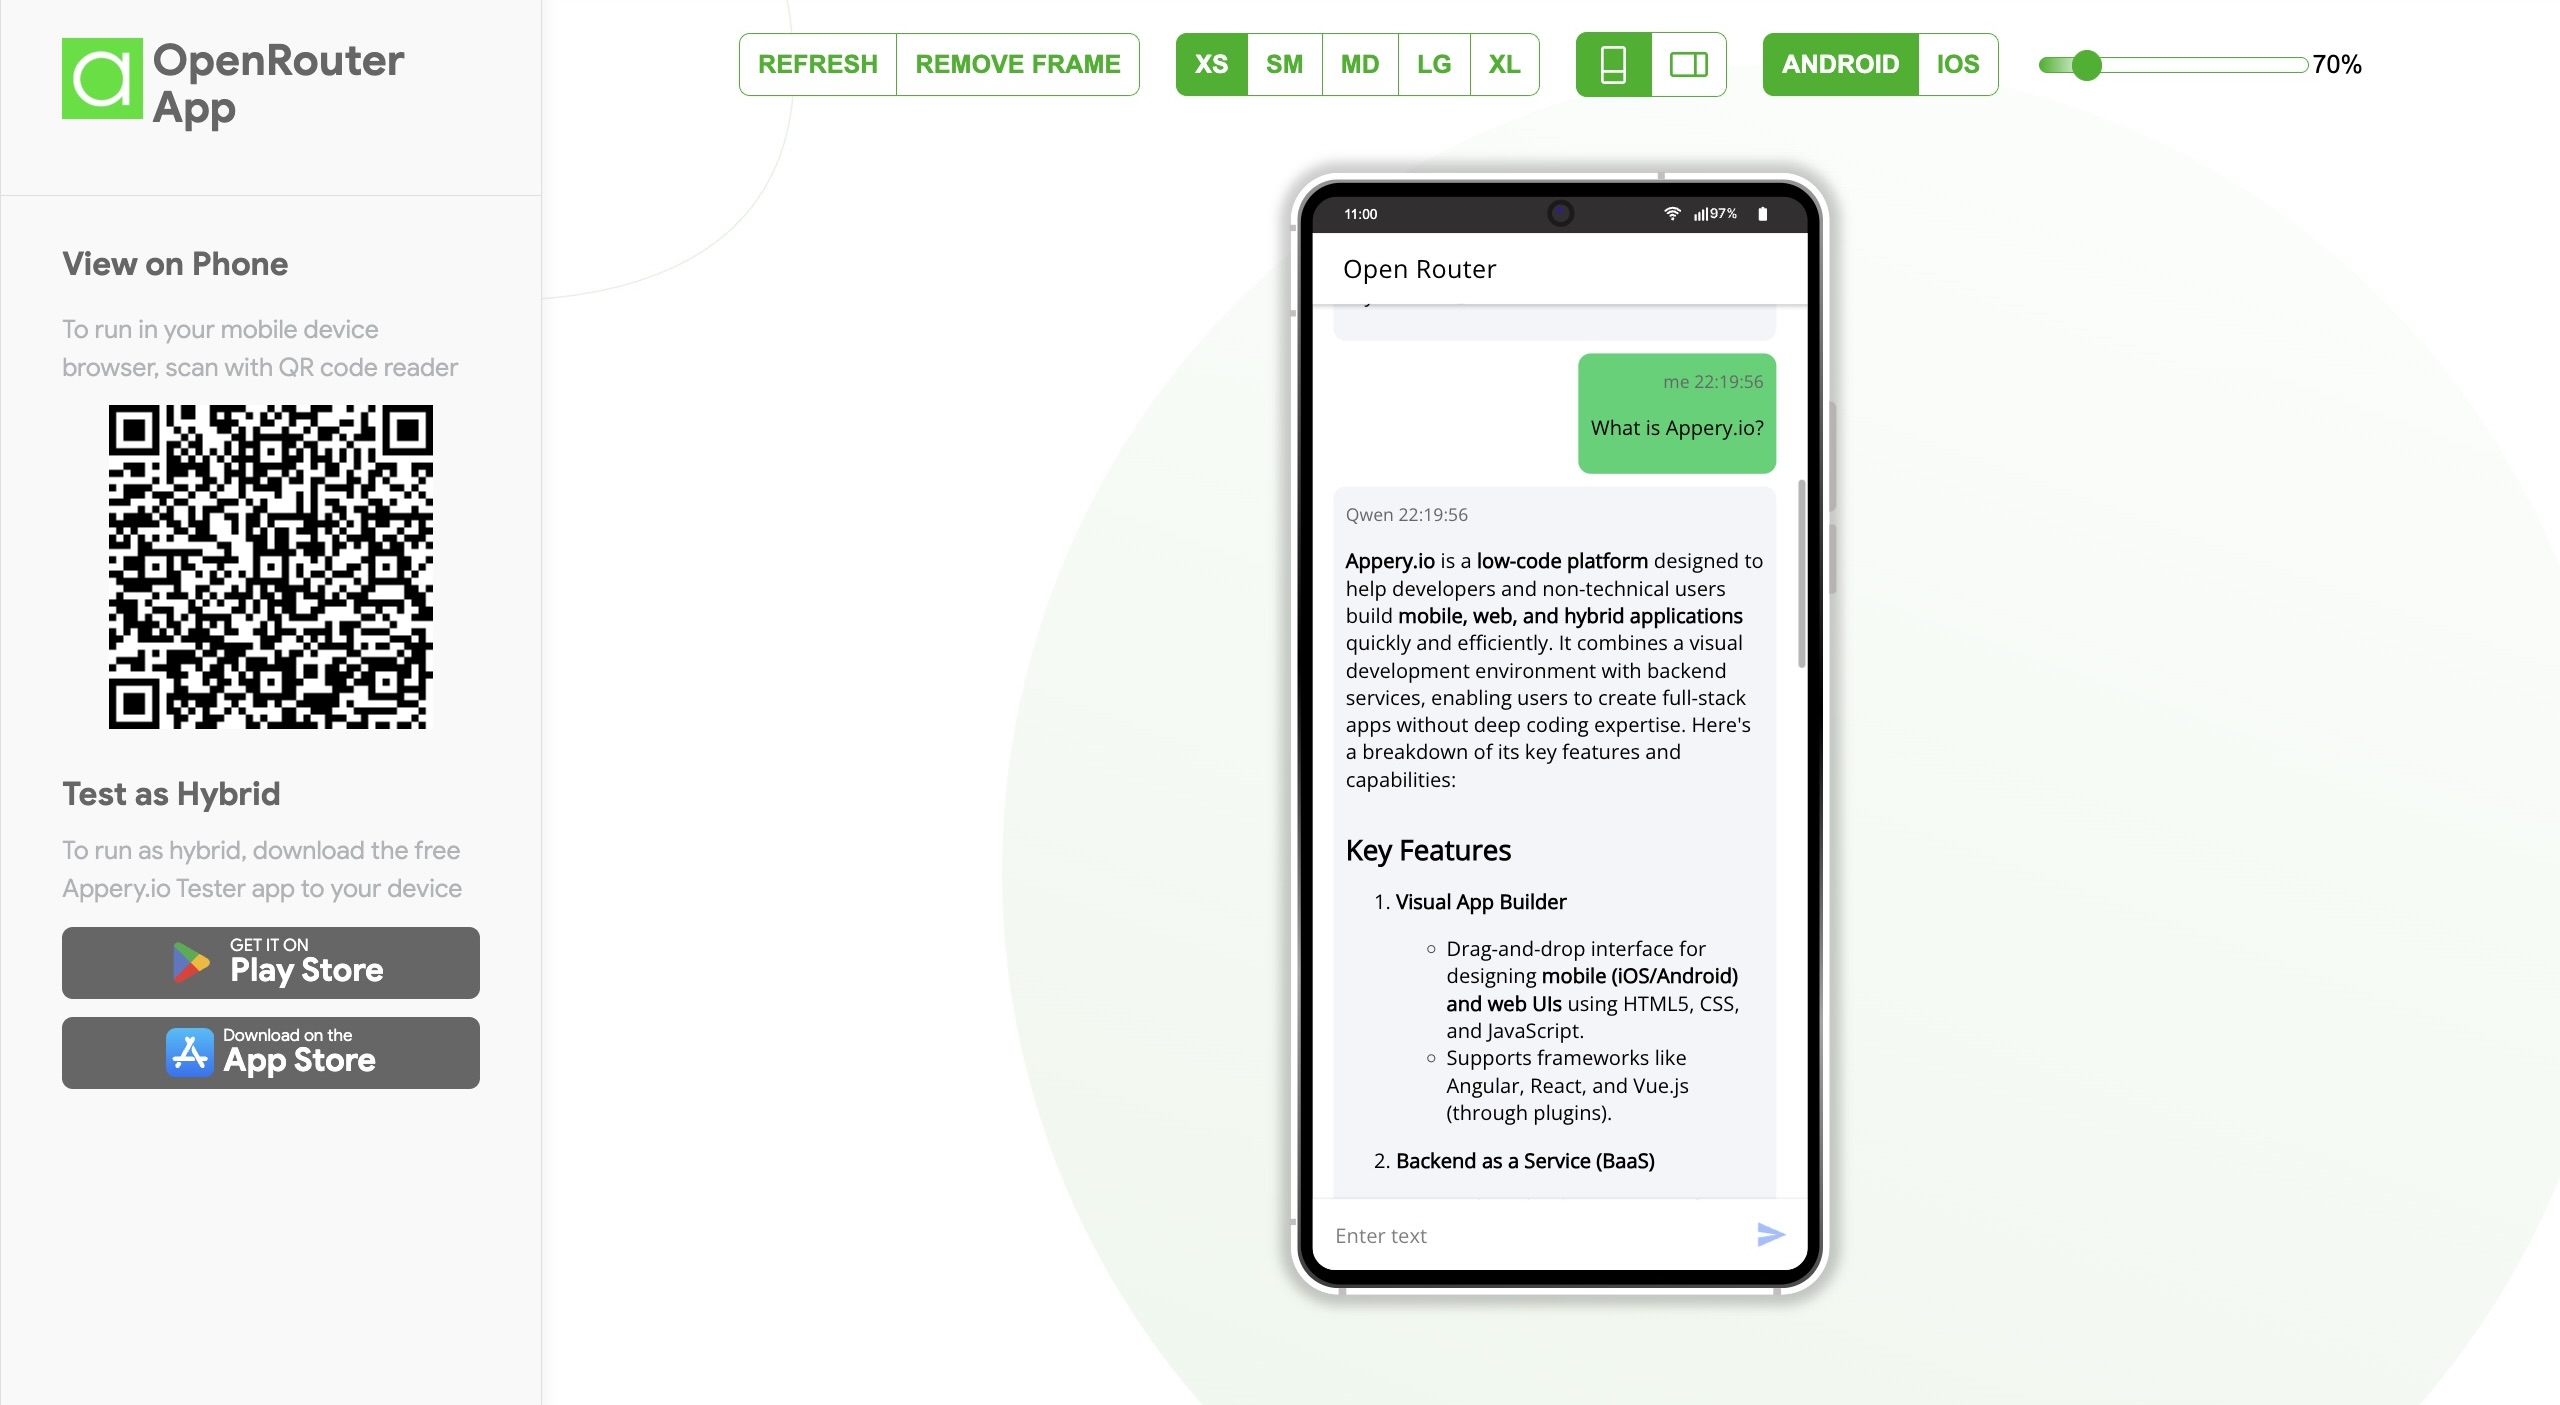
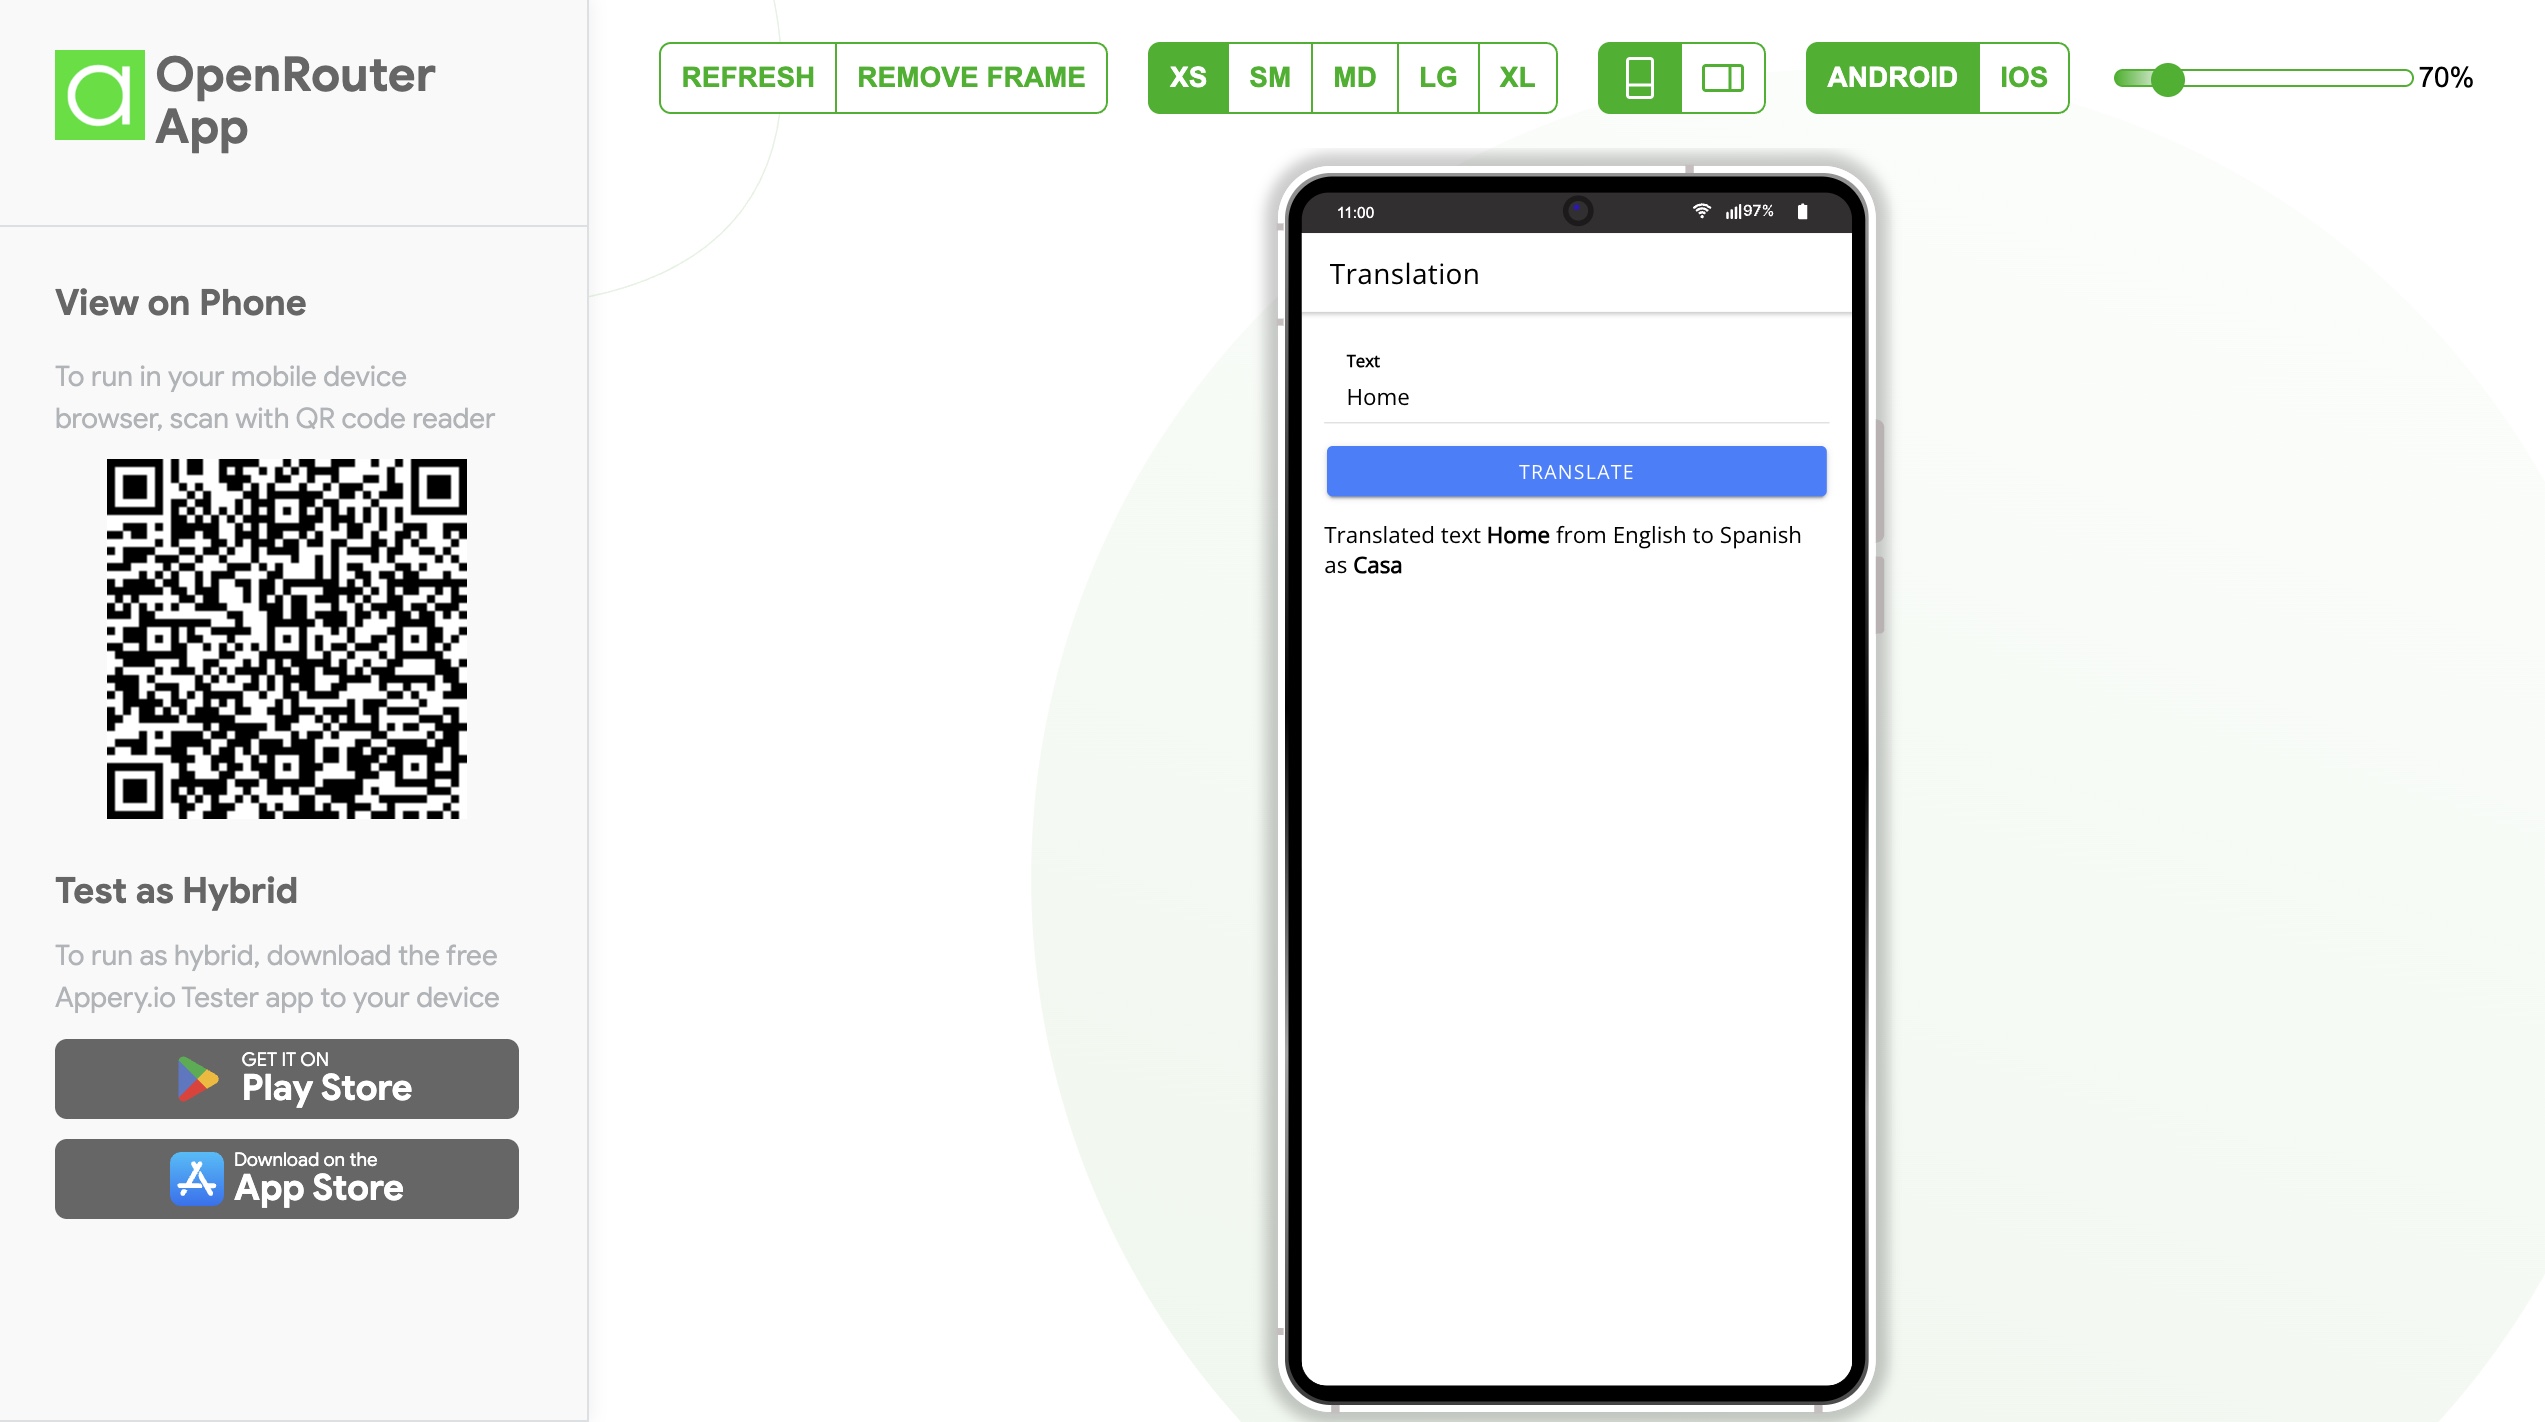
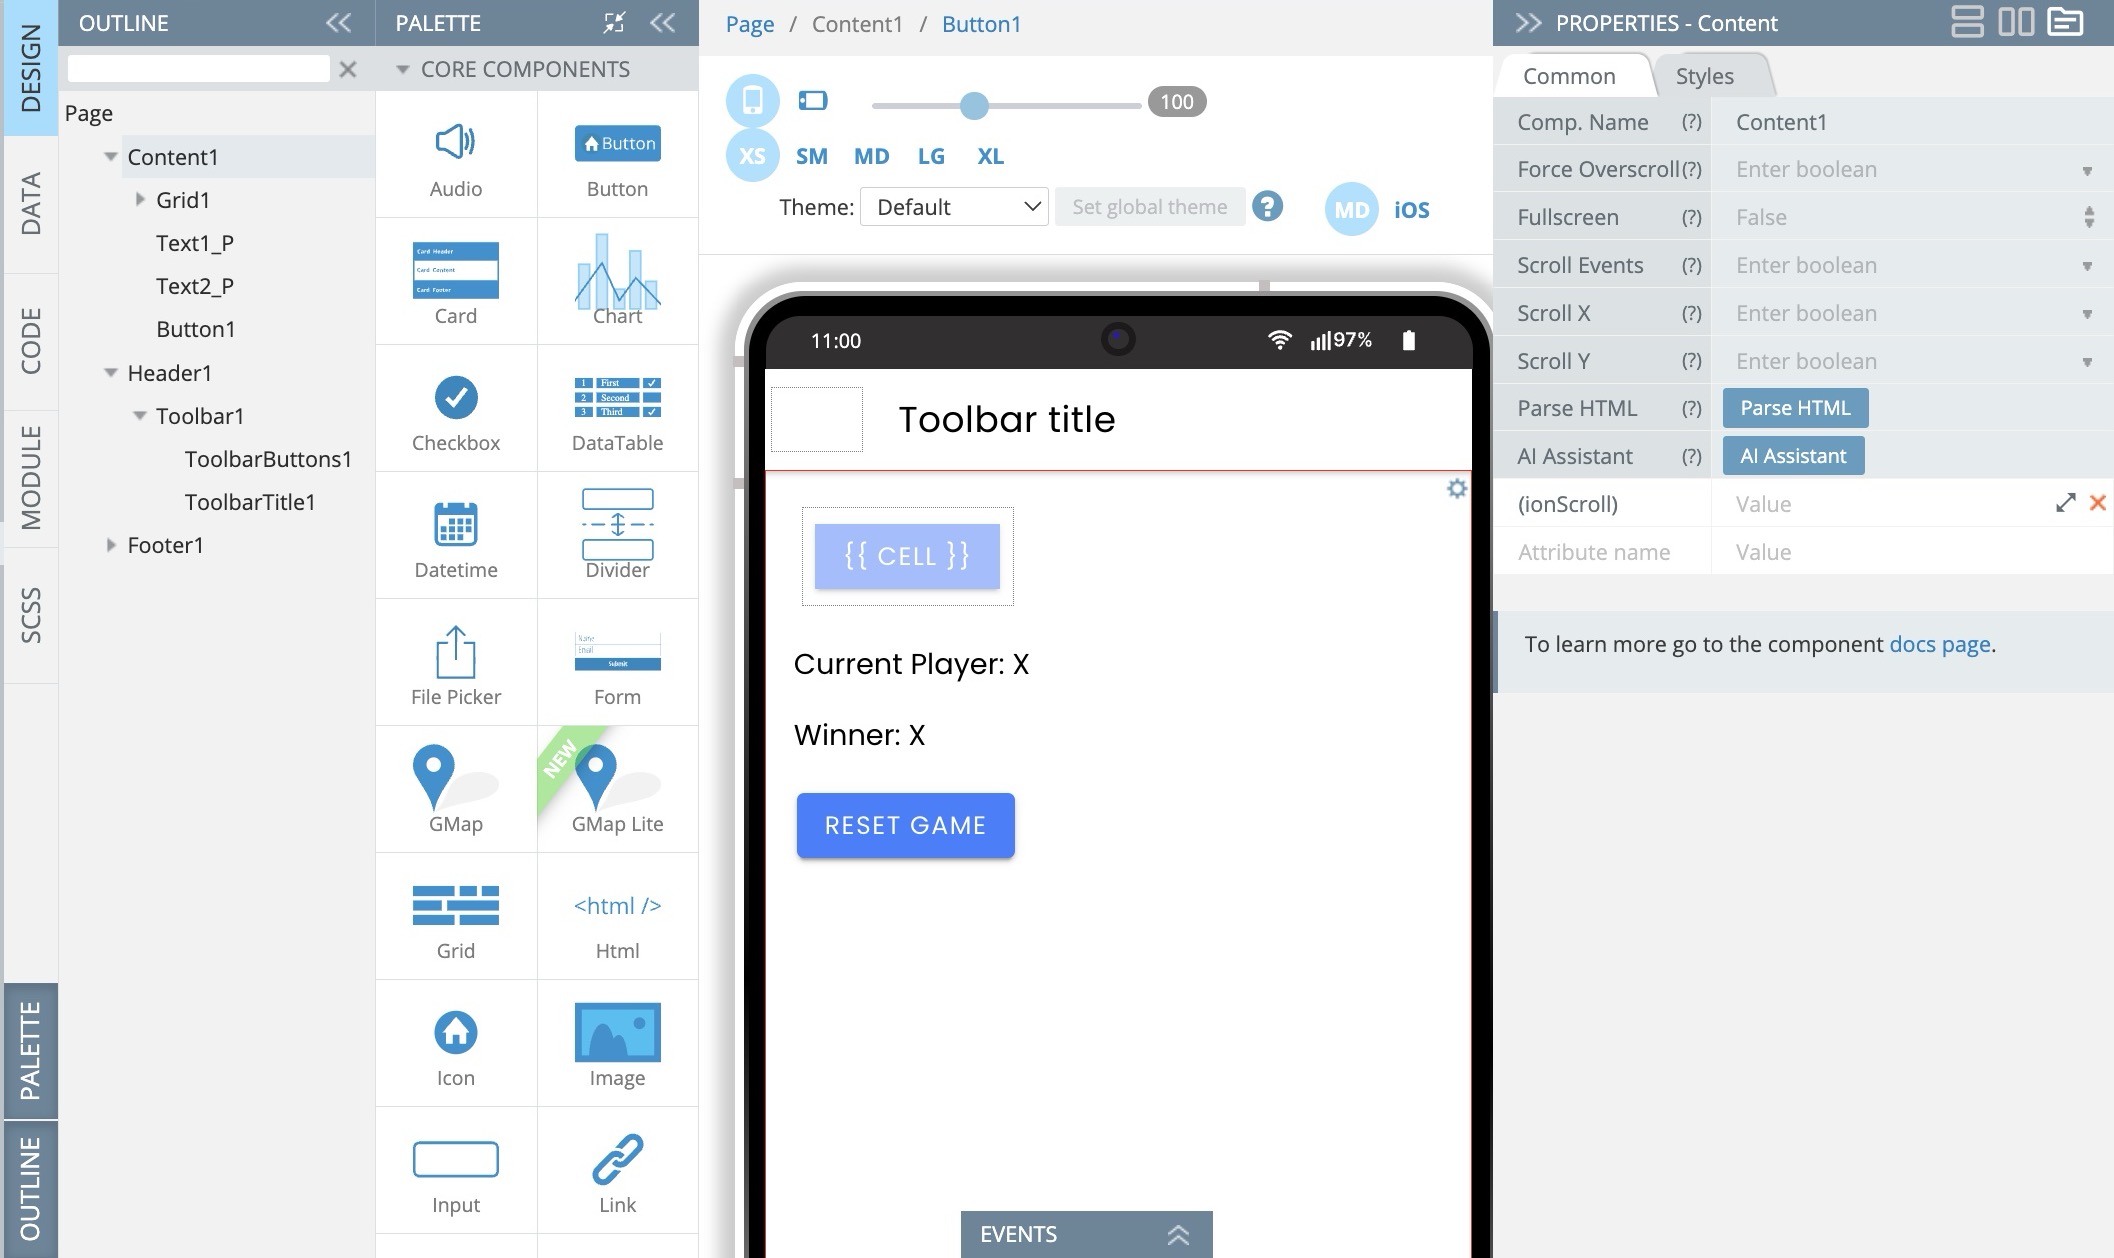
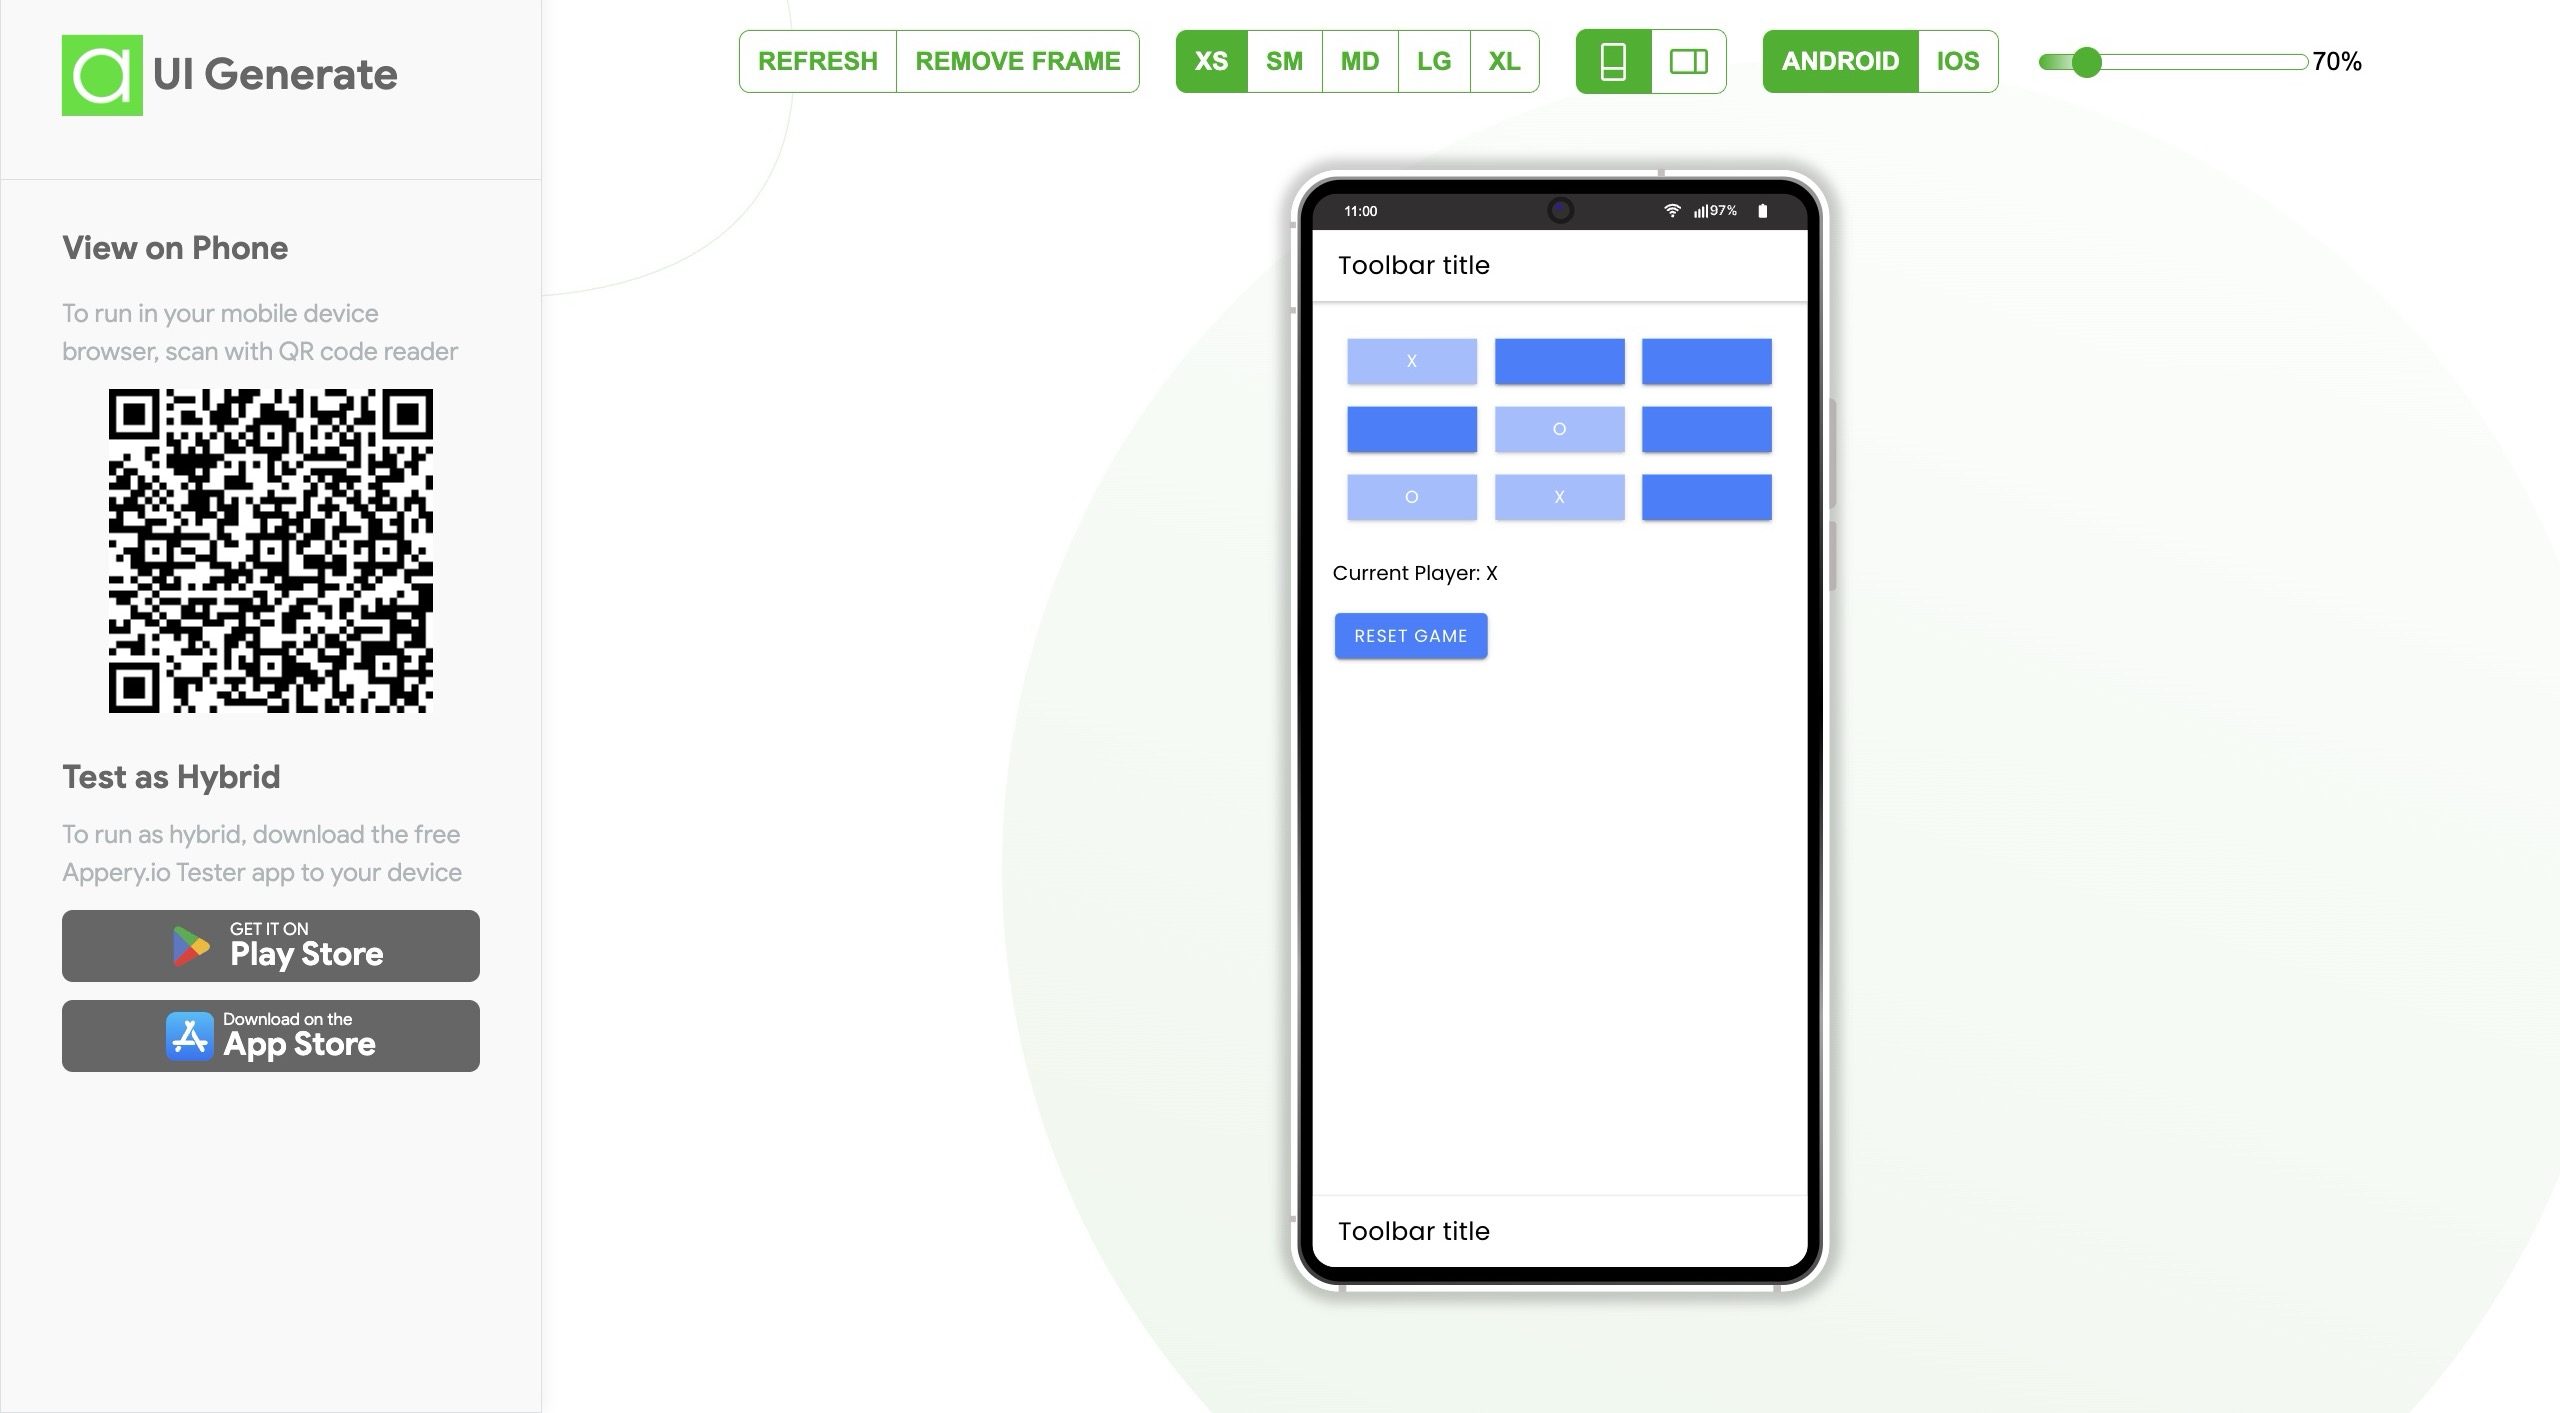
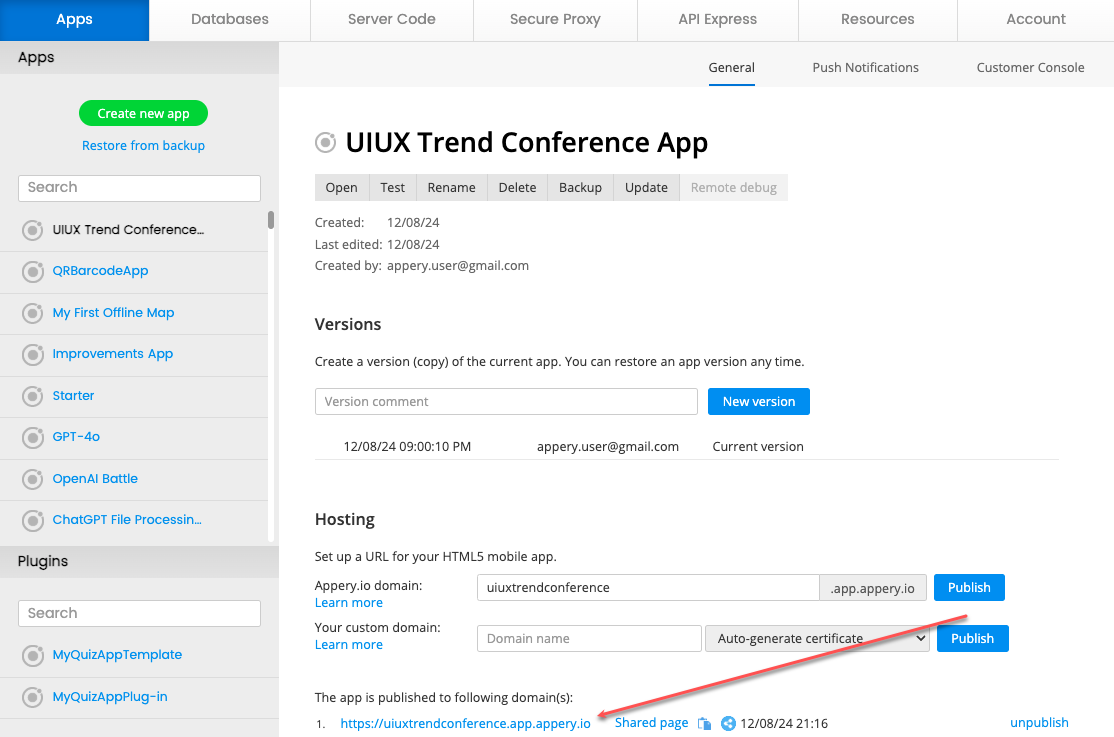
Whether you’re facing invisible UI errors, unexpected variable behavior, or plugin crashes, this video walks you through solving them step-by-step. You’ll also discover how Appery.io’s “Device View,” “Live Debug” build, and real-time variable inspection make debugging faster and easier.
🚀 What you’ll learn in this video:
-
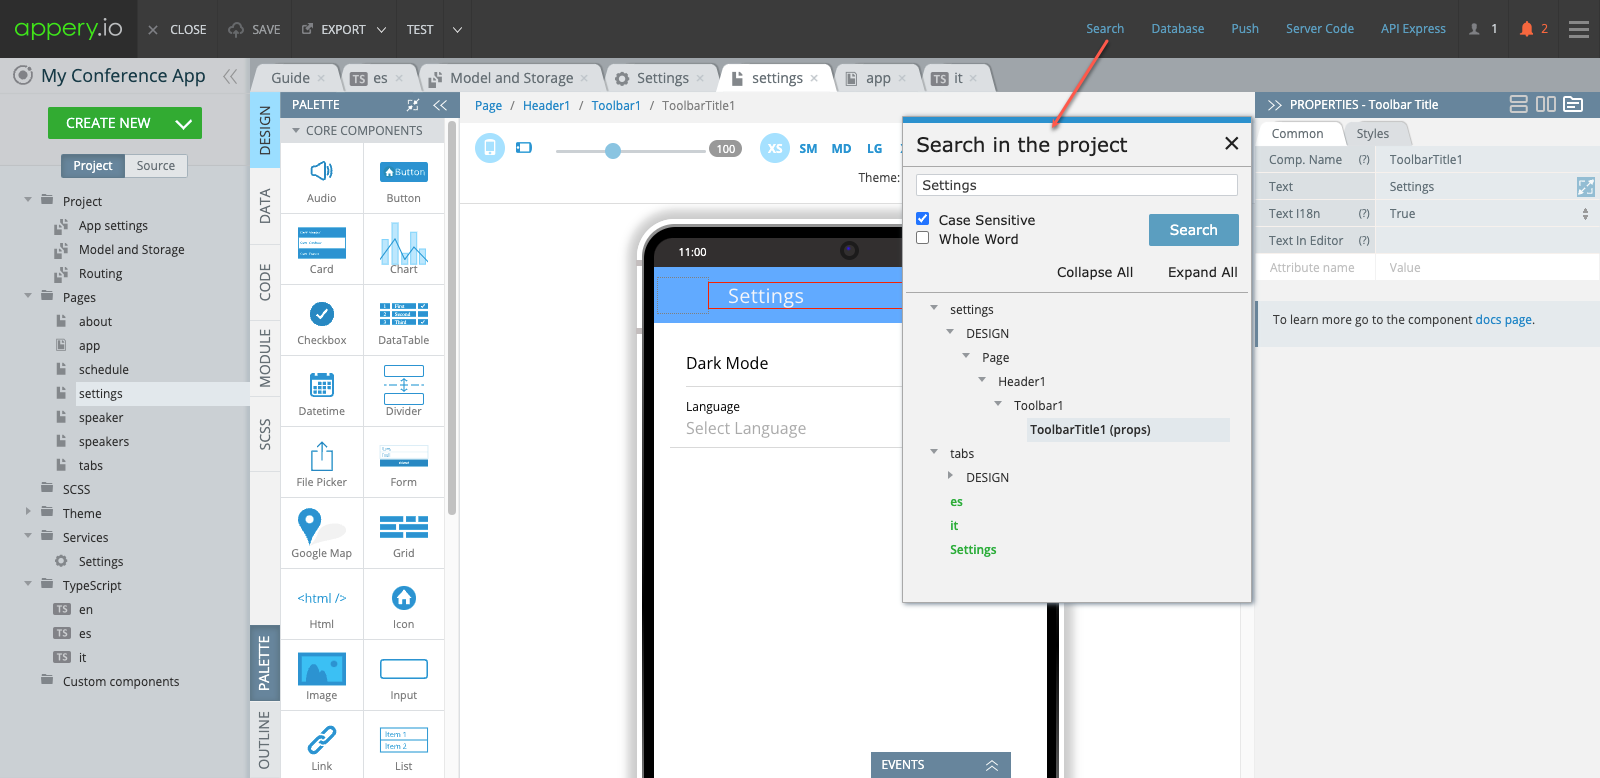
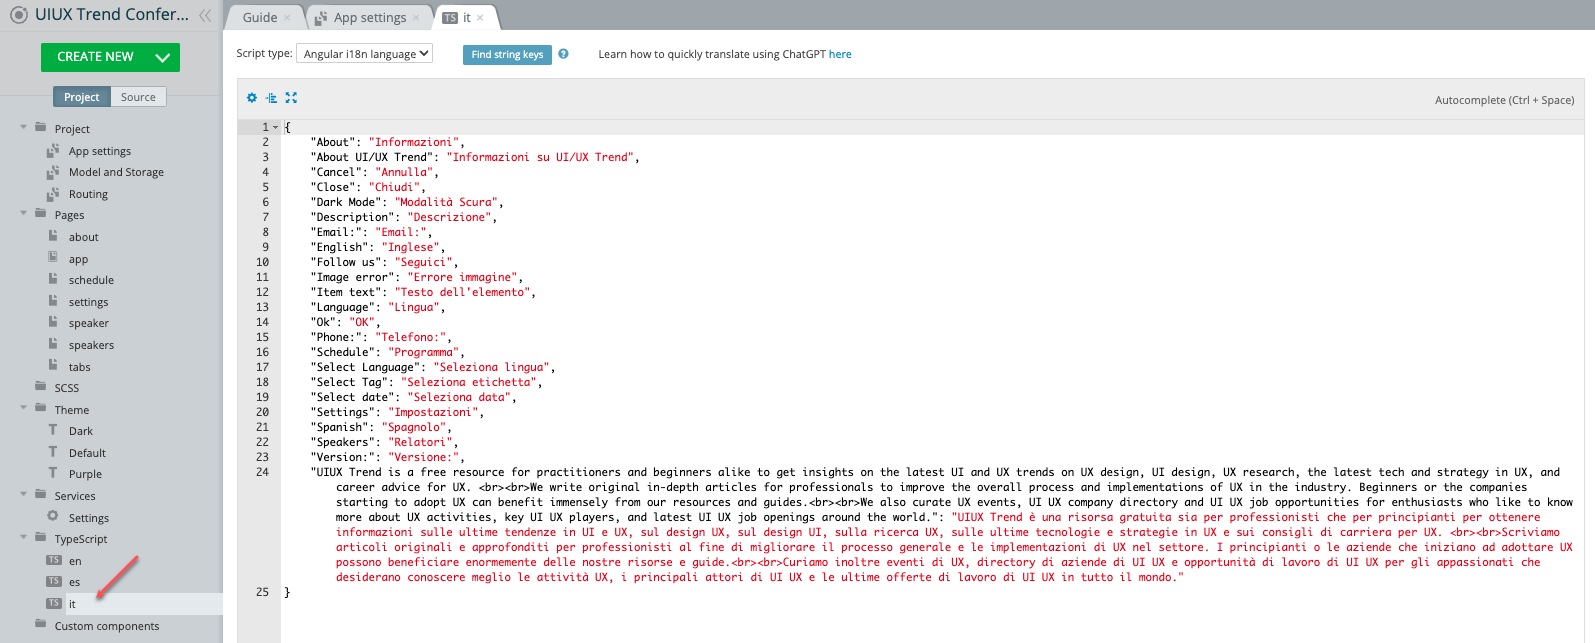
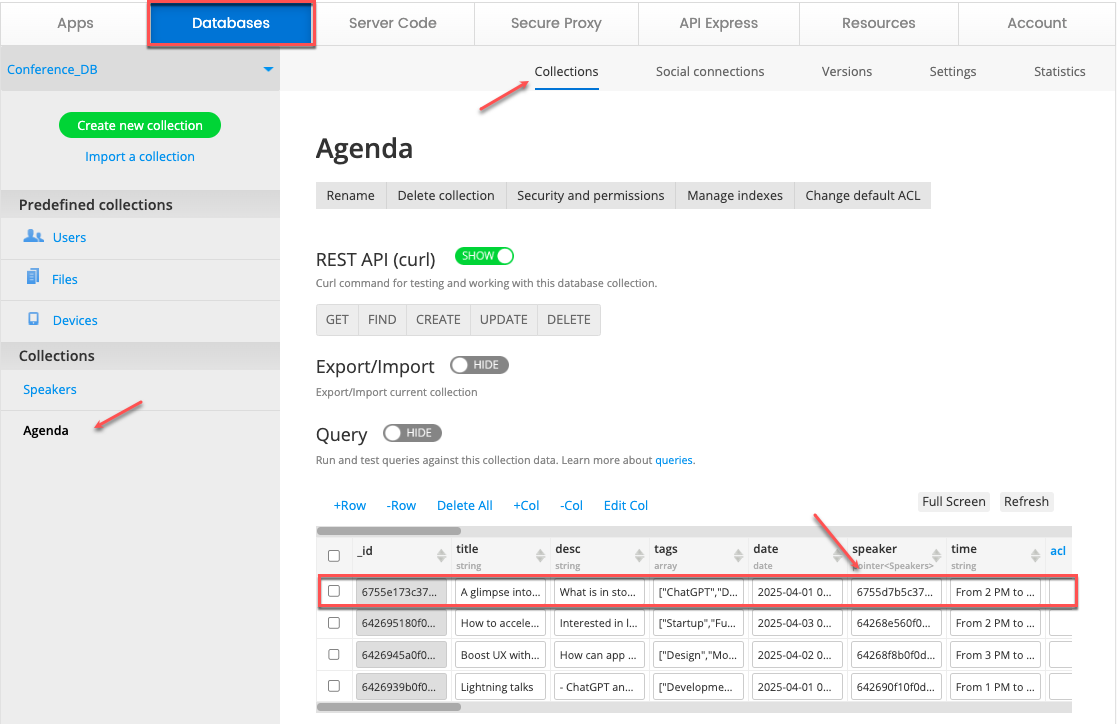
How to inspect errors using developer consoles
-
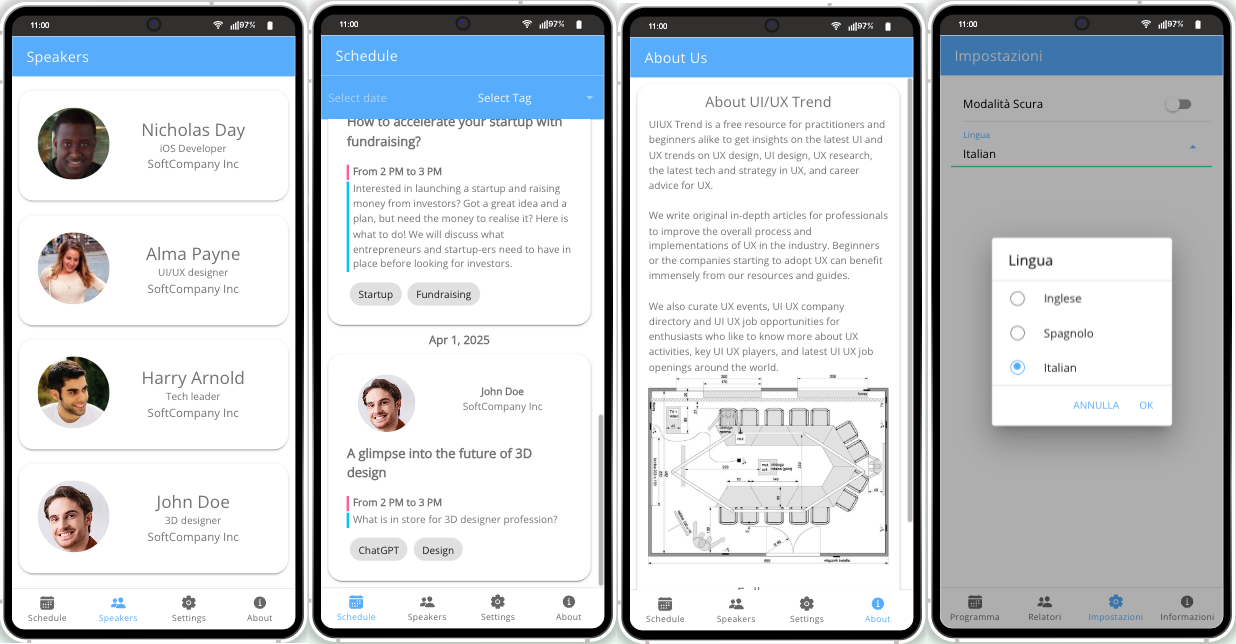
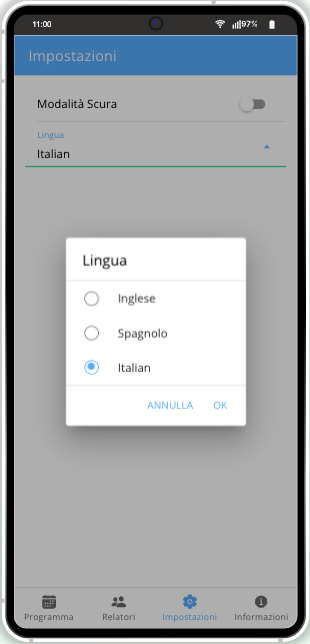
Debugging inside mobile iframe previews
-
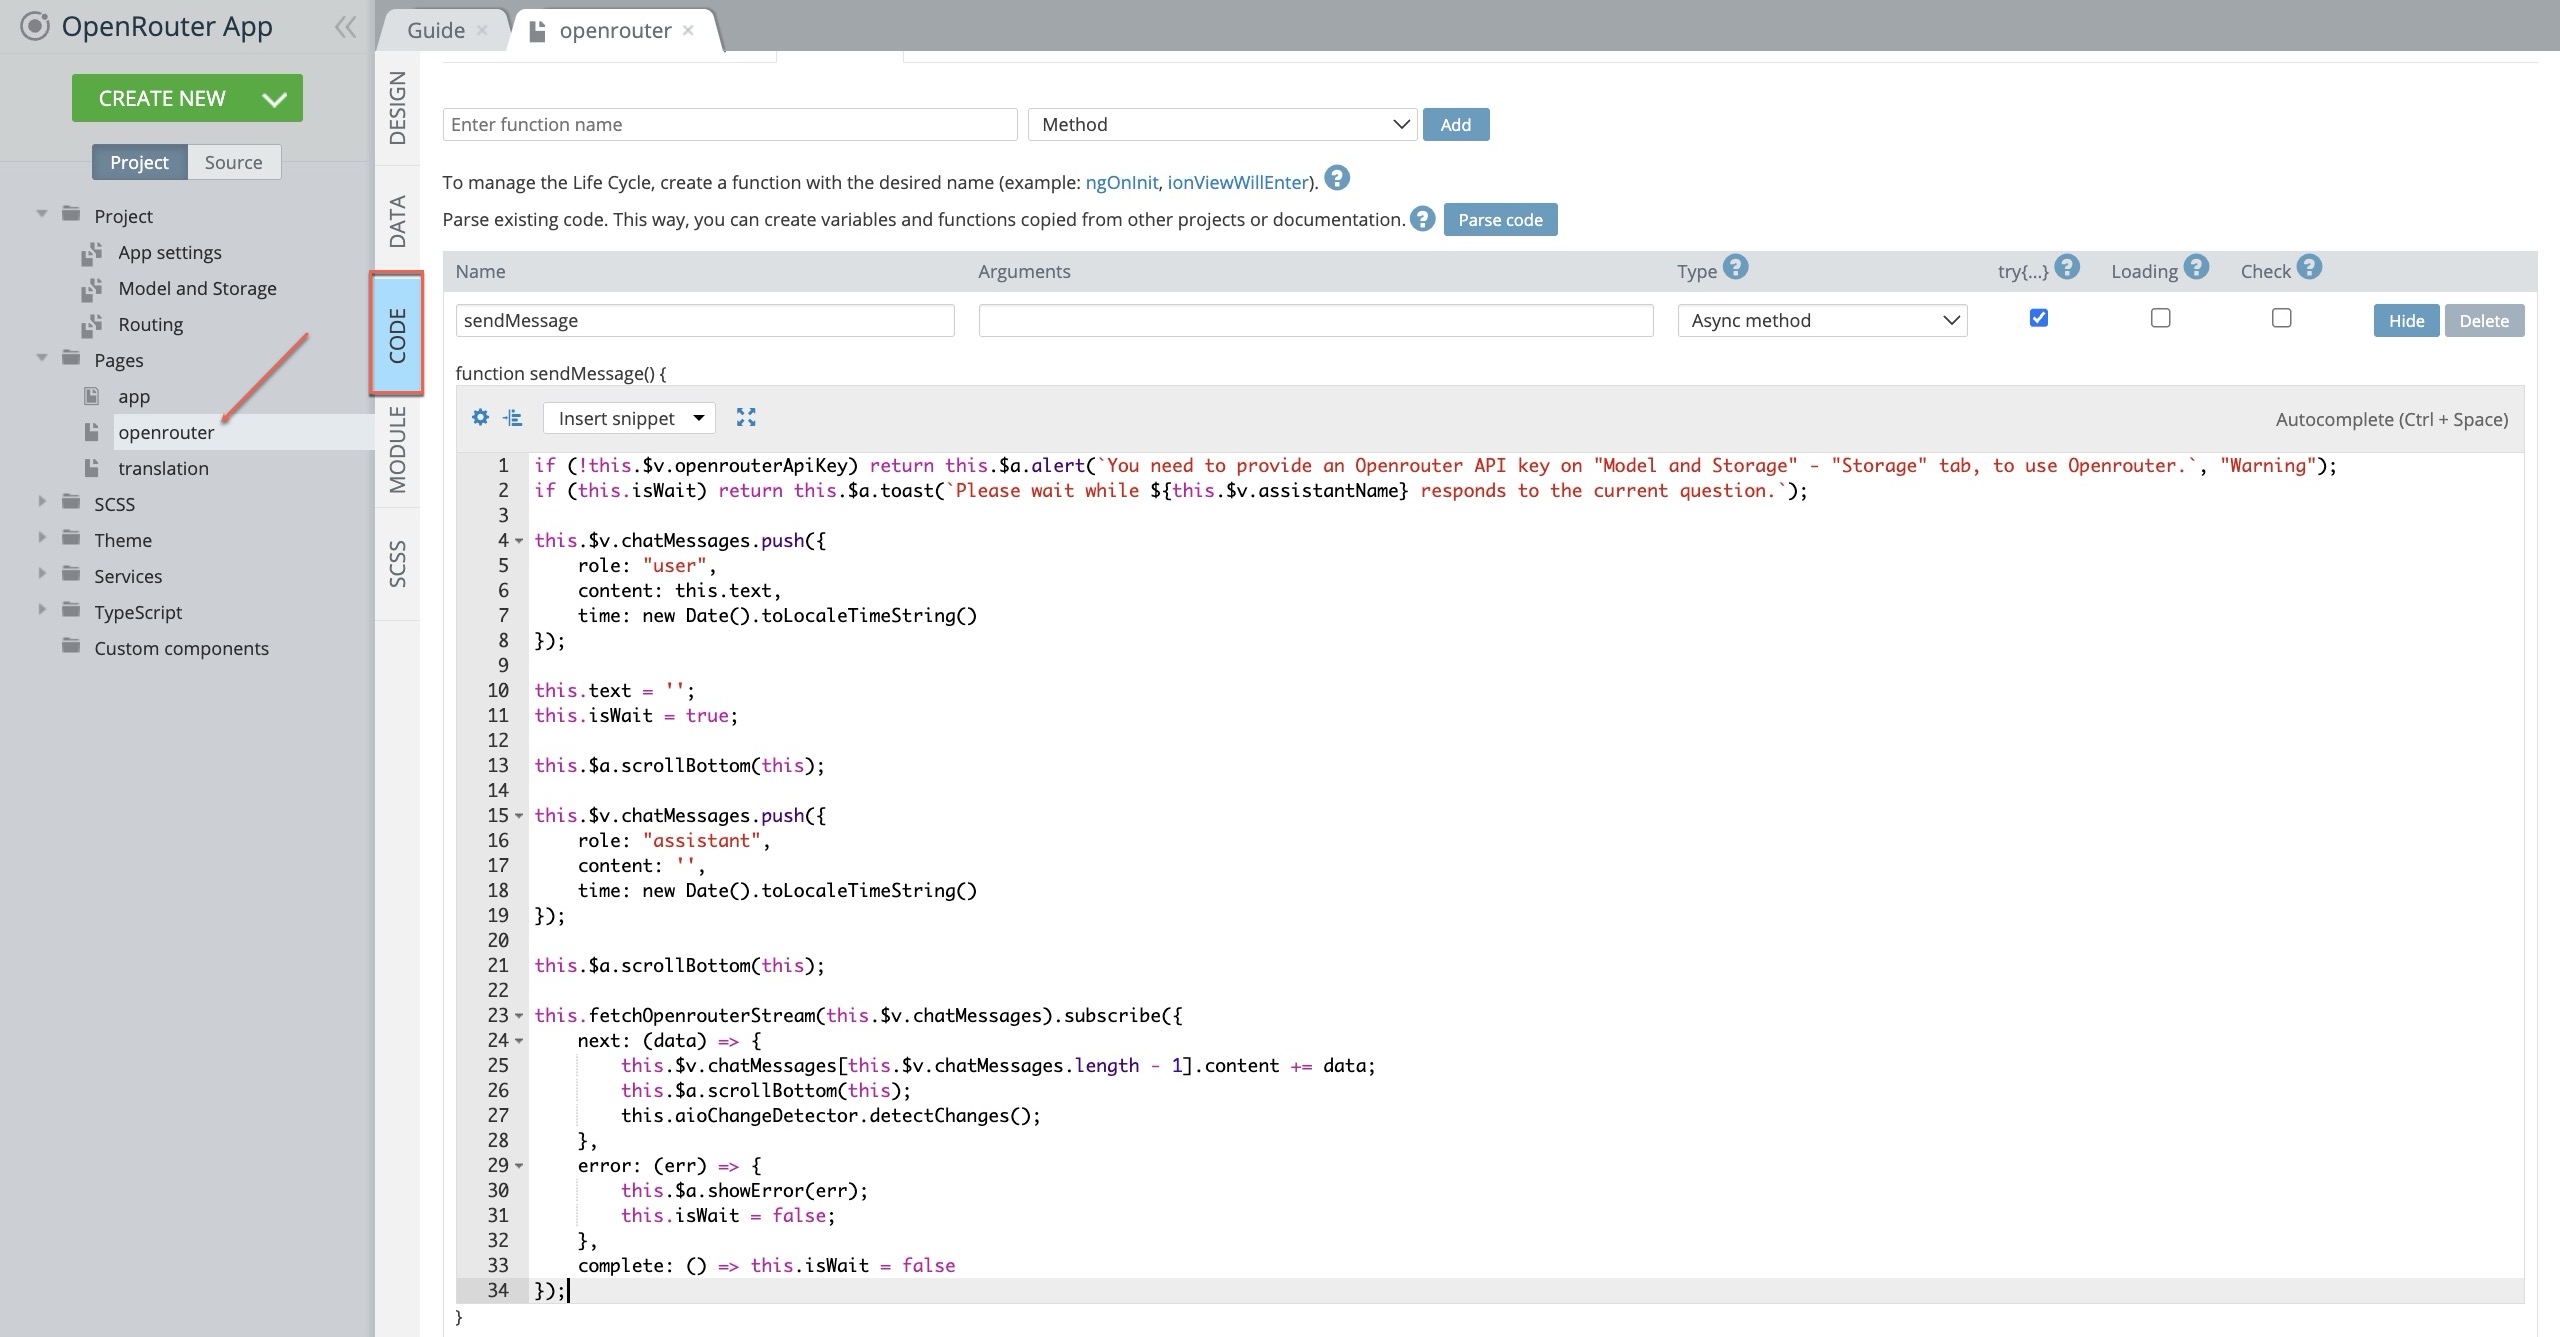
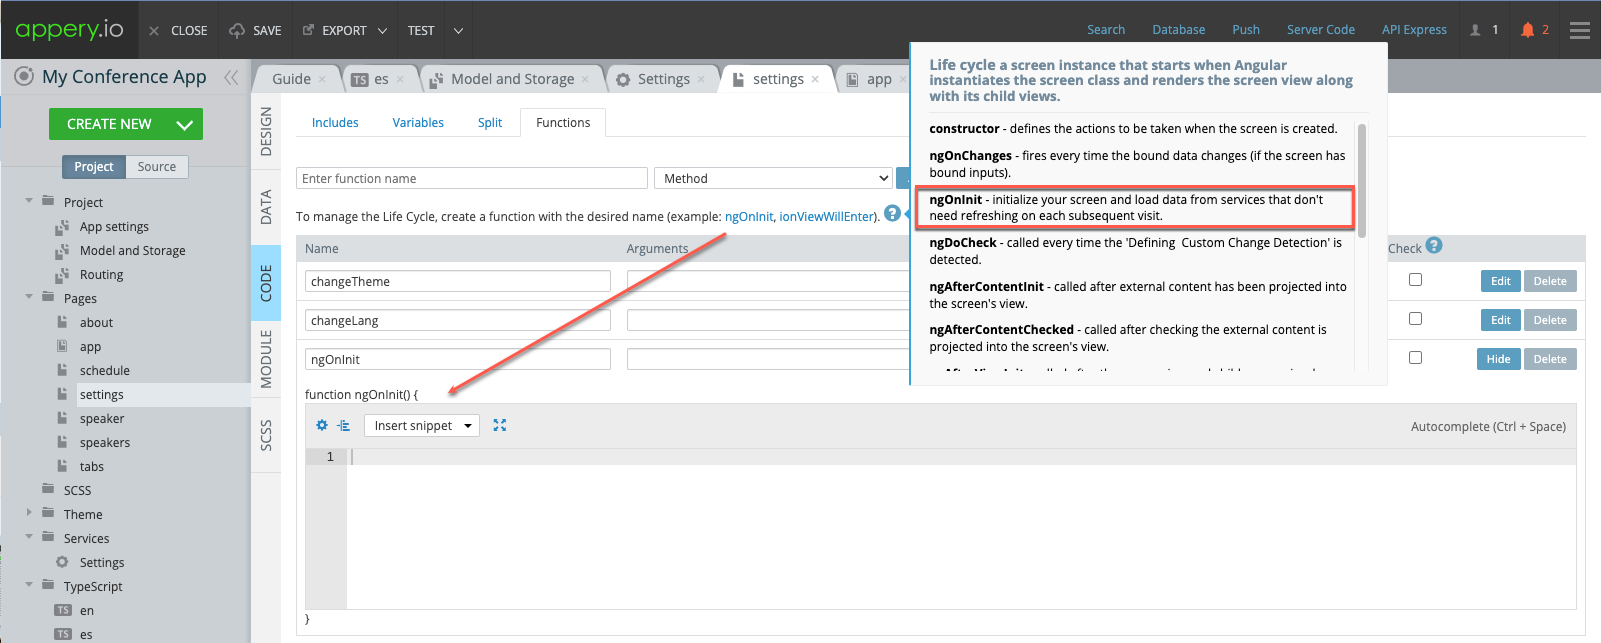
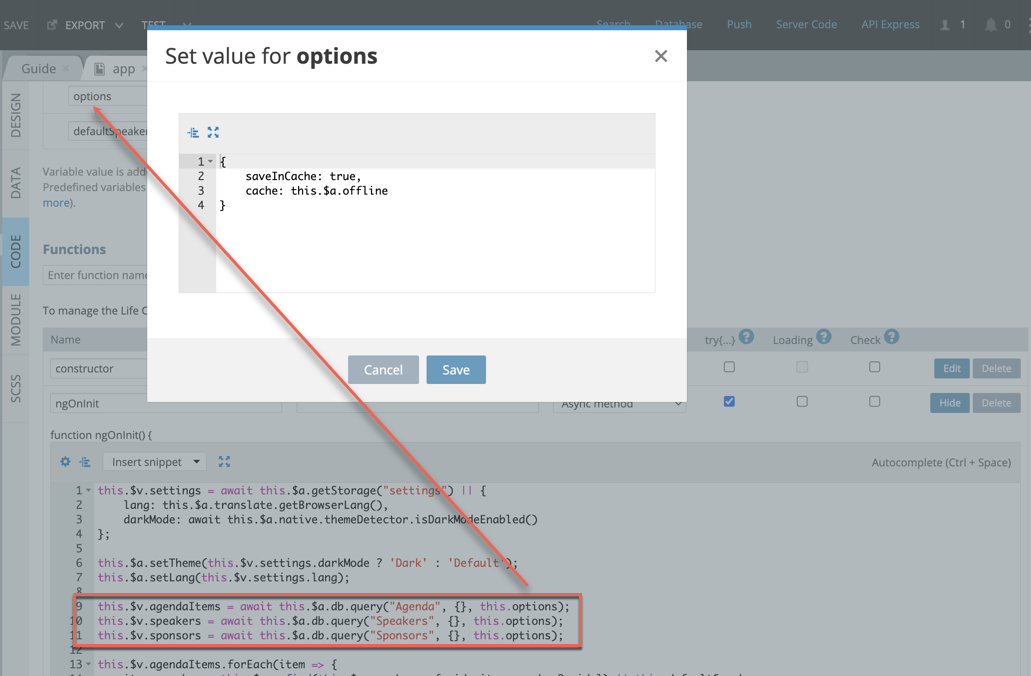
Setting breakpoints and using the debugger
-
Remote debugging with Appery Tester
-
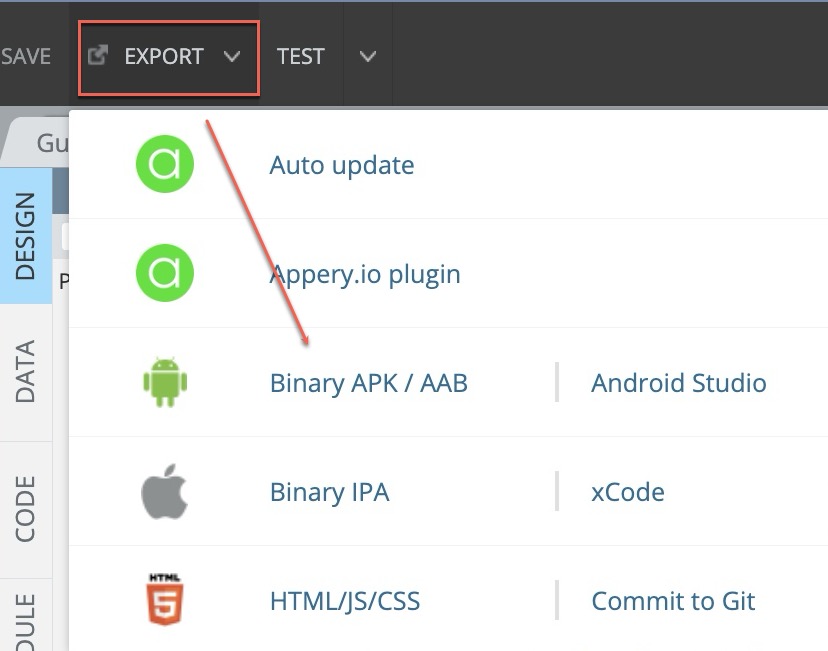
Handling custom Cordova plugins with Live Debug
-
Smart console logging for production apps
Appery.io gives you powerful low-code tools for building and debugging professional apps faster. If you want fewer bugs and faster launches, you need these debugging strategies!
👉 Subscribe for more Appery.io tips and tricks!
👉 Like and comment if you find this tutorial helpful!
#DebugMobileApps #DebugWebApps #Appery #ApperyTutorial #MobileAppDebugging #WebAppDebugging #LowCodeApp