Unlock App Potential: 5 Essential, Innovative Tools for Success
As we approach the exciting innovations of 2024, mobile app development is brimming with new possibilities.
Appery.io, a no-code platform, offers 5 essential app building features that can simplify your development process and bring your creative ideas to life more efficiently.
Appery.io is perfect for those looking to innovate without the steep learning curve of traditional coding. Whether you’re a novice or an experienced developer, these features empower you to focus on what truly matters: building exceptional apps. Our latest YouTube tutorial explores these features and how they can transform your project workflows.
Why Focus on These 5 Features?
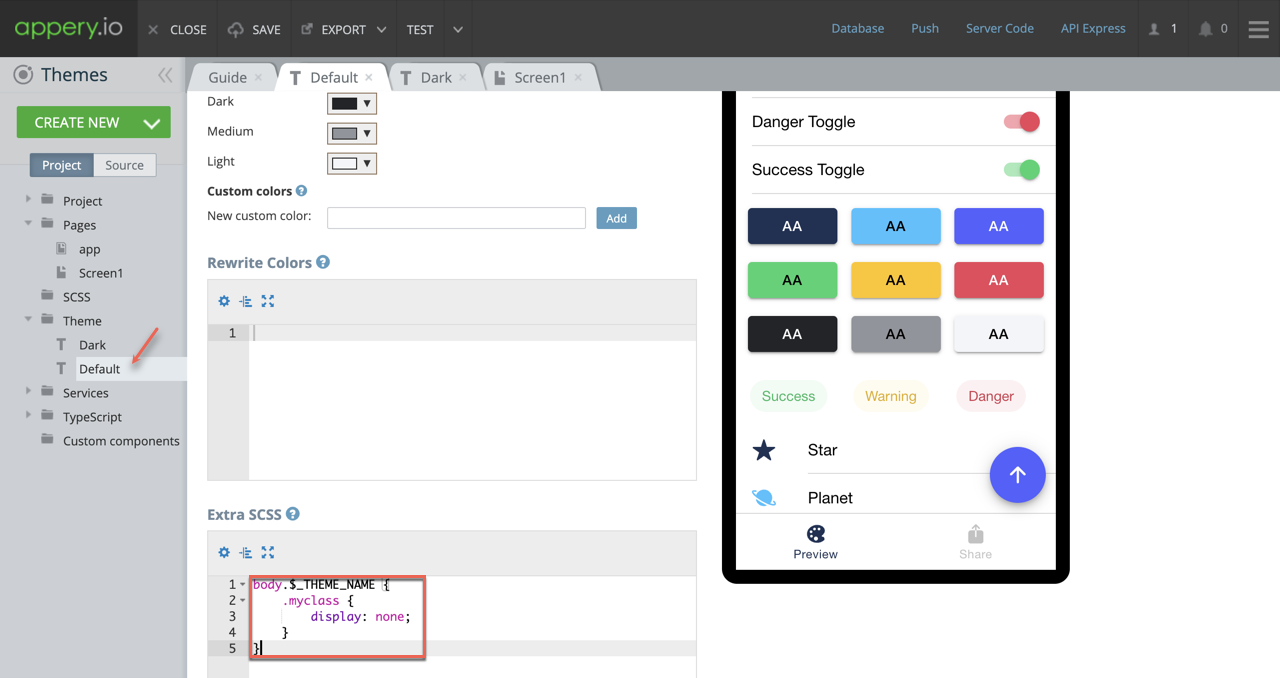
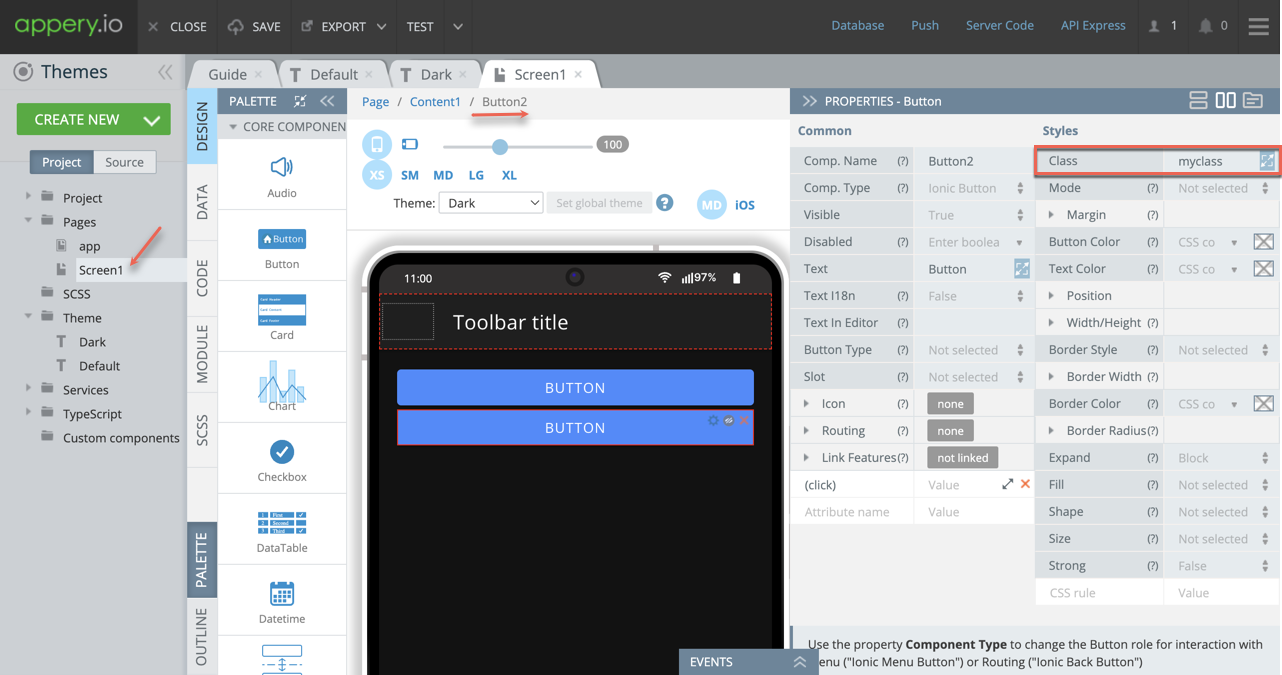
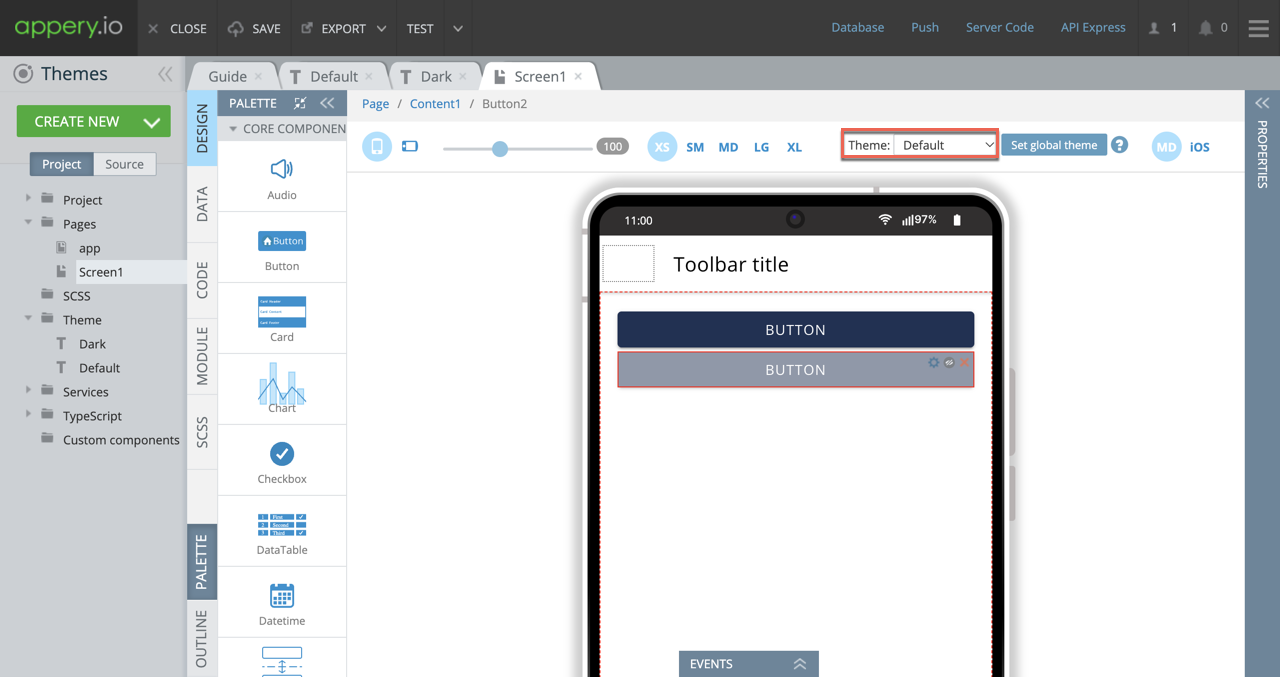
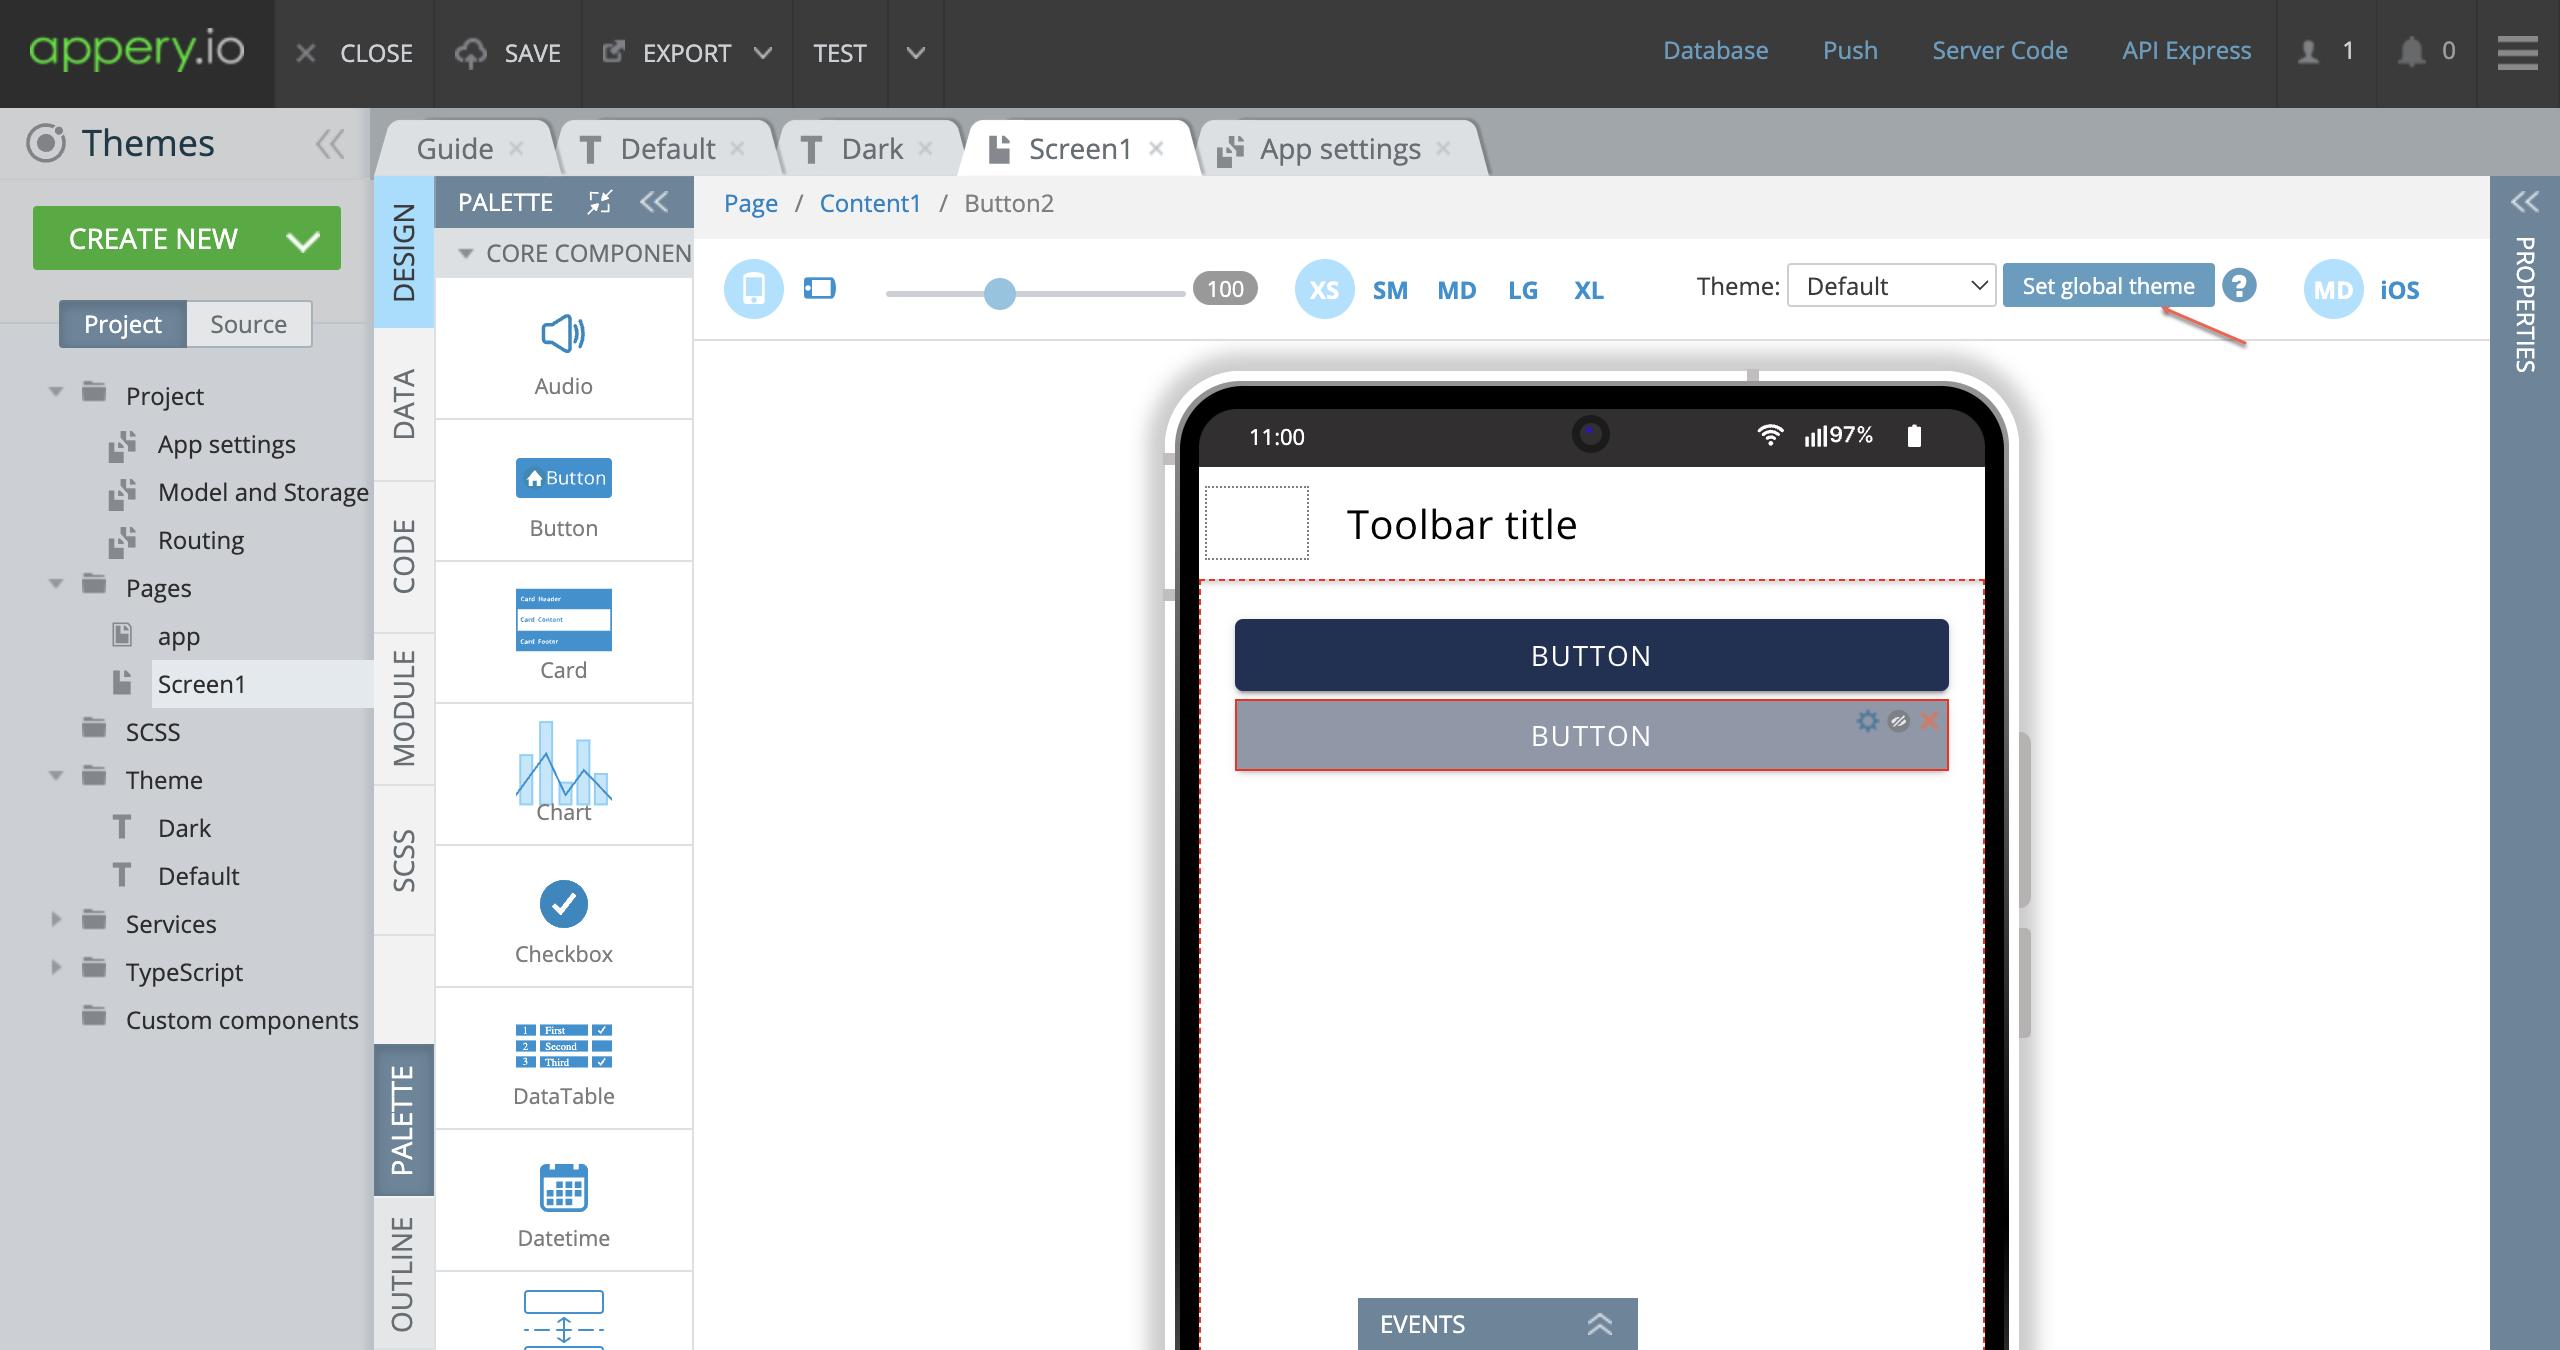
1. Bulk Image Replacement: Seamlessly update app visuals without manual repetition. More details can be found here.
2. Effortless Error Handling: Navigate debugging with user-friendly error handling tools.
3. Enhanced Loading Management (CODE panel): Organize and streamline your code using advanced loading integration options.
4. Added Form Validation Check (CODE panel): Integrate form validation checks to ensure data integrity.
More information on the CODE panel new features can be found here.

5. Automatic Variable Addition (CODE panel): Reduce time spent on repetitive tasks with automated variable handling.
These capabilities are designed to help developers prioritize creativity and user experience, significantly reducing technical barriers.
Why Watch the Video?
Our YouTube video tutorial offers a closer look at each feature, demonstrating their practical benefits and applications. This video is an excellent resource for anyone looking to elevate their app development skills using Appery.io‘s no-code platform.
For a detailed exploration of these features, check out our video. You’ll gain valuable insights and tips that can enhance your approach to app building.
Stay Connected with Appery.io
Subscribe to our YouTube channel for ongoing tutorials, updates, and innovations in app development. Appery.io is here to support you on your journey to mastering mobile app development as we step out of 2024 and beyond.
Watch the full video now to explore these 5 essential app building features and start creating amazing apps with ease!