How to Add Apple ID Login to Ionic 4 Apps | Appery.io
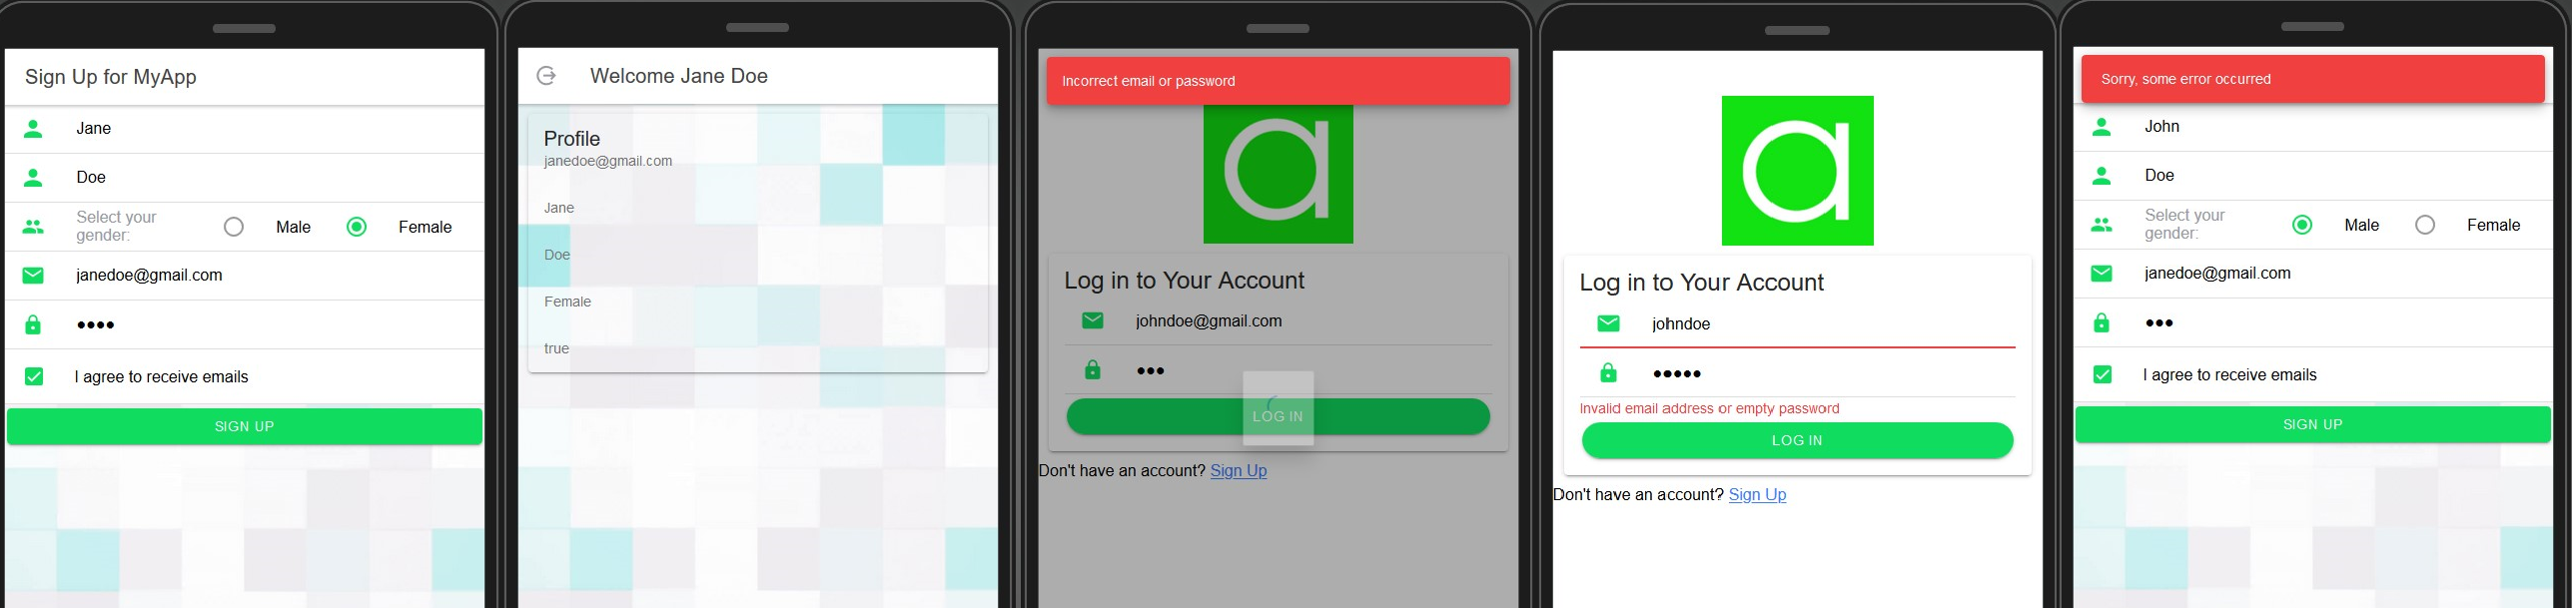
Appery.io allows developers to create apps that support sign in with Apple ID. To add this feature to your application, you simply need to install and configure our new Login with Apple plug-in.
Appery.io allows developers to create apps that support sign in with Apple ID. To add this feature to your application, you simply need to install and configure our new Login with Apple plug-in.
In today’s time of unprecedented troubles and uncertainty we are happy to be able to give some bit of satisfaction to the Appery.io community: a bunch of new Ionic 4 tutorials have arrived so that you can immerse yourself in a new level of programming and be more optimistic about your future.
Over time we have been working hard to document Appery.io Ionic 4 components as thoroughly as possible. This documentation will help you understand better how the Ionic 4 app UI can be managed in the best possible way for your particular project.
If you are only starting on your Appery.io programming journey, you will definitely find our pre-defined Ionic 4 app templates useful. To get oriented on this topic review: Ionic 4 App Templates.
We have also published several easy-to-follow tutorials that demonstrate the effective use of Cordova plug-ins in Appery.io Ionic 4 projects:


These tutorials describe how to develop some cool Ionic 4 apps:

Just take a look at how intriguing these examples are as you work through them!
Note: Most of the tutorials come with app backups that make the tutorials easier to go through.
We hope this “to-do list” of Appery.io tutorials will help you get through these trying times and make your #StayAtHome times less burdensome and as efficient and pleasant as possible.
Stay with us and hope for better times soon!
Recently we rolled out a new Google Maps Tutorial for Appery.io’s Ionic 4 Builder. But, today, the Appery.io team can offer more help for our valued users to get the most out of Ionic 4! We have always tried to make developing with our platform as easy as possible, and, this time, we do so by presenting two more step-by-step tutorials on building with Ionic 4:
The first tutorial will guide you through the process of creating an app using the ngx-translate third-party internationalization (i18n) library to build a spectacular multilingual application:
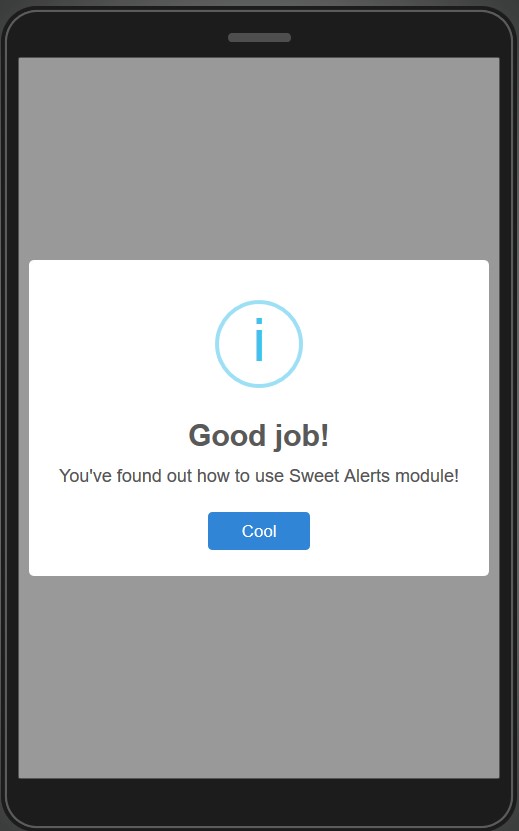
The second tutorial will help you add the SweetAlert2 external module to display modal windows in your Ionic 4 app:
Both of these topics have often been requested as tutorial subjects, so we look forward to seeing a lot more implementations in Appery.io apps. We also hope our tutorials help you build up a broader understanding of how everything works with Appery.io backed up by Ionic 4 features.
We have some good news for Appery.io users. Another tutorial on Ionic 4 has arrived!
You should have already seen that Appery.io offers an Ionic 4 Google Map component. In this new tutorial, follow step-by-step how to use this component in creating an Ionic 4 app with the Geolocation service to show current coordinates on a map. (Google Maps API key required.) Working with this component is easy. Simply drag it to the page, configure it via the PROPERTIES panel like any other UI component, and then use it with the Google Maps API via JavaScript.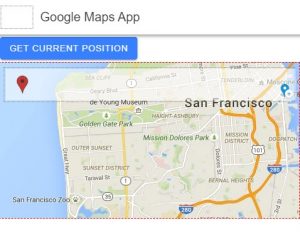 And, as a bonus, please check our new instructional video that shows how to use a Google Maps component in Ionic 4 apps here.

Geolocation is one of the most widely used APIs in mobile apps today. From weather to Uber and Lyft, the device location is crucial information and many APIs use it to determine what services and products are available in a given location. When building a mobile app in Appery.io, using the Geolocation API is simple. Apache Cordova library is built-in in every new Appery.io app. Invoking Geolocation will return the latitude, longitude (and other) information which can then be passed to any REST API. The following two short videos show how to use and invoke Geolocation in an Ionic and jQuery Mobile apps:
Looking for more videos like that? Check out our YouTube channel for many more videos.
Appery.io API Express make it fast and simple to connect to an enterprise data source and expose it via a REST API. With API Express you can quickly create an API for:
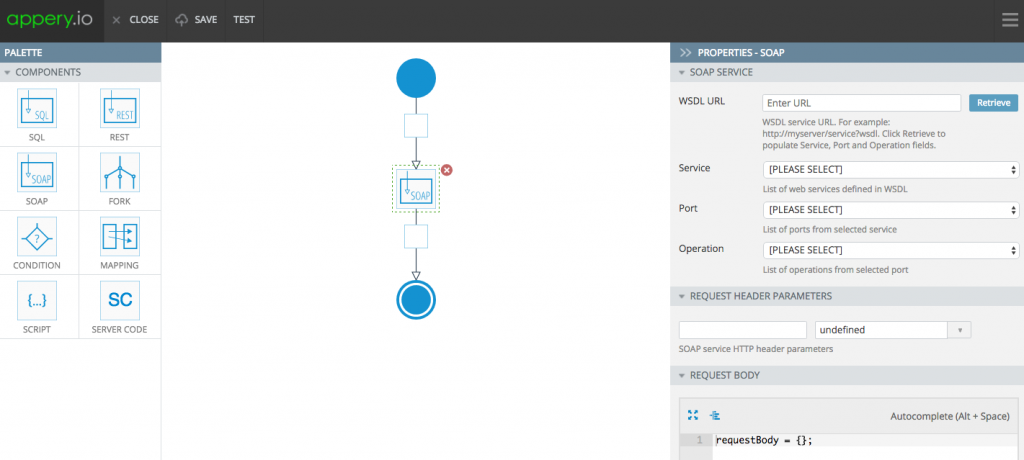
In this tutorial, I’m going to show how to expose an existing WSDL service as a REST API and then build a mobile app using the API.
![]() PayPal API is one of the most popular Appery.io plug-ins, and now it’s also available for Ionic & AngularJS!
PayPal API is one of the most popular Appery.io plug-ins, and now it’s also available for Ionic & AngularJS!
Our users have frequently requested the ability to add payments to their Ionic & AngularJS mobile apps more quickly, for example, to create an online shop. Now, with the help of this plug-in, you could build an online shop (for instance) to be used by your Ionic & AngularJS app really easily.
A few notes about the security implemented in this app:
Finally, a few, more general, notes:
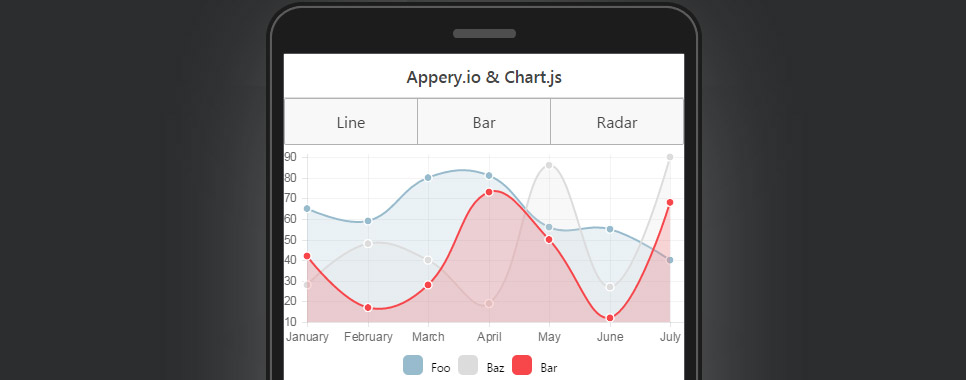
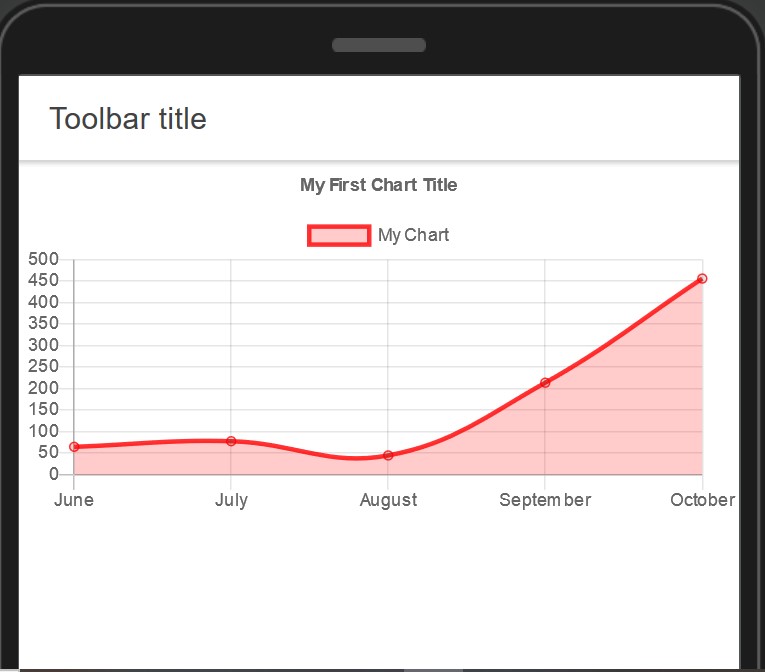
Appery.io Charts plugin
From talking with developers who are building business and enterprise apps, we’ve heard that displaying data visually with charts is one of the highest priority requirements. To make it easy to visualize data, Appery.io has introduced a lightweight plugin that has everything you need to add pretty and inform-dense charts to your mobile app.
In this post we’ll show you how to do exactly that.
The Appery.io Charts plugin is available for AngularJS types of apps – both Ionic and Bootstrap. It’s built on the popular Chart.js library and consists of two JavaScript and one CSS asset. It can be added to your app the same as any other Appery.io plugin:
CREATE NEW > From plugin.Appery.io Charts and click Import selected plugins.charts page will be added to your app.Now you can go to Project > Routing and set the Default route for charts page to make this the initial page for your app.
There are three type of charts implemented in this plugin – Line, Bar and Radar. Switch them and see the animation by clicking the appropriate buttons.
Chart.js supports many other chart types, you can learn about the other charts here.
In this plugin, charts are displayed based on the data stored locally, in the scope variable. However, you may want to use a database as the data source for your charts. It will take less than a minute to configure the plugin in this way. Read the plugin documentation to see how.
Hopefully you will find this easy-to-use plugin useful. If you have any suggestions on how to make it better – feel free to contact us!
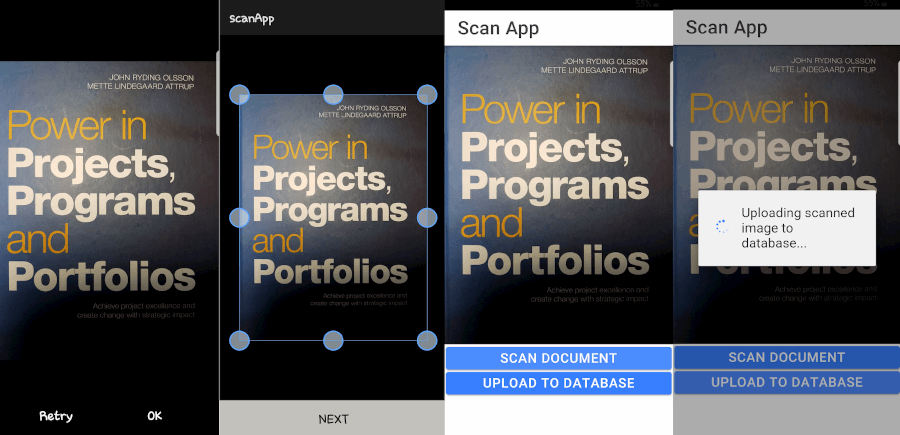
 In this post you are going to learn how to access images uploaded to a cloud database via REST APIs and display the images in the app. This is the second post about working with images. You can read the first post here:
Quickly Upload, Display, and Customize Images from the Database with the Built-in Files Collection.
Let’s say you have a list of images, icons, or avatars that you have uploaded to a database. Maybe you are building a contacts app and would like to display employee head shot or just a list of products. Now you would like to display them in your app. In this tutorial we are going to show you how to do that — it’s fast and simple.
Like standard UI elements, such as buttons, input and text areas, the Appery.io App Builder also provides a convenient and ready-to-use Google Maps component for your AngularJS apps. This component contains a large set of visually configurable properties and entities like markers and windows.

There is a lot of help available for you to get the most out of this component. We’ve got detailed guides, a modularly organized tutorial, and our always helpful support team.