It’s Cyber Monday: Appery.io Has Some New Features to Offer!

This Cyber Monday 🙂 release from Appery.io brings several new features that will be available for all Ionic 5 apps. These functional improvements are designed to make your development experience even better and the results of your work almost perfect.

What is really great about this release: all the features below are not something you will need to learn to use but are very intuitive and simple to apply.


So, let’s go:

  1. The first and most impressive is that from now on our users have the ability to quickly create Appery.io components from any HTML code copied from 3rd party resources. No need to explain that creating such a page takes some development time:

The great news is that getting this page with Appery.io is now a matter of a couple of minutes. Actually, all you need to do is use the Parse HTML property and enjoy the result:

2. The second improvement will be the holy grail for those users who have been struggling to figure out how to sort out the certificates for publishing their apps to the Apple Store. Now, to get your app’s release version and publish it, you only need to take several simple steps: select the Release and Publish build type, provide your Apple Id, and add the generated app-specific password. To learn more, go to this page:

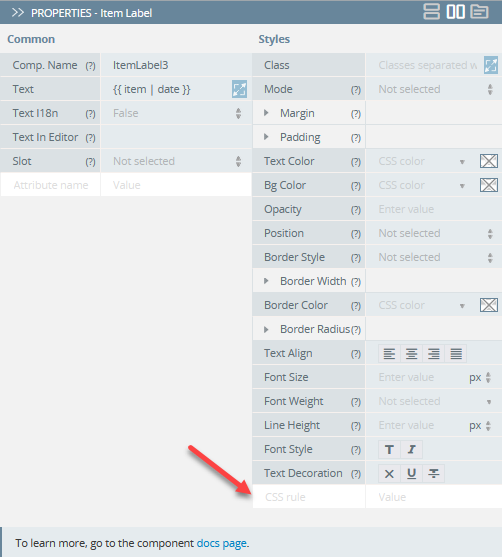
3. We also added the ability to modify properties for an impressive list of Appery.io UI components in a popup which allows convenient editing of long text strings:

4. Another helpful improvement: we now offer an integrated solution from Ionic that allows specifying responsive display attributes​ depending on what device your app is supposed to run. It has been made possible with the Class property of the needed component and is simple to apply:


5. Next. Two popular Appery.io components, HTML and Text, now have an increased arsenal of Containers:

6. Also, Height and Width styles groups have been added for the Button and Input components which makes styling them more versatile:

7. Lastly, the Content, HTML, and Grid Cell components now allow uploading and managing background images under their PROPERTIES > Styles tab:

All of these new features are already available so please feel free to try them out.

Thank you for using Appery.io and Happy Developing!


Your Appery.io Team

Get Our Restaurant Template to Create Your Great Mobile App

We, at Appery.io, appreciate good cuisine so we set our minds on creating a simple Restaurant Template that can be of help to those small businesses who struggle to create their own restaurant management app.

There is no need to say that organizing a restaurant business and managing it effectively is a tough endeavor. Sad but true: even if you are a great chef and feel confident in your kitchen, even if your cooking skills are nothing but genius and all your guests are dying to try your culinary delights, there is still a big chance that your business will not succeed. And if you feel that you can’t do without a good restaurant management app perfectly tailored to your business environment, consider using our free and easily customizable Restaurant App template!

Goals we set for our Restaurant template

The requirements that we set for this app template were:

  • the template must be simple enough to be easily customizable by a non-developer
  • creating and managing the mobile app from the template should be quick to do and not break the bank
  • the app should have attractive UI and be intuitively easy to use
  • it must be available for both iOS and Android devices
  • the app must be easily maintainable and can be run from anywhere and anytime

Results we obtained

Now, when the app template is released and ready to be used, we would love you to try it yourselves.

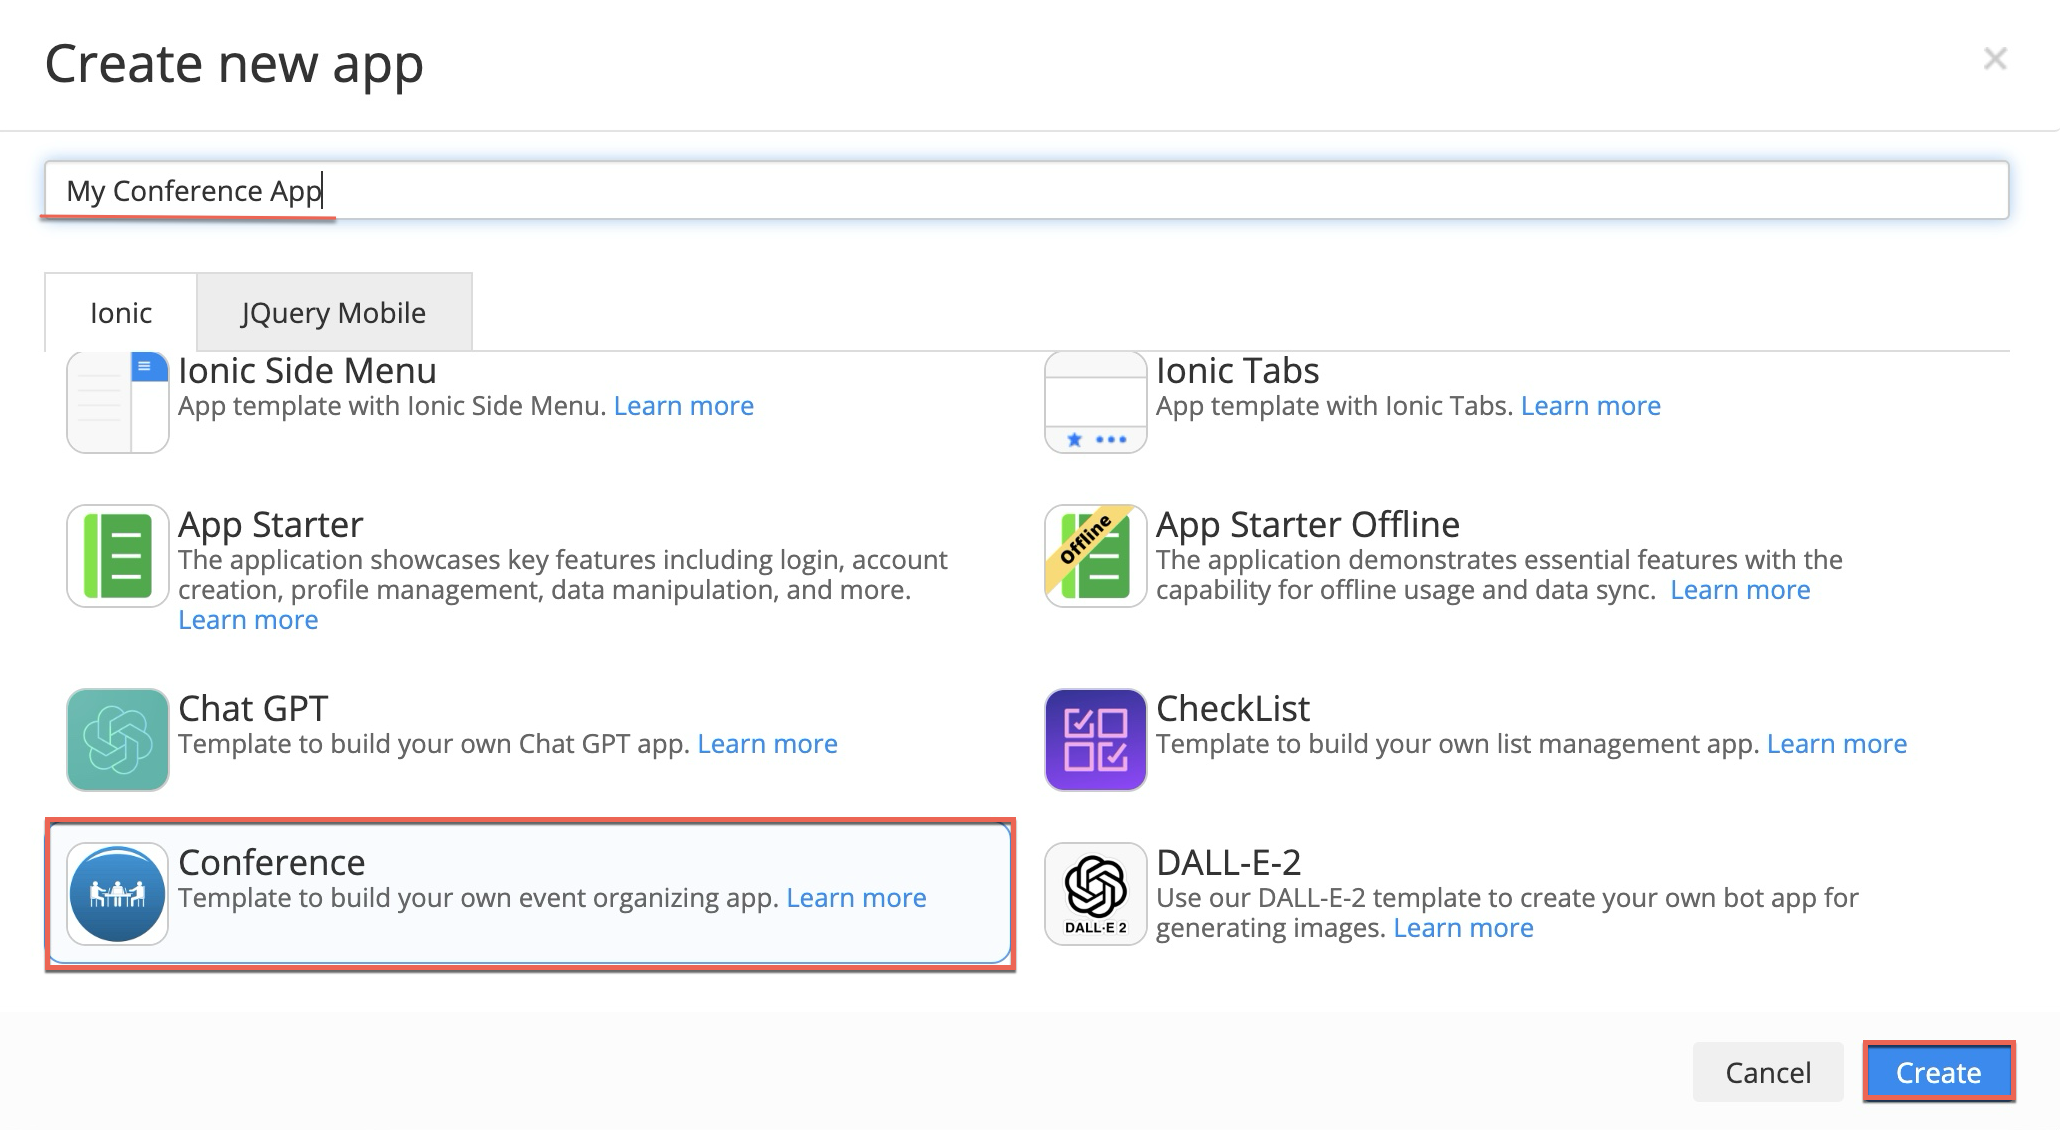
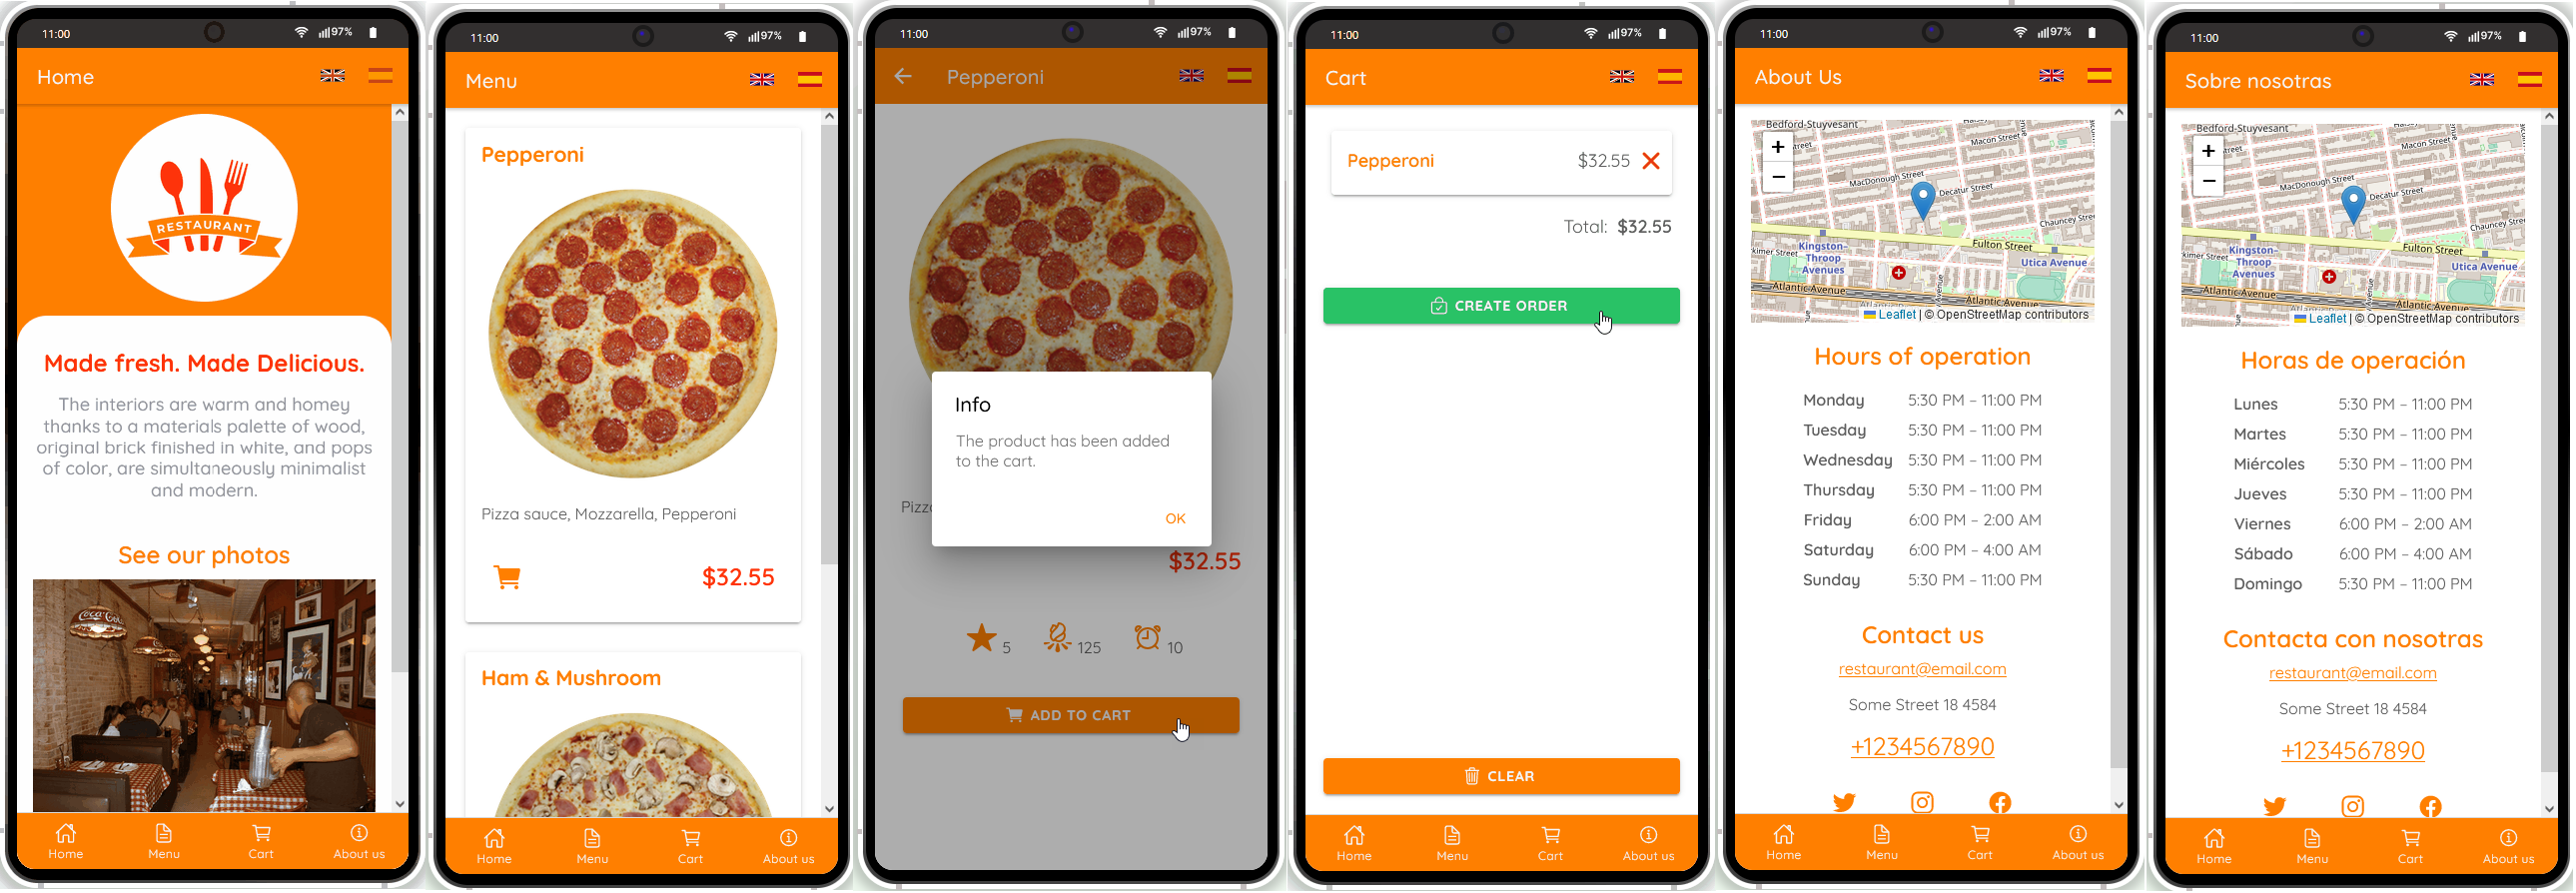
This is really easy to do: simply click this link and in a moment, your app is ready to start! There’s no need to go to the Create new app dialog or download the template backup with further installing it. In a moment, you’ll have an app with a Menu page listing sample restaurant meals:

Restaurant template

 Restaurant template

The app also has the default About Us page and you will not need to invest much time to adapt it to your needs:

 Customizable About us page

The only prerequisite needed to start creating your first mobile application is being a registered Appery.io user. And if you are still hesitant about whether it is worth it, please be informed that you are welcome to sign up for free and make your final decision after two weeks of the trial period.

We also prepared a detailed step-by-step document for those who are interested in customizing the offered app sample. Follow it to see how easy it is to modify the app template and make it look like this:

Customized app template

Hopefully, the set goals were all reached and now you are a step closer to the mobile restaurant app of your dream! With this app, you will not be limited by a small start-up budget and will not need to be an experienced developer to modify the About Us page on the fly or quickly add mouthwatering meals to the Menu.


Bon appétit!

Adding Social Sharing to Your Arsenal is Easy with Appery.io!

Social networking has been gaining in popularity in recent years; and so has social sharing. At the moment, this feature is an integral part of any successful mobile app, in particular the ones meant to deliver their mission to as many people as possible.

With Appery.io, you can significatly simplify integrating the Social sharing feature into your mobile app and involve a wide audience by adding Cordova SocialSharing plug-in. And the beauty behind it is that creating such an app is just a matter of several clicks!

Moreover, for your convenience, we created a ready-to-go sample app, Ionic 5 Social Sharing plug-in Sample App, that can be used to share links, images, and text messages out of the app on social platforms or by email.

The best of it is that to get the sample app working on your device, you do not even need to create the app. You can simply use our Appery.io Tester app (it is free and available for both iOS and Android) to scan the sample app QR code we already generated for you and run it on your device:

Social Sharing Plug-in App QR Code
Also, before starting the app make sure you have the needed app(s) (Twitter, Facebook, Instagram, email app, etc) installed on your mobile phone:


But if you would lke to go further and learn all the ins and outs of how it was created, you are free to follow the detailed tutorial. Also, you can try it by recreating the app from the backup (note that you will need to be registered as an Appery.io user to do it).

New to Appery.io and do not know where to start? You might find our Getting started series or step-by-step quick start tutorials useful.

PS A great tip from the Appery.io Team: it’s easiest to start developing by following our educational video guide.

Interested? Then click below to sign up and feel free to experiment with many more our sample apps out there.

We’re Happy to Announce a New App Builder Release!

We are happy to announce that our new App Builder release is live now! And this time it comes with a handful of new features, cool enhancements, and platform updates.

We hope you will enjoy all the new features, improvements, and updates listed below:

  • Appery.io Educational Video Guide where you will learn how to create a stunning UI for your first mobile app, get help on adding the needed features, debugging and testing it, and much more…

  • In conformity with the regulation from Google Play requiring that all apps meet target API level 31 (Android 12), all Android-built apps were successfully migrated to Android 12. No additional actions on your part are required.
  • Also, uploading custom launch images was discontinued in Android 12 as the system will always apply the new Android system default splash screen on cold and warm starts for all apps. Please check here for more details.
  • Auto Generation of iOS certificates was added to our platform which will significantly simplify building your apps for iOS.

  • A brand new FilePicker core component that allows you to quickly add file selection to your app.

  • Creating new app themes is now made more accessible and more user-friendly.

  • Please be informed that support of the projects created with Ionic 4 was discontinued. In this regard, we recommend that you consider effortless migrating your Ionic 4 project(s) to their Ionic 5 version. You are welcome to check out this page to learn how to do it.
  • And, finally, we would like to remind you that many of the 3rd party custom Cordova plug-ins that were previously released, but not timeously updated by their creators, can be broken or outdated and therefore not work as expected. Therefore, please be aware that every app created in Appery.io comes with Apache Cordova library installed and our users are free to add both plug-in types to their app(s):

    – Preconfigured Appery.io Cordova plug-ins (Core Cordova Plug-ins) that are verified to be up-to-date;

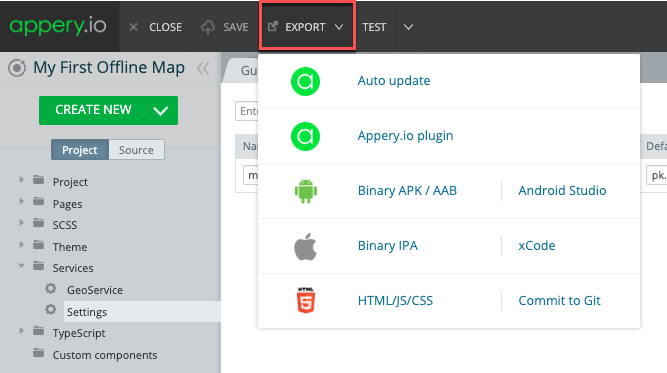
    Custom Cordova plug-ins installed independently. Unfortunately, some of these may not be compatible with the latest technologies which is an issue beyond our control and may require additional troubleshooting. You may consider purchasing one of our Support Pack services if you need help with integrating custom Cordova plug-in(s) into your app.

Thank you for using Appery.io and Happy Developing!

Your Appery.io Team

Highly Rated and Most Popular Software In Low Code Development Award!

We are happy to share a piece of great news announcing that Appery.io has been awarded two more prizes as the best SaaS Low-code development product globally and recognized as

  • Top 10 Highly Rated Software in Low Code Development Platforms for Q3 2022

and

  • Top 10 Most Popular Software in Low Code Development Platforms for Q3 2022: 

Both awards were showcased on our SaaSworthy profile so you are welcome to check it out!

We greatly appreciate this acknowledgement of our contribution and would like to use this opportunity to say thanks to you, our Appery.io community, as we could not have done it without your incredible support and valuable feedback.

You are awesome! This is you that will motivate us to continue working hard to make you low-code development more enjoyable and productive!

Happy developing!


PS: And if you are still not with us, join our community and try building your first mobile app for free:

Collecting Your App Statistics is Now Easy with Our Google Analytics Plug-in

We are happy to announce that the updated Google Analytics plug-in is live now and ready to be used with no restrictions for building your mobile applications. Any Appery.io user (including those enjoying their 14-day free Trial subscription) can now add it to their Ionic 5 app(s).  What is extra – it can be added in no time at all and will work on both iOS and Android devices! This makes adding the option of collecting different statistical information about how your app is used even simpler!

So, if you like the idea of adding this functionality to your Ionic 5 project(s), you are highly welcome to do that by creating your mobile app with Appery.io with importing the Google Analytics plug-in from the Catalog of Appery.io plugins:

And just in case you are unaware of the fact that we offer so many different out-of-the-box example apps that can be easily added to your Ionic 5 project, please visit our Appery.io Plug-ins Categories page.

PS  As a gesture of goodwill, we have also created this step-by-step tutorial for you to make your development experience even more positive and productive.

Happy developing!

Need Internationalization In Your Appery Apps? Happy To Help!

Considering how you can quickly make your mobile app support different languages? Or need to make your online store app easily adapted to specific local languages tht will definitely increase the profit? And, of course, you want to add more value to your project without investing much development time? We have the simple and fast solution that can help: apply the Internationalization feature to your Appery.io project(s).

We are happy to let you know that you can now try our sample app created to demonstrate the multilingual Ionic 5 mobile app built with Appery.io using ngx-translate third-party Internationalization (i18n) library.

And even more than that: you not only have the option to follow the instructions in order to get the working app, but also use the one-click-away option to install the fully functioning Ionic 5 app.

Well, actually, all you need to do is simply click this link and in a moment, your app is ready to start!

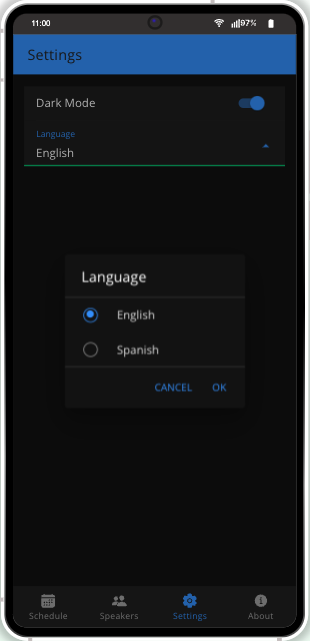
To test it, try clicking the language switching buttons in the header along with clicking the SUBMIT YOUR FEEDBACK button:

And last but not least: 

You can also try the magnificent option of quick testing the app on your device: use our Appery.io Tester app. The app is absolutely free and available for both iOS and Android.

Doing this is super easy – just install the Tester app on your device, run it and scan the code below to enjoy the app on the device:

Happy developing!

Grab New Features Introduced with our Midsummer Release

Last Sunday, the Appery.io Team came out with a new, midsummer, release packed with the following useful features:

  • The JQM lib version updated to 5.4 that includes the latest version of jquery (3.6.0), so that you can now make sure your JQM projects are published to app stores without any security warnings.
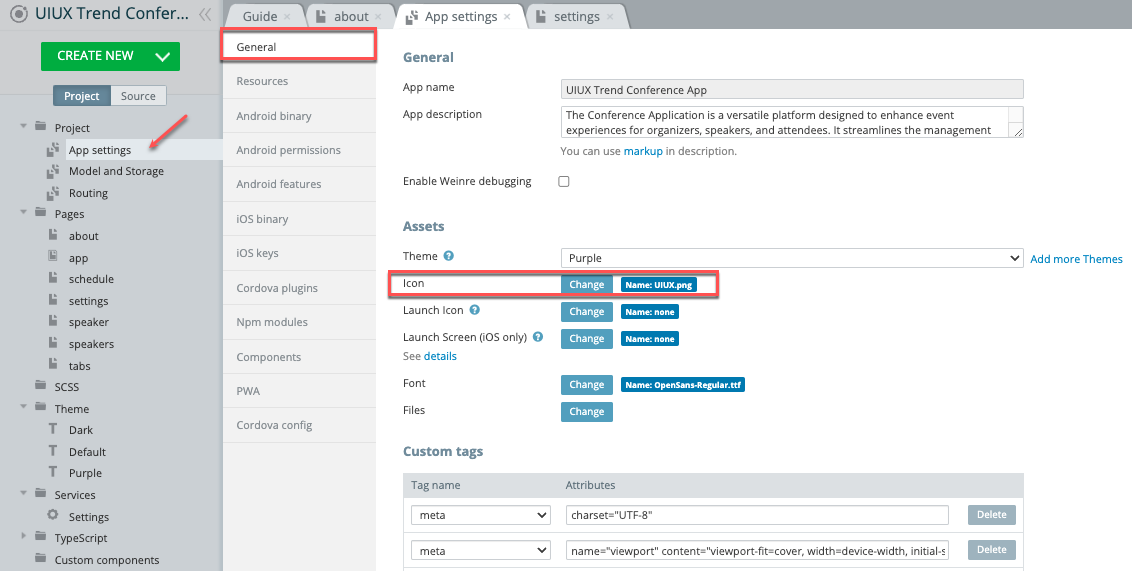
  • All you need to do is simply update your app lib version by selecting it under App settings > Resources > Libraries version:
Please note that the .size() method has been removed in jQuery 3.0. So, if your JQM project uses this method, you will need to replace it with the .length property to refer to the number of elements in the jQuery object.
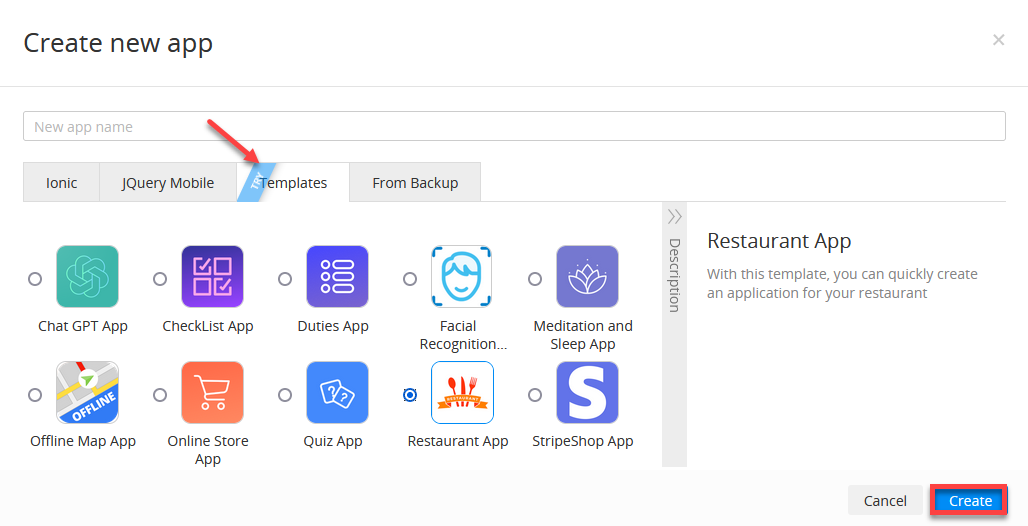
  • A new, simplified look for the Templates tab. Now, creating new app from our ready-to-go-with and fully functioning Appery.io app templates is even simpler:


  • Another new option that allows setting the default values for app storages:

Also, this release traditionally introduces some extra updates and minor bugfixes that will hopefully make your development routine even more user-friendlier.

Well, this is it for now but please stay tuned – we have more exciting features in store!

How to Never Miss Important Messages in Push Chats

In this post, we will guide you on how to create a Push Notification sounds mobile app where no messages will be missed.

Actually, we will create a chat app that will receive messages from push notifications. No one should miss our messages, so we’ll make them loud enough with special sounds!

Let’s do it using Appery.io so it doesn’t matter if your friend uses iPhone or Android, they can use your app anyway!

Creating push project from backup and customizing it

You know what? We have already prepared this project for you, so you can grab .zip file from here and open it in Appery.io and we will walk through you this project to explain how to customize it and how it works from the inside.

1. To do this, choose Create new app > From Backup, then select the downloaded .zip file, click Create, and wait a bit while Appery.io creates the project for you.

If you have any questions, you can learn everything you need and more about restoring Appery.io projects from the documentation.

OK, great! Now you have a shiny new project in your Appery.io workspace! And it’s time to make it entirely yours.
2. First, click the Push button on the toolbar to be redirected to the Push Notifications > Settings page:

This awesome page already has the Enable Push Notifications checkbox checked, but you also need to select the database where the chatting devices will be registered.

Creating and linking database

3. If you have no database that will do, you will first need to create one that will be linked to our app: go to the Databases tab in the header and create a new database, for example PushChatDB:

4. Now, you can link it to our app on the Push Notifications > Settings page:5. After you confirm this operation, the database will be linked and you will be able to copy its Push API key to clipboard:

6. In your project, unfold the Services > Settings folder and paste the copied key into the PUSH_API_KEY value field:

Configuring Push settings

To configure other settings on the Push Notifications > Settings page, you need to complete the following configuration steps:

– Choose an ID for your app. If you plan to support iOS, please make sure your app ID matches the ID in your APNS certificate.

– Set Package name under the Project > App settings >Android binary tab to your app Bundle ID chosen in the previous step.

– Set Bundle ID under the Project > App settings > iOS Binary tab to your app ID as well:

– Set up Firebase Cloud Messaging Provider. Make sure the app package name in Firebase matches your app ID.

– Download Google Services JSON file and Firebase Admin SDK JSON file from Firebase and add them to Push Notifications > Settings page.

– To support push notifications on iOS, add your APNS Push Certificate and Certificate password in iOS settings.

Detailed instructions for above steps can be found on the Push Notifications Configuration page in Appery.io documentation.

App composition

Now, let’s go back to the App Builder and take a look at the app composition.

The app has 2 pages: SignUp and Chat, which are custom versions of the two predefined page templates (SignUp and Chat correspondingly), available via Create New > Page dialog.

SIgnUp page

The SignUp page has the userName input field, which is a storage variable defined in Project > Model and Storage > Storage:

This page also has the Page create event that fires the pageShow() function to check if this userName has already been registered and so the SignUp page can be skipped:

To view the pageShow() function, open the page CODE panel and select it:


let userName = await this.Apperyio.data.getStorage("userName");
if (userName) {
this.Apperyio.navigateTo("chat");
}

Chat page

The Chat page has the Push notification event that fires the notificationReceived(event) function to handle push notifications. Here we are forwarding the event to the pushChatService.receive(event) service and updating the messages list on the page:

If the app receives the Push notification event for the user that has not signed up yet, he will be redirected to the SignUp page:


await this.pushChatService.receive(event);
await this.updateMessages();

let userName = await this.Apperyio.data.getStorage("userName");
if (!userName) {
this.Apperyio.navigateTo("signup");
}

PushChat Service

Let’s take a look at the receive(event) service function that can be found under TypeScript > PushChatService. Here we need to handle several different situations:


Push message arrives with the app in background

In this case, the custom push notification sound will be played and the message will be displayed in the device’s notification center.

Our custom push notification sound file is called pushsound.wav. Switch to the Source tab, unfold the CORDOVA > resources folder and upload your custom sound file (should be prepared beforehand). Please note that to work on both iOS and Android the .wav format is recommended.

It is also recommended that this file is put into different folders for Android and iOS; this is handled on App settings > Cordova config tab.

For Android it will be:

<resource-file src="resources/pushsound.wav" target="app/src/main/res/raw/pushsound.wav"/>

For iOS the code is like this:

<resource-file src="resources/pushsound.wav" />

Push message arrives with the app in foreground

In this case, custom push notification sound will not be played and we have to play it ourselves from the `receive(event)` function in PushChatService that we assigned to handle the push notification request.

But how can we differentiate between the app in the background when the sound was already playing, and the app in the foreground, when we still need to play it?

Here, `event.additionalData.foreground` field comes to rescue, so we have the code:

var ext = event.sound.endsWith('.wav') ? '' : '.wav';
if (event.additionalData.foreground) {
var soundPath = "assets/static/" + event.sound;
var music = new Audio(soundPath + ext);
music.play();
}

To view it, open the ***PushChatService*** TS file and scroll down:

Sounds in Android vs sounds in iOS 

Finally, the app also handles the situation when event.sound is received without .wav extension on Android, but with this extension on iOS, so we add it if it’s missing. We also expect pushsound.wav to be in assets/static/ folder, so we go back to the Source tab and upload the pushsound.wav file to the IONIC/src/assets/static folder as well:

The remaining code in `receive(event)` function just saves the new message entry to local storage.

let messages = await this.Apperyio.data.getStorage("messages");
messages = messages || [];
messages.push({
time: new Date().toISOString(),
message: event.message,
user: event.title
});
await this.Apperyio.data.setStorage("messages", messages);

Sending push notifications

We have another function embedded into PushChatService named `send(text: string)` that sends push notifications to other devices registered in your database’s Devices collection. Registration happens automatically when the user opens the app for the first time.

Appery.io API to send push notifications is documented here.

Angular HttpClient was already imported in our PushChatService when we created it with Create new > TypeScript > Angular service. We can use it to send REST request to the Appery.io push notification server.

this.http.post < any > ('https://api.appery.io/rest/push/msg', {
"filter": {
"deviceID": {
"$ne": this.device.uuid
}
},
"payload": {
"title": userName,
"message": text,
"sound": "pushsound.wav",
"customData": {
"android_channel_id": "channel1"
},
"actionButtons": [],
"icon": "",
"color": "",
"image": "",
"launchImage": "",
"contentAvailable": false
}
}, {
headers: {
"X-Appery-Push-API-Key": pushApiKey,
"Content-Type": "application/json"
}
}).subscribe(data => {
console.log('-- push/msg result:', data);
});

Here, in the filter field, we indicate that we are pushes will be sent to every device except ours. We also specify android_channel_id for the sound. This Android sound channel is initialized in Push initialize event of the app module.

let channelName = 'channel1';

( < any > window).PushNotification.createChannel(
() => {
console.log('Push notification channel created:', channelName);
},
() => {
console.log('Error creating push notification channel:', channelName);
}, {
id: channelName,
sound: "pushsound",
description: channelName
}
);

Basically, that’s all. Now you can build an app for your Android or iOS phone, install it using a QR-code, and help a friend to do the same, and voila! You can send messages to each other!

Important! Be sure to turn off the Silent mode on iPhone, otherwise this little toggle on mobile will be muting your push notification sounds.

Summary

We took a look at push notification settings in Appery.io and explored the insides of a small but smart app that uses the push notification mechanism to create a chat.

Please check out the code in the attached project and let us know if you have any questions.

Happy coding with Appery.io!

Tester App: Just See How Easy It Is to Test the Ionic 5 App with Linked Cloud DB!

Quite recently, we’ve presented a great new option to easily test apps created with the Appery.io platform. Called Tester App, it’s a magnificent feature for Appery.io users, and we hope that many users have already had a chance to try it out. But for those who are still unaware of it, we would like to use this post to give you a hand and demonstrate how easy and quick mobile app testing can be.

So, in this example, we will be testing our new Ionic 5 Binary Data sample app integrated with Appery.io Cloud DB (if you are interested in the details of how the app was created, please read here).

Getting Tester App

There is only one simple step that precedes testing itself, and that is downloading and installing the tester app from the appropriate app store: App Store and/or Google Play.

Tester App should download exactly like other apps on your mobile device, and the app icon should look like this:

Post image

All set: the app is here; you can start it on your device and proceed by scanning the generated code.

Generating QR Code

In this particular case, we have already generated the code for you but you are free to easily do so yourself for any of your apps:

Testing with our Tester App

The only step left is scanning the QR code with your device. So, just click the SCAN button (the Scan tab opens by default but you can also find it in the app footer):

Wait a couple of seconds to allow the app to load. When the app has loaded, you are free to try clicking all the buttons:

 
As you can see, the app looks good and functions well and the whole process took a fraction of the regular app testing time. Moreover, next time, the software will already be installed, and reviewing the app will take even less of your precious development time.
 
Note that this sample app is linked to the test database and you will only be able to see the success toasts informing that the files have been uploaded.
If you want to get access to the added records from under the Databases tab, you will need to set up your own database and link it to your app (as described here).


Read the rest of this entry »