Working with mapping has been improved to provide you with a more efficient and user-friendly way of binding your data. Now, with the upgraded Mapping feature binding your data is more intuitive; it also provides more features and flexibility. This tutorial uses old mapping, and will be updated shortly. The new mapping uses the same concepts. The following page shows how to migrate the old mapping to the new mapping.
Tropo provides a powerful cloud API that can be used to add real-time communication features to your app. Using popular web technologies such as PHP, JavaScript, Ruby and many others, it makes it easier to create and control network features.

Tropo also provides a great REST API that lets you configure and control Tropo applications through the use of RESTful methods. This includes the ability to create new Tropo apps, add phone numbers to them, delete applications, and much more. And as Appery.io provides a very comfortable way to work with REST API’s, it’s unbelievably easy to add Tropo communication features to your Appery.io app.
But before you begin, the Tropo application should be created by using the Scripting or Web API. Lets start with creating a simple Tropo app!
Sign up on the Tropo website, and create a new app:

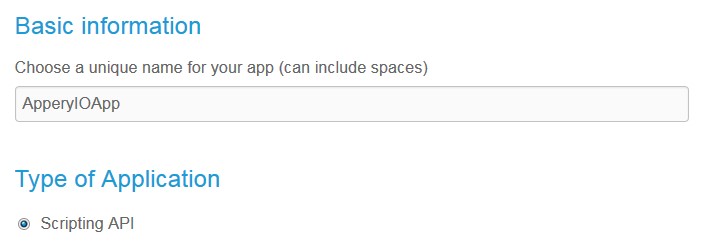
Type a Tropo application name, and choose Scripting API:

Now you should create script. Click “New script” to create it:

The text editor will appear. Lets add some simple code:
say('Hello from Appery.io!');
call(numberToDial);
say("Hello, " + customerName + "! There is a message for you: " + msg + "!");
Code explanation:
Function say will pronounce “Hello from Appery.io!” text by using the Tropo’s Text-To-Speech engine. After that, the phone number that was passed as a REST parameter will be dialed. Once the call is accepted, a second phrase will be pronounced. Note that the second phrase contains REST parameters too.
Enter the script name, and click “Save.” Don’t forget to specify the script file extension as “.js”:

Click “CREATE APP,” and you’re done with the Tropo side. You can test your Tropo app directly from the browser by using Phono. Click “Call App from browser” and then click the phone icon in the bottom left corner:
Note that you can’t test the call function directly from the browser.
Now you can launch your Tropo app via REST services from Appery.io.
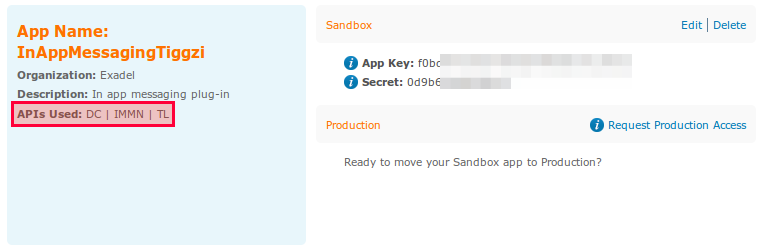
Copy the voice API key to your clipboard:

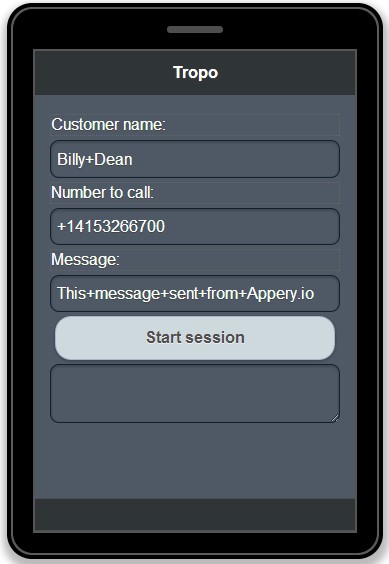
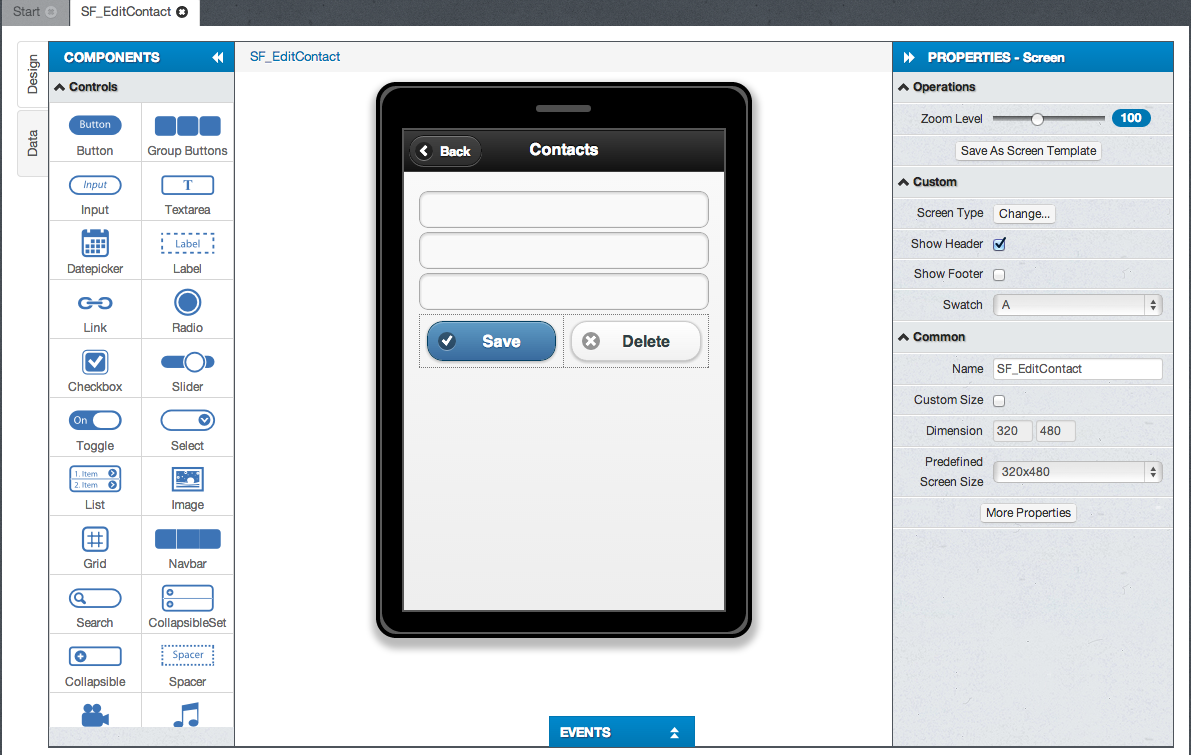
In your Appery.io app, create the following UI:
If you not familiar with Appery.io yet, we recommend looking at this very simple beginners tutorial.
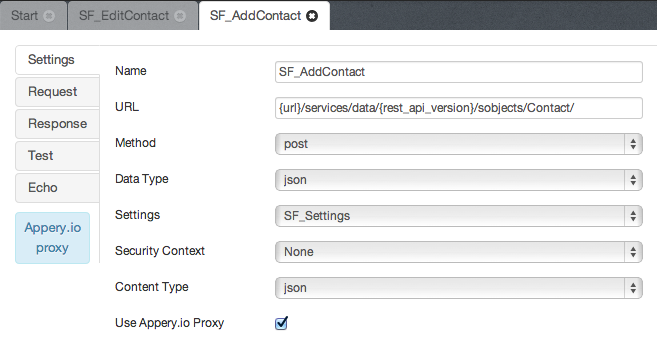
All the application magic will be kept in a single REST service that will start the Tropo session. Create the REST service and specify the following settings:
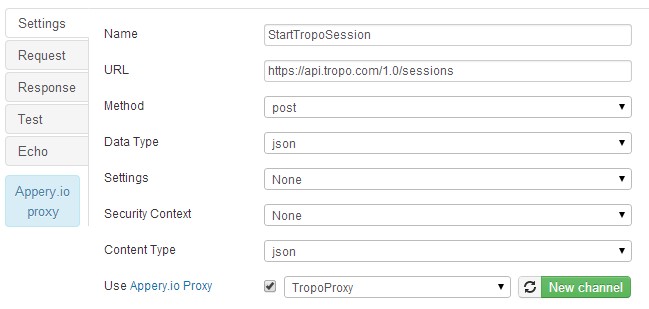
As you can see, there is the Appery.io Proxy provided for this REST service. Click “New channel,” enter a new proxy name for this REST, and then click “Create” to create a new proxy channel directly from the Appery.io builder.
Note: Read about the Appery.io proxy via the link.
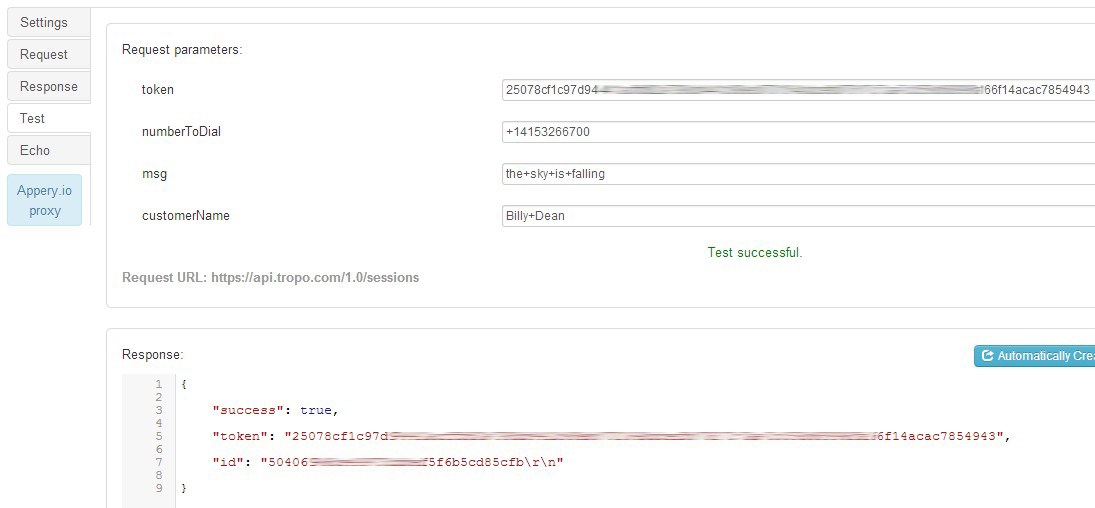
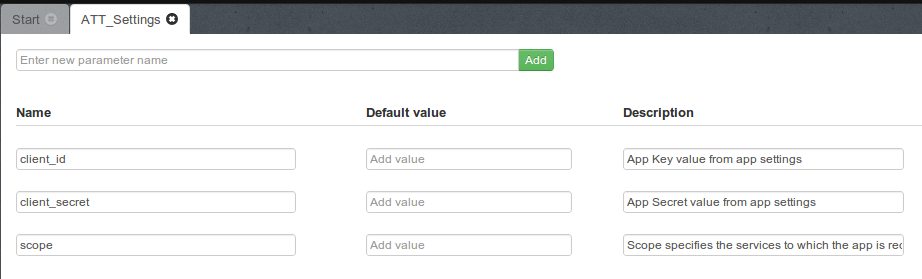
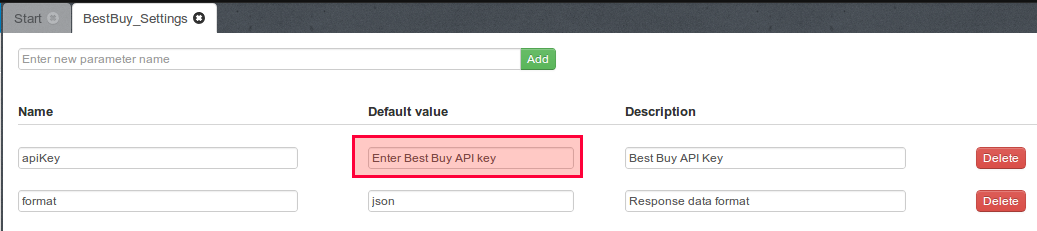
In the Request tab, you can specify parameters and their values that can be passed to the Tropo app. In our case, the Request parameters are the following:

Go to the Test tab and click “Test.” If everything was done correctly, you’ll see a “Test successful” message, and a REST service response that contains both token and id:
Note that you should obtain phone number to make calls, otherwise the script will fail. You also need to link the UI and REST service parameters.
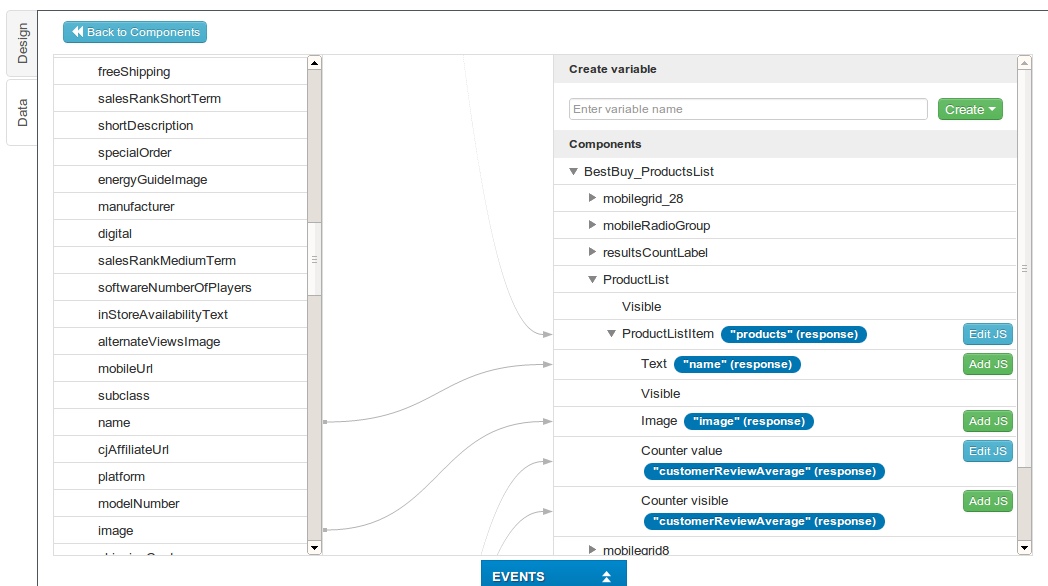
Switch to Data tab, and create a new datasource based on this REST service. Click “Edit Mapping”:

Create the following mapping for REST service Request:
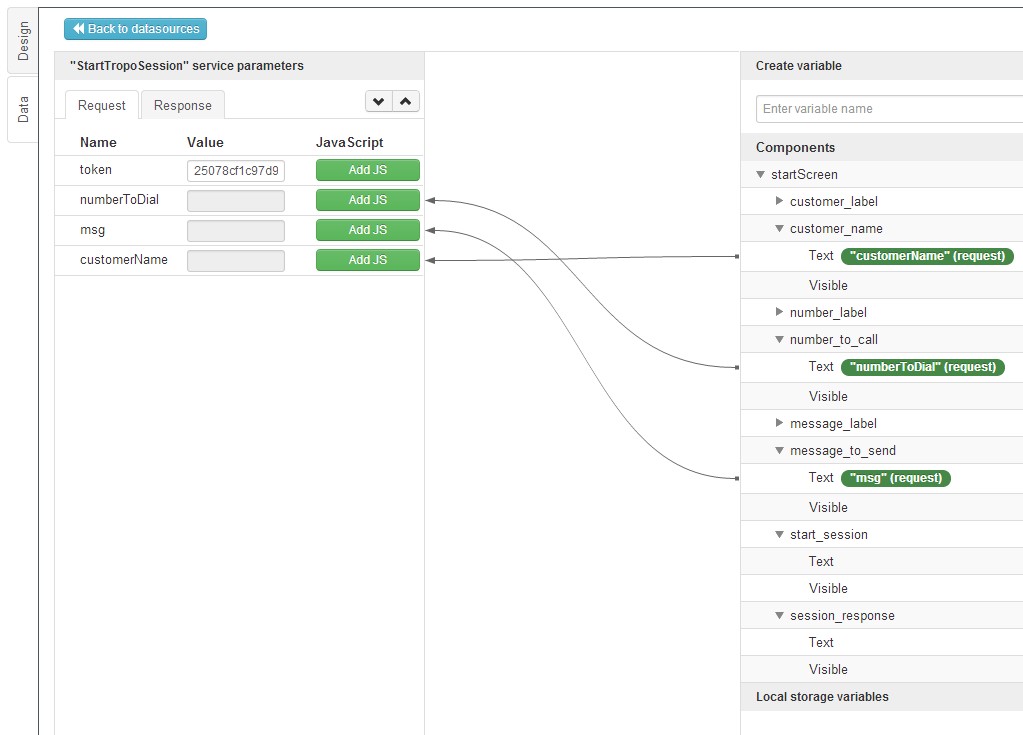
This will map data from the UI components to the REST parameters. If it’s difficult to understand, read about REST services and mapping.
Unlike the Request parameters, we will print the REST service response without mapping to print all its data. Open the Events tab, and create the following event:
start_tropo_session > Success > Run JavaScript. Add the following JavaScript code:
Apperyio('session_response').val(JSON.stringify(data));
Note that session_response in this case is the name of your Text Area component.
The last thing to do is to launch our REST service by clicking the button. Switch back to Design view, select the “Start session” button and add the following event:
start_session > Click > Invoke service > start_tropo_session.
Now you can test your app by clicking the “Test” button in the top right corner of the screen.
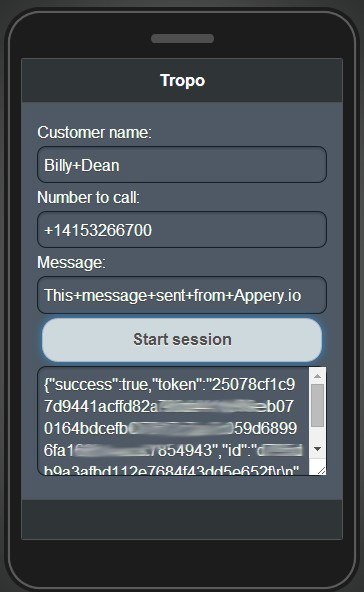
Click “Start session” and you’ll see the result:
If something above was not clear enough for you, check out the Appery.io tutorials and documentation.
Go ahead and create apps using Tropo documentation and the power of Appery.io!


