Appery.io AI Hackathon Launch: Build the Future and Win Your Share of $8,000
About the Appery.io AI Hackathon
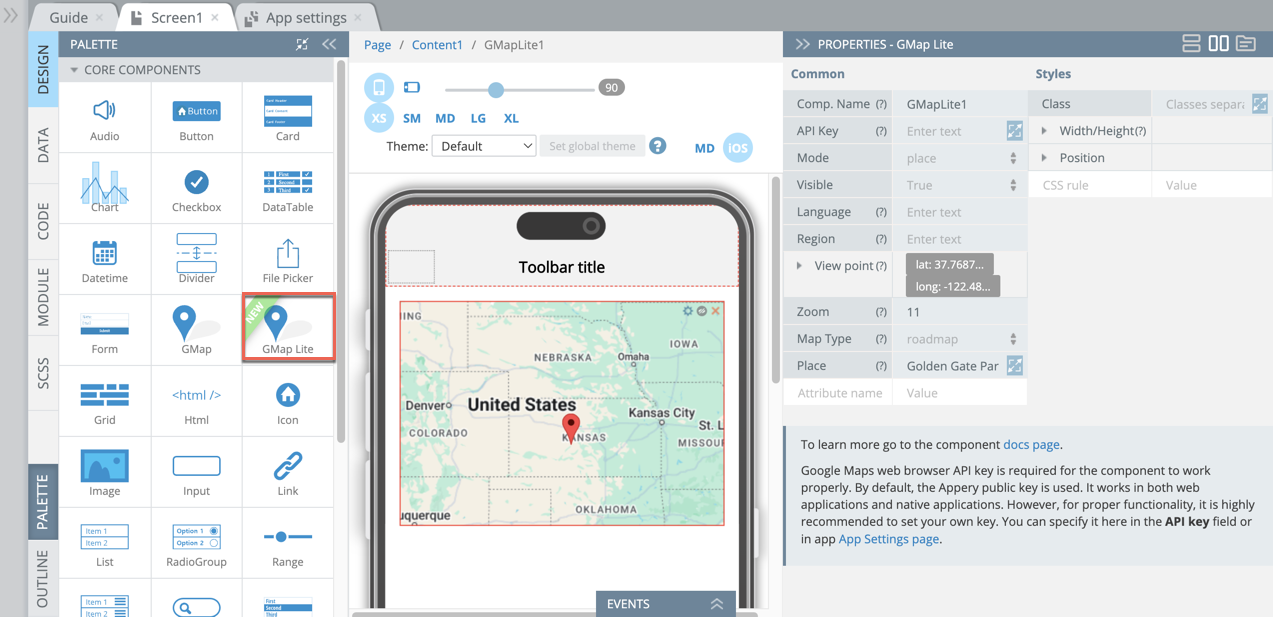
Low-code isn’t just about speed anymore; it’s about power. At Appery.io, we witness incredible applications being built every day, but now we want to see what happens when you combine our rapid development tools with the power of Artificial Intelligence. We are thrilled to officially launch the Appery.io AI Hackathon and invite you to build a mobile app that uses AI to solve real-world problems.
Appery.io AI Hackathon Challenge
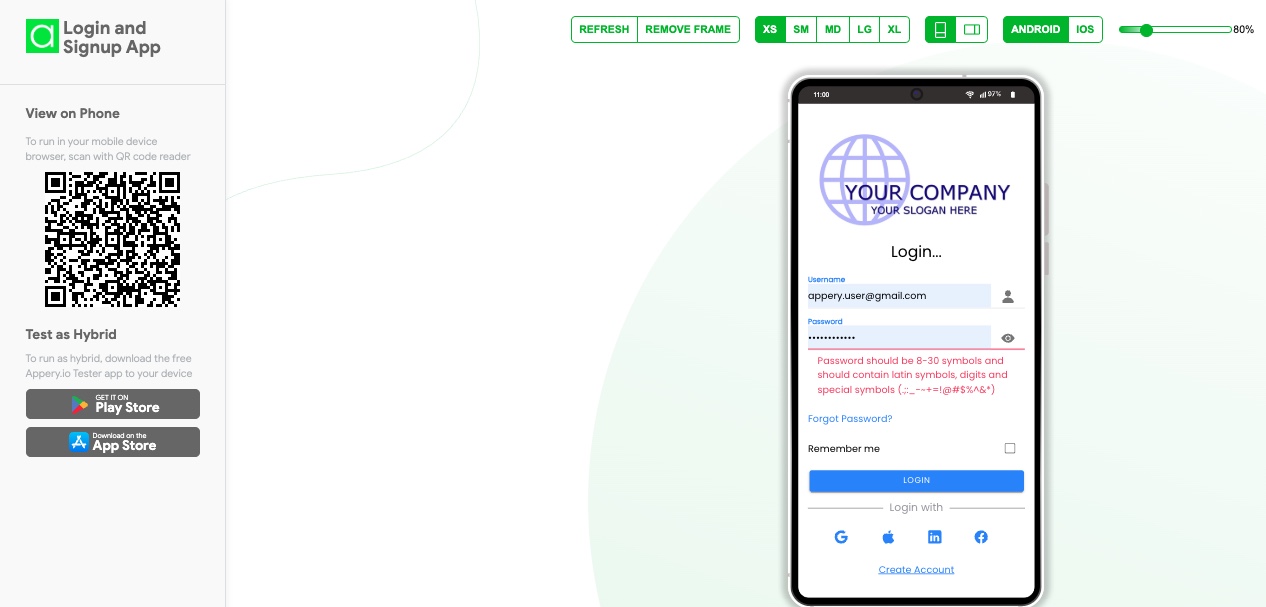
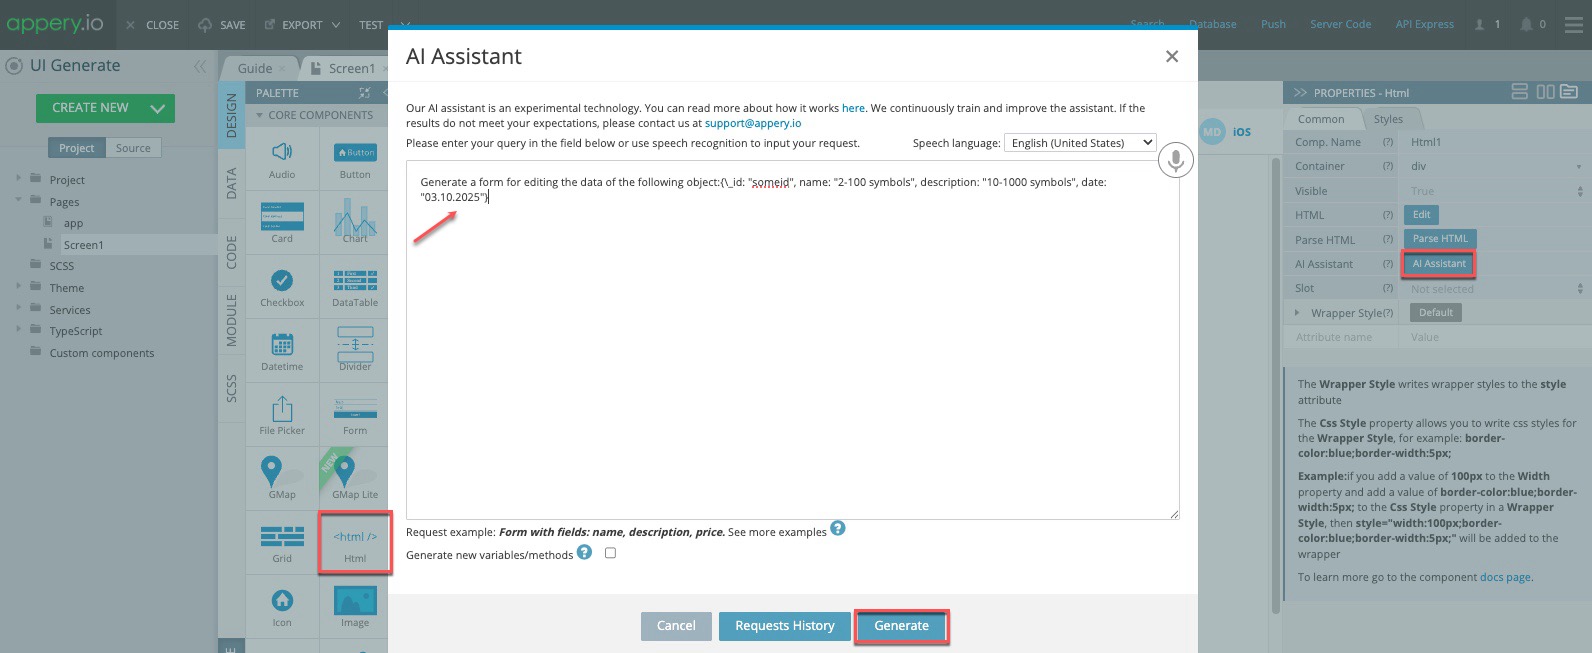
You have until February 10, 2026, to build and publish a fully functional mobile application using the Appery.io platform. We aren’t looking for simple “Hello World” tests. We want robust, innovative solutions that use features like our AI Assistant.
Need Inspiration?
We are particularly interested in apps that tackle:
-
Micro-SaaS Tools: Specialized AI tools for niche professions (e.g., “AI Email Drafter for Real Estate Agents”).
-
Smart City Solutions: Apps that process data to help neighborhoods or local governments.
-
Digital Wellness: Intelligent apps that promote health and balance.
Pro-Tip: Give Your App a Competitive Edge
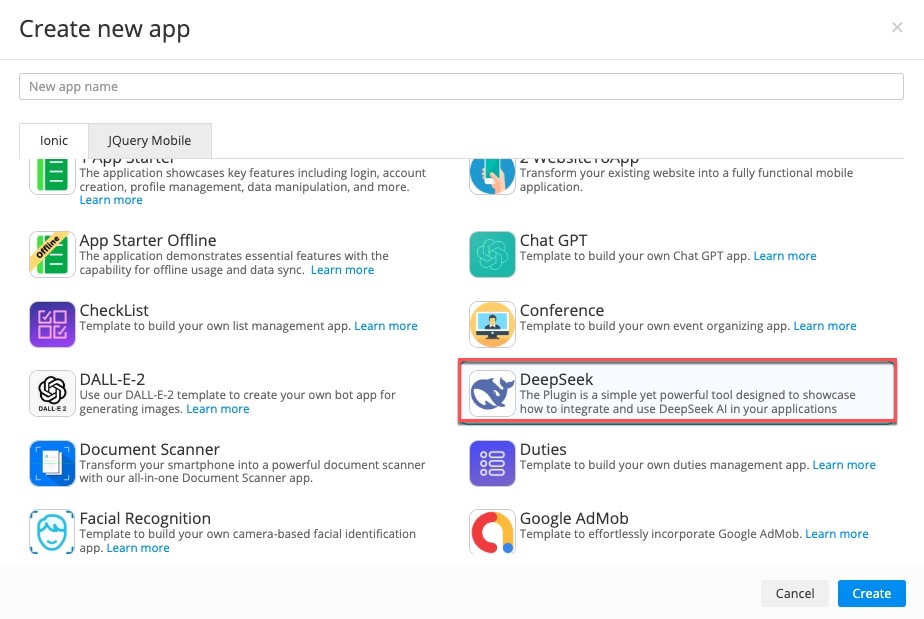
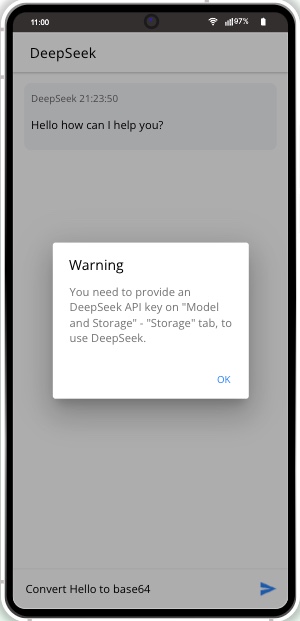
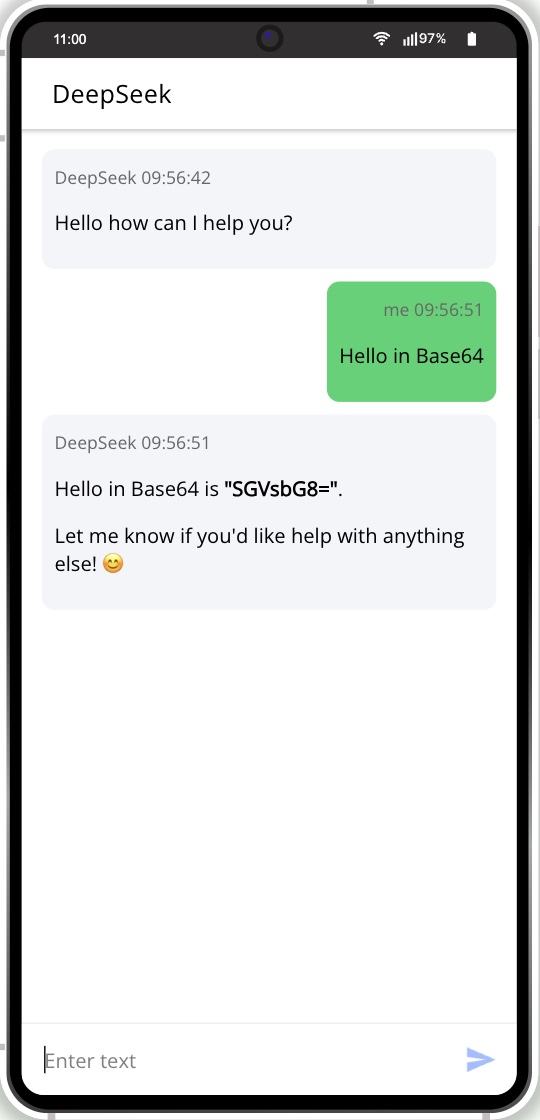
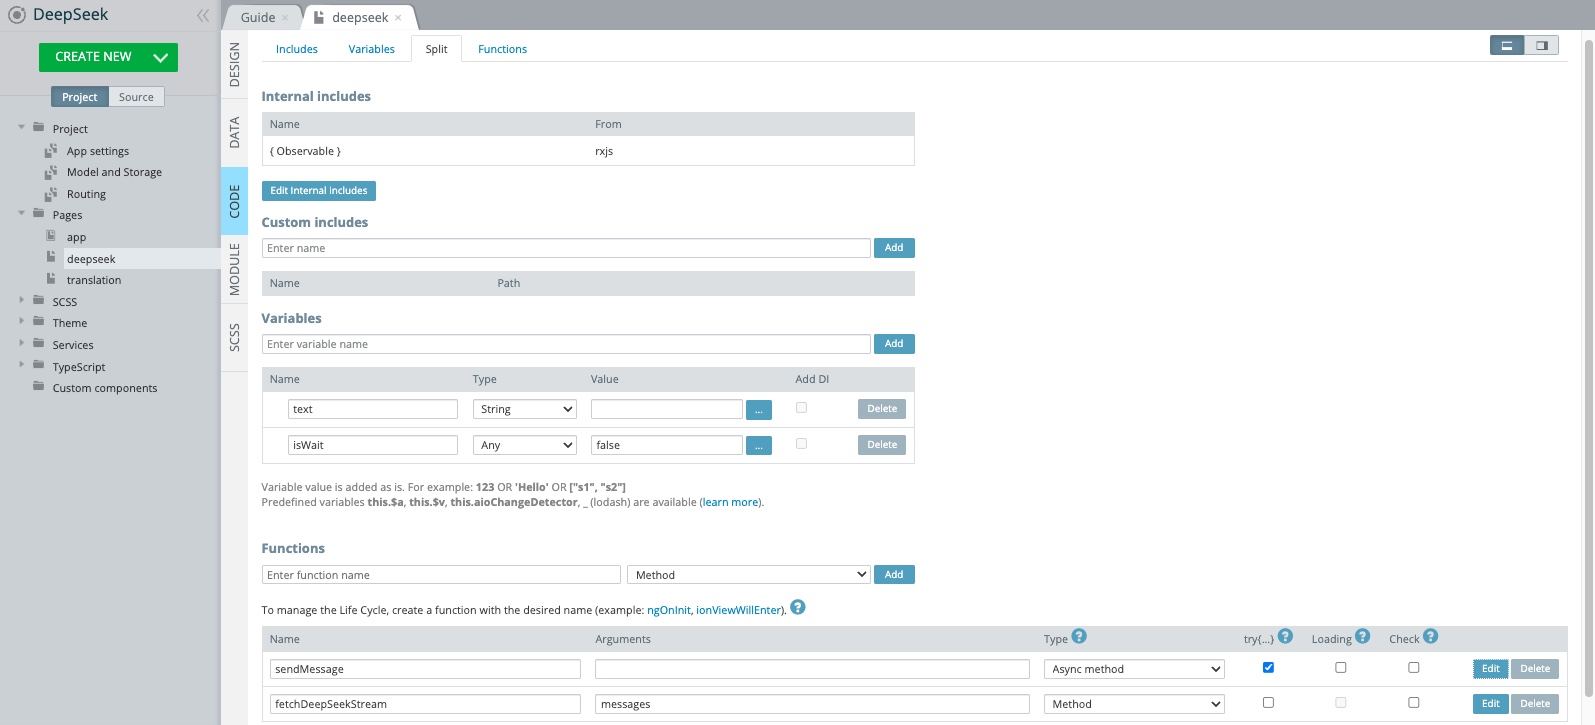
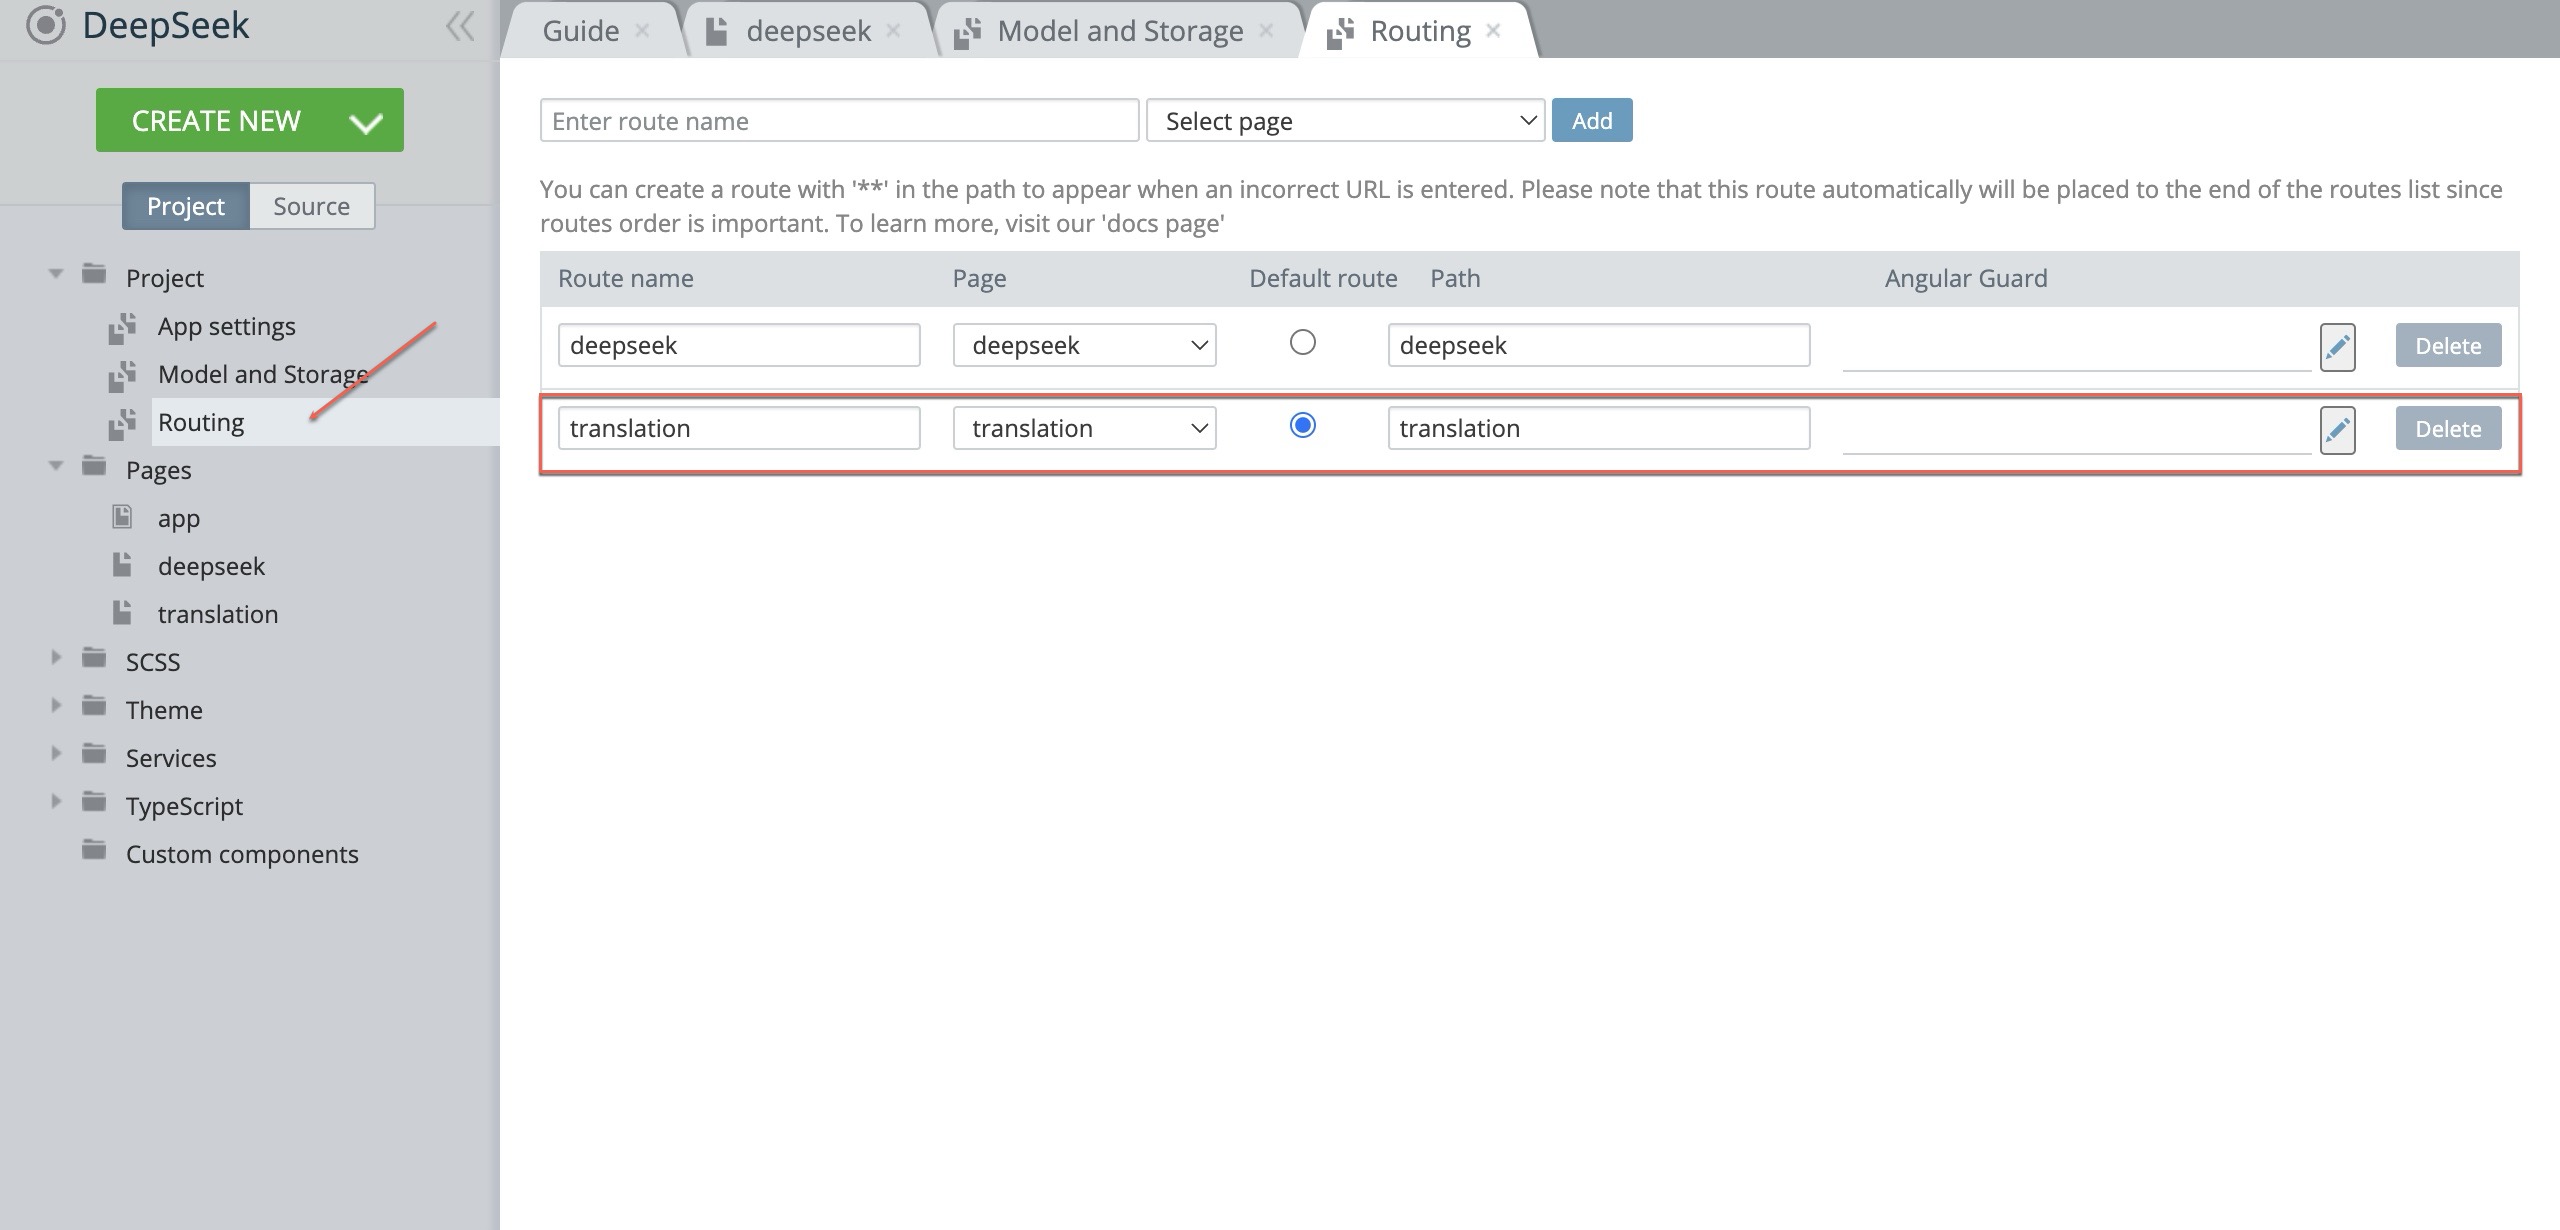
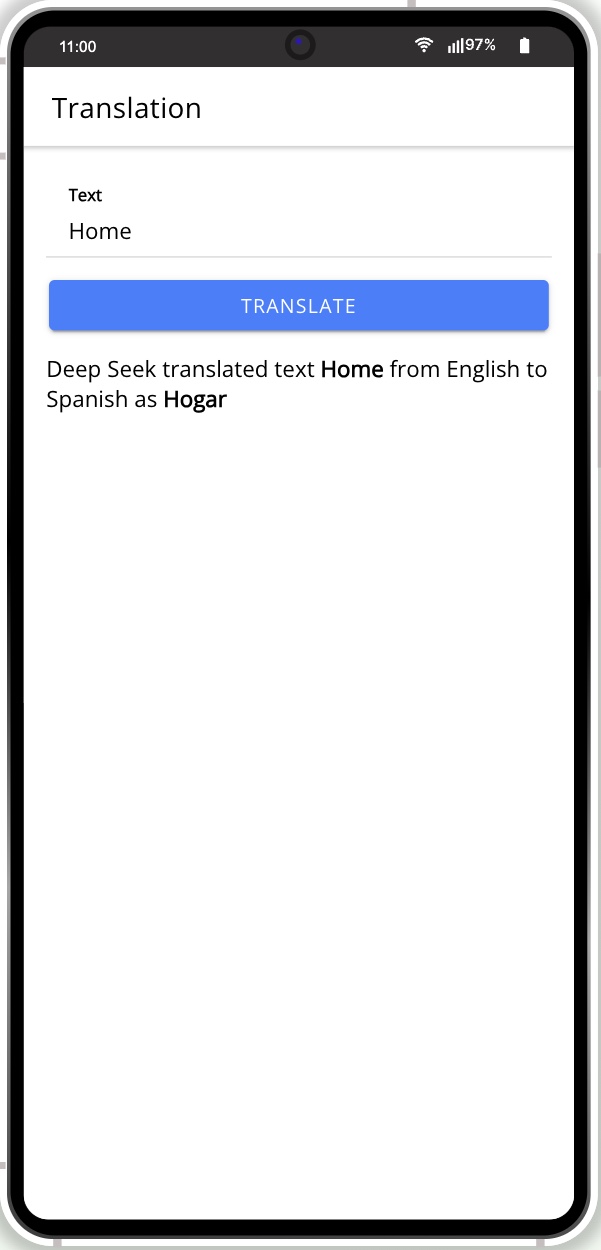
To make your submission stand out to the judges, we strongly recommend adding Large Language Models (LLMs) (like ChatGPT or DeepSeek) and Appery.io’s ready-to-use plugins for Document Scanning, OCR, Face Recognition, Translation Services , or Object Detection to your app.
The Prizes
We are putting $8,000 on the table for the top three projects:
-
🥇 1st Place: $5,000 USD
-
🥈 2nd Place: $2,000 USD
-
🥉 3rd Place: $1,000 USD
The “No-Risk” Registration Bonus
To ensure you have the tools you need, we are offering an Extended Trial of the Appery.io Pro Plan (up to 60 days) for participants.
-
Existing Users: Log in and start building.
-
New Users: Create a free account and then email support@appery.io to request your hackathon extended trial.
How to Enter Appery.io AI Hackathon
-
Register: Log in to Appery.io or create a new account.
-
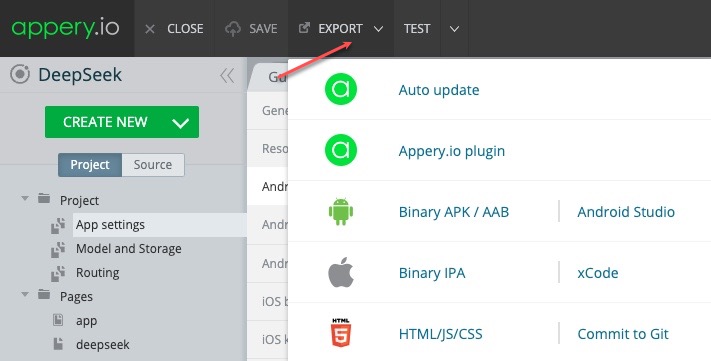
Build: Start building your winning app!
-
Submit: Fill out the form on our Official AI Hackathon Page with your project link and a short video demo by February 10, 2026.
-
Win: Winners will be announced on February 14, 2026.
Join the AI Hackathon Challenge Now
And don’t just build an app – build a business, a solution, or a movement.