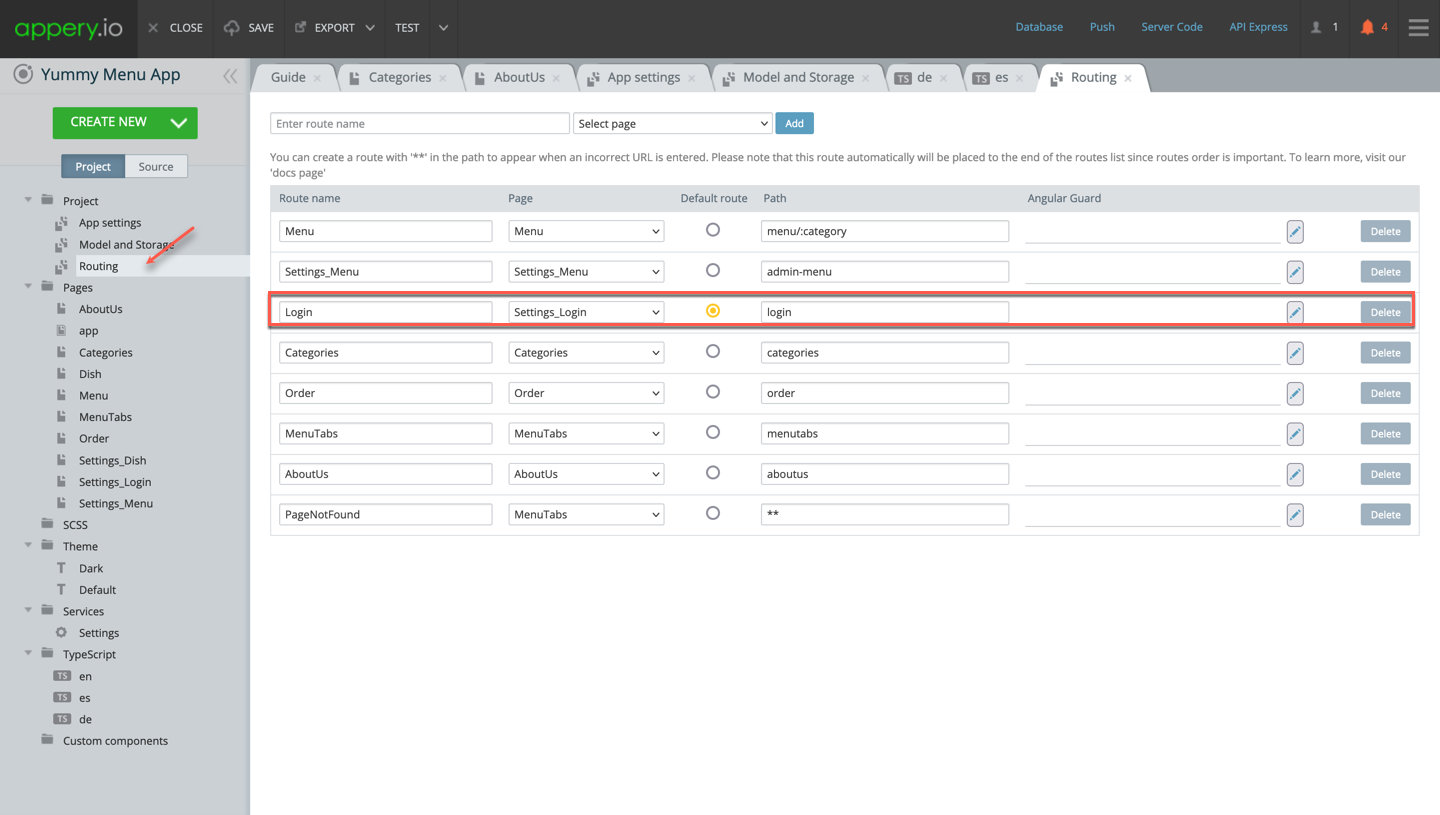
Need Internationalization In Your Appery Apps? Happy To Help!

Considering how you can quickly make your mobile app support different languages? Or need to make your online store app easily adapted to specific local languages tht will definitely increase the profit? And, of course, you want to add more value to your project without investing much development time? We have the simple and fast solution that can help: apply the Internationalization feature to your Appery.io project(s).

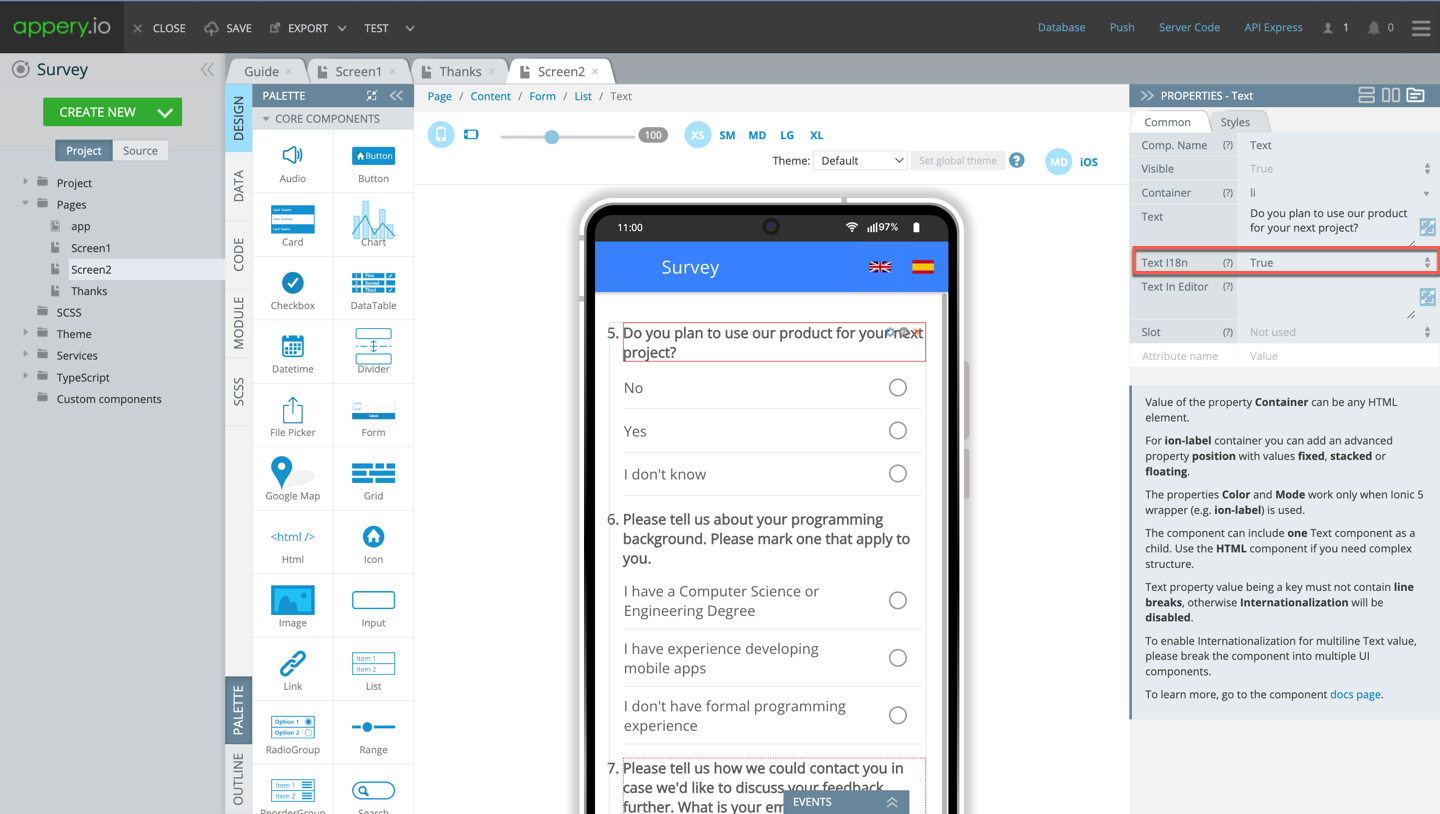
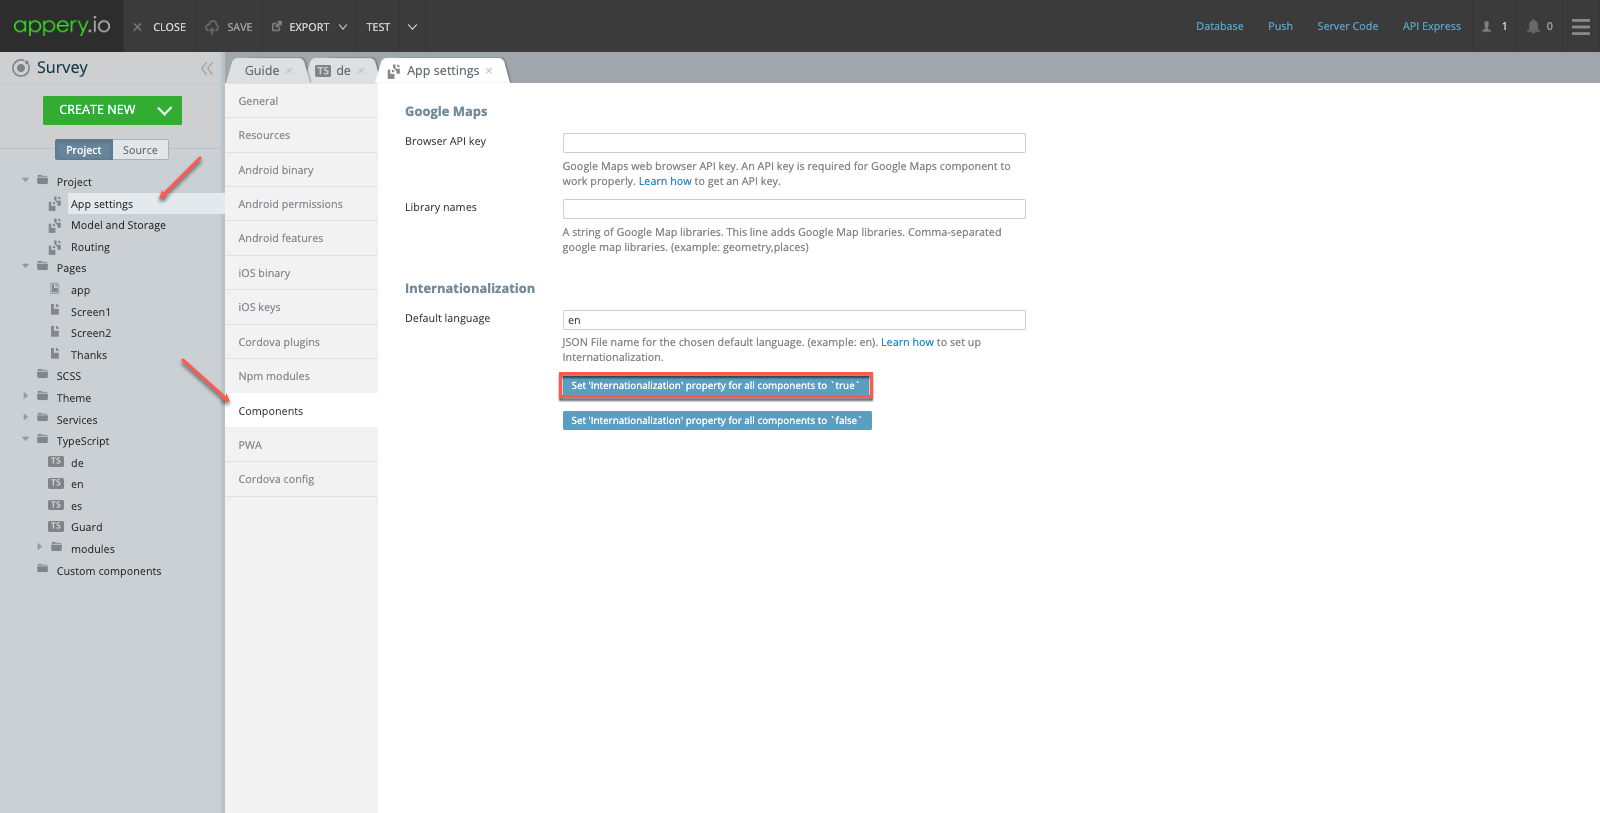
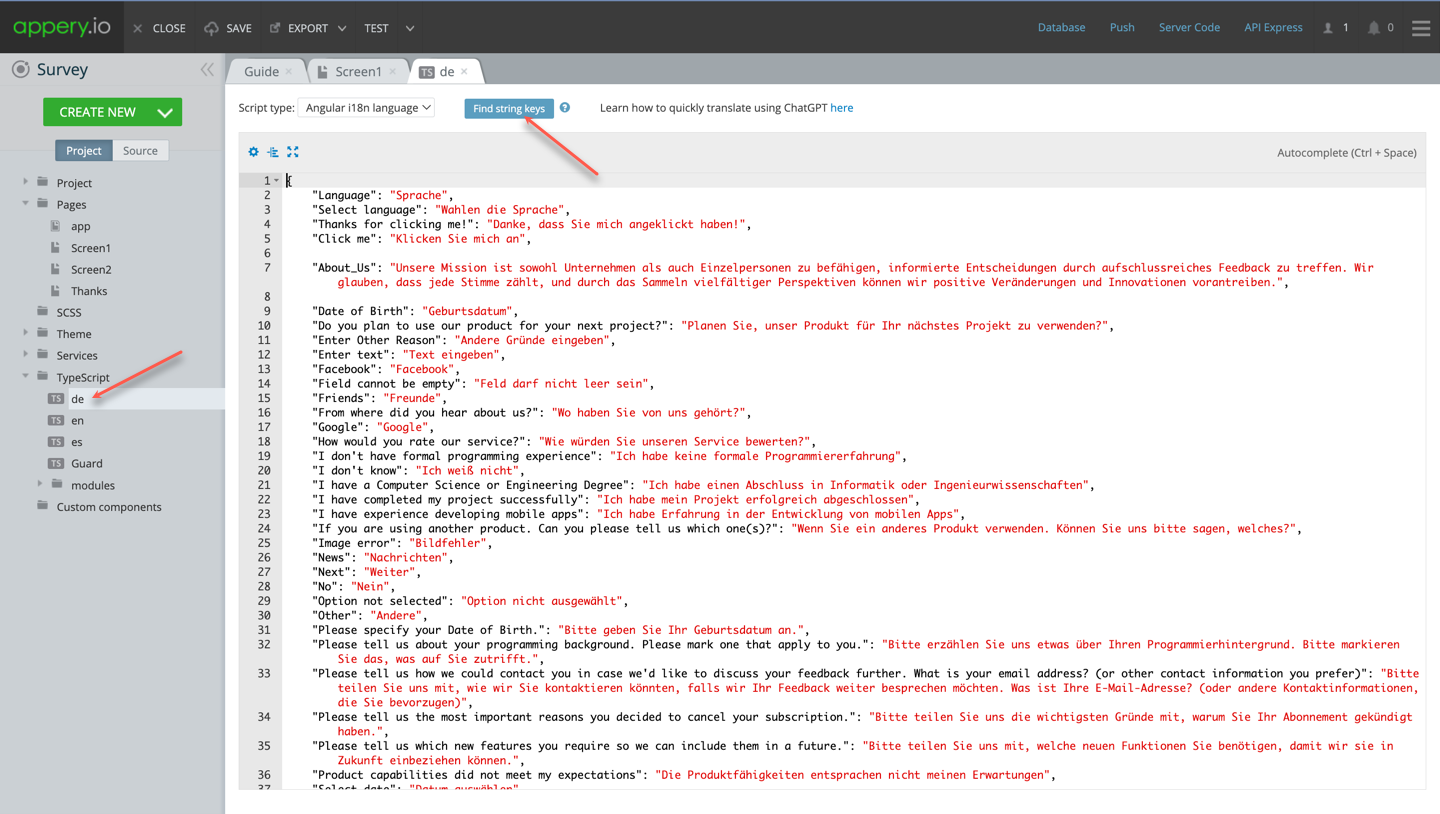
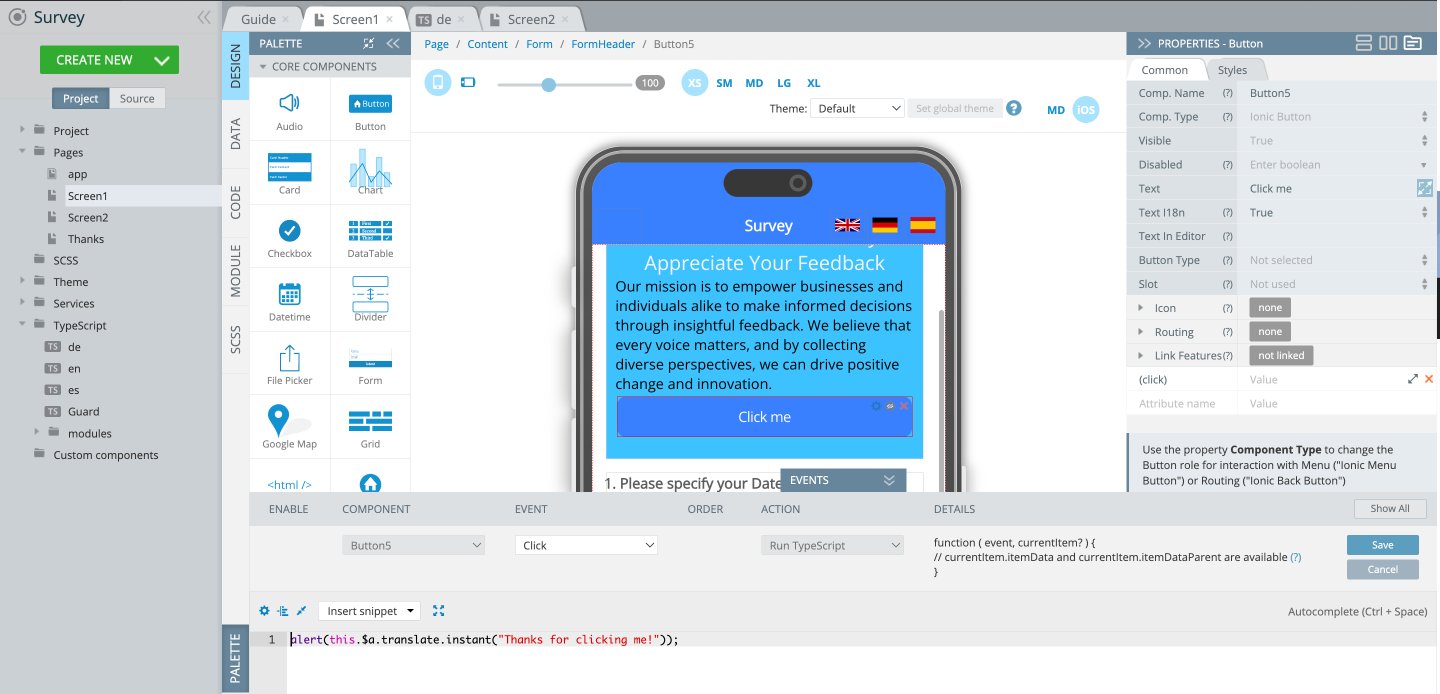
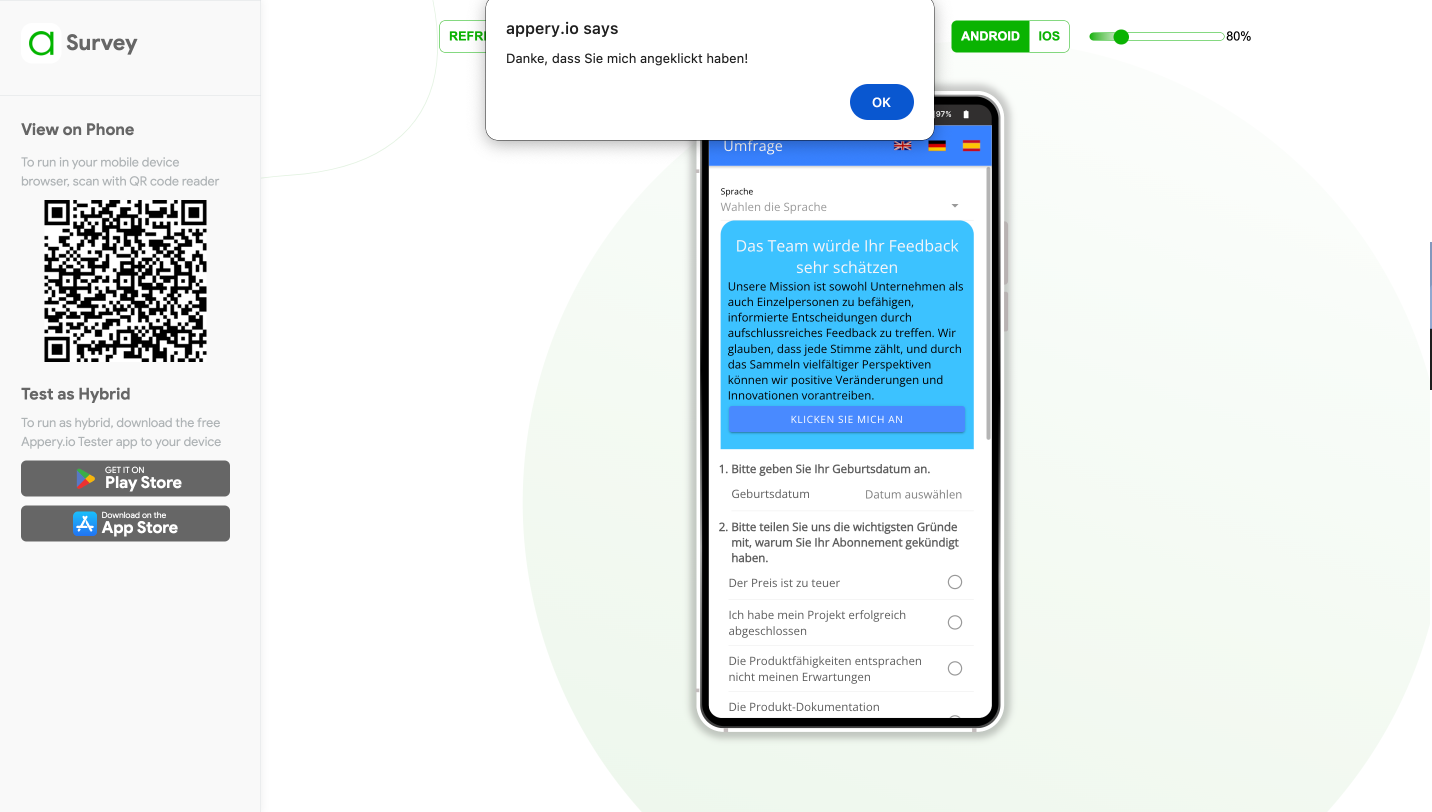
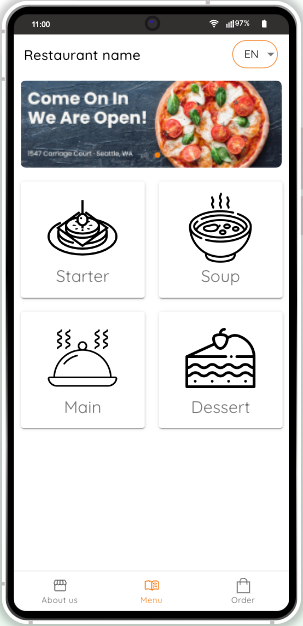
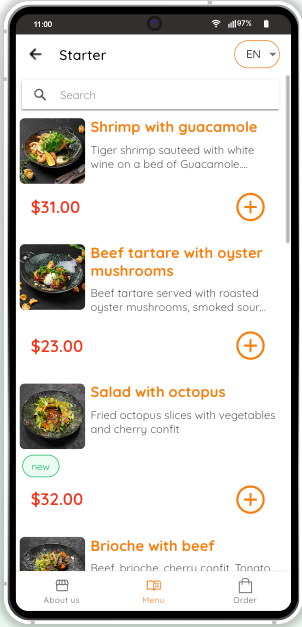
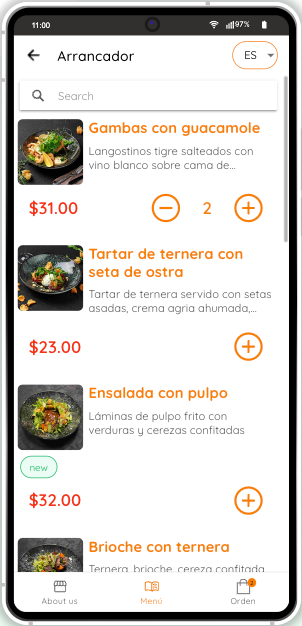
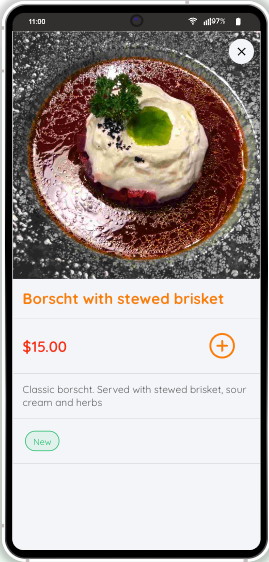
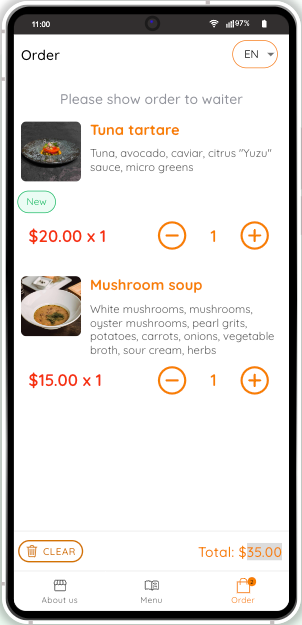
We are happy to let you know that you can now try our sample app created to demonstrate the multilingual Ionic 5 mobile app built with Appery.io using ngx-translate third-party Internationalization (i18n) library.

And even more than that: you not only have the option to follow the instructions in order to get the working app, but also use the one-click-away option to install the fully functioning Ionic 5 app.

Well, actually, all you need to do is simply click this link and in a moment, your app is ready to start!

To test it, try clicking the language switching buttons in the header along with clicking the SUBMIT YOUR FEEDBACK button:

And last but not least: 

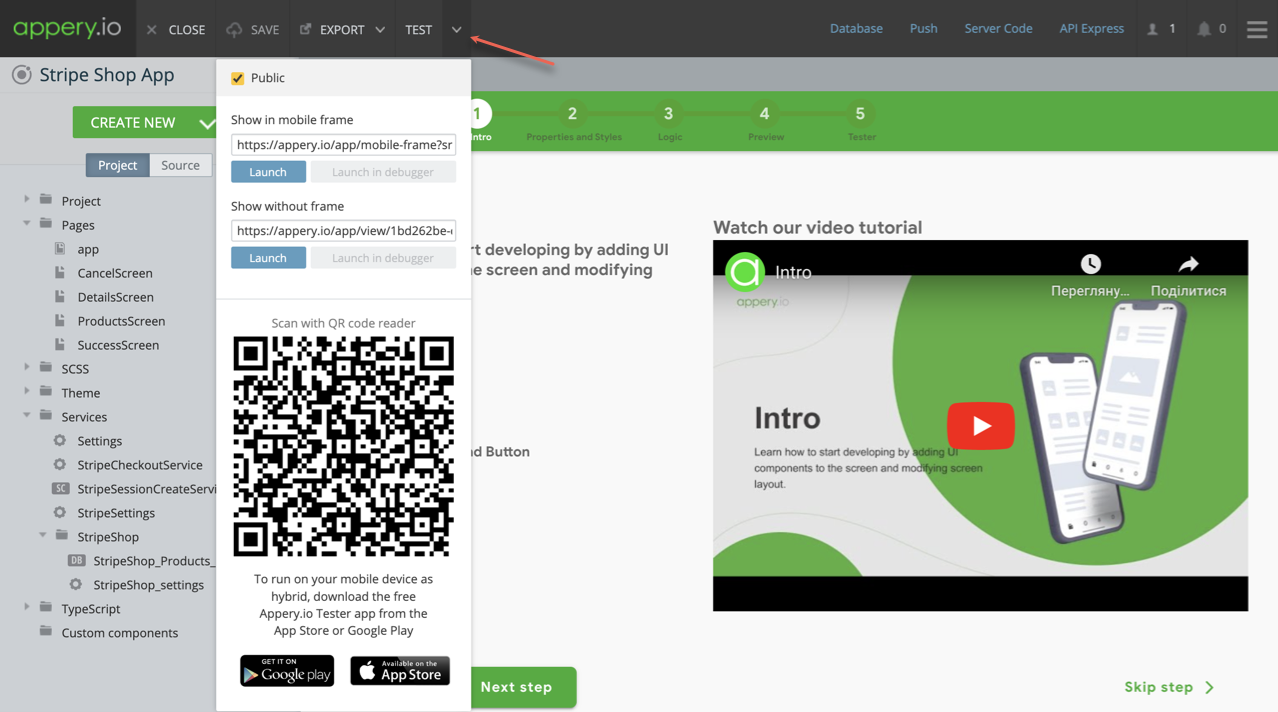
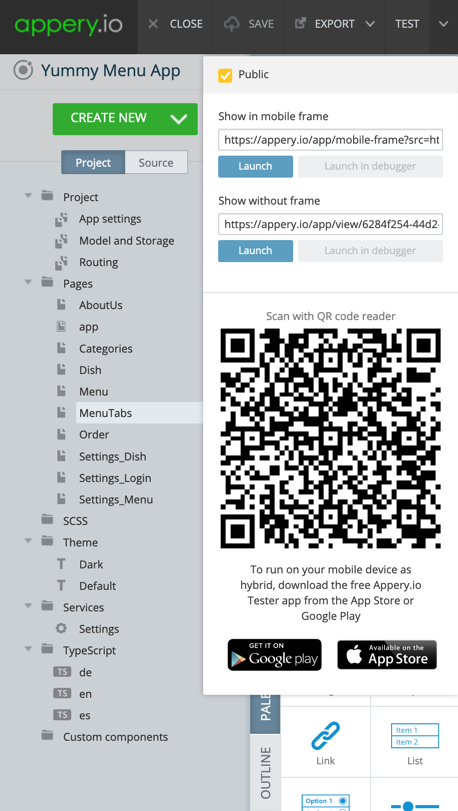
You can also try the magnificent option of quick testing the app on your device: use our Appery.io Tester app. The app is absolutely free and available for both iOS and Android.

Doing this is super easy – just install the Tester app on your device, run it and scan the code below to enjoy the app on the device:

Happy developing!

Grab New Features Introduced with our Midsummer Release

Last Sunday, the Appery.io Team came out with a new, midsummer, release packed with the following useful features:

  • The JQM lib version updated to 5.4 that includes the latest version of jquery (3.6.0), so that you can now make sure your JQM projects are published to app stores without any security warnings.
  • All you need to do is simply update your app lib version by selecting it under App settings > Resources > Libraries version:
Please note that the .size() method has been removed in jQuery 3.0. So, if your JQM project uses this method, you will need to replace it with the .length property to refer to the number of elements in the jQuery object.
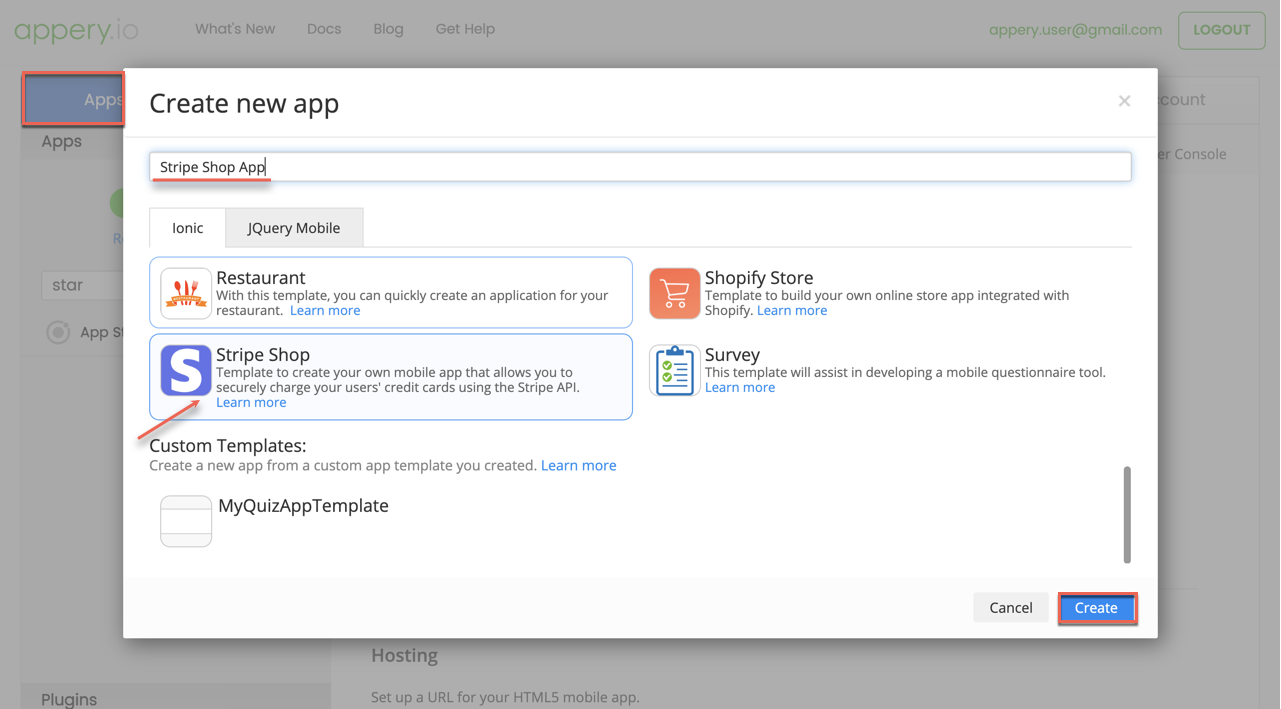
  • A new, simplified look for the Templates tab. Now, creating new app from our ready-to-go-with and fully functioning Appery.io app templates is even simpler:


  • Another new option that allows setting the default values for app storages:

Also, this release traditionally introduces some extra updates and minor bugfixes that will hopefully make your development routine even more user-friendlier.

Well, this is it for now but please stay tuned – we have more exciting features in store!

How to Never Miss Important Messages in Push Chats

In this post, we will guide you on how to create a Push Notification sounds mobile app where no messages will be missed.

Actually, we will create a chat app that will receive messages from push notifications. No one should miss our messages, so we’ll make them loud enough with special sounds!

Let’s do it using Appery.io so it doesn’t matter if your friend uses iPhone or Android, they can use your app anyway!

Creating push project from backup and customizing it

You know what? We have already prepared this project for you, so you can grab .zip file from here and open it in Appery.io and we will walk through you this project to explain how to customize it and how it works from the inside.

1. To do this, choose Create new app > From Backup, then select the downloaded .zip file, click Create, and wait a bit while Appery.io creates the project for you.

If you have any questions, you can learn everything you need and more about restoring Appery.io projects from the documentation.

OK, great! Now you have a shiny new project in your Appery.io workspace! And it’s time to make it entirely yours.
2. First, click the Push button on the toolbar to be redirected to the Push Notifications > Settings page:

This awesome page already has the Enable Push Notifications checkbox checked, but you also need to select the database where the chatting devices will be registered.

Creating and linking database

3. If you have no database that will do, you will first need to create one that will be linked to our app: go to the Databases tab in the header and create a new database, for example PushChatDB:

4. Now, you can link it to our app on the Push Notifications > Settings page:5. After you confirm this operation, the database will be linked and you will be able to copy its Push API key to clipboard:

6. In your project, unfold the Services > Settings folder and paste the copied key into the PUSH_API_KEY value field:

Configuring Push settings

To configure other settings on the Push Notifications > Settings page, you need to complete the following configuration steps:

– Choose an ID for your app. If you plan to support iOS, please make sure your app ID matches the ID in your APNS certificate.

– Set Package name under the Project > App settings >Android binary tab to your app Bundle ID chosen in the previous step.

– Set Bundle ID under the Project > App settings > iOS Binary tab to your app ID as well:

– Set up Firebase Cloud Messaging Provider. Make sure the app package name in Firebase matches your app ID.

– Download Google Services JSON file and Firebase Admin SDK JSON file from Firebase and add them to Push Notifications > Settings page.

– To support push notifications on iOS, add your APNS Push Certificate and Certificate password in iOS settings.

Detailed instructions for above steps can be found on the Push Notifications Configuration page in Appery.io documentation.

App composition

Now, let’s go back to the App Builder and take a look at the app composition.

The app has 2 pages: SignUp and Chat, which are custom versions of the two predefined page templates (SignUp and Chat correspondingly), available via Create New > Page dialog.

SIgnUp page

The SignUp page has the userName input field, which is a storage variable defined in Project > Model and Storage > Storage:

This page also has the Page create event that fires the pageShow() function to check if this userName has already been registered and so the SignUp page can be skipped:

To view the pageShow() function, open the page CODE panel and select it:


let userName = await this.Apperyio.data.getStorage("userName");
if (userName) {
this.Apperyio.navigateTo("chat");
}

Chat page

The Chat page has the Push notification event that fires the notificationReceived(event) function to handle push notifications. Here we are forwarding the event to the pushChatService.receive(event) service and updating the messages list on the page:

If the app receives the Push notification event for the user that has not signed up yet, he will be redirected to the SignUp page:


await this.pushChatService.receive(event);
await this.updateMessages();

let userName = await this.Apperyio.data.getStorage("userName");
if (!userName) {
this.Apperyio.navigateTo("signup");
}

PushChat Service

Let’s take a look at the receive(event) service function that can be found under TypeScript > PushChatService. Here we need to handle several different situations:


Push message arrives with the app in background

In this case, the custom push notification sound will be played and the message will be displayed in the device’s notification center.

Our custom push notification sound file is called pushsound.wav. Switch to the Source tab, unfold the CORDOVA > resources folder and upload your custom sound file (should be prepared beforehand). Please note that to work on both iOS and Android the .wav format is recommended.

It is also recommended that this file is put into different folders for Android and iOS; this is handled on App settings > Cordova config tab.

For Android it will be:

<resource-file src="resources/pushsound.wav" target="app/src/main/res/raw/pushsound.wav"/>

For iOS the code is like this:

<resource-file src="resources/pushsound.wav" />

Push message arrives with the app in foreground

In this case, custom push notification sound will not be played and we have to play it ourselves from the `receive(event)` function in PushChatService that we assigned to handle the push notification request.

But how can we differentiate between the app in the background when the sound was already playing, and the app in the foreground, when we still need to play it?

Here, `event.additionalData.foreground` field comes to rescue, so we have the code:

var ext = event.sound.endsWith('.wav') ? '' : '.wav';
if (event.additionalData.foreground) {
var soundPath = "assets/static/" + event.sound;
var music = new Audio(soundPath + ext);
music.play();
}

To view it, open the ***PushChatService*** TS file and scroll down:

Sounds in Android vs sounds in iOS 

Finally, the app also handles the situation when event.sound is received without .wav extension on Android, but with this extension on iOS, so we add it if it’s missing. We also expect pushsound.wav to be in assets/static/ folder, so we go back to the Source tab and upload the pushsound.wav file to the IONIC/src/assets/static folder as well:

The remaining code in `receive(event)` function just saves the new message entry to local storage.

let messages = await this.Apperyio.data.getStorage("messages");
messages = messages || [];
messages.push({
time: new Date().toISOString(),
message: event.message,
user: event.title
});
await this.Apperyio.data.setStorage("messages", messages);

Sending push notifications

We have another function embedded into PushChatService named `send(text: string)` that sends push notifications to other devices registered in your database’s Devices collection. Registration happens automatically when the user opens the app for the first time.

Appery.io API to send push notifications is documented here.

Angular HttpClient was already imported in our PushChatService when we created it with Create new > TypeScript > Angular service. We can use it to send REST request to the Appery.io push notification server.

this.http.post < any > ('https://api.appery.io/rest/push/msg', {
"filter": {
"deviceID": {
"$ne": this.device.uuid
}
},
"payload": {
"title": userName,
"message": text,
"sound": "pushsound.wav",
"customData": {
"android_channel_id": "channel1"
},
"actionButtons": [],
"icon": "",
"color": "",
"image": "",
"launchImage": "",
"contentAvailable": false
}
}, {
headers: {
"X-Appery-Push-API-Key": pushApiKey,
"Content-Type": "application/json"
}
}).subscribe(data => {
console.log('-- push/msg result:', data);
});

Here, in the filter field, we indicate that we are pushes will be sent to every device except ours. We also specify android_channel_id for the sound. This Android sound channel is initialized in Push initialize event of the app module.

let channelName = 'channel1';

( < any > window).PushNotification.createChannel(
() => {
console.log('Push notification channel created:', channelName);
},
() => {
console.log('Error creating push notification channel:', channelName);
}, {
id: channelName,
sound: "pushsound",
description: channelName
}
);

Basically, that’s all. Now you can build an app for your Android or iOS phone, install it using a QR-code, and help a friend to do the same, and voila! You can send messages to each other!

Important! Be sure to turn off the Silent mode on iPhone, otherwise this little toggle on mobile will be muting your push notification sounds.

Summary

We took a look at push notification settings in Appery.io and explored the insides of a small but smart app that uses the push notification mechanism to create a chat.

Please check out the code in the attached project and let us know if you have any questions.

Happy coding with Appery.io!

Tester App: Just See How Easy It Is to Test the Ionic 5 App with Linked Cloud DB!

Quite recently, we’ve presented a great new option to easily test apps created with the Appery.io platform. Called Tester App, it’s a magnificent feature for Appery.io users, and we hope that many users have already had a chance to try it out. But for those who are still unaware of it, we would like to use this post to give you a hand and demonstrate how easy and quick mobile app testing can be.

So, in this example, we will be testing our new Ionic 5 Binary Data sample app integrated with Appery.io Cloud DB (if you are interested in the details of how the app was created, please read here).

Getting Tester App

There is only one simple step that precedes testing itself, and that is downloading and installing the tester app from the appropriate app store: App Store and/or Google Play.

Tester App should download exactly like other apps on your mobile device, and the app icon should look like this:

Post image

All set: the app is here; you can start it on your device and proceed by scanning the generated code.

Generating QR Code

In this particular case, we have already generated the code for you but you are free to easily do so yourself for any of your apps:

Testing with our Tester App

The only step left is scanning the QR code with your device. So, just click the SCAN button (the Scan tab opens by default but you can also find it in the app footer):

Wait a couple of seconds to allow the app to load. When the app has loaded, you are free to try clicking all the buttons:

 
As you can see, the app looks good and functions well and the whole process took a fraction of the regular app testing time. Moreover, next time, the software will already be installed, and reviewing the app will take even less of your precious development time.
 
Note that this sample app is linked to the test database and you will only be able to see the success toasts informing that the files have been uploaded.
If you want to get access to the added records from under the Databases tab, you will need to set up your own database and link it to your app (as described here).


Read the rest of this entry »

New Release: Upgraded Appery.io Tester and Live Debug Feature

We are excited to announce our new, May 2022, release reintroducing our upgraded Appery.io Tester app, with a brand new feature, Live Debug. We’re confident our Appery.io community is going to love it!

First thing first – our Appery.io Mobile Testing Tool:

This smart and handy testing app is live again and available for download from the App Store and/or Google Play. You’ll enjoy quick and effortless testing of your Appery.io apps on iOS and/or Android devices without needing to rebuild and then reinstall them each time a minor change is made.

Some time ago we closed our Appery.io Tester app support on both stores but our long-term users were emailing us requesting we bring back this handy and simple mobile app testing tool – offering encouraging positive feedback on the tool, and expressing disappointment that we’d removed it. And, as it has always been with Appery.io – 1) you asked … 2) we listened … and 3) … we acted!
Appery.io users who’ve already had a chance to use our testing app will undoubtedly welcome the upgraded version, but those who are fairly new to Appery.io and the Appery.io Tester app, really must read on… If your app has integrated API using native device features, there is no way it can be tested in the desktop web browser, so the only option is (sorry, was, as you now have two terrific options) to export the app by rebuilding its binary and then reinstall the app on the device – just to see how the updated UI and/or added functionality will look like and behave.

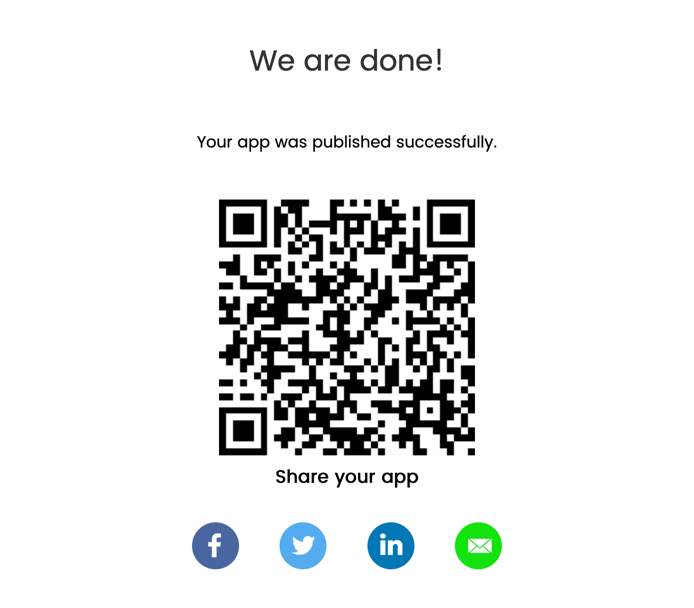
From now on, thanks to Appery.io testing tool, you will no longer need to rebuild and then reinstall the app each time a change is made – all you need to do is download and install the app from App Store and/or Google Play, run it on your device and click the SCAN button to scan the QR code you generated in our app builder.

As a bonus, you are free to organize the history of your tests and/or review the sample apps built with Appery.io.

Voilà! Isn’t testing your hybrid mobile app(s) so much easier now?
New Live Debug Feature

Another really great feature, Live Debug, has been added to our App Builder for testing and/or debugging your apps.

This is a game-changing feature for those users who, when developing with our platform, are going on a large scale with importing different custom Cordova plug-ins into their apps, but then having issues testing the complicated app functionality.

Before, you needed to 1) get the app version done, 2) export your app 3) install the app on the device, and only then 4) test it. This was a time-consuming and very tedious process that sometimes needed repeating multiple times until the intended result was achieved.

But now, we are happy to say that this irritating ordeal is a thing of the past! With the new version you only have to select the Live Debug build type (available for both iOS and Android) under the Project > App settings tab (or simply select both), save the app and export your project.

That’s it! The app binary can now be installed on the device and this procedure will NOT have to be repeated every time you modify the application in the app builder. Isn’t that a huge improvement to your development routine? We really hope this is a rhetorical question.

PS: A minor but very handy feature has been added to our app builder that will make it even more comfortable to use, and easily adjustable to different monitor sizes – now, you can switch the PROPERTIES panel views between 2 Panels, 1 Column or Tabs modes:

How Events & Scripts Work with InAppBrowser in Appery.io

Below is a practical solution on how we can use customer external sites in Appery.io apps where events & scripts are defined with InAppBrowser Cordova plug-in.

Let’s say your client has a mobile site with lots of pages and different features, but lacks some mobile features like push notifications and he decides to give Appery.io a try. But to migrate all pages and all codes, the effort can be quite large. Perhaps this can be done, but at a later stage. So we made a decision to render the client’s site through the  InAppBrowser component, which is a kind of a browser that can be used inside Appery.io apps. But the control over this component is quite limited, much less than what you have for pages in an Appery.io project.

Of course, the client’s site is protected by login and password. This solution will describe the case where a user logs into an Appery.io app with the same credentials  used to bypass the site’s login screen.

The Appery.io project described in this article can be downloaded under this link.

To open it in Appery, choose Create new app > From Backup, then select the downloaded zip file, click Create, and wait a moment while Appery creates the project for you from the backup.


When finished, you’ll have the InAppBrowser_Autologin project created in your Appery workspace. Assuming you can already do basic operations in Appery, such as creating pages and dragging and dropping UI components from the palette, we’ll just walk you through the highlights of how this project was built, focusing on issues related to InAppBrowser.

To demonstrate these techniques, we have created a multi-page site on Heroku.com. Please click here to visit it. All the site pages except for the Login page are protected by login/password.

We will be accessing this site using InAppBrowser, so we need to have this Cordova plug-in enabled in App settings > Cordova plugins:

Let’s review how all of our InAppBrowser related activities are wrapped in an Angular service that can be used to share variables and code between the app pages. (To create this service in Appery, we performed Create New > TypeScript and named it BrowserService, with the type set to Angular service.) You can check that now we have an initial template ready to be gradually replaced with our functions:

Let’s first check how the constants are defined for our site; these are: the target host, target pages, and IDs of the credential fields on the login page:

/* Target host */

const HOST = 'https://using-inappbrowser.herokuapp.com';


/* Target pages */

const LOGIN_PAGE =  HOST + '/';

const LOGOUT_PAGE =  HOST + '/logout';

const HOME_PAGE = HOST + '/home';

const SCREEN_1 = HOST + '/screen1';

const SCREEN_2 = HOST + '/screen2';


/* IDs of credential fields */

const EMAIL_ID = 'login-form-email';

const PASSWORD_ID = 'login-form-password';

We would like to access Screen1 and Screen2 directly, bypassing the credentials on the Login page. To do this, we use the InAppBrowser ability to track the loaded pages and insert scripts into them.

To see how BrowserService is used on he Menu page of the app, go to the CODE panel and switch to Includes at the top of the page. Here, we added BrowserService to the Internal includes section. We then switched to the Variables section at the top of the page and added the browser variable of type Browser; also, we enabled the Add DI checkbox. This checkbox stands for “dependency injection”, which means that all Angular services in the app are called “dependencies” and can be “injected” into pages:

Everything looks good as we now have a browser variable on the Menu page for our BrowserService, so it can be called by binding TypeScript events to the buttons on the page:

  • this.browser.openFirstPage();
  • this.browser.openSecondPage();

These functions are implemented in BrowserService as:

public openFirstPage() {

    this.open(SCREEN_1);

}


public openSecondPage() {

    this.open(SCREEN_2);

}

It points us to the open(targetURL: string) method, where we created the InAppBrowser object:

this.browser = this.iab.create(targetURL, '_blank', this.getBrowserOptions());

Next, we subscribed to the following InAppBrowser events:

  • loadstart when our browser starts to load a URL.
  • loadstop when our browser finishes loading a URL.
  • loaderror when there is an error when loading a URL.

We get notified of these events as the user navigates through the pages on the site, so that we could take the needed action. One thing that we can do when we are on the Login page is to fill in the username and password fields on the site to automatically submit the form:

this.browser.executeScript({

    code: `

        document.getElementById('${EMAIL_ID}').value = '${this.username}';

        document.getElementById('${PASSWORD_ID}').value = '${this.password}';

        document.forms[0].submit();

    `

});

Here, we are using the InAppBrowser’s executeScript() function, which allows us to call JavaScript on an already loaded page.

Let’s go back to the options we used to create InAppBrowser.

private getBrowserOptions(): InAppBrowserOptions {

    return {

        'location': 'no',

        'hidden': 'yes',

        'beforeload': 'get'

    }

}

Here, we selected to hide the location bar with the URL of the page. We also set the browser to a hidden state to be shown only when the page is loaded.

Note the beforeload event: it is a bit special here. This is a pretty useful event to prevent certain pages from loading or replace the current URL with a different one. This can be useful, for example, if your site contains PDF documentation on the page. iOS devices have no problem opening PDFs, but this is not the case on Android devices with no direct PDF support. So, we can use a workaround to display PDF using a 3rd party service:

this.iab.create("https://docs.google.com/gview?embedded=true&url=" + event.url, "_system");

Also, one should be careful with the beforeload event, as the beforeload=yes option causes POST requests to stop working in InAppBrowser on iOS due to some existing issue, see here for more details. So we are setting beforeload=get to check only GET requests.

Basically that’s all. We took a look at the InAppBrowser events like loadstart, loadstop, loaderror and beforeload and added an autologin script to the site.

Check out the code in the attached Appery.io project and let us know if you have any questions, and happy coding in Appery.io!

Enjoy your New Spring Enjoying our New Release Features

The spring of 2022 is very special for all of us and we, at Appery.io, would like to make this spring release (rolled out last weekend) enjoyable for all of you as well.

With this mission in heart, we are excited to offer you some very special improvements to our Visual App Builder that we believe will make things significantly easier and more elegant developing your mobile apps with Appery.io:

  • the first and the most asked feature will be definitely appreciated by those who prefer working with the OUTLINE view: from now on, you will be able to use the old yet simple and reliable “Drag & Drop” to arrange the components on the screen of your mobile app:

What is more: you will be even warned if trying to do something that cannot be implemented for this particular component:

  • also, the Appery.io UI Components family now has one more member, Divider, that can be used to to separate other screen items:

  • yet another improvement was introduced for more UI components like Card, Checkbox, Datetime, etc.: they can now also be easily styled from under the PROPERTIES > Styles tab. (You might have already had a chance to evaluate the similar functionality for some UI components introduced with our Christmas release).
  • two more events were added to the Form component: Form value change and Form status change:


  • the next minor but hopefully useful feature is added to the Input component to make login procedure for your app users simpler and less stressfull. Just set the input Type property to Password and select the option to show the password being typed in (set it to True):

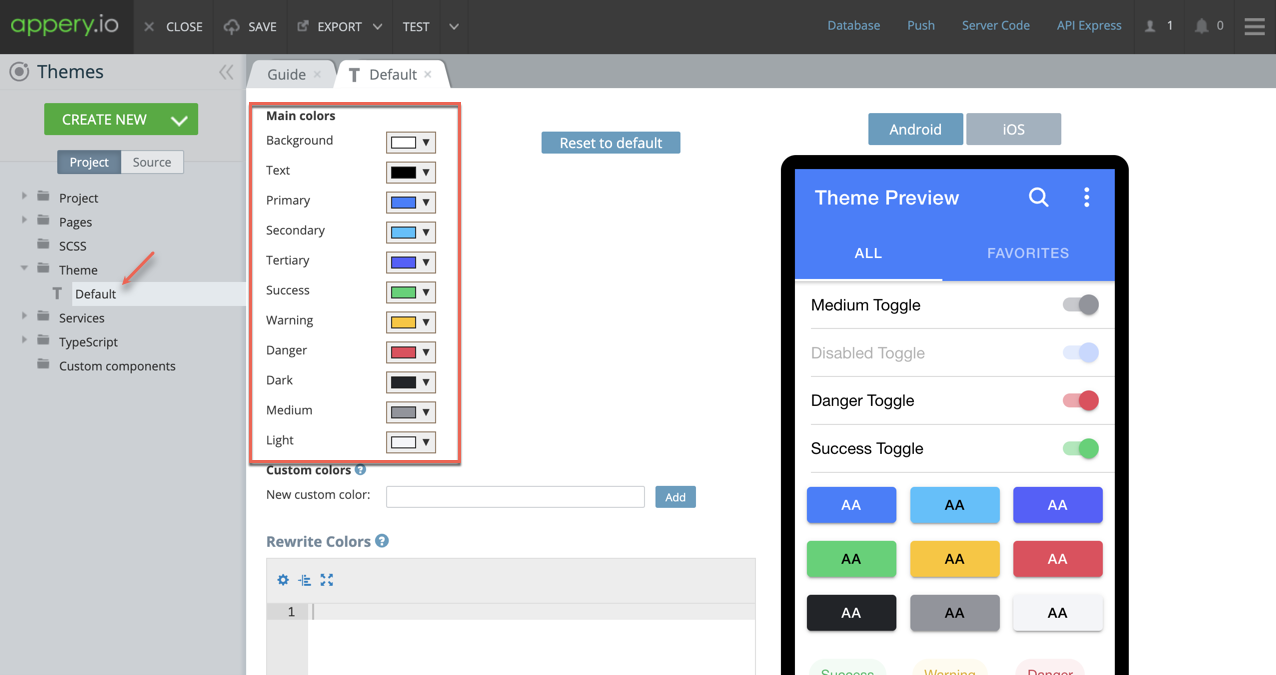
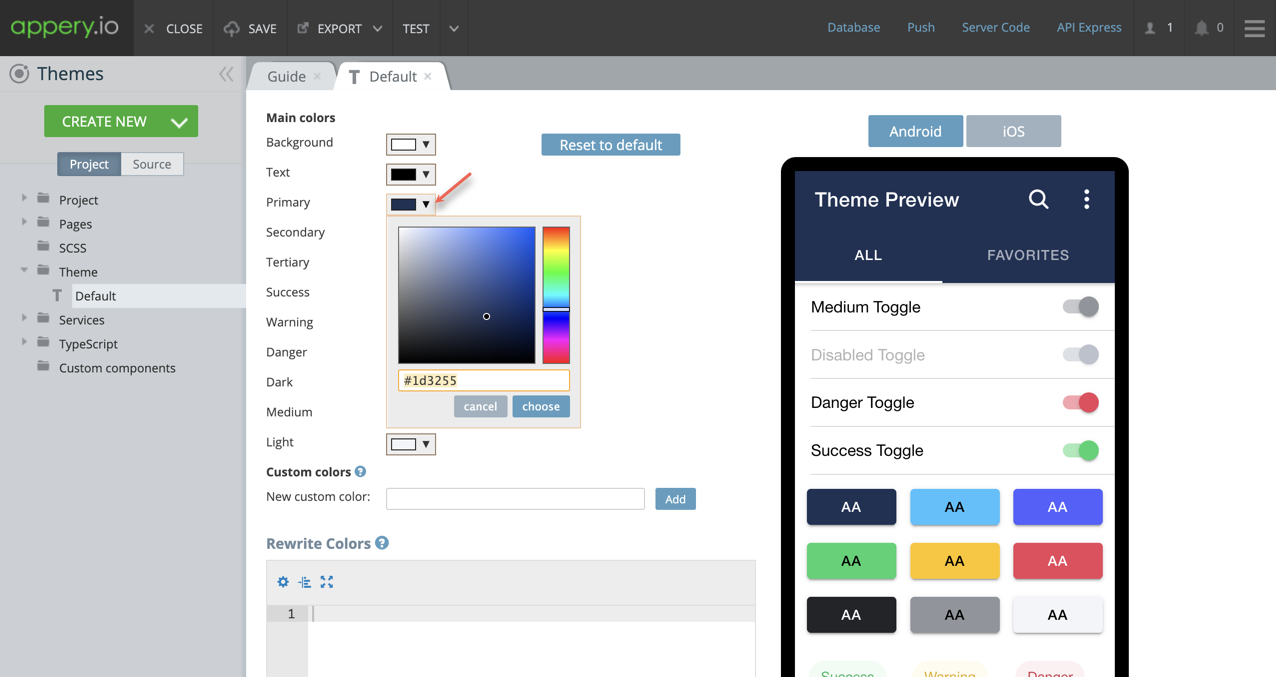
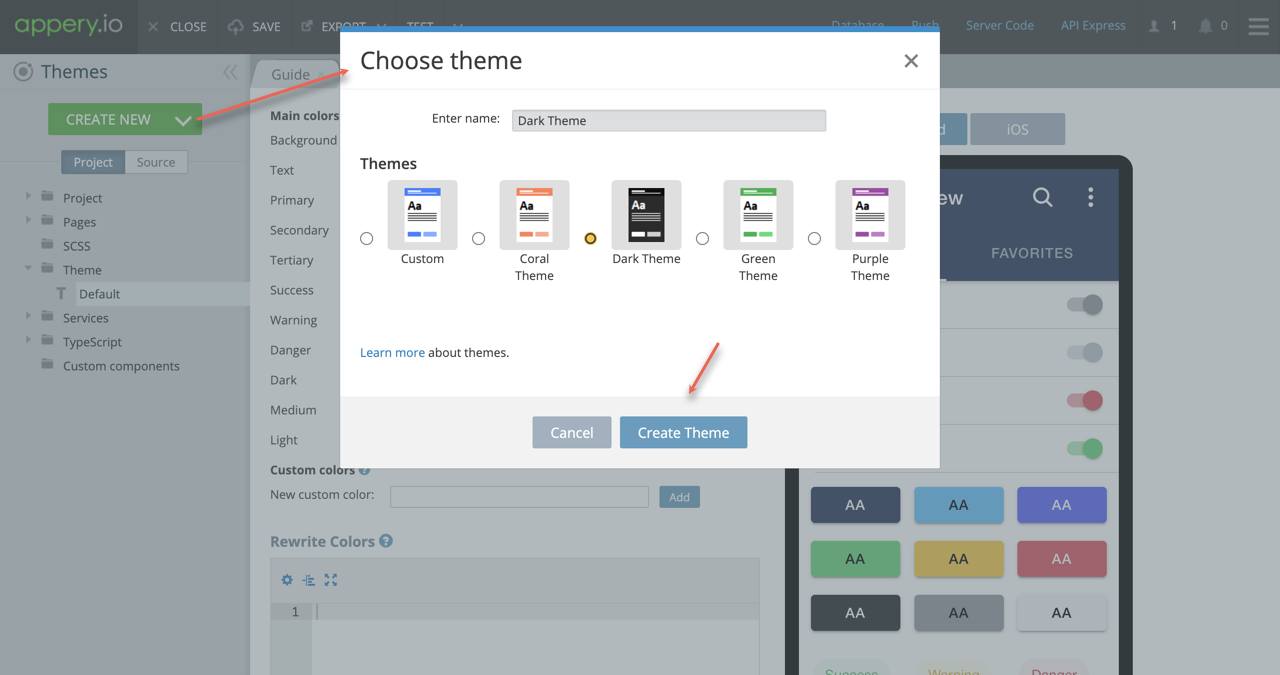
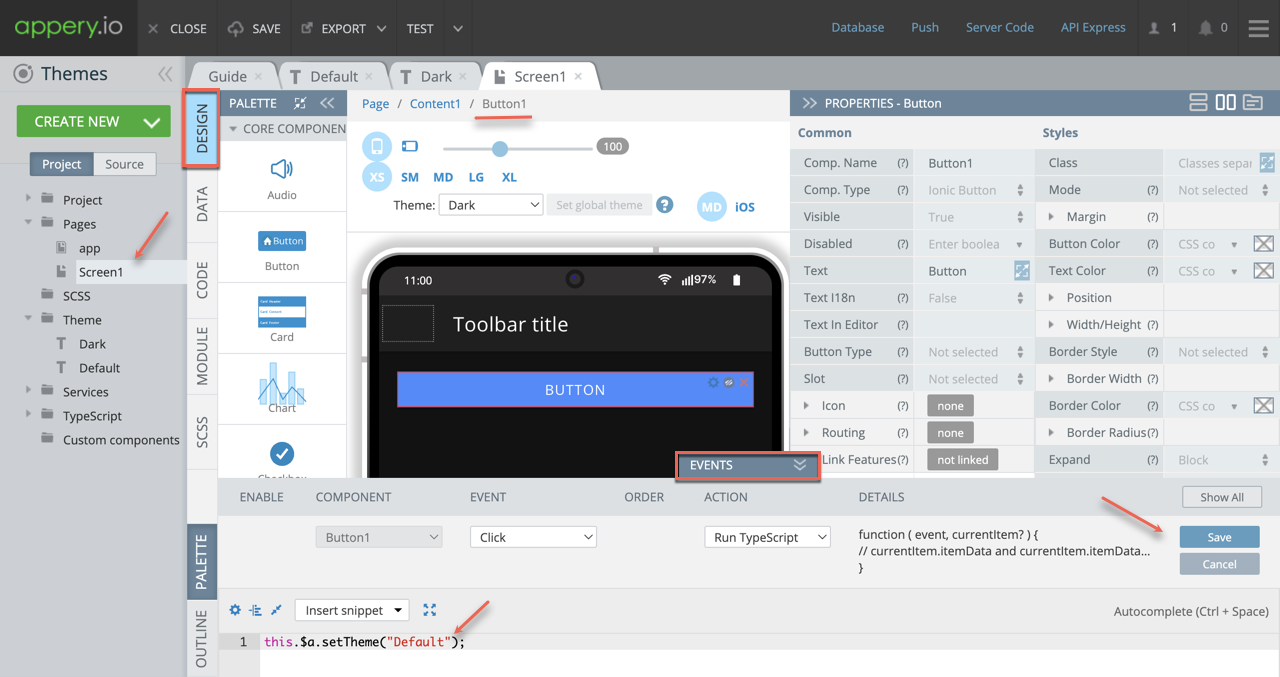
  • and the last but not least: you can now make good use of quite a few predefined Push Notification services: when in the visual App Builder, simply click the CREATE NEW button and selct the needed Appery.io backend push service(s) to import it (them) from under the Backend Services section:

.

Appery.io User – Winner of the 2022 DCSD Virtual Technology Fair

Appery.io was initially designed for creating mobile apps of the enterprise level, but at the same time, it is so intuitively simple and flexible that even elementary school students can use it!

Some days ago we got the news so positive and inspiring that we can’t help sharing it with you: one of our users is officially the winner of the 2022 DCSD Virtual Technology Fair!

Dhwanil Dalal, a student of the Dunwoody Elementary School, GA won the 1st PRIZE in the Mobile Apps category with his app created with Appery.io and was selected for the state level competitions! According to the 2022 DCSD Virtual Technology Fair Committee, all the submitted projects from Elementary, Middle, and High schools around the district were judged on documentation, functionality, creativity, understanding, and intended purpose.

The project of this talented kid, Hobby explorer, created with our visual App Builder is actually a platform intended for students who are looking for teachers to support them in their hobbies like music, dance, Rubik’s cube, etc. in their nearest area and can help making useful connections.

Thanks to Dhwanil, Appery.io is now on the list of the recommended tools in the Mobile Apps category of the Georgia Educational Student Technology Competition (GASTC).

Interestingly, that we could have never learned about this great story of success of this little but very talented boy if one of our users hadn’t written to us with the news that his son had used the Appery.io platform to build the project for his school competition. What is more: the kid managed to create the project using our 2-week Trial subscription and when the trial period came to an end the happy farther reached out to us asking for a discount to support the kid in the next round of competition.

No need to say that we were happy to extend the subscription for free as it is an honor for us, at Appery.io to support our users commited to create apps that make our world a better place to live in and succeed in doing that! Of course we couldn’t but ask the family if we could share this story of success and inspiration with you and got their consent.

And now, when the boy is invited to participate in the virtual GASTC – 2022 Georgia Virtual Student Technology Competition and is making his best getting ready for the next round it’s high time for all of us to say:

Keeping our fingers crossed for you, Dhwanil!

Have Appery-related questions? Ask them on Stackoverflow!

Dear Appery.io Users,

Since recently, our customers have started complaining about issues with registration/login into our forum. Therefore, we have decided to introduce yet another open channel where you are free to ask any Appery.io-related question(s) you might have: Stackoverflow. 

Stackoverflow is one of the most popular and renown platforms where anybody can ask for an advice on any programming issue. Where hundreds of users find answers to their questions daily and thousands of experts are happy to provide their colleagues with useful recommendations and examples.

Is is truly a huge community and from now on, we encourage you to post your questions (like those on Appery.io Platform, App Builder, Appery.io plug-ins, etc.) there instead of using forum.

Please make sure you use the tag <Appery> or <appery.io> while posting so that our experts from Support Team (as well as other users that can be of help) could answer them ASAP to our mutual satisfaction:


We hope this will help to remove any barriers to effective communication and make getting professional help as easy and productive as possible.

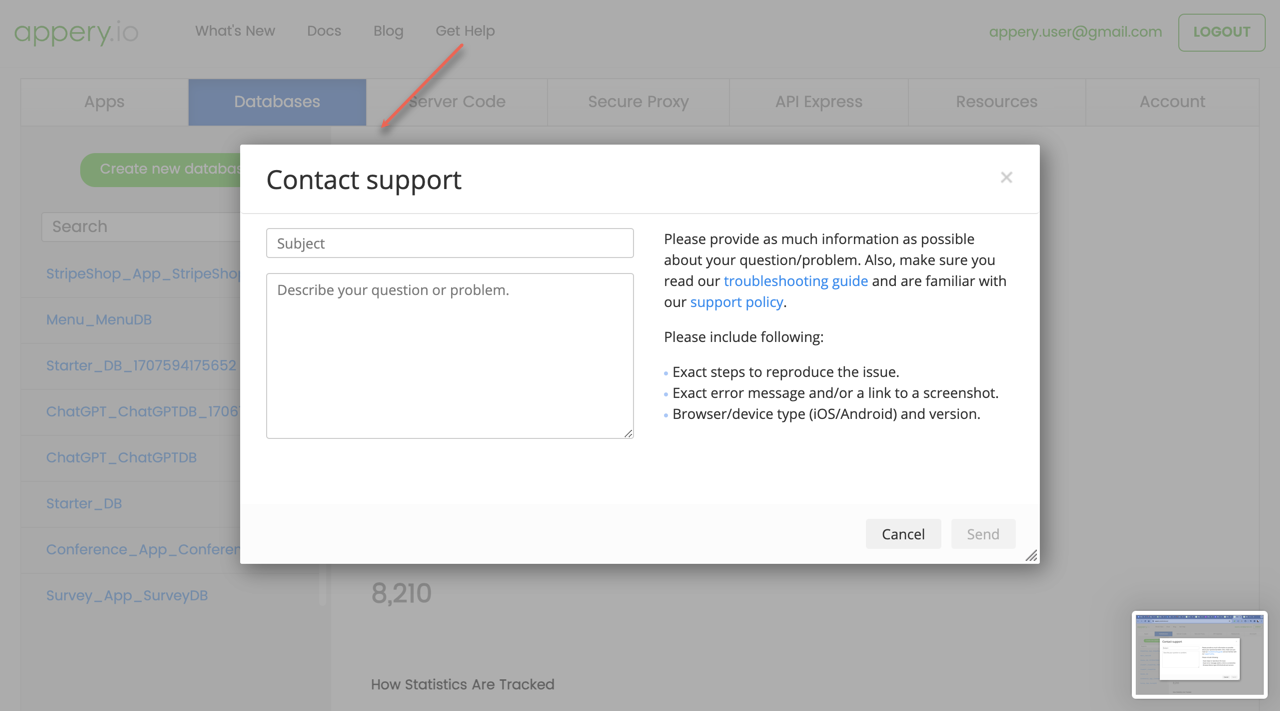
And as usual, we offer more ways for you to get help. Please check this link to learn how to reach to our Support Team for help.

Lots of love on St. Valentine’s Day!

Your Appery.io Team


How to Take a Photo and Save It to the Appery.io Database

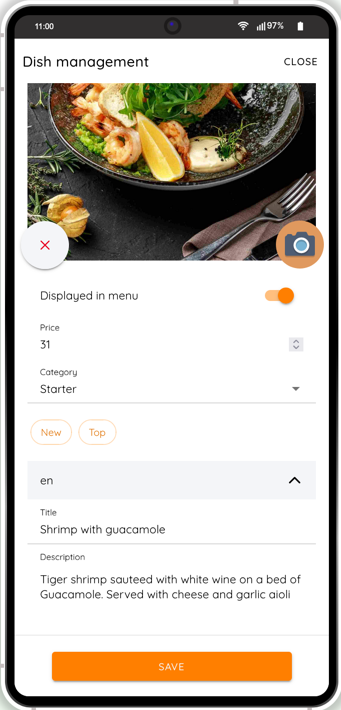
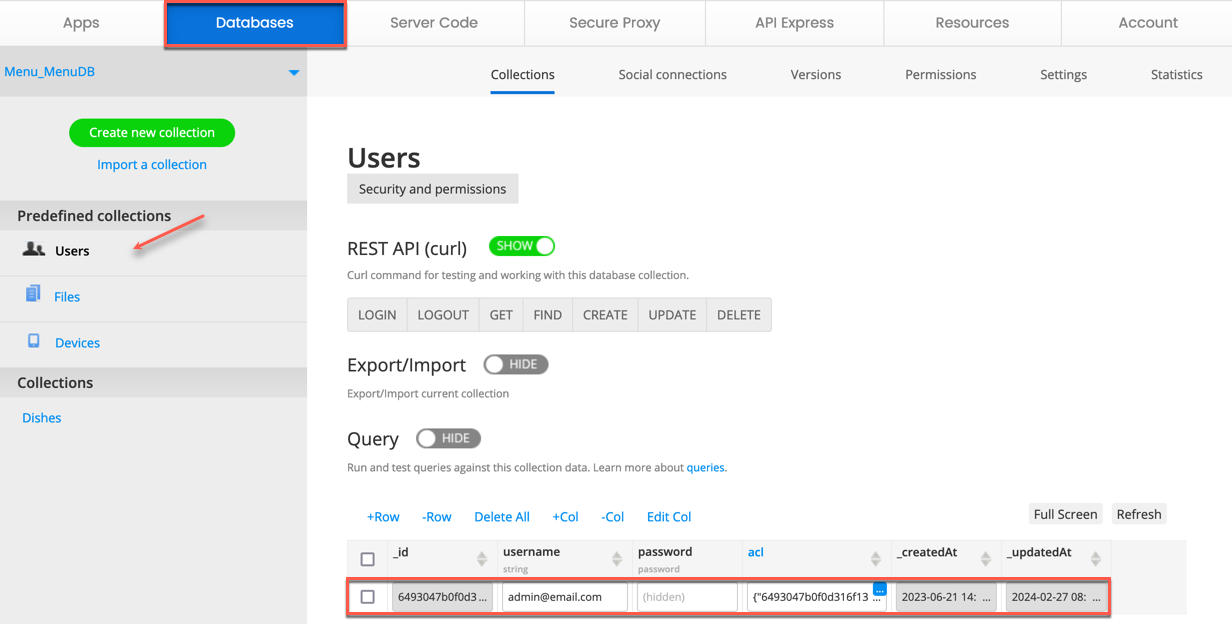
In this short tutorial, you will learn how to add and set up the camera plug-in in order to take photos from your device. Using the file reader plug-in, you can easily save your photo through a built-in database service.