Magic of Responsive Design: Your Step-by-Step Guide to Appery.io Masterpiece

In the digital era, making your app not just functional but flawlessly adaptable across devices is the holy grail of app development. Your app’s ability to greet each user with the same elegance, regardless of the device, is not an added bonus—it’s a critical mission. Here’s your golden ticket to an enthralling journey into the world of Responsive App UI using the enchanting platform of Appery.io.

And for those ready to embark on this adventure, we highly recommend watching our detailed video guide. It’s your visual companion through each step, ensuring a captivating and successful journey into responsive app design:

Step 1: Initiate Your Adventure

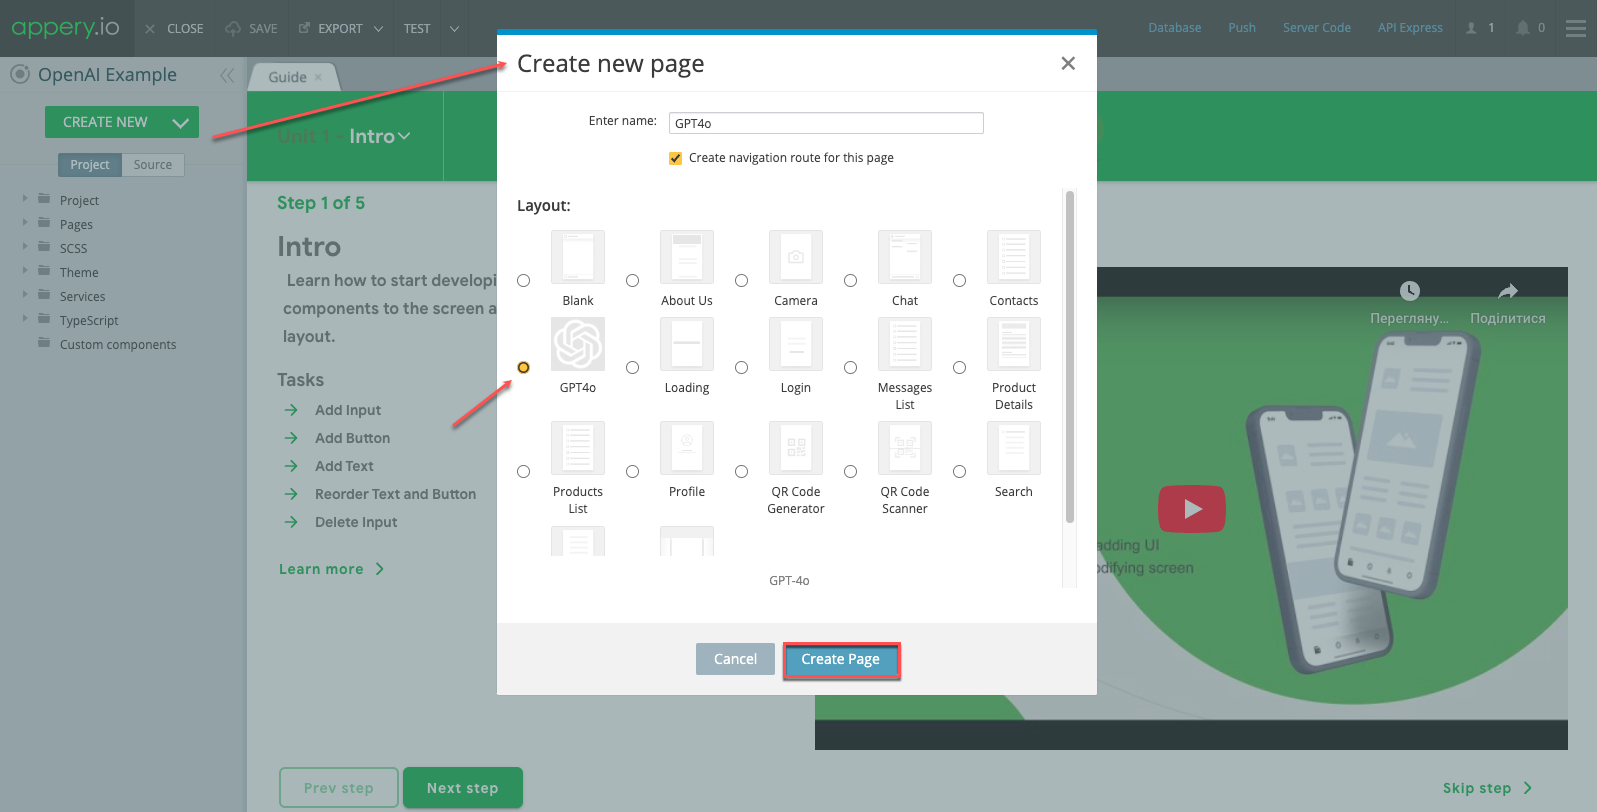
Commence your quest by creating an app from scratch within Appery.io. This mystical platform doesn’t require you to be a coding wizard. It merely asks for your vision. Choose the CREATE NEW option, select Page, and embark on an exciting ride, choosing among various screen layouts that spare you tons of development time.

Step 2: Fine-Tune Your Craft

Now, dive into the heart of your design, where you will encounter multiple UI components, ready to be shaped according to your will. Quick tip for starters: head straight to the Styles tab once you select a component. Adjusting the width to 100% and setting a Max Width property ensures your app element enjoys the flexibility of a yogi, stretching comfortably across screens of all sizes.

Step 3: Play with Grids Like a Pro

The Grid component in Appery.io is nothing short of a magic canvas, allowing your creative ideas to take flight. Imagine it as your spellbook where setting the Grid property to ‘Fixed’ anchors your design firmly across realms (or screen sizes, in mere mortal terms).

Step 4: Manipulate the Grid Cells

Your quest for responsive mastery leads you next to the Grid Cell. Here lies the secret to balancing content across the screen landscapes. From the snug confines of a cellphone to the expanse of a desktop, adjusting the default sizes can transform your app’s presence dramatically. A tweak here, a nudge there, and behold—the perfect alignment!

Step 5: The Alchemy of Visibility 

Delving deeper, you encounter the power of visibility. Through the Classes option, conjure spells to show or conceal elements with a finesse that leaves users bewitched. Marvel as components appear and vanish, guided purely by the size of the screen that summons them.

Step 6: Empower Through Customization 

Before you, lies an array of customization options, your arsenal to combat monotony. Applying the sacred code of CSS, change colors as one would potions, ensuring your app’s interface remains vibrant and inviting across all screens.

Step 7: Navigating the Terrain 

Your final test of mastery beckons with the application of navigation menus. In the realm of smaller screens, the mobile navigation menu reigns supreme. However, as the landscape expands, so should your menu, transitioning smoothly to a split menu for larger vistas.

By following these sacred steps within Appery.io, you not only unlock the mysteries of responsive app UI but also ensure your creation’s journey across devices is nothing short of legendary. Embrace this guide as your torchlight in the enchanting world of app design, where every screen, no matter how big or small, becomes a window to your masterpiece.

Fortify your skills, brave developer, for the path to app enlightenment through the power of Appery.io awaits. Rise, embrace the challenge, and transform your vision into a responsive reality that dazzles and delights across the digital cosmos.

Globalize Your App: 5 Simple Steps to Internationalization with Appery.io!
Hey there! Ready to take your app global? In this video guide, we’ll walk you through five straightforward steps to internationalize your mobile app using the powerful platform, Appery.io. Whether you’re a seasoned developer or new to app building, these steps will make global expansion a breeze. Let’s dive in!

Below is a short review of what is in the video:

Step 1: Log in and Create Your App

  1. Log in to the App Builder on Appery.io.
  2. Create a new app or open an existing one.

Step 2: Set Up Multi-Language Support

  1. Explore your app’s pages to identify UI components containing text.
  2. Easily set the i18n property to True for components using the PROPERTIES panel.

BTW, with Appery.io, you do not need to enable the feature for every text containing component. This can be done with a handy one-click button in the Project > App settings > Components tab that will automate the flow for the entire project:

Step 3: Add New Languages

  1. Create a new script for the desired language (e.g., German):

2. Click Create script to generate the script.

3. Utilize the “Find string keys” feature to identify all text values in your app.

4. Replace English text values with translations using ChatGPT or your preferred translation method.

5. Update app buttons to switch between languages.

Step 4: Customize Your App

  1. Enhance your app’s internationalization with custom components, such as the Searchable select, using the From Plugin option.

2. Add internationalization to JavaScript alerts to support multi-language messages.

Step 5: Test and Deploy

  1. Preview your app in different languages to ensure accuracy and consistency.
  2. Test language-switching functionality to confirm seamless user experience.
  3. Deploy your internationalized app to reach a global audience.

Conclusion: Congratulations! You’ve successfully internationalized your app using Appery.io. By following these five simple steps, you’ve made your app accessible to users worldwide. Say goodbye to language barriers and hello to global success. Keep exploring Appery.io‘s features to further optimize and customize your app for diverse audiences. The world is yours to conquer—happy coding!

Stay tuned for more tips and tricks on mobile app development. Until next time, keep innovating and reaching new heights with your apps! 🚀🌎


Easily Integrate Stripe Payments: Step-by-Step Guide

Welcome, developers! Today, we’re thrilled to walk you through the seamless integration of one of the most popular payment systems into your app using our Stripe Shop template. Follow us along as we break down the process into easy-to-follow steps, empowering you to enhance your app’s functionality and user experience.

Step 1: Accessing the Appery.io App Builder To begin, head over to the Appery.io platform and access the App Builder. Here, you’ll find a range of templates to choose from. Select the Stripe Shop template to kickstart your journey towards integrating Stripe payments into your app effortlessly.

Step 2: Exploring Predefined App Pages and Services Upon selecting the Stripe Shop template, take a moment to familiarize yourself with the predefined app pages and services it offers. These include the Products, Details, Success, and Cancel screens, designed to streamline the shopping experience for your users.

Step 3: Leveraging Linked Backend Services Our Stripe Shop template comes equipped with linked backend services, including a database and server code, preloaded with test data. This allows you to test your app’s functionality immediately, providing a solid foundation for further customization.

Step 4: Customizing Your App Now it’s time to make the template your own. Utilize the App Builder’s intuitive interface to customize your app according to your unique requirements. Add new products, update existing ones, and tweak the design to align with your brand’s identity seamlessly.

Step 5: Integrating with Stripe API The heart of your app lies in its ability to process payments securely. With Appery.io’s Stripe Shop template, integrating the Stripe API is a straightforward process. Follow our clear instructions to replace the default Server Code keys with your own, ensuring seamless payment processing for your users.

Step 6: Testing Your App Before deploying your app to the masses, it’s crucial to thoroughly test its functionality. With Appery.io’s Tester app, you can easily test your app on your own device. Simply scan the generated code from the TEST menu, and you’re ready to put your app through its paces.

Ready to take your app to the next level? Dive into Appery.io’s Stripe Shop template today with our free trial period. Experience firsthand the power of low-code app development combined with seamless payment integration.

Need Assistance? If you encounter any roadblocks along the way, fear not! Appery.io offers comprehensive support, including step-by-step tutorials and direct assistance through the Get Help link in the App Builder. We’re here to ensure your success every step of the way.

Stay Informed Stay up-to-date with the latest tips, tricks, and tutorials by subscribing to our YouTube channel. Join our community of developers and unlock your app development potential with Appery.io.

Conclusion: With Appery.io’s Stripe Shop template, mastering Stripe integration has never been easier. Follow these steps, and you’ll be well on your way to building a feature-rich shopping app that delights users and drives business success. Happy coding!

Effortless App Mastery: Unveiling Appery.io’s Admin Secrets

Hey there, app enthusiasts!

Welcome back to another insightful journey into the world of app development with Appery.io. In our previous video, we took a deep dive into customizing our Menu app template (You can check here if you missed the post). Today, we’re stepping up the game with a focus on a particularly handy feature for admins.

Imagine being able to tweak your app’s content or adjust prices without the hassle of logging into complex interfaces. Well, with Appery.io, that’s not just a dream—it’s a reality. Let’s explore how you can wield this power right from your device.

Accessing Database User Records:

Before diving in, we need to set up a few things. Head over to the App Builder and navigate to the Database link. Within the Menu_DB database, locate the Collections tab and access the Users collection. Here, you’ll set your password or email address for easy access.

Routing for Admin Convenience:

Next, let’s streamline the admin experience. Within the App Builder, navigate to Project > Routing. Set the default route to the Login page, ensuring swift access for admins. Don’t forget to save your changes—it’s the small steps that lead to big convenience gains!

Testing Made Easy:

Now, for the exciting part—testing your app. Sure, you could export it for Android or iOS, but why not take a quicker route? Enter the Tester app, a free gem available for both platforms. Fire it up, scan the generated code, and voila! You’re in.

Admin Delight:

Once logged in, you’re greeted with the Menu management page, your gateway to culinary control. Edit, reorder, or add new meals with a few taps. It’s intuitive, it’s efficient—it’s a game-changer.

Smooth Sailing:

With edits made and changes applied seamlessly, your app is ready for prime time. Hide the Controls menu for a clutter-free interface, ensuring a seamless user experience.

The Finishing Touch:

With everything in place, it’s time to share your masterpiece with the world. Save your app, click Close, and head over to the Hosting section. Name your project, hit Publish, and watch as your app goes live. It’s that simple.


Bon Appétit!

Print that QR code, place it on your tables, and let your guests indulge in the convenience of browsing your menu in their preferred language. With Appery.io, satisfying appetites has never been easier.

If you found this guide helpful, don’t forget to subscribe to Appery.io to try more handy tips and tricks. And hey, if you’re loving what we’re doing, why not join us on our YouTube channel?

Until next time, happy app building!


Streamline Your Restaurant Business with Appery.io’s New Menu App Template

The world of mobile app development just got more delicious – thanks to Appery.io and their latest addition: the Menu app template. This user-friendly template caters to small restaurant businesses and offers versatile features for both admins and guests. Let’s delve more into what the Menu template has to offer.

Please check this link to see what it can look like.

The creation of the Menu app is swift with Appery.io ‘s App Builder. All you need to do is select the Menu template and create – your restaurant’s app, equipped with all the necessary pages and services, will be ready to go in a jiffy.

The default layout of the app opens with the menu page, a customizable header featuring the restaurant name, and a bilingual language selector toggling between English and Spanish.


However, Appery.io ‘s flexibility allows you to add any language to the selector with minimal effort.

One of the captivating characteristics of this template is its divided meal categories. Choose from four different categories: starters, mains, desserts, and beverages. Each meal comes with its own page, complete with a photo, name, price, and further details. Tagging options like “new” are also available to highlight dishes that you’d like to promote.

The app has an Add to Order feature, allowing guests to keep track of their orders, review, and edit if necessary before the final order placement.

The app also includes an About Us page that you can customize to the nines! It allows you to replace photos, working hours, and contacts with your own.

Once the app is tailored to your restaurant’s needs, all you have to do is print the QR Code of the published app and put it on your tables. Your guests will enjoy the luxury of ordering their meals in their own language, effortlessly.

Now, let’s discuss customization. The Menu app template is designed so that you can personalize it without writing a single line of code. You can easily add categories, arrange them on the categories page, and even add proper images for them. Moreover, you can even customize the language options and the translations for them, offering a truly multilingual experience for your guests.

Watch this video for some tips on how it can be modified according to your needs:

Besides the smooth customization process, the back-end management of the Menu app also stands out. The Menu_DB database, linked with the app, houses all the predefined meal records in all available languages and their details, offering you an easy way to edit and add meals.

In addition, the beauty of Appery.io ‘s Menu app extends beyond just customizing meal details. It enables restaurant admins to update the menu right from the app itself, bypassing the need to access the App Builder.

As an added bonus, app enthusiasts can look forward to more from Appery.io. Future videos will dive deeper into other exciting features tailored particularly for restaurant admins.

For now, however, it’s time for restaurant owners to delve into low-code app development with Appery.io‘s new Menu app template and discover a revolutionary way to streamline their small businesses.

Anyone interested can try Appery.io for free and see what the platform, along with the Menu template, has to offer. Do not hesitate to subscribe to our YouTube channel for more insightful content as it continues to release.

How to Spice Up Your Appery.io Starter App with a Custom Database Collection – Easy Peasy!

Hey there, friends!

🌟 We are back again with yet another fun and informative dive into the world of Appery.io. If you’ve been hanging out with us for a while, you know we’ve already covered some pretty cool features, like user registration via SMS and beefing up security with two-factor authentication. What’s on the agenda today, you ask? We’re going to get our hands dirty by adding a custom database collection to our Appery.io App Starter project. It’s going to be epic, trust me! So buckle up, and let’s roll.

Kickstarting Your Database Collection

First off, we need a sweet spot to keep all our app data cozy and organized. Here’s the lowdown on setting up your very own database collection:

  • Jump into your Appery.io account and open your project.
  • Click your way to the database tab and say hi to your Starter_DB.
  • Feeling adventurous? Let’s create a new collection by hitting “Create new collection” and teasing it with a catchy name (like “Tasks”).
  • Don’t forget to tick the “Secure collection” box under “Security and Permissions” for that extra layer of protection. Because, of privacy, right?
  • Save those settings, then shake things up a bit by adding some columns: namedatepriority, and userId.

Tweaking the App to Perfection

With our database set up, let’s give our app some flair:

  1. Page Creation Fun – Need more pages? Easy! Duplicate an existing one and dub it “Tasks”. It’s like magic, but you’re the wizard.
  2. Jazzing Up the Tasks Page – Time to get creative. Tweak your page to reflect your shiny new database. Think of it as giving your app a mini-makeover.
  3. Design Time – Head over to the DESIGN tab and let your inner artist loose. Rename stuff, add cool Text components for dates and priorities, and have a blast while you’re at it.

Making Tasks a Breeze

Let’s ensure adding or tweaking tasks is smooth as butter:

  • Clone a page for task management, and simply call it “Task.” Slick, huh?
  • Update labels and fields to make sure they’re talking about the right stuff—dates, priorities, you name it.

The Grand Finale: Testing and Tweaking

All set? Let’s hit that TEST button and take your masterpiece for a spin. Register or log in (if you haven’t already) and try adding some tasks. Edit them, delete them, dance with them – it’s your party!

After your testing fiesta, don’t forget to check your database to see your beautiful tasks resting there. It’s like sending your kids off to college – so proud, yet so emotional.

And That’s a Wrap

Look at you, rocking the Appery.io scene with your custom database collection! Keep playing with it, mix things up, and find what makes your app heart sing.

I hope you had as much fun reading this as I had writing it. If you dig what we’re doing, smash that subscribe button and hang with us for more app-building adventures. Catch you on the flip side, and thanks a gazillion for watching! 🚀✨


Easy Guide to SMS Confirmation using Twilio — No Stress, Just Success

We are here once again, this time with an easy-to-follow, stress-free tutorial on setting up SMS confirmation using Twilio. And exciting news – we also have a video tutorial for you to follow along with!

How to configure SMS verification for the app registration feature

Remember how we learned to set up SMTP server settings for email confirmations? Today, we’re switching gears to play with Twilio, allowing us to securely verify sign-up attempts via SMS. Cool, right? Let’s jump in!

Step 1: Getting to Know Twilio

Our journey starts with Twilio. Never heard of them? They are experts in sending out SMS verification codes.

  • Head over to the Twilio website and sign up for their free trial account. Once you’re registered and logged in, you can start personalizing your setup. You can either use an existing account or create a new one. I whipped up a new account I like to call SMS Confirmation.
  • Don’t forget to verify your phone number within Twilio. Just drop your number in, await the verification code via SMS, and then pop the received code into the website.
  • You’ll find a few more easy-peasy questions to answer and then hit Get started with Twilio. Congrats, you’re now ready for action!
  • Your Twilio dashboard will display a special phone number. This number is outgoing only and will be used to send confirmation messages to your own app users.
  • While you’re there, note down your Account SID, Auth Token, and your new Twilio phone number.
  • Lastly, ensure that you’ve listed the phone number you are using for testing in the ‘Active Numbers’ list (Phone Numbers > Manage), and that your Verified Caller IDs tab has the verified number ready to receive the authentication codes.

Step 2: Bring On the App Builder

Now that Twilio is all set, let’s put the App Builder to work.

  • Go to the Server Code tab then open the StarterLib library, which was created just for us. We’re planning to send out confirmation SMS, so we’ll need to replace EMAIL with SMS for the confirmation type in the StarterLib script.
  • Next, hop back over to the Twilio console and one by one, copy your Account SID, Auth Token, and Twilio phone number into the corresponding variables on the script in the StarterLib section. Hit ‘Save’ and voila — you’re all set!
  • The moment of truth has arrived. Click TEST on the App Builder page, fill in the sign-up page details, and then wait for the verification code on your mobile device. Once received, drop it into the app, and bingo! Your user is registered.

As you can see, setting up SMS confirmation using Twilio is easier than a walk in the park.

We hope that this short guide will make your app development experience even better.

Remember, we provide a handy two-week trial giving you plenty of time to experiment with our Starter App Template. Plus, you can subscribe to our YouTube channel for even more handy tips.

Thanks for coming aboard this guide, and see you again very soon!

Your Appery.io Team!

Appery.io: Spreading Love and Empowerment to Women in Tech

On this special Valentine’s Day, let’s celebrate love, empowerment, and innovation that come from Appery.io! ❤️💻 This revolutionary platform is not only reshaping the tech industry but also spreading love and empowerment to women in tech. Join us as we explore how Appery.io is paving the way for women to lead and thrive in the world of technology.

Breaking Boundaries with Love

Love knows no boundaries, and neither does Appery.io! With its user-friendly platform and commitment to inclusivity, Appery.io is breaking down barriers and making technology accessible to everyone. This Valentine’s Day, let’s spread love and empower women to turn their tech dreams into reality with Appery.io‘s innovative tools and resources.

Nurturing Creativity with Passion

At the heart of Appery.io lies a passion for creativity and innovation. This Valentine’s Day, let’s harness that passion to inspire women to unleash their creativity and build groundbreaking applications that make a difference in the world. With Appery.io‘s intuitive interface and powerful low-code and no-code features, the possibilities are endless!

Creating a Supportive Community with Compassion

Love and compassion go hand in hand, and our team is dedicated to creating a supportive community where women can thrive. This Valentine’s Day, let’s come together to support and uplift one another as we navigate the world of tech. Through networking events, mentorship programs, and educational resources, Appery.io is spreading love and building a community where everyone belongs.

Inspiring Future Leaders with Hope

As we celebrate Valentine’s Day, let’s also celebrate hope for the future. With Appery.io, the future of tech is bright and full of possibilities. This Valentine’s Day, let’s inspire the next generation of female leaders in tech and empower them to pursue their dreams with confidence and determination. Together, we can shape a more diverse, inclusive, and innovative future for tech.

In conclusion, this Valentine’s Day, let’s spread love, empowerment, and innovation. Join us as we celebrate the power of love to break boundaries, nurture creativity, create supportive communities, and inspire future leaders in tech.

Happy Valentine’s Day from all of us, at Appery.io! ❤️💻


SMTP Settings For Confirmation Email Delivery: A How-To Guide

Hello, Appery.io users!

Recently, we released a video introducing our latest Starter App template, sparking numerous inquiries about configuring SMTP server settings for sending confirmation emails. We’re thrilled to announce that we’ve created a comprehensive YouTube tutorial demonstrating the process. For illustration, we’ll utilize the app built from the beloved Appery.io‘s Starter App template:

Below, for your convenience, we’ll additionally walk you through the process step by step for easy understanding.

Step 1. Configuring SMTP Settings: Set up SMTP server settings by enabling 2-step verification in your Google account settings. Then, generate an app-specific password.

Step 2. Accessing App Builder: Head over to the Appery.io App Builder and create a new app using the Starter App template. Go to the Server Code tab and open the StarterLib library.

Step 3. Defining Email Confirmation: In the library, define email as the confirmation type. Enter your email address, paste the app-specific password you just generated, and fill in the from values. Save the changes.

SMTP Configuration Settings

Step 4. Testing the Configuration: Click TEST in the App Builder to ensure everything works smoothly. Fill in the registration details in the app, check your inbox for the verification code, and copy it. 

Step 5. Confirming Registration: Paste the verification code into the app to complete registration. Verify the user record has been added to the app database to ensure accuracy.

Step 6. Final: Log into the app to verify successful registration and explore its features. You’ve now configured SMTP settings for confirmation emails!

Conclusion: That’s it for our guide on configuring SMTP server settings with Appery.io. Stay tuned for our next video where we will show how to set up Twilio for confirmation messages.

Try our Starter App Template and subscribe to our channel for more updates.

Thank you for using Appery.io and Happy Developing!

Your Appery.io Team

How to Build a ChatGPT App with Appery.io’s OpenAI Assistant Chat Plugin

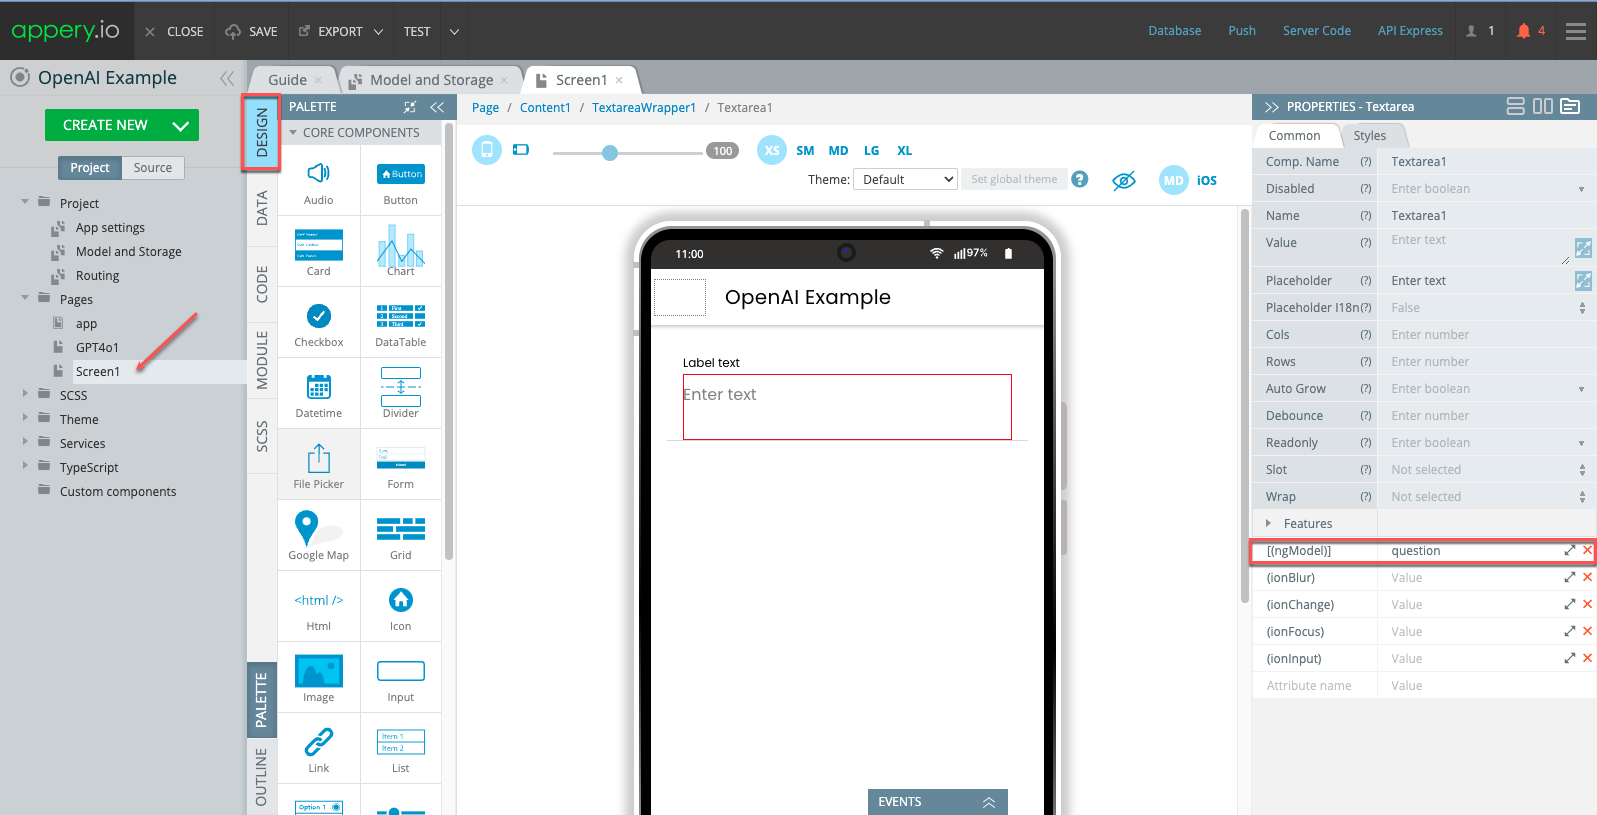
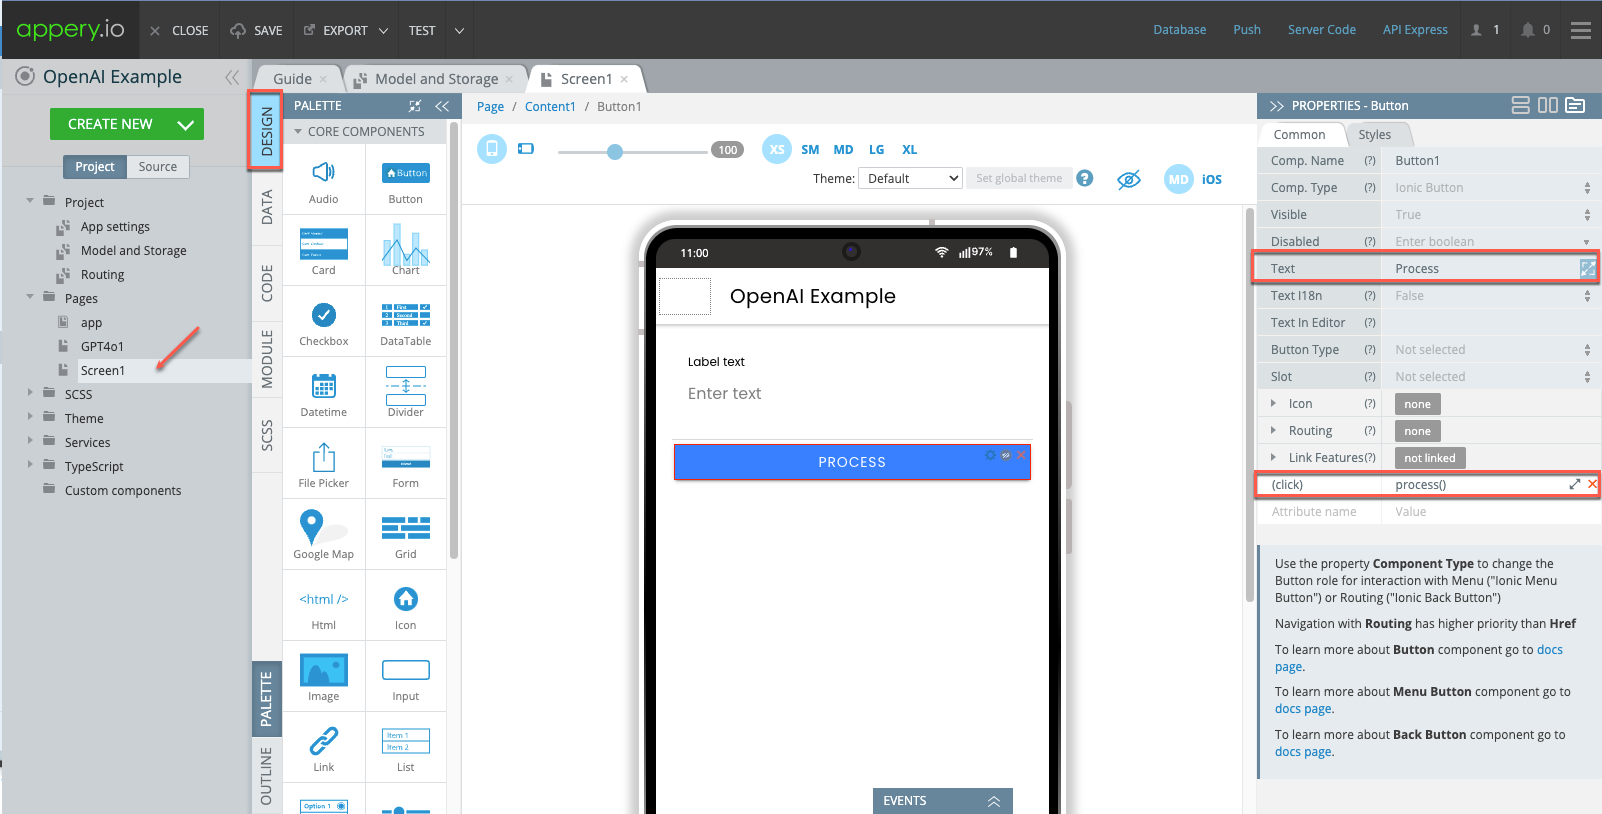
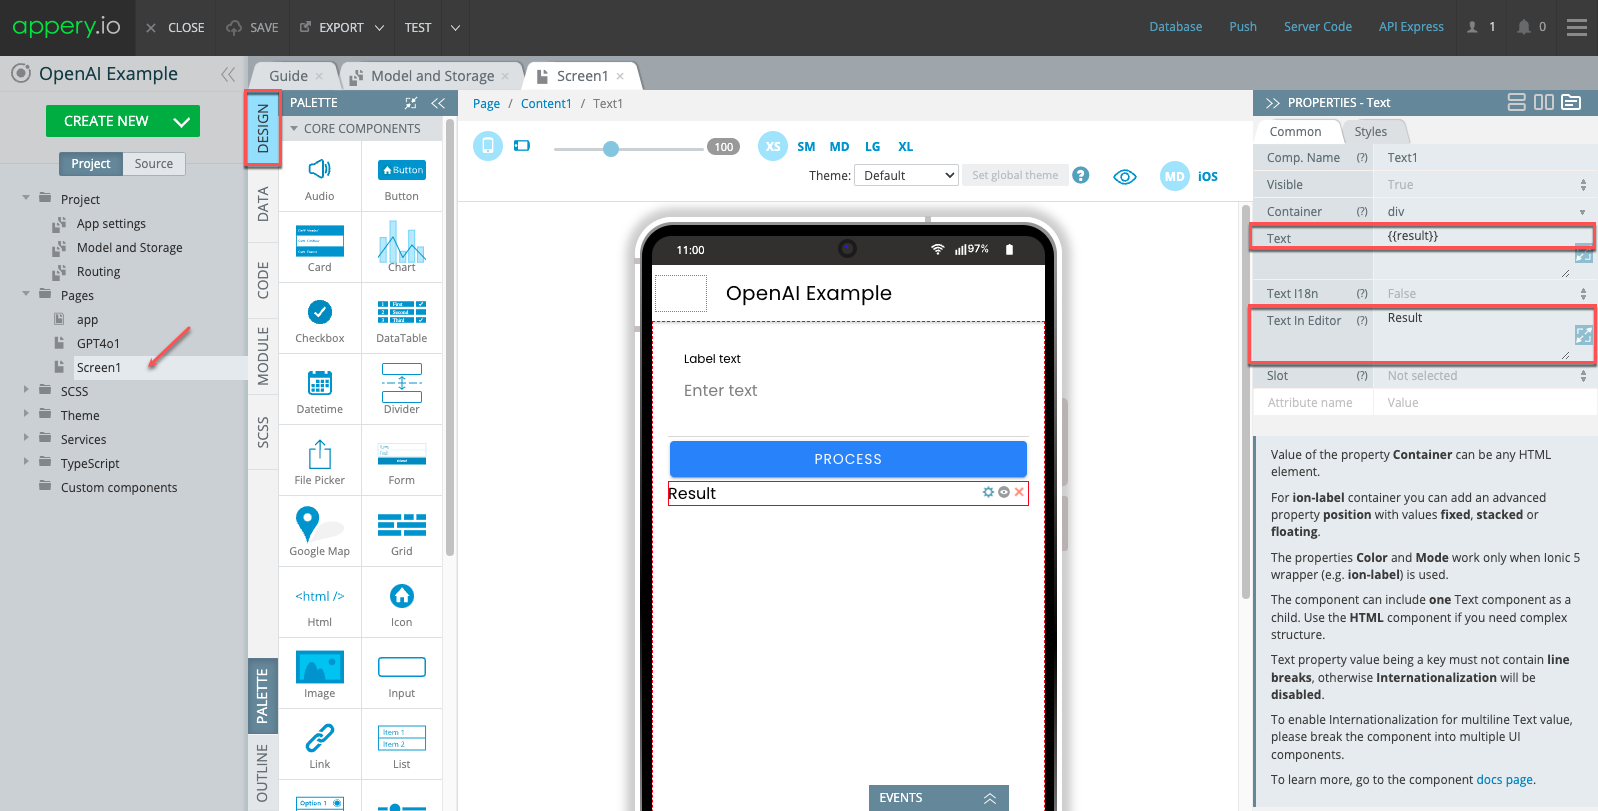
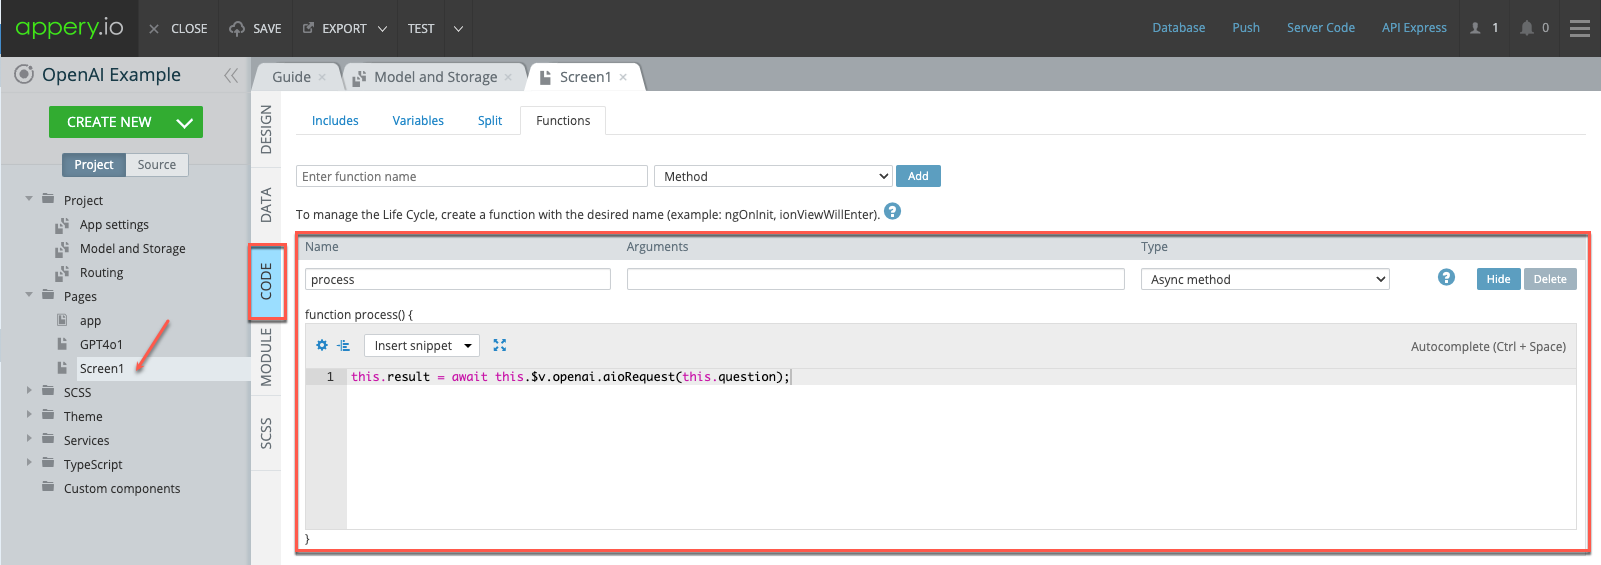
Creating an app with advanced AI chat capabilities might sound challenging, but it’s surprisingly easy with Appery.io. Let’s walk through the process of utilizing the OpenAI Assistant Chat plugin to bring AI to life in your next app.

Here is our new how-to video that illustrates the power of AI combined with Appery.io possibilities:

But if you’d rather read to follow the instructions step-by-step, please check below.

1. Start Your Appery.io Project

First things first, you need a home for your new AI creation:

  • Sign In to Appery.io: Head over to Appery.io, sign in, or set up a new account if you’re stepping in for the first time.
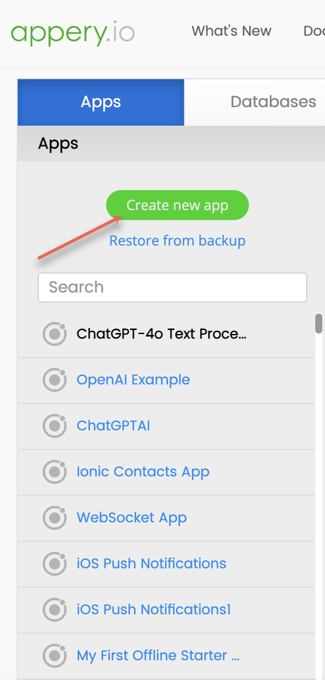
  • Create Your App: Click Create new app. Choose your app type—like Ionic blank—name it, and hit Create. Now, you’re set up.

2. Add the Magic Ingredient: OpenAI Assistant Chat Plugin

This plugin is your key to easy AI integration:

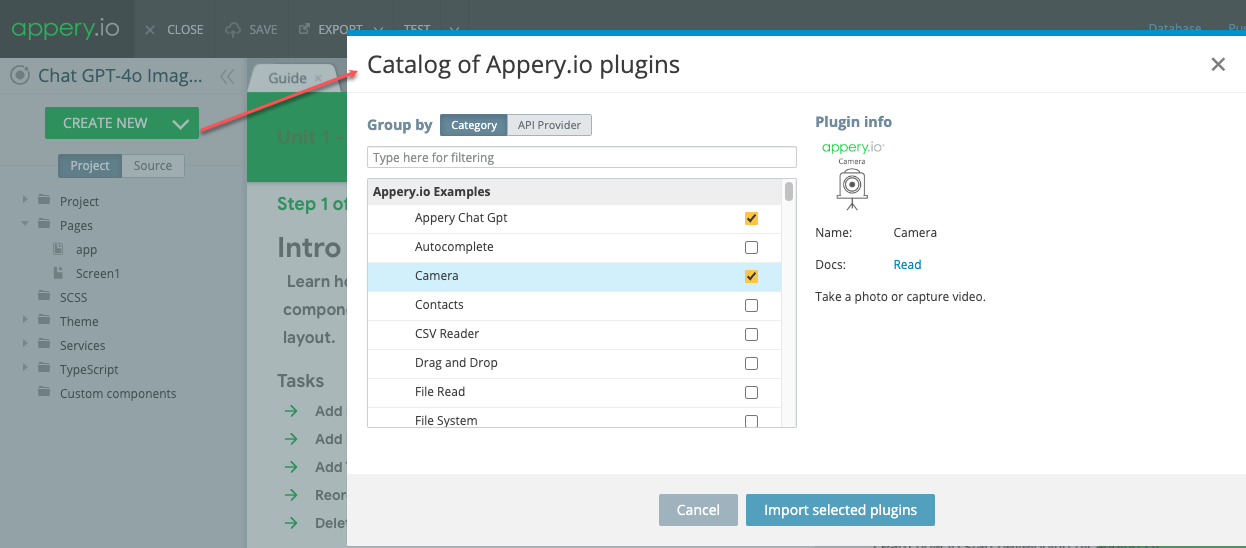
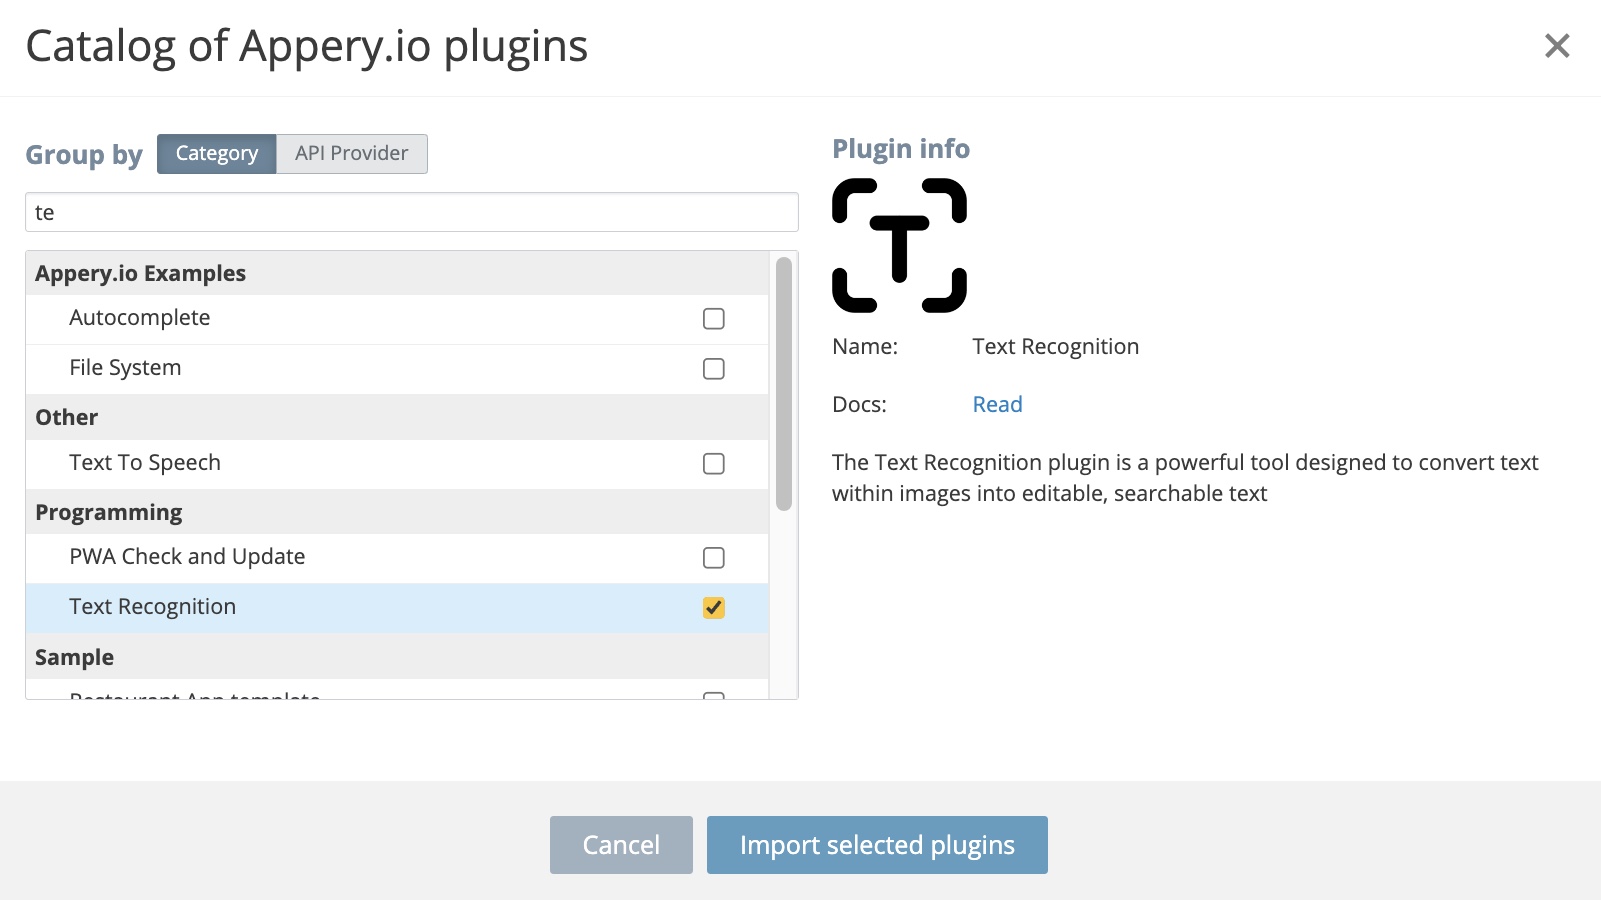
  • Go to Plugins: Inside your project, click CREATE NEW > From Plugin to open the Catalog of Appery.io plugins.
  • Find and Add the Plugin: Search for the OpenAI Assistant Chat plugin. Click Import selected plugins to add it to your app.

3. Key Configurations: API Key and Assistant ID

These essentials connect your app with OpenAI’s brainpower:

  • Secure an API Key from OpenAI: Visit the OpenAI site, sign up or log in, and navigate to obtain your API key. This key is your app’s passport to AI land.
  • Create Your AI Assistant: This step is integral. Creating an assistant on OpenAI provides you with an Assistant ID – think of this as giving your app its own AI personality.
  • Input Your Credentials in Appery.io: Back in Appery.io, within the plugin settings, there’s a spot waiting for your API key and that shiny new Assistant ID. Fill these in to forge the link between your app and OpenAI’s capabilities.

4. Make It Yours

Now for the fun part. Tailor the plugin to fit your app’s vibe:

  • Adjust the Looks: With Appery.io‘s easy drag-and-drop, you can tweak the plugin’s appearance so it meshes well with your app.
  • Set Up AI Functions: Decide what your AI should do. This could be answering customer queries, giving recommendations, or having a chat. Configure away to align with your vision.

5. Test Your Creation

Before releasing your app into the wild, you need to see it in action:

  • Run a Test: Appery.io has built-in testing to trial how the AI responds and integrates with your app.

  • Tweak if Needed: Testing might reveal some tweaks are in order. No problem. Adjust and test again until it’s just right.

6. Launch Time

Your AI chat app is ready to meet its audience:

  • Deploy It: With a few clicks in Appery.io, you can deploy your app across the preferred platforms.
  • Iterate Based on Feedback: Once your app is out there, listen to how users find the AI and refine it further based on their insights.

Why Appery.io?

Bringing AI into your app shouldn’t be daunting. With Appery.io and its OpenAI Assistant Chat plugin, it’s not just easy but also fun. This combo lets you leap into the future of app development, focusing on creating unforgettable user experiences rather than fretting over-complicated code.

So, why wait? Dive into Appery.io today, and start crafting the kind of AI-powered app that users will love.


By simplifying the process into manageable steps, this guide is designed to promote an approachable and enjoyable foray into AI-powered app development for creators at any skill level, focusing on the practical application of Appery.io`s OpenAI Assistant Chat plugin.