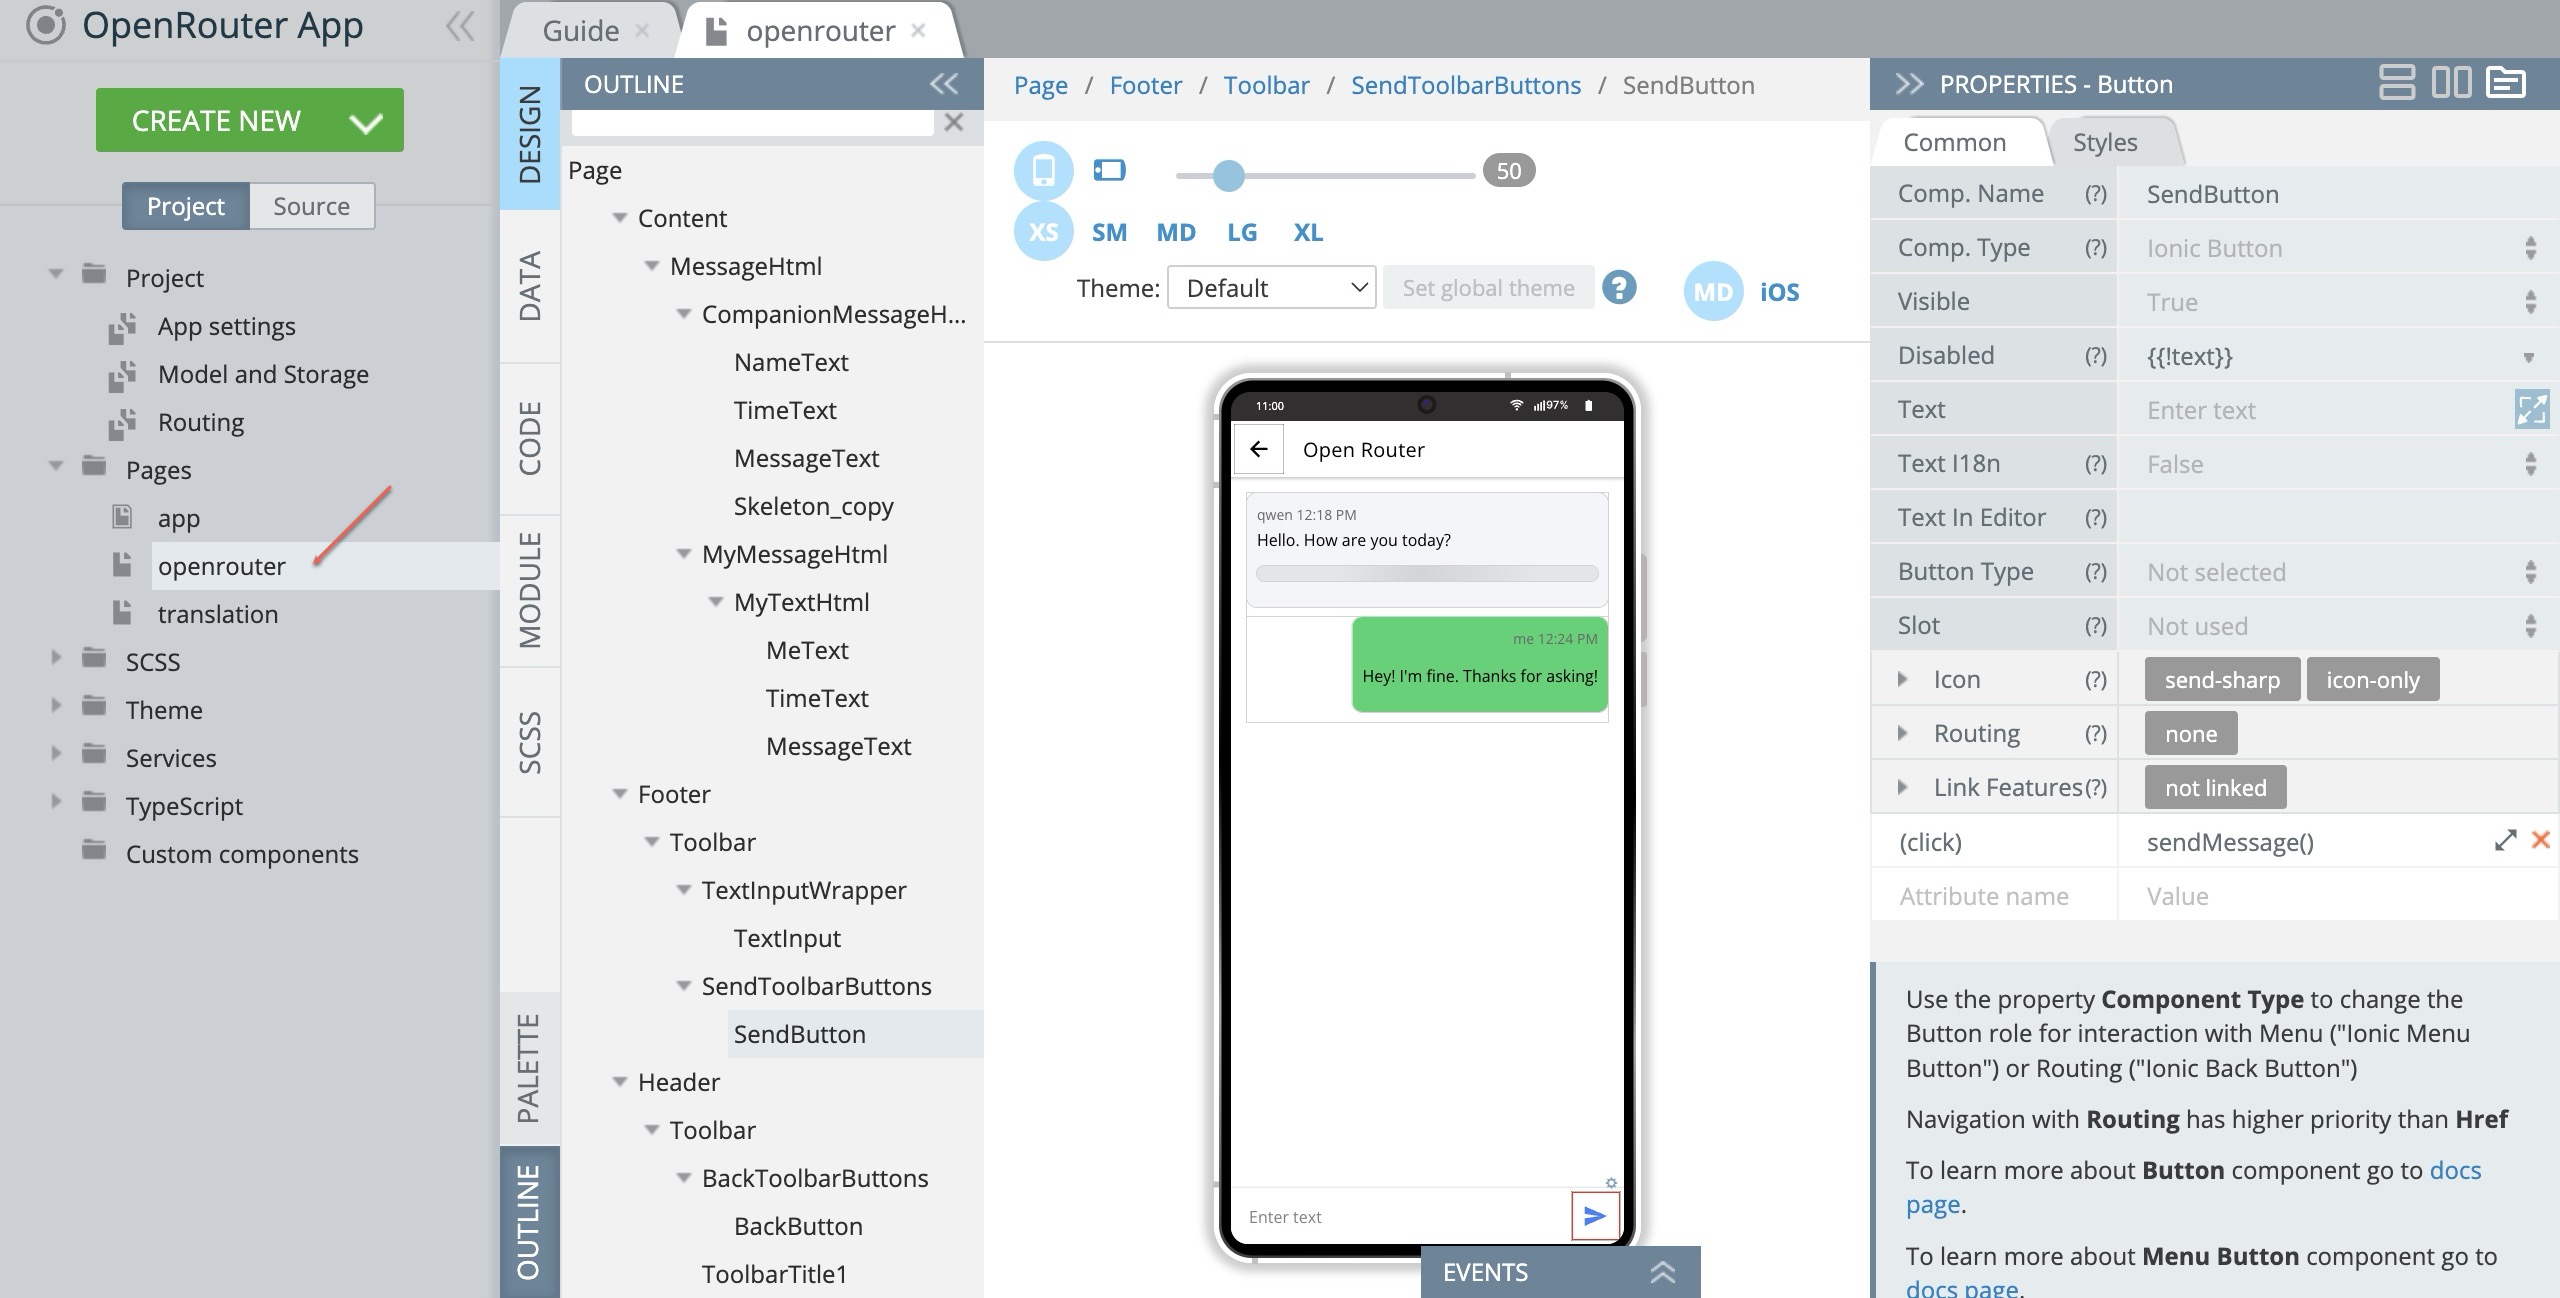
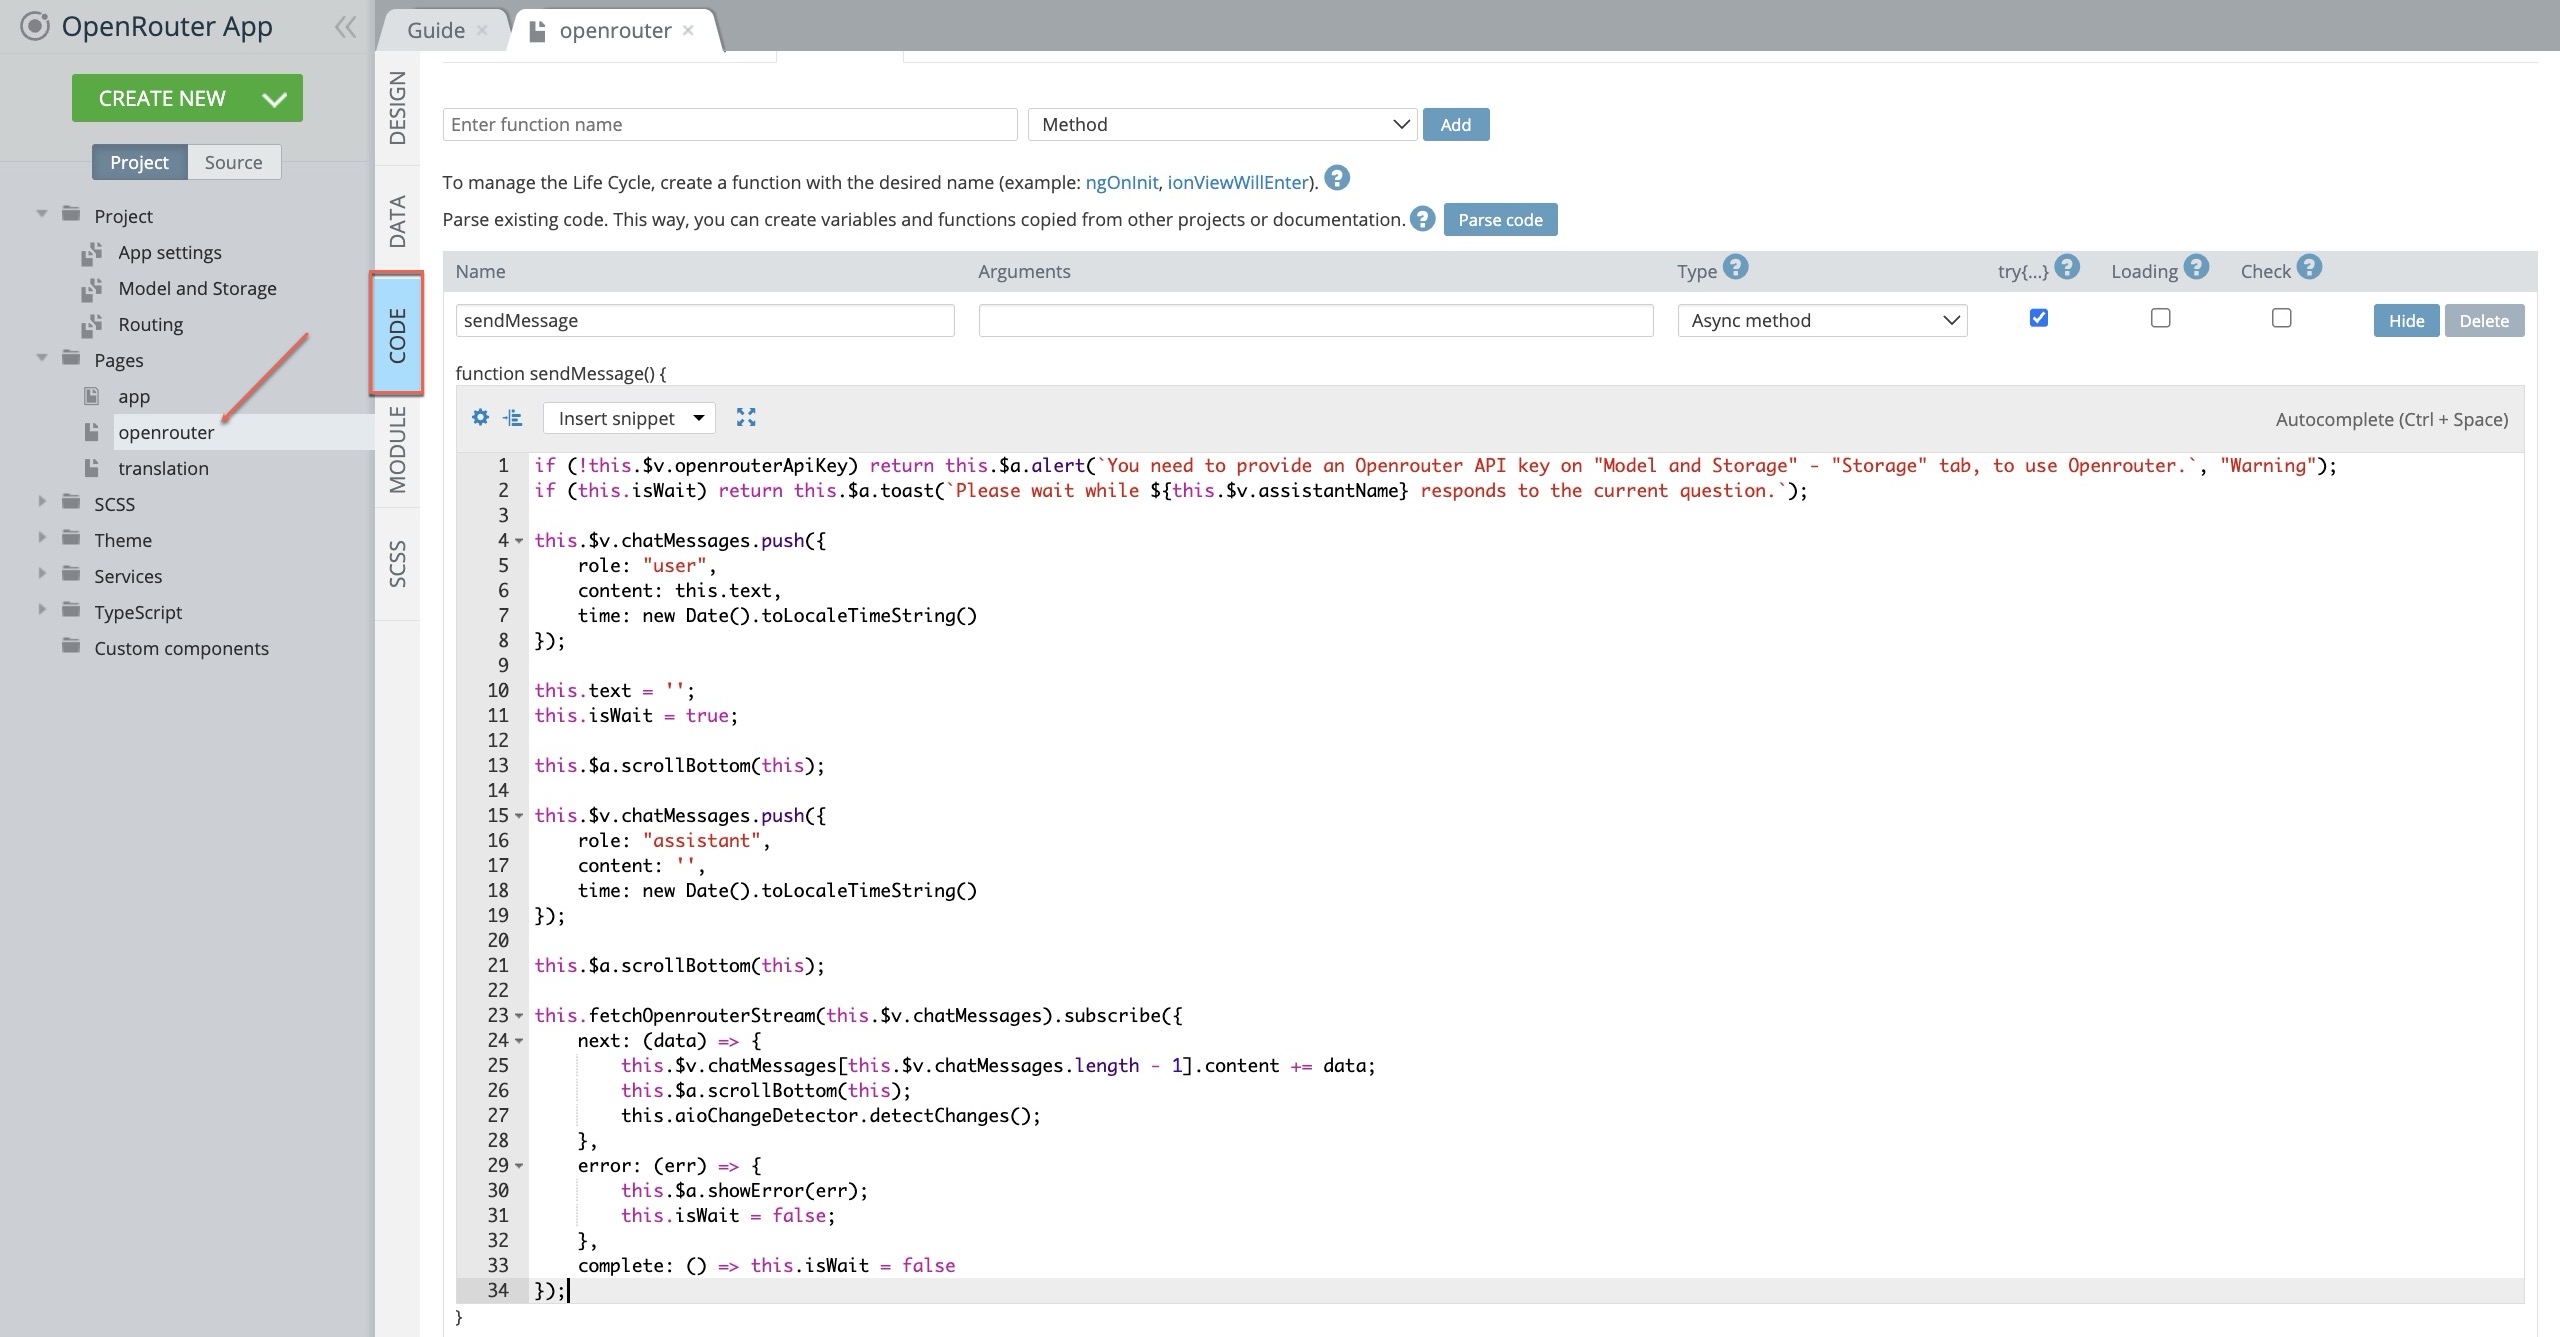
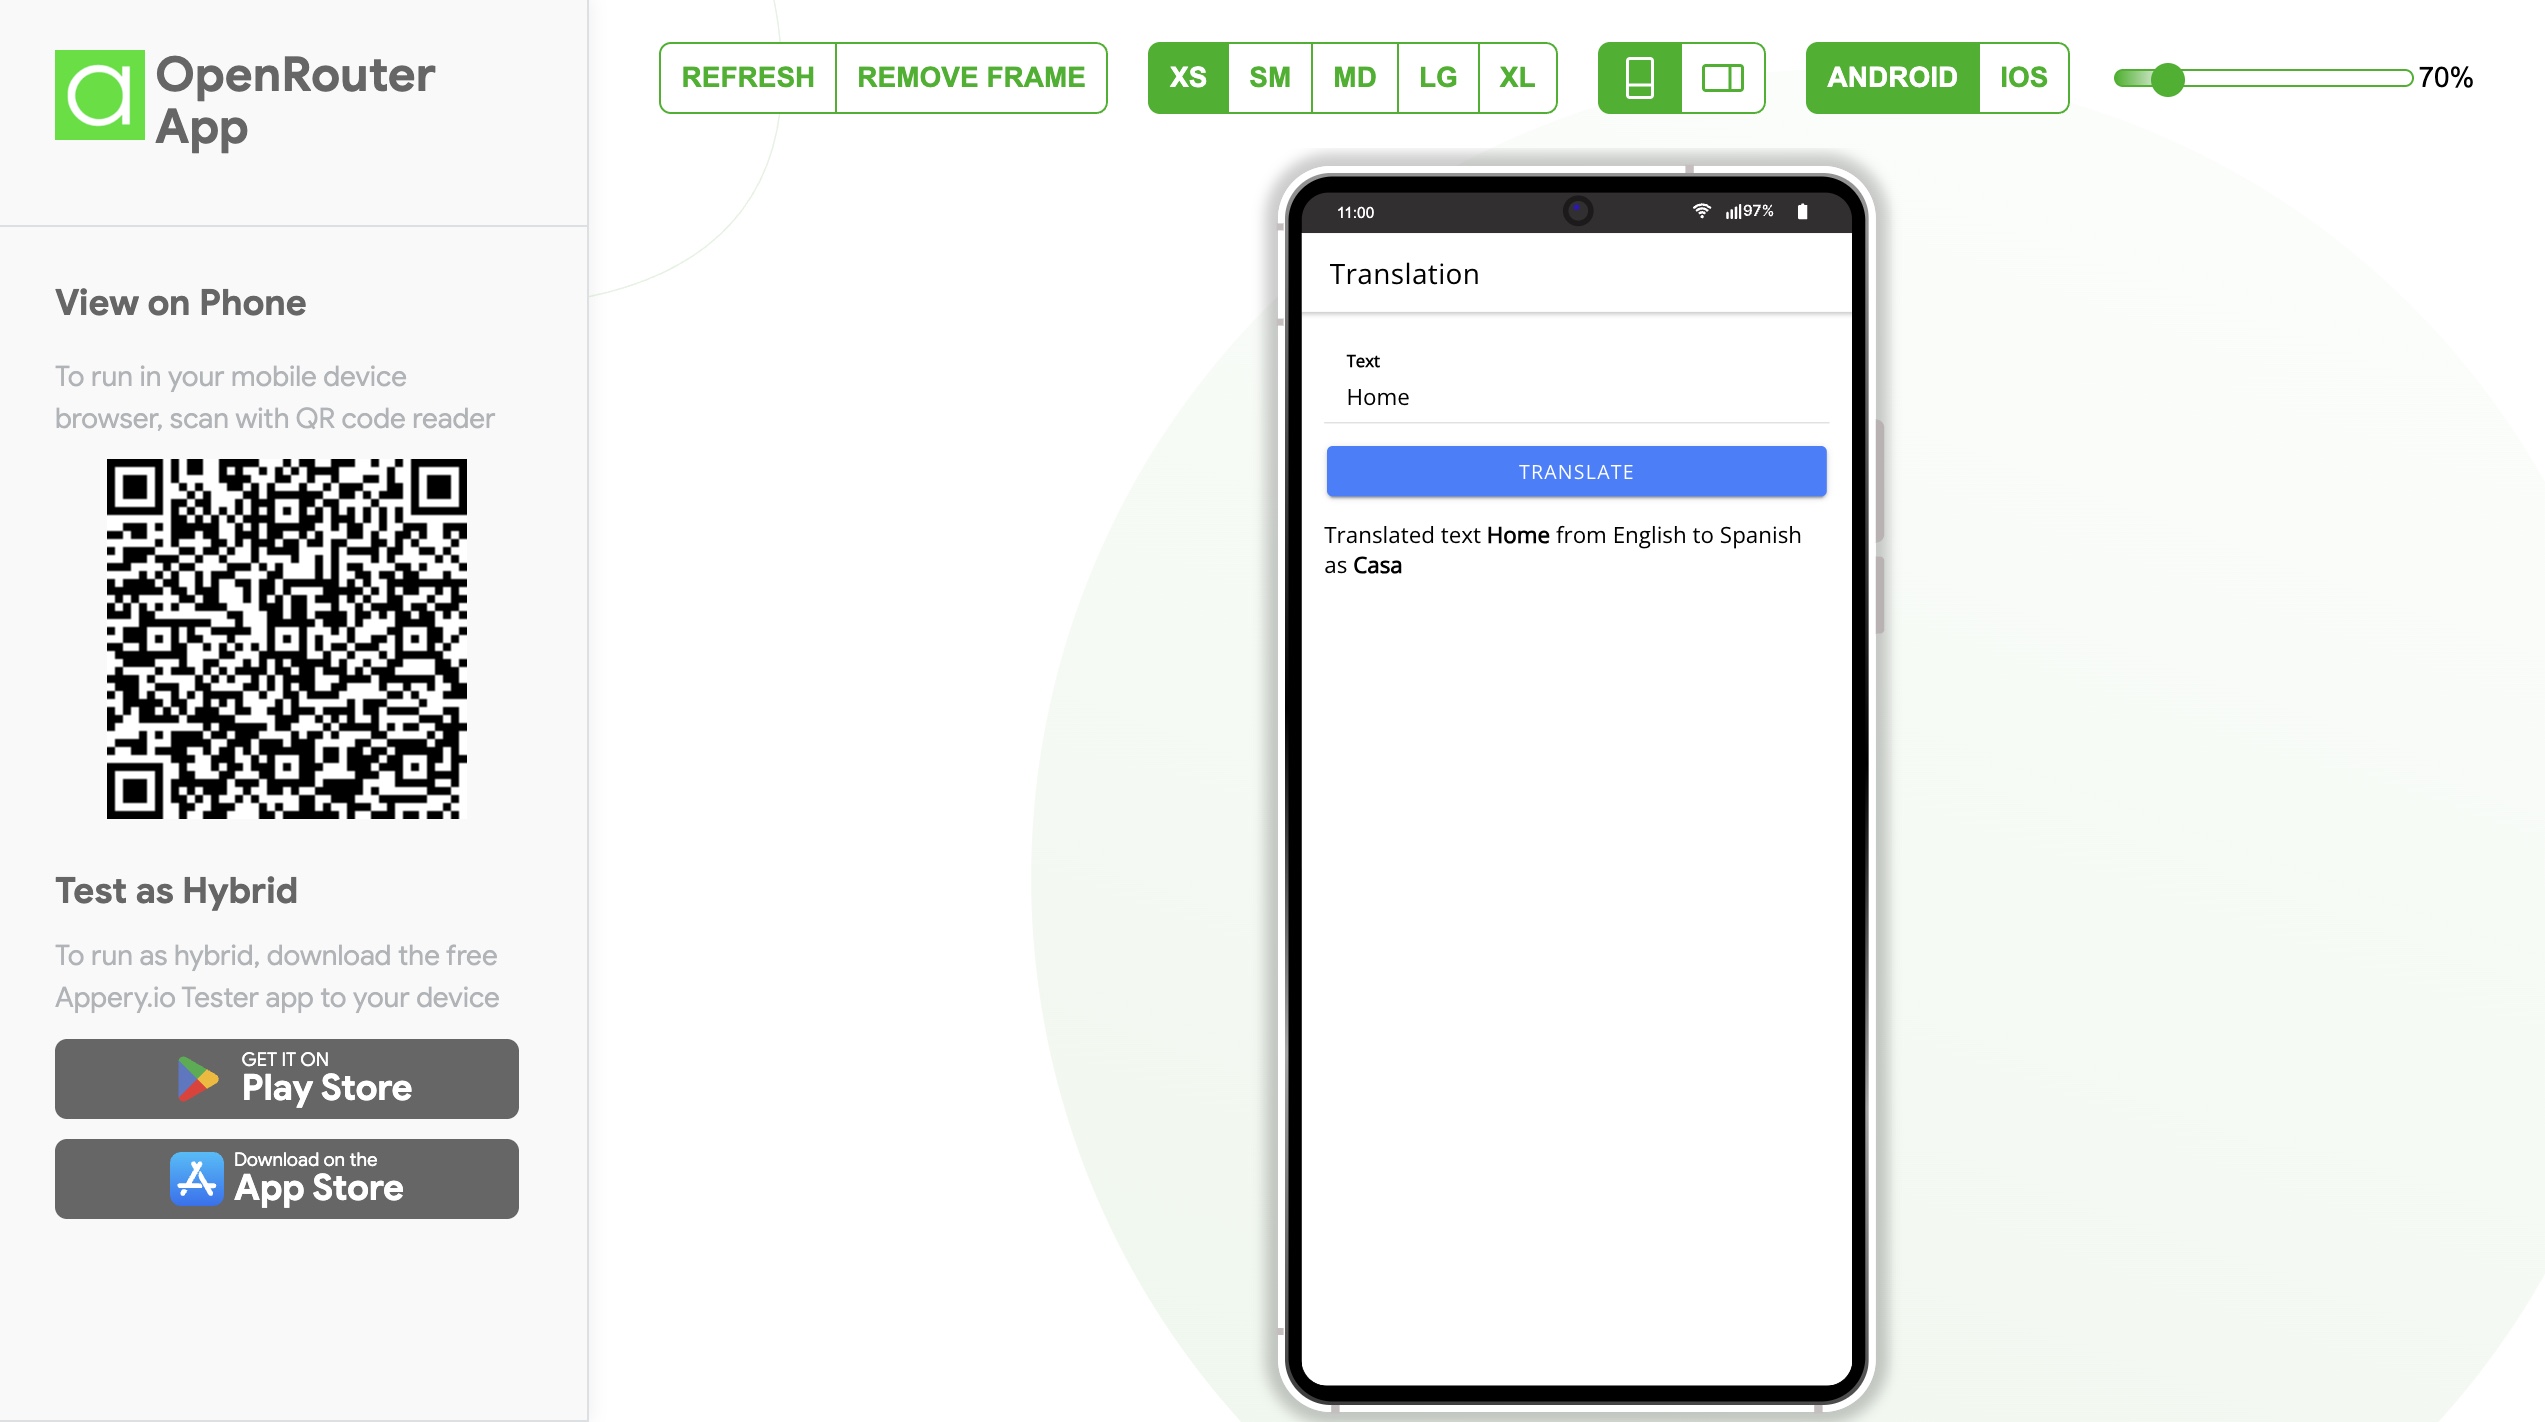
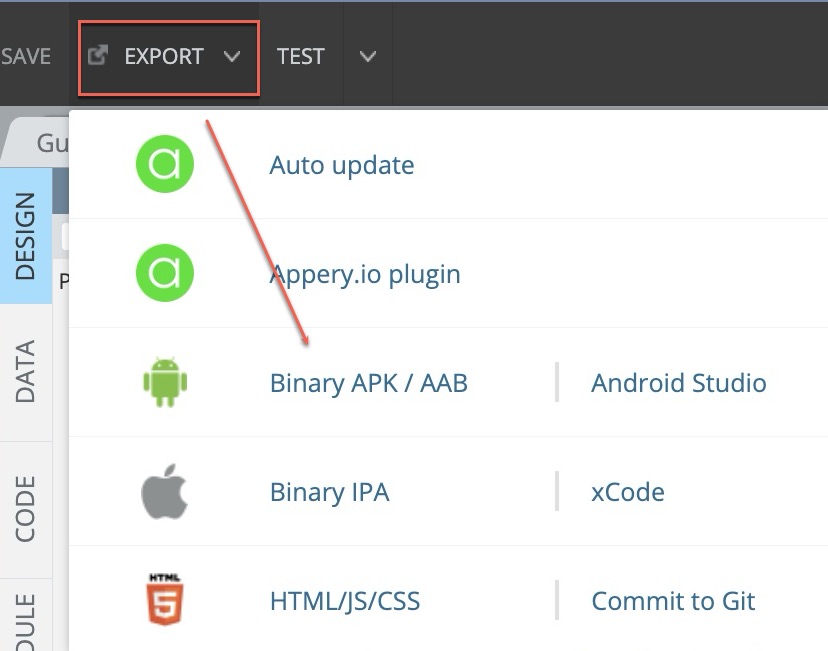
Revolutionary OpenAI o1-preview Reviewed: Must-Watch Guide!

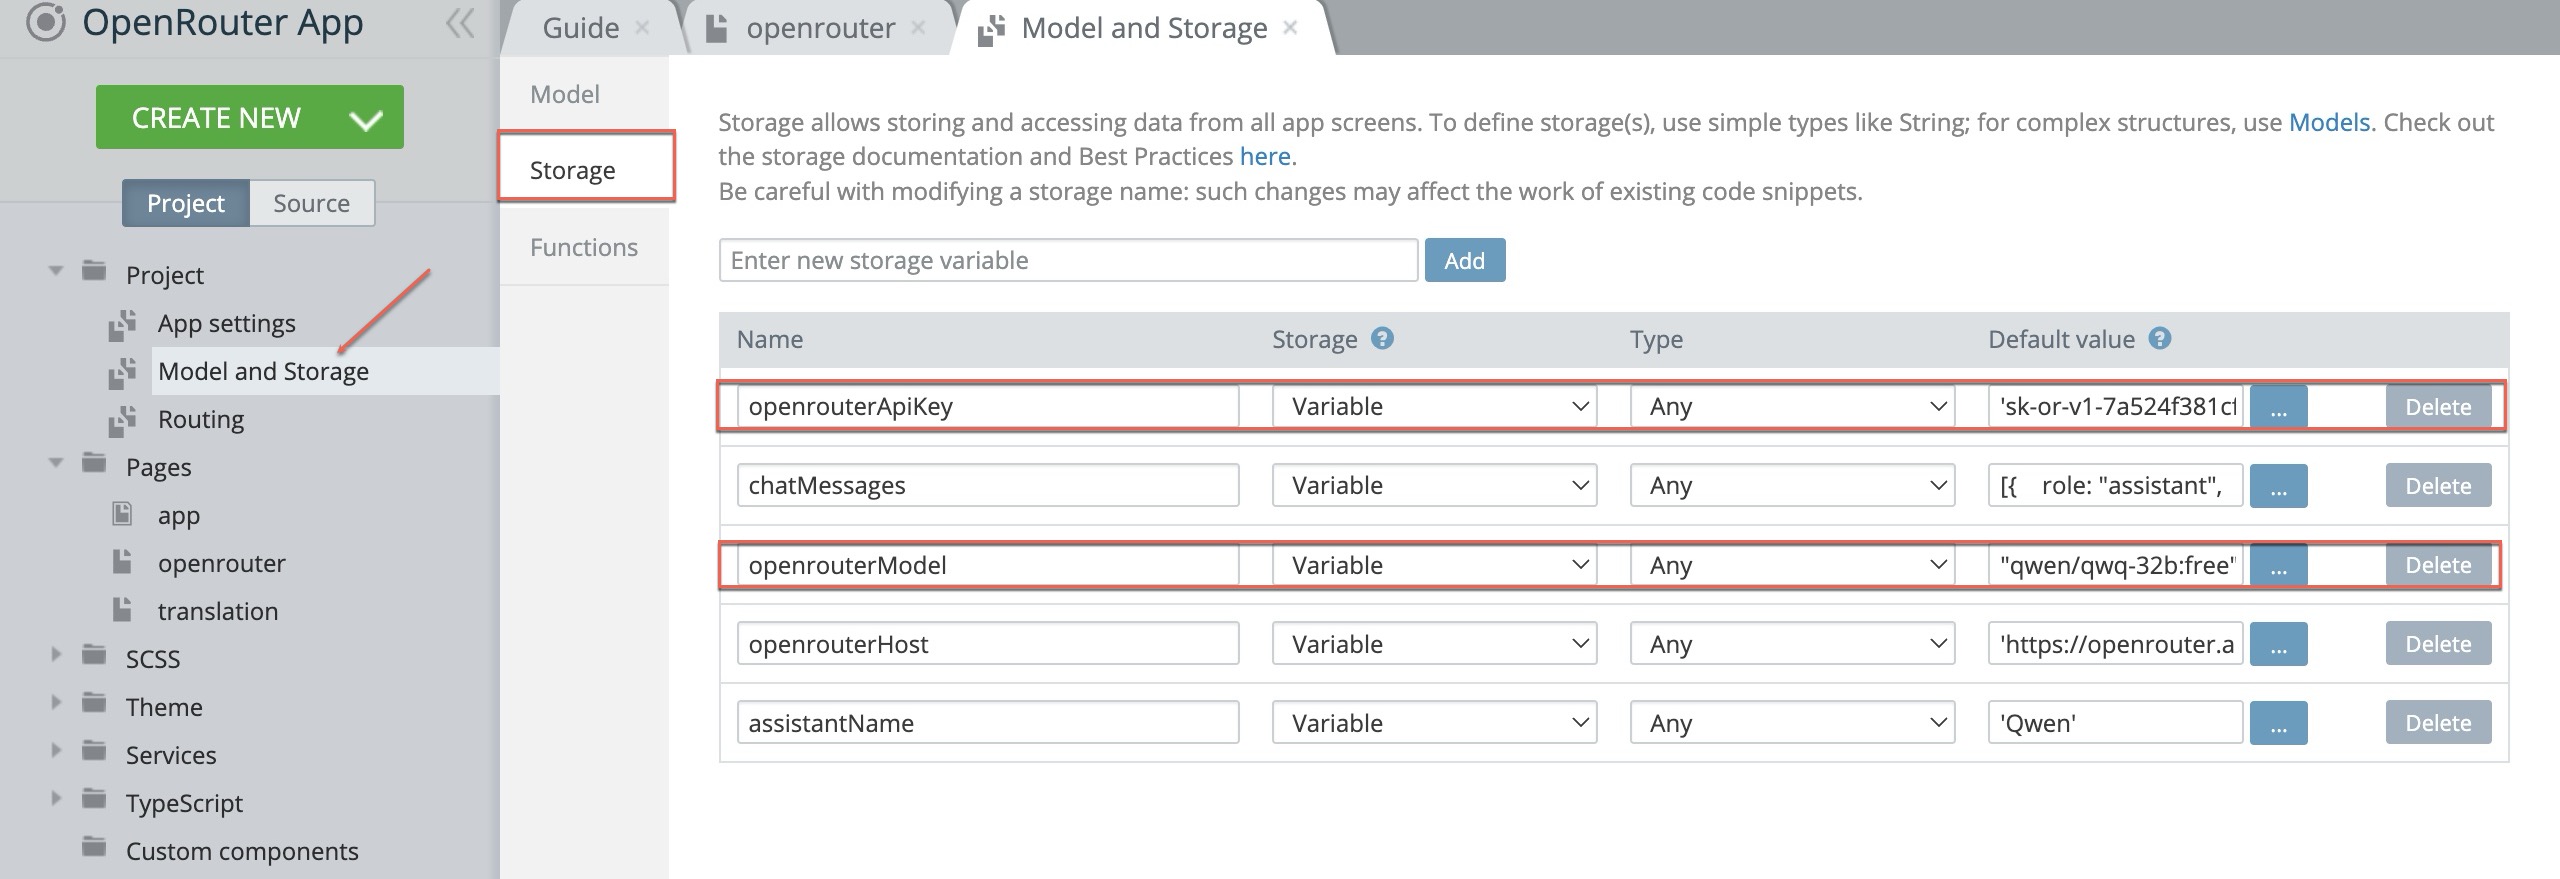
Have you heard about OpenAi o1-preview? This revolutionary model is making waves in the tech world, and we’ve discovered how to harness its power using Appery.io, the leading no-code app-building platform.

OpenAi o1-preview, the early release of the OpenAi o1 model family, boasts enhanced reasoning abilities in mathematics, coding, and science. It outperforms previous models by using reinforcement learning to perform complex reasoning tasks, making it a game-changer for app development.

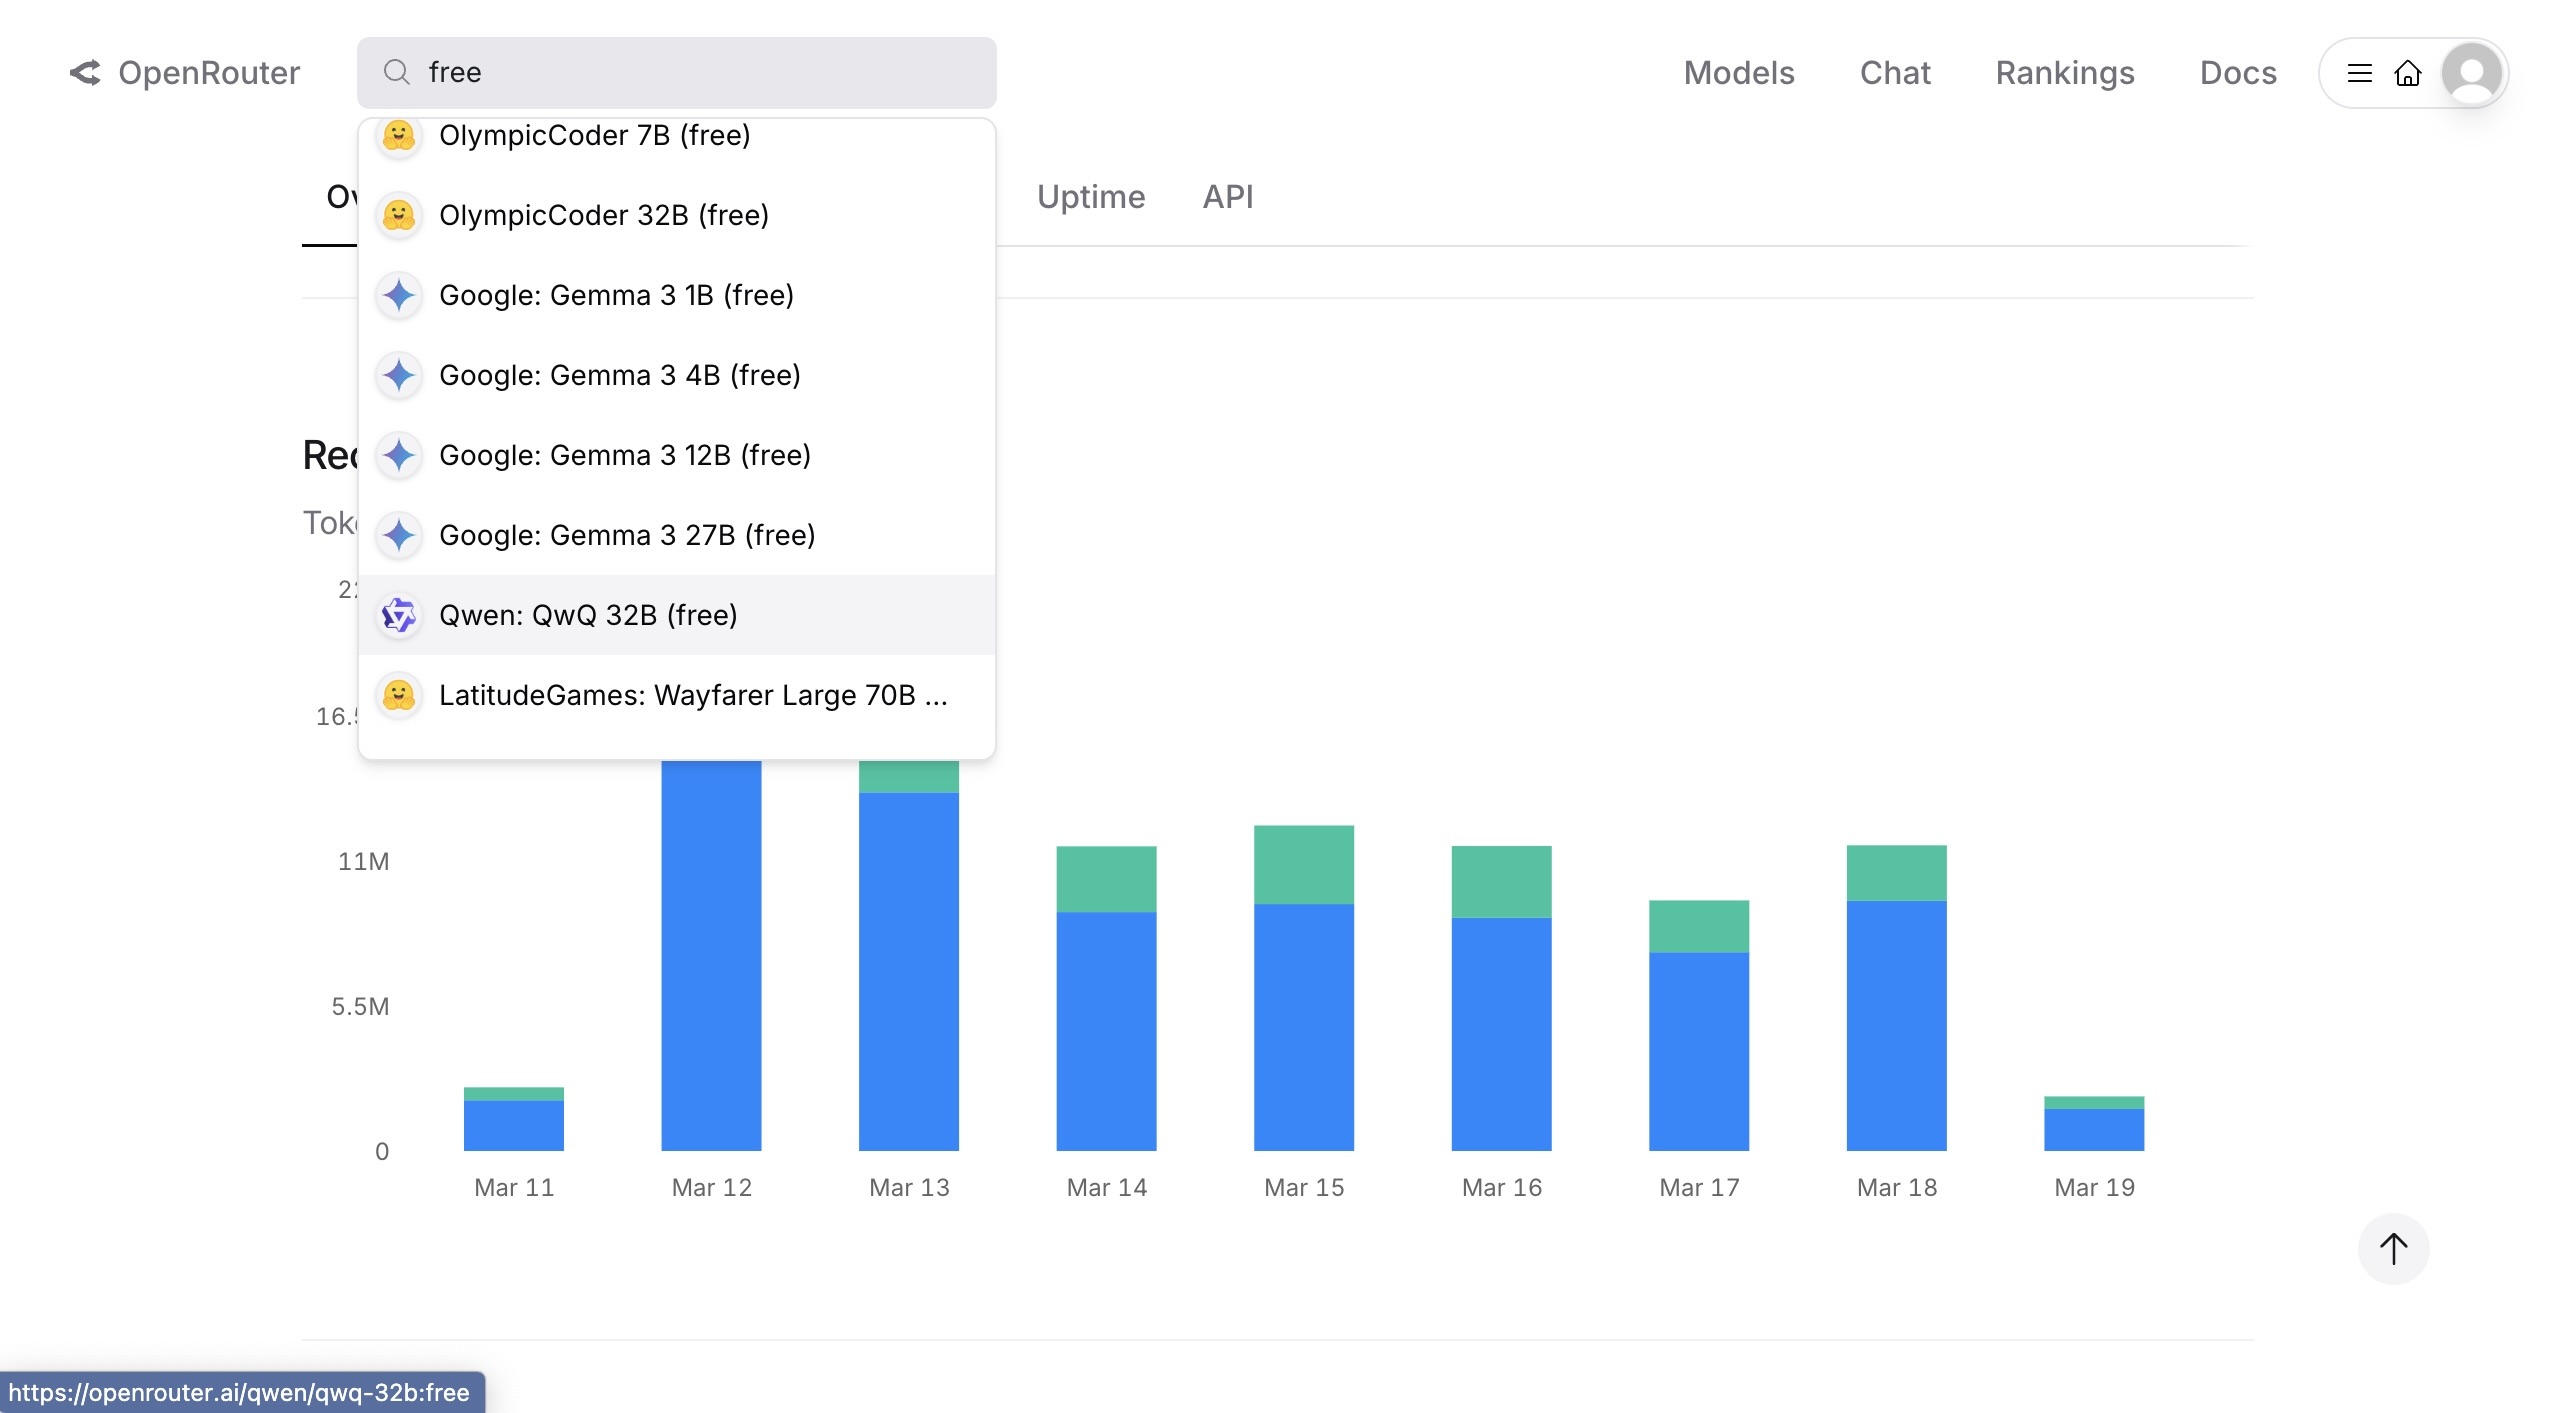
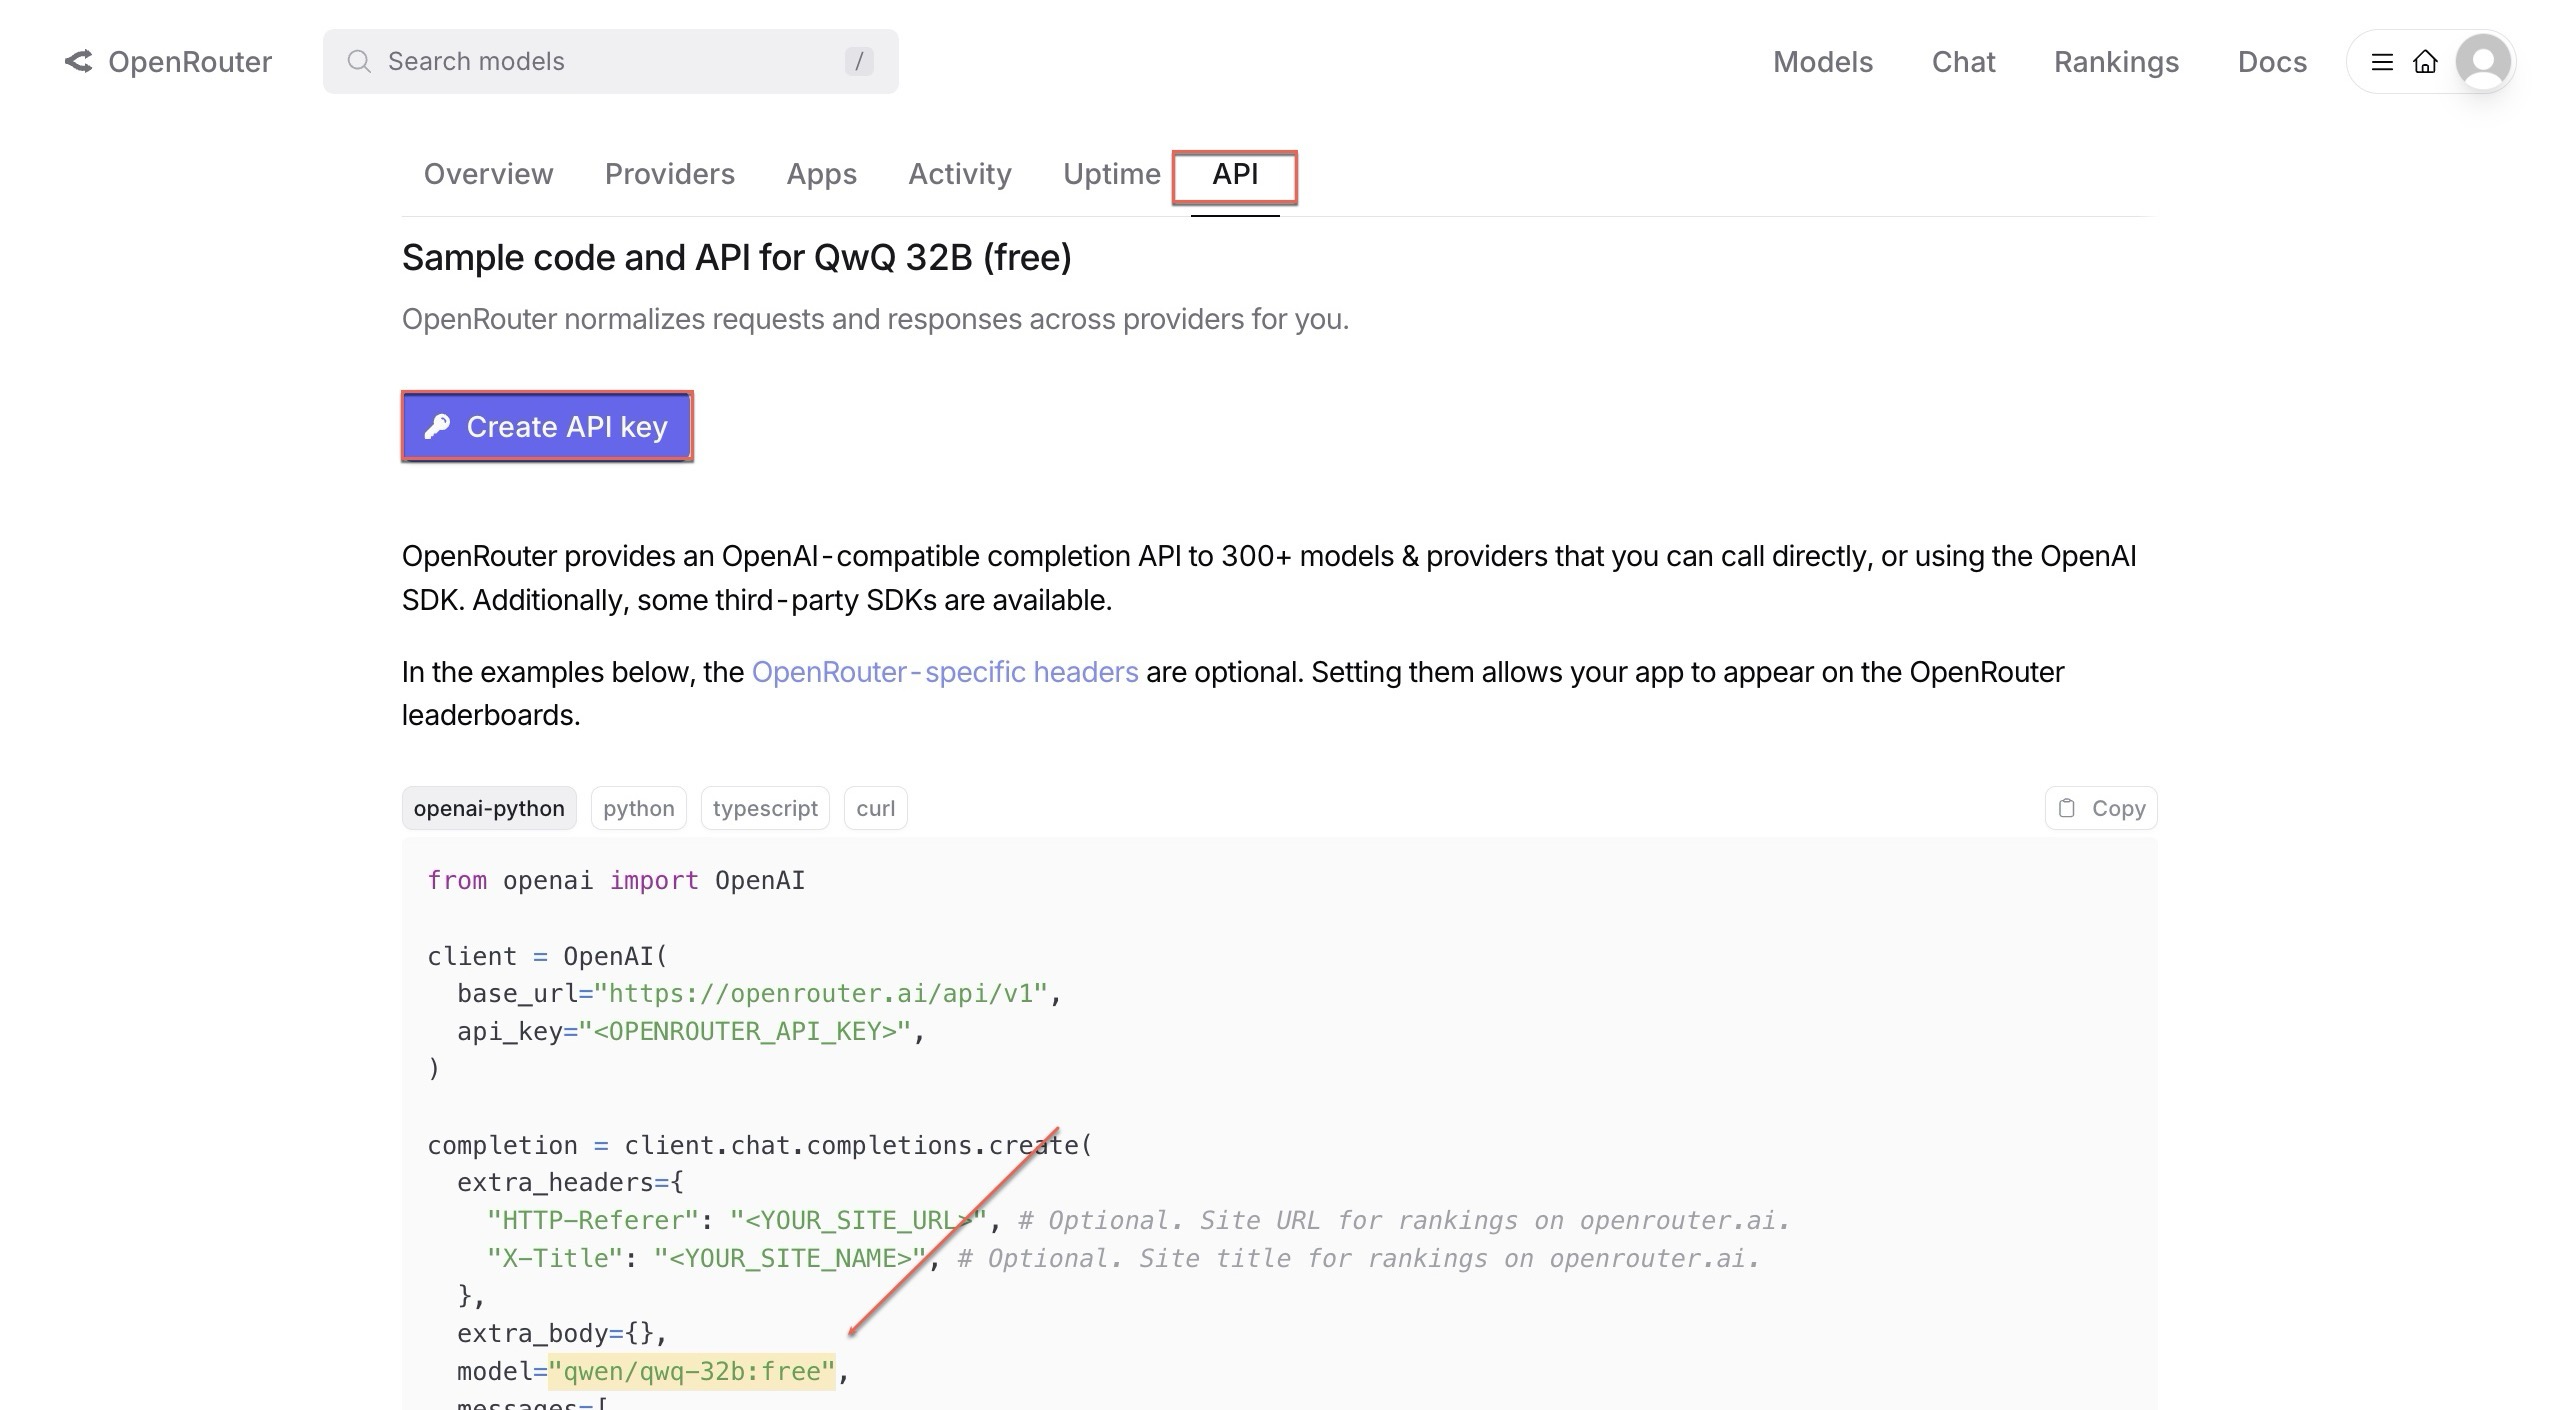
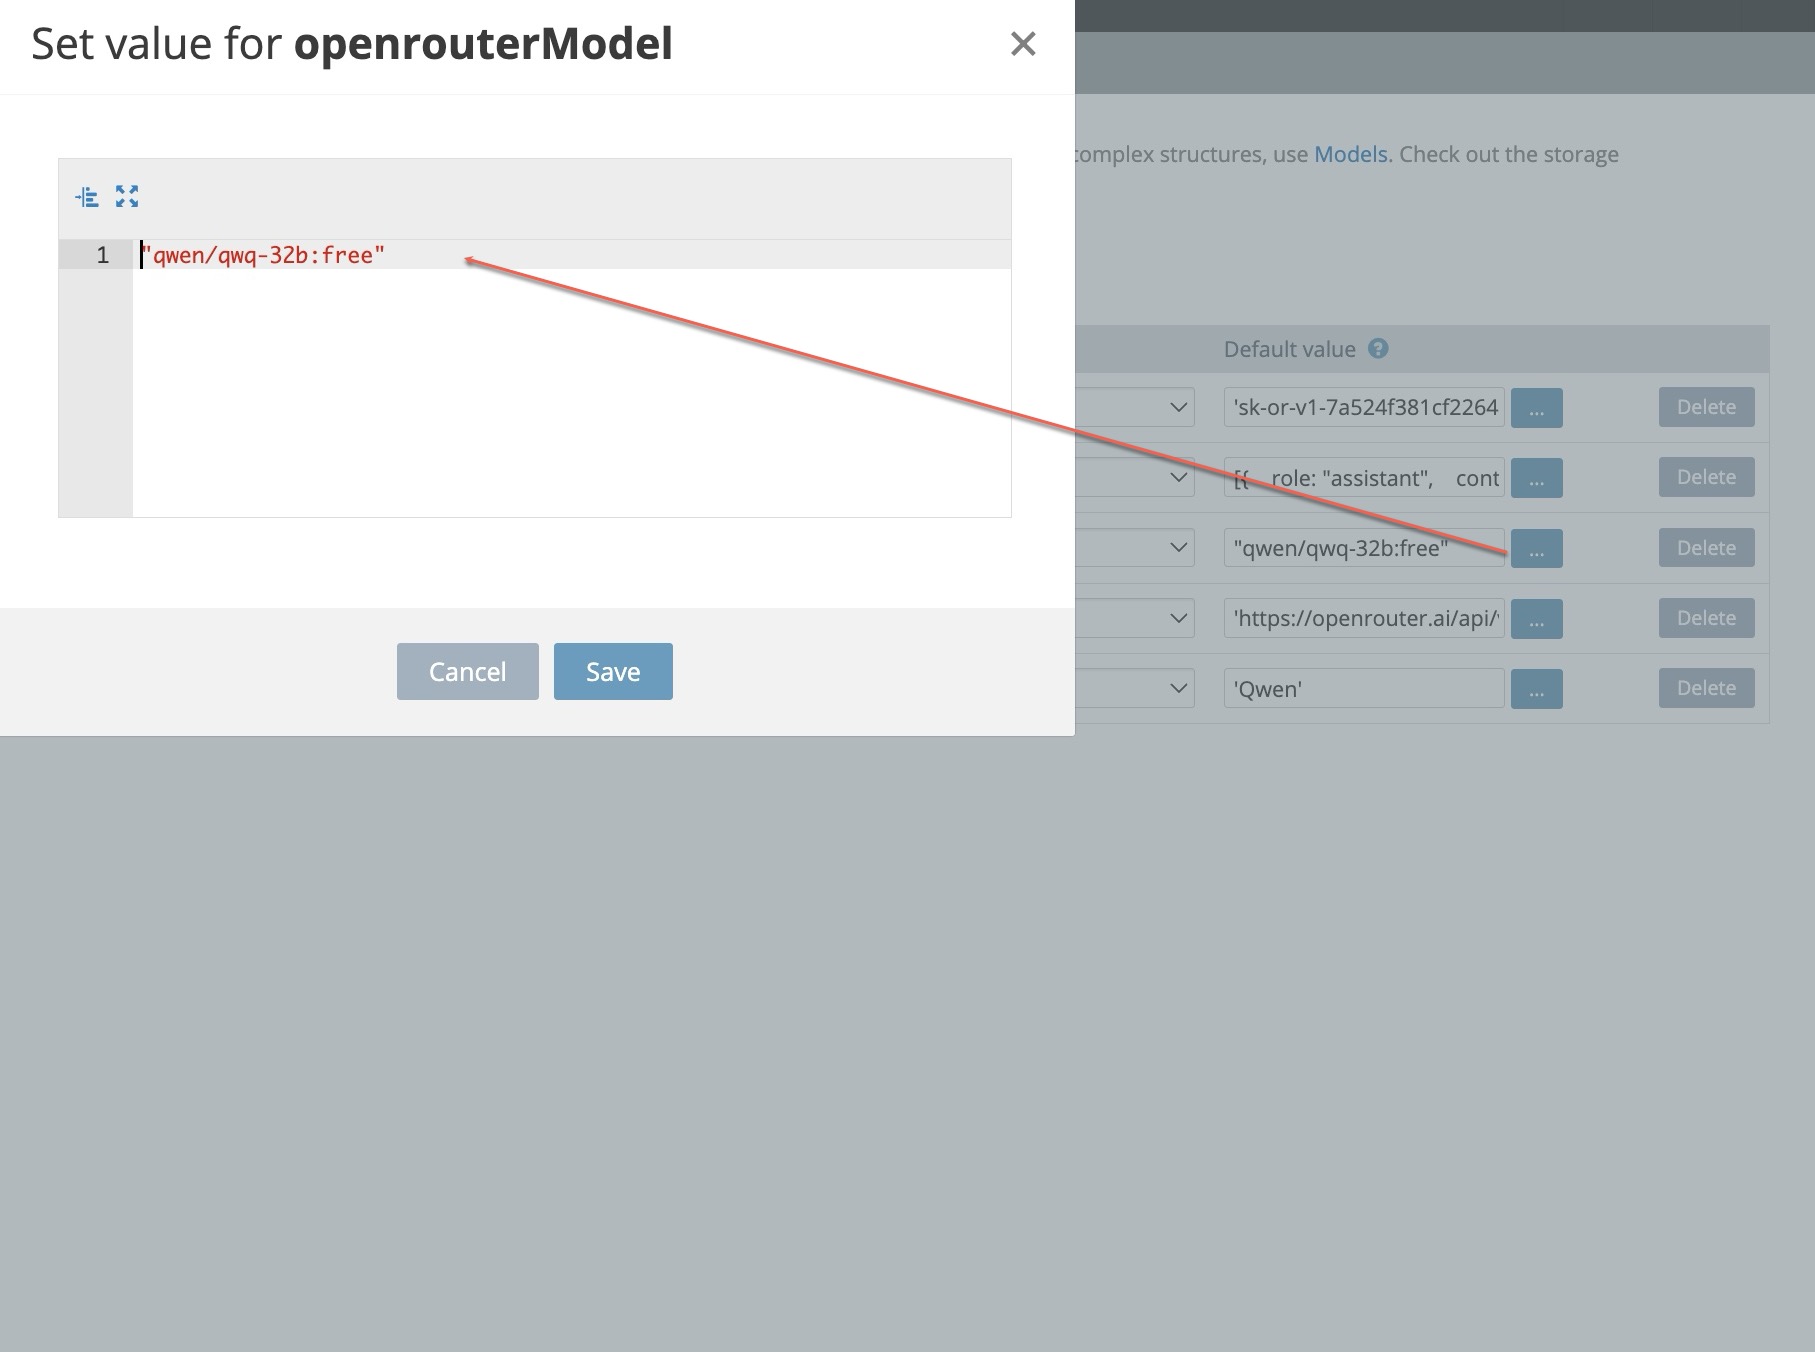
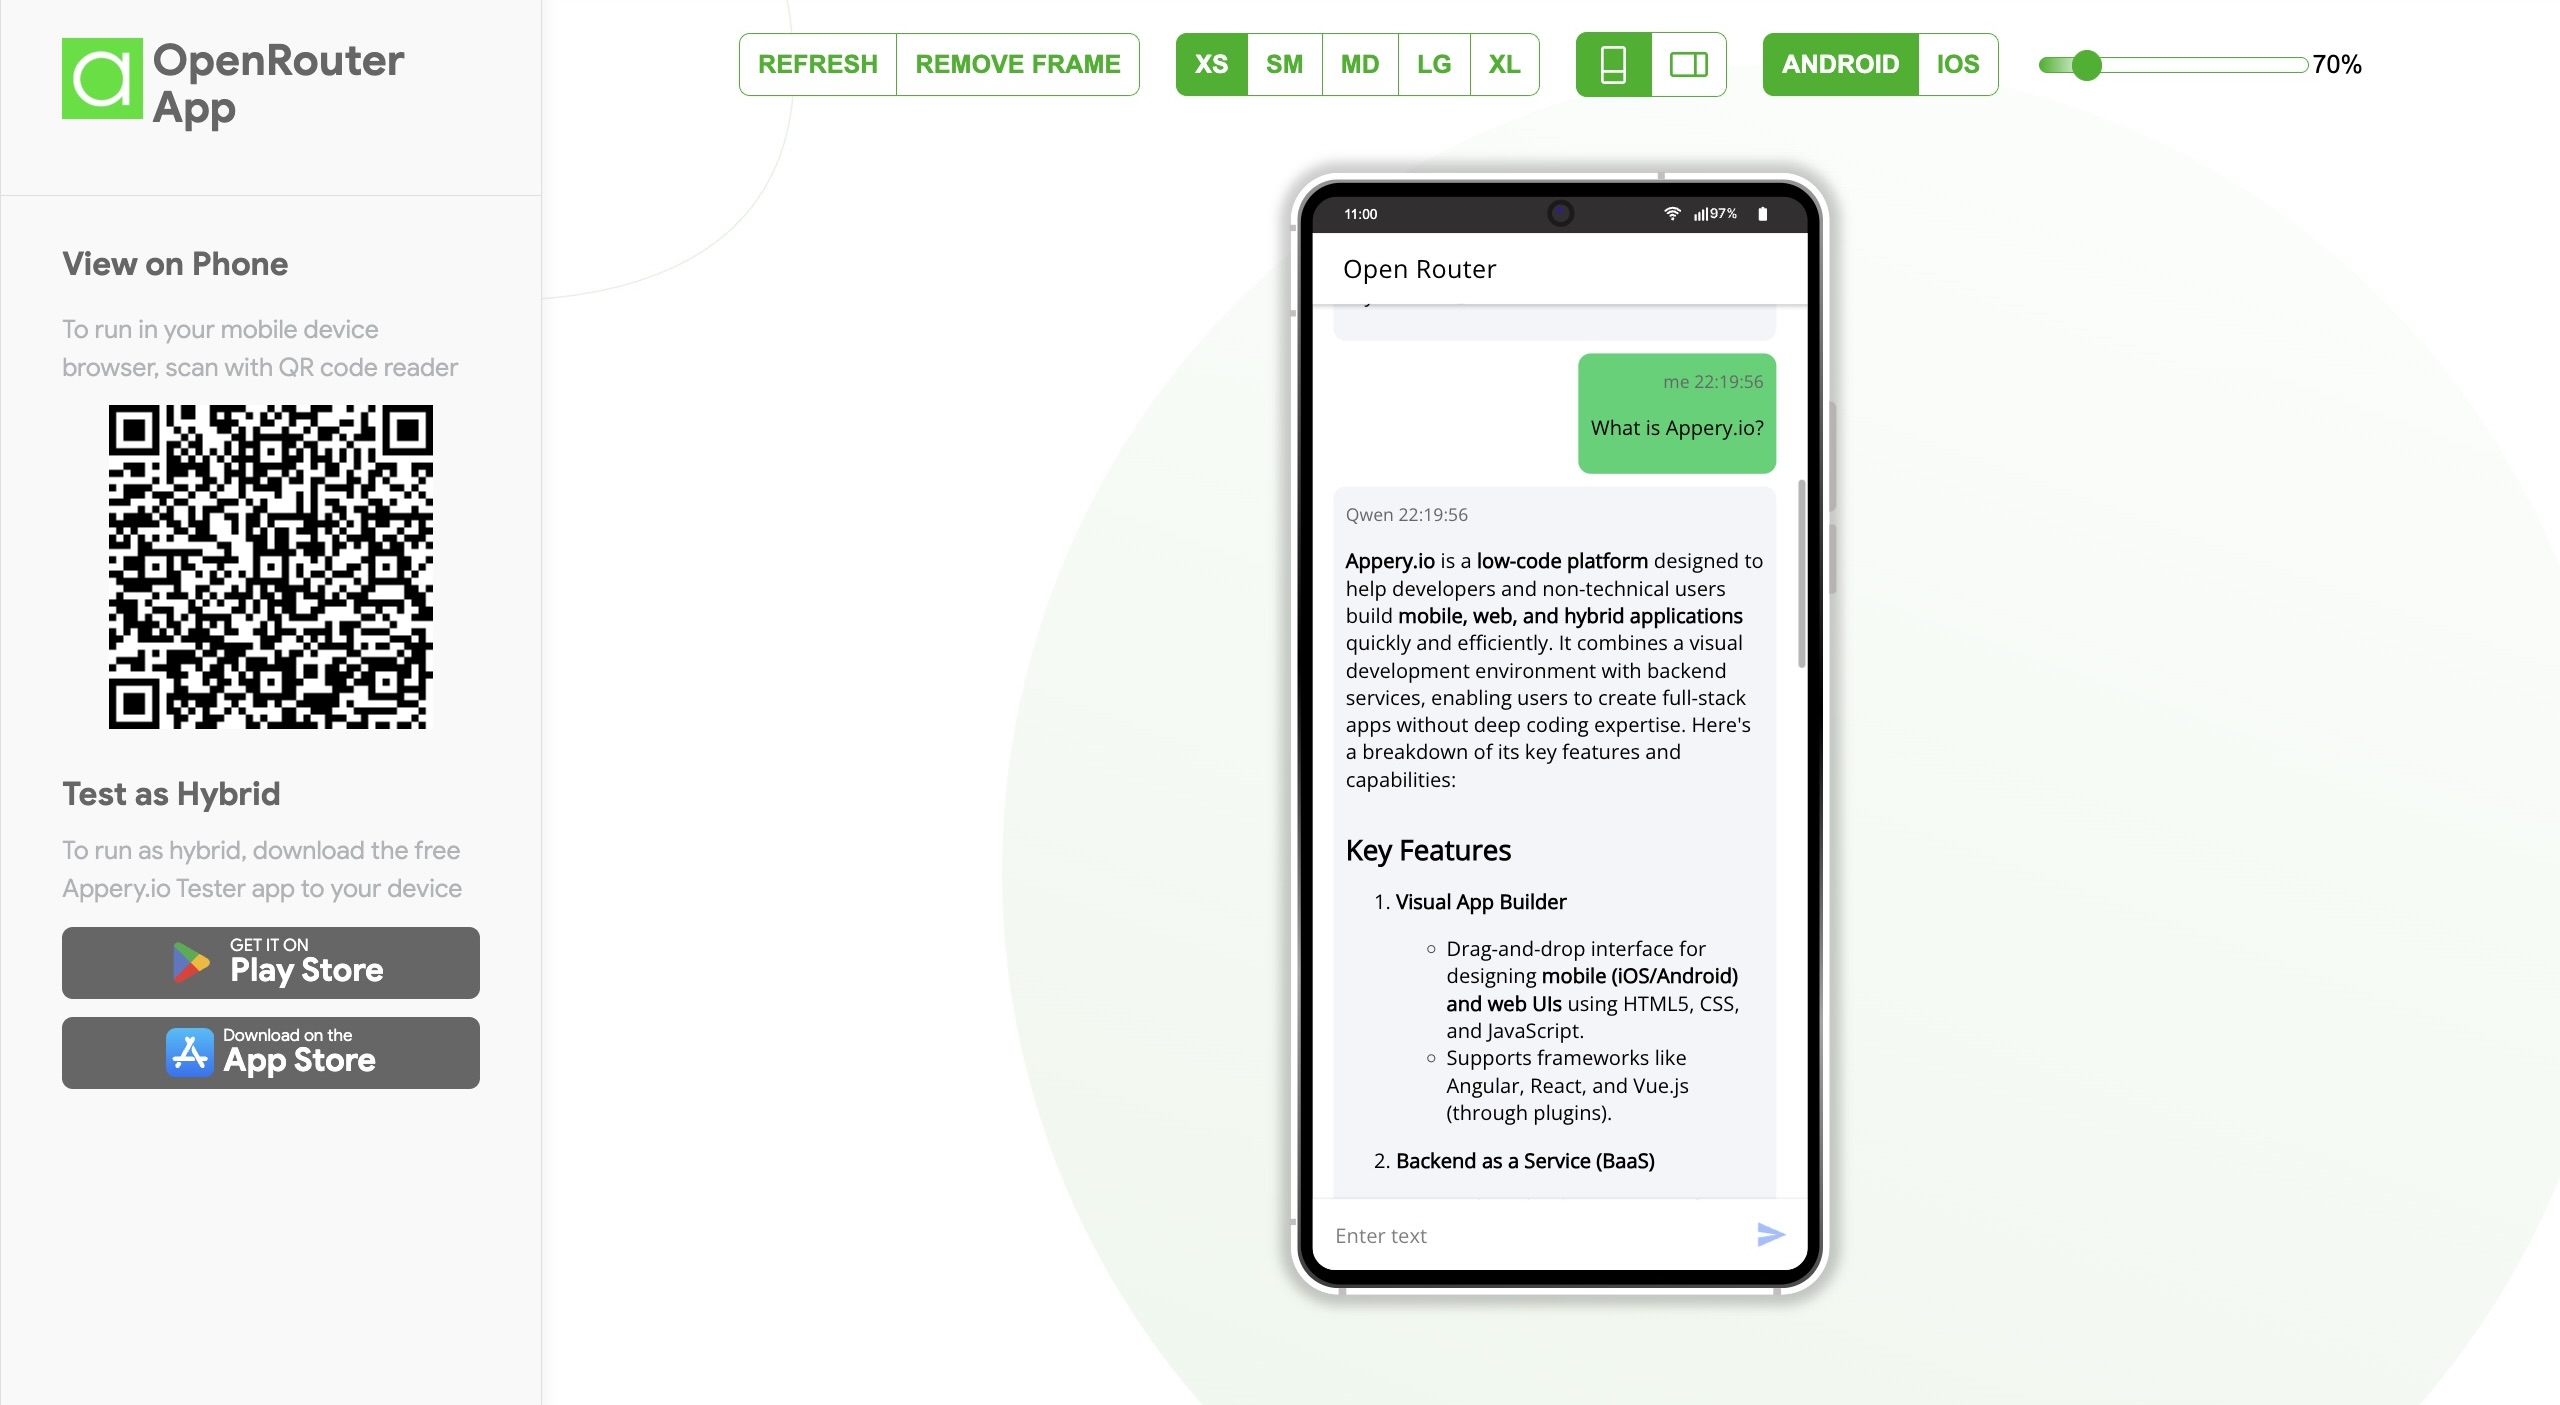
In our latest YouTube video, we demonstrate how to combine OpenAi o1-preview with Appery.io to create a mobile app that tests and compares this new model’s capabilities with the well-known ChatGPT-4o. The results are astonishing!

Imagine building powerful apps without writing a single line of code. With Appery.io, it’s possible! Our video showcases how we set up an app to compare the reasoning skills of OpenAi o1-preview and ChatGPT-4o. You’ll be intrigued to see which model comes out on top.

But we won’t spoil it for you here. To get all the exciting details and see the models in action, head over to our YouTube channel and watch the full tutorial. You’ll discover how OpenAi o1-preview can transform your approach to app development and why Appery.io is the perfect platform to bring your ideas to life.

Don’t miss out on this opportunity to explore the future of app development. OpenAi o1-preview and Appery.io are paving the way, and you can be at the forefront.

Watch our video, subscribe to our channel, and join us on this innovative journey!

Boost Your App with ChatGPT-4 Plugin and Appery.io’s No-Code Power

With the advent of Appery.io—a powerful no-code app-building platform—coupled with the cutting-edge ChatGPT-4 plugin, creating advanced, feature-rich applications has never been simpler.

Discover how to harness the full potential of these tools in our latest YouTube tutorial.

Why Choose the Appery ChatGPT-4 Plugin?

The Appery ChatGPT plugin is a revolutionary tool that enables your app to process file uploads and deliver human-like responses. This plugin integrates seamlessly with Appery.io, leveraging OpenAI’s robust capabilities to bring unprecedented interactivity and intelligence to your mobile applications.

Simplified Integration with Appery.io

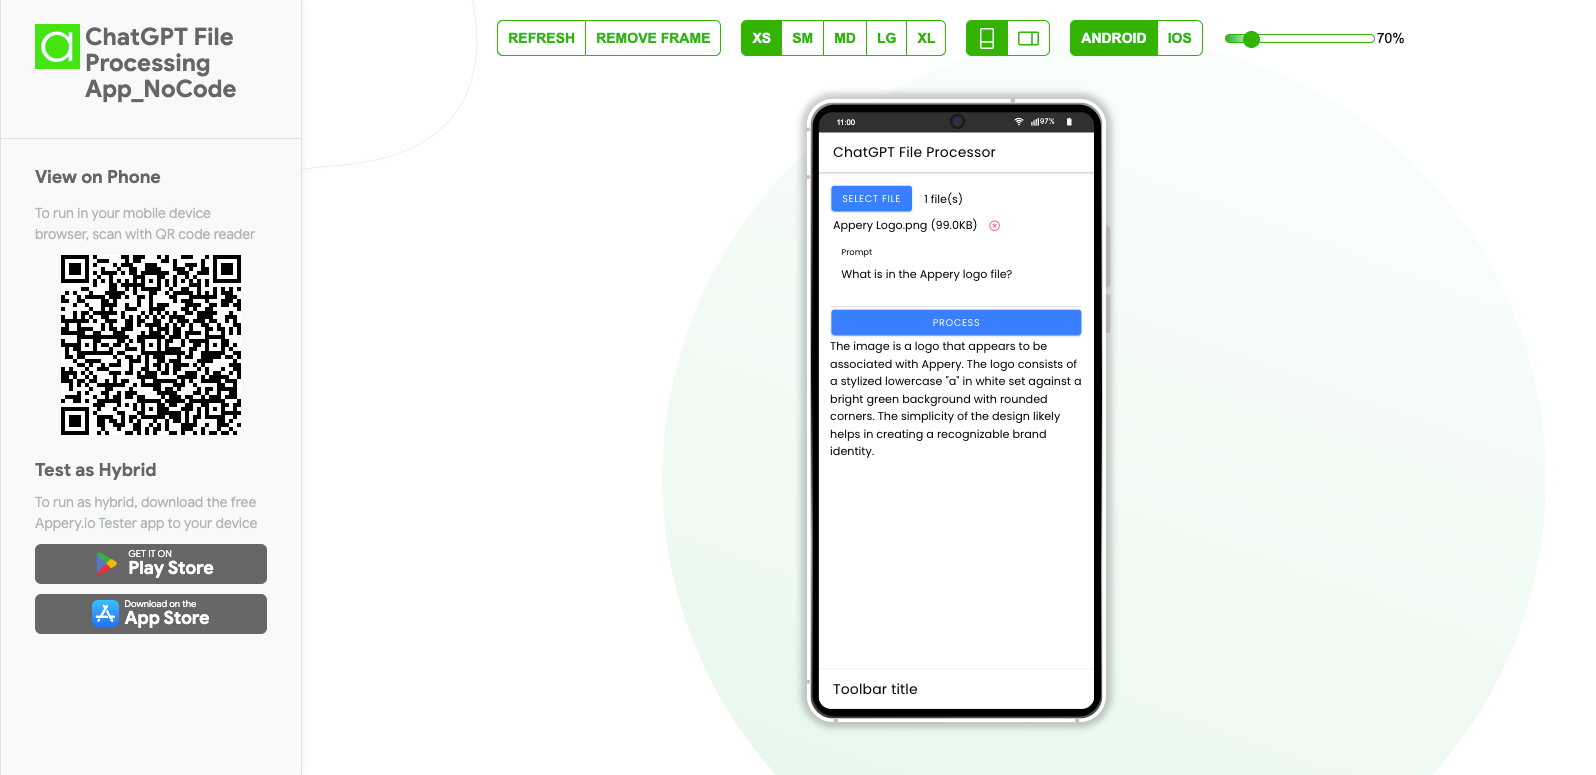
One of the standout features of Appery.io is its ability to simplify complex tasks. No need to struggle with extensive coding; instead, you can easily add the ChatGPT plugin, set up your app, and start processing images in no time.

The entire process is user-friendly, ensuring that even those unfamiliar with technical jargon can follow along effortlessly.

ChatGPT-4 Plugin Integration

Create Engaging User Interfaces

Using Appery.io, developers can create intuitive and engaging user interfaces. With drag-and-drop functionality, you can quickly design a UI where users can upload images, enter queries, and receive intelligent responses from ChatGPT-4o.

Enhance User Experience

Adding components like file pickers and text input areas enhances the user experience. These features allow users to select and upload photos directly within the app, making the interaction smooth and enjoyable. The ChatGPT plugin then processes these images, delivering impressive, human-like responses.

Seamless and Efficient Testing

Before launching, testing your app is crucial to ensure a flawless user experience. With Appery.io, you can easily test the image upload, query submission, and ChatGPT-4o response features, fine-tuning your app for optimal performance.

Thorough testing guarantees a seamless user experience

Watch Our YouTube Tutorial

Curious about the detailed steps? Our YouTube tutorial covers everything you need to know about integrating the ChatGPT plugin with Appery.io. From setting up your app to designing the user interface and testing functionalities, we guide you through each stage.

For a comprehensive guide, make sure to watch the full video.

Discover the Power of Appery.io

Appery.io empowers you to create powerful, intelligent apps effortlessly. Its no-code platform, combined with the ChatGPT plugin, opens up a world of possibilities.

Don’t miss out—head over to our channel, watch the video, and see how you can transform your mobile app development process today!


Maximize your app’s potential with the ChatGPT-4o plugin and Appery.io. Watch our YouTube tutorial now for a step-by-step guide to creating intelligent, interactive mobile apps with ease. Whether you’re a seasoned developer or just starting out, Appery.io has the tools to help you succeed. Subscribe to our channel for more exciting tutorials and updates.

Unlock the Magic of ChatGPT-4o: Effortless Low-Code Transformation for Your Text App!

We have an exciting news for you today! In our last video (you can find more details in this post), we showed you how to integrate an app with ChatGPT-4o using our platform as a no-code editor. Now, we’ll take it a step further. In out new video tutorial, we are demonstrating a similar integration, but this time using a low-code approach.

This means that only a minimum amount of code will be needed to implement the ChatGPT functionality for more complex integrations. Intrigued? Let’s dive in!

For your convenience, we are also providing the step-by-step instructions below.

Getting Started: Create a New App

First, let’s go to the Appery.io platform and traditionally create a new app.

You’ll need to add the necessary OpenAI Key that you can get from the OpenAI portal. Navigate to the Settings service and enter this key.

Just like before, any application will automatically get access to the OpenAI object once the OpenAI API key is specified. You can find more details in our documentation if you need further guidance.

Setting Up the User Interface

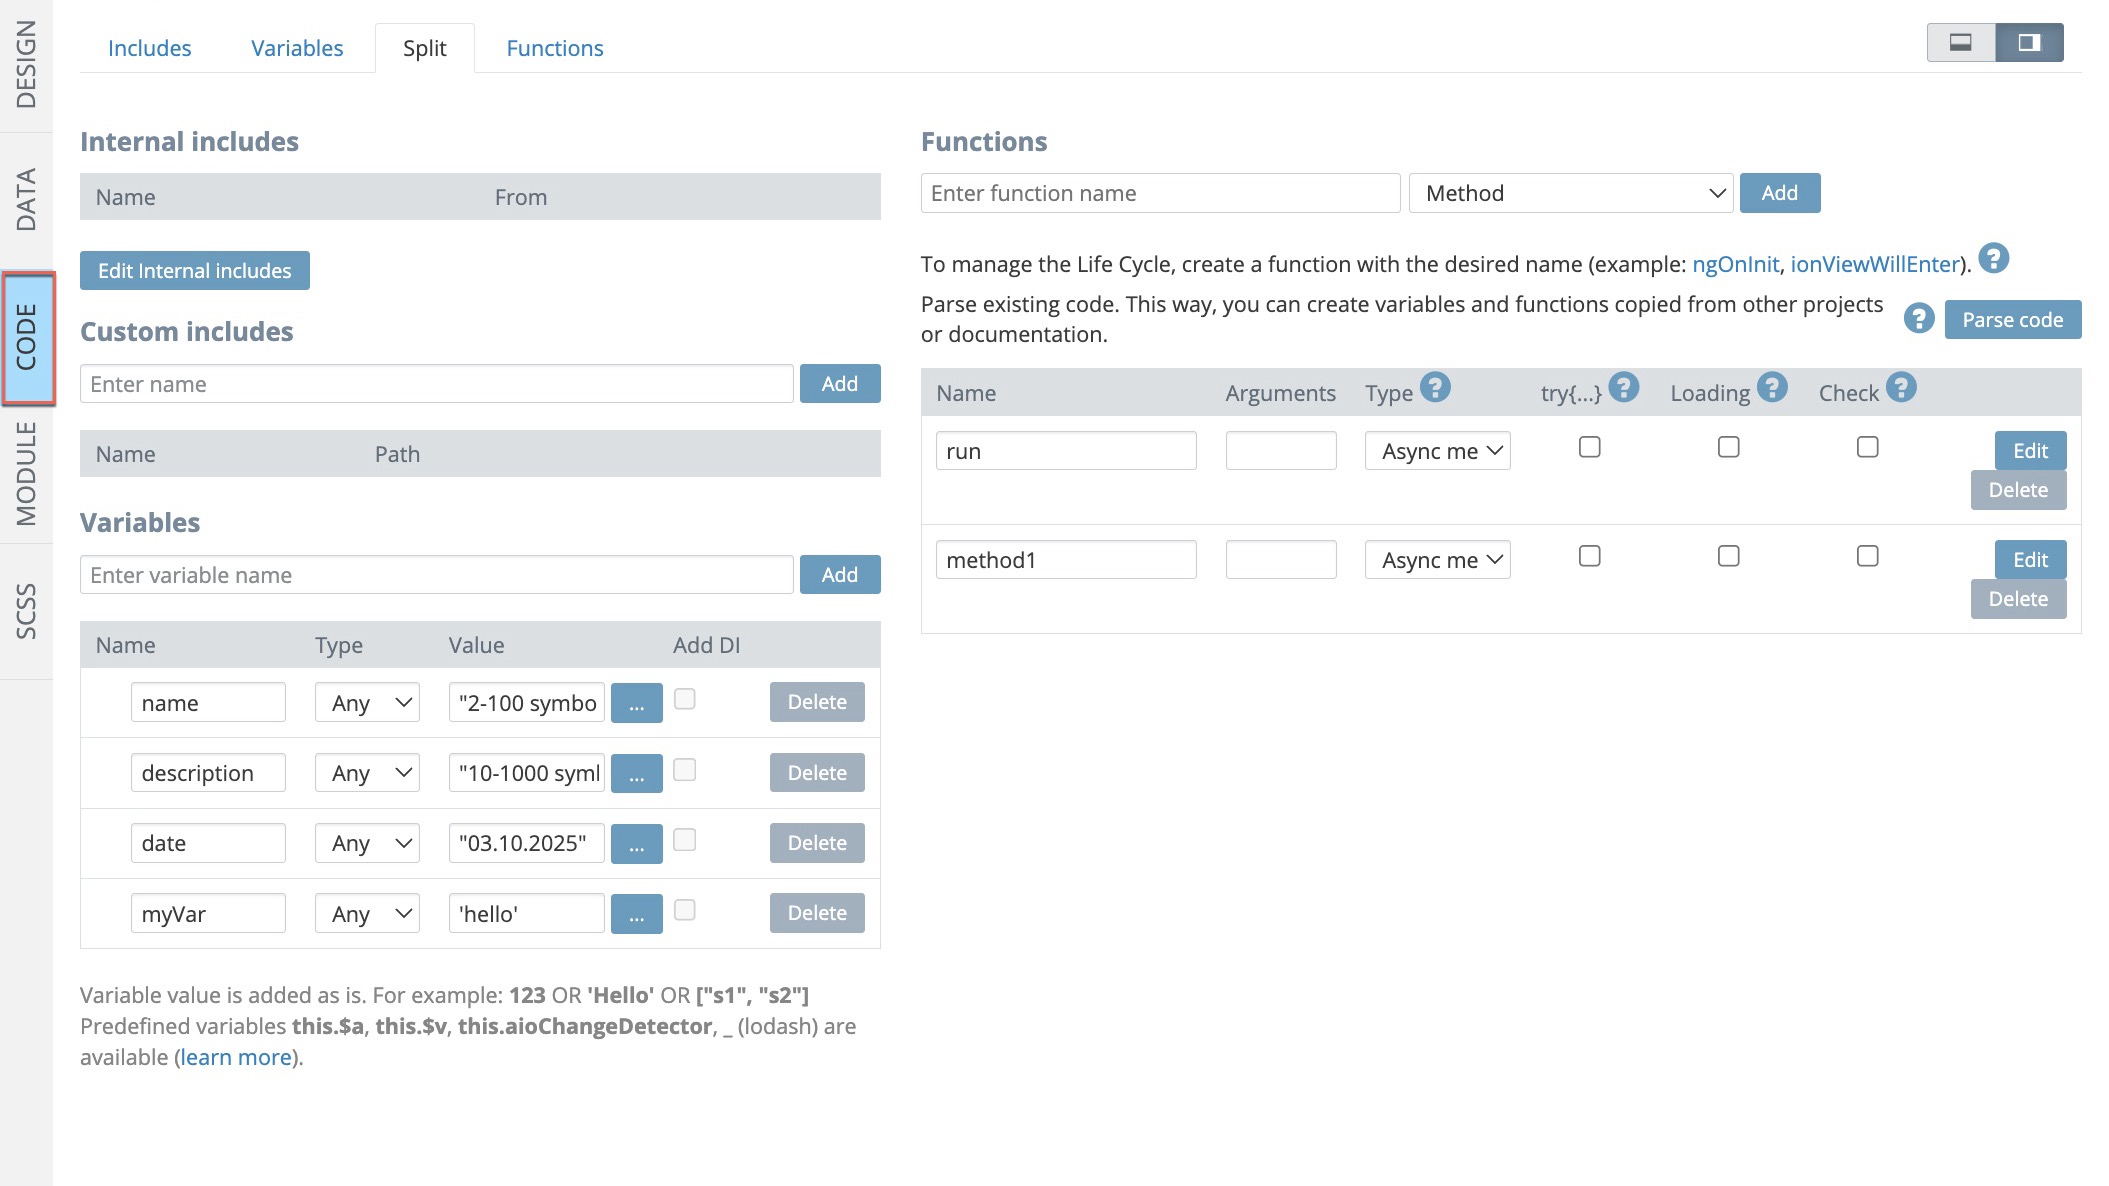
Before we start creating our UI, we need to decide how the code will access the input and display the output. We can use either local or global variables. For this demo, let’s use global variables.

So, open Screen1 in your new app, drag the following UI components onto the page and define them as follows:

Textarea (this is where you’ll enter questions):

  • Label = Question
  • [(ngModel)] = $v.question (Global variables are accessed with the $v variable) 

Button: (this will trigger the function named process() to handle the questions):

  • Text = Process
  • (click) = process()

Text: (this will display the responses from ChatGPT):

  • Text = {{obj}}
  •  Text in Editor = Food1 (to make page appear appealing in the editor without breaking the app’s UI)
  • *ngFor = let obj of $v.arr

We configured our no-code app to receive output as an array, not a string. For this low-code app, we’ll do the same. Let’s assume that ChatGPT will return an array of entities which we will iterate over and display.

Setting Up the Process Function

It’s time to configure the process function:

1. Open CODE > Functions, enter process for the function name and make sure it’s set as an async method.

2. Define the process method with the following code:

this.$v.arr = await this.$a.openai.aioRequest(this.$v.question, {format: ["food1", "food2", "..."]})

In this code, we’ll use the OpenAI object to send requests and receive an array of strings as responses. The first parameter is our question, represented by $v.question.

We also need the response to be an array of strings, so we’ll define the format for the second parameter in our code.

To enhance user experience, add a loading indicator before sending the request and remove it once the response is received.

await this.$a.showLoading()

await this.$a.dismissLoading()

All Set! Testing the App

Your app is ready for testing! Enter a query, press the button, and see the output from ChatGPT-4o:

Thank you for keeping up with us! We hope you found this video helpful.

Don’t forget to subscribe to our channel for more insightful content. Stay tuned and happy coding!

Boost Your Mobile Apps: Appery.io and ChatGPT Integration for Superior User Experience

Hello everyone!

Have you ever wished mobile app development could be more straightforward? Appery.io, a powerful low-code app-building platform, can make your dreams come true—especially when you integrate it with ChatGPT. Combining Appery.io and ChatGPT accelerates the development process and simplifies adding complex business logic to your applications.

Why Use Appery.io with ChatGPT?

Appery.io‘s intuitive builder lets you quickly create your app’s user interface (UI). And with simple tools, you can seamlessly integrate ChatGPT, an advanced AI from OpenAI. By using ChatGPT, you can add sophisticated features to your app without diving deep into complex coding.

A Simple Integration Guide

Here’s a simplified walkthrough of how you can get started:

1. Create a New App

First, open Appery.io and create a new app. In a blank Ionic app, click CREATE NEW > Page to generate a page with a predefined GPT-4o screen layout based on GPT-4o technology.

2. Obtain an API Key

For this integration, you’ll need an API key from the OpenAI portal. Just click the provided link, generate your API key, and copy it.

3. Insert Your API Key

Go to Project > Model and Storage > Storage tab, and paste your copied API key. This step is essential for enabling the AI technology.

4. Build Your UI

Next, open Screen1 and create a simple UI to test your app’s business logic:

Textarea component: For entering questions, define the [(ngModel)] value as “question”.

Button component: Add a button for processing requests and name it “process”. Define its (click) method as process().

Text component: This will display the response from ChatGPT. Define its Text value as {{result}}.

5. Add Business Logic

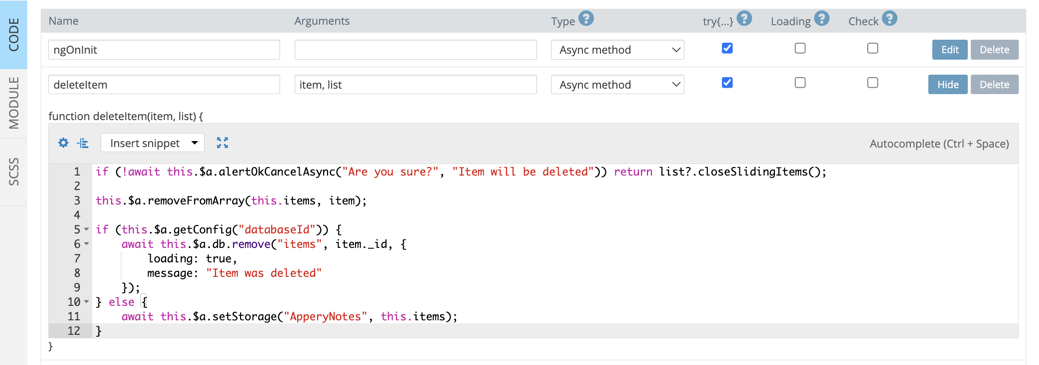
Navigate to the CODE tab and add two variables: `question` and `result`. Also, define the “process” function as an asynchronous method.

this.result = await this.$v.openai.aioRequest(this.question);


When you included the screen layout earlier, the OpenaiModule (check TypeScript > Module) was automatically added. This module has the `openai.aioRequest` method, which you’ll use in your “process” function.

6. Test Your App

Save your app and start testing! Ask a question and see how ChatGPT responds.

7. Enhance Business Logic to Get Response in the Form of an Array 

Let’s say you want a response in the form of an array.

To get different output format response, for example, an array, you’ll need to modify your function with defining the format parameter.

this.result = await this.$v.openai.aioRequest(this.question, {

    format: {

            arr: [“”, “”, “”]

        }

    });

Also, adjust your UI accordingly by adding an *ngFor attribute with the value set to let obj of result?.arr to the Text component and replacing its {{result}} with {{obj}}.

When testing, enter a request like, “Provide a list of ten healthy foods” and click the button to process it. ChatGPT will return the requested list formatted correctly. And just like that, with minimal coding, you’ve added valuable business logic to your simple app!

That’s all for now. To discover how Appery.io and ChatGPT can streamline mobile app development by integrating AI-powered business logic explore our YouTube video guide:

Remember to stay tuned – in our next videos, we’ll demonstrate how to add image processing functionality.

How to Get Access to the List of Contacts in an Ionic App

Have you ever wondered how to make you Ionic app access the list of contacts of your device?

This blog post walks you through the steps of creating an Ionic app that can do that. Also, if you prefer watching video guides, you can follow this YouTube tutorial to create such an app:

Getting Started with Your Ionic App

First, we need to create a brand-new Ionic app. For this tutorial, we’re using the Appery.io platform, which makes the development process straightforward and efficient.

1. Create a New App:

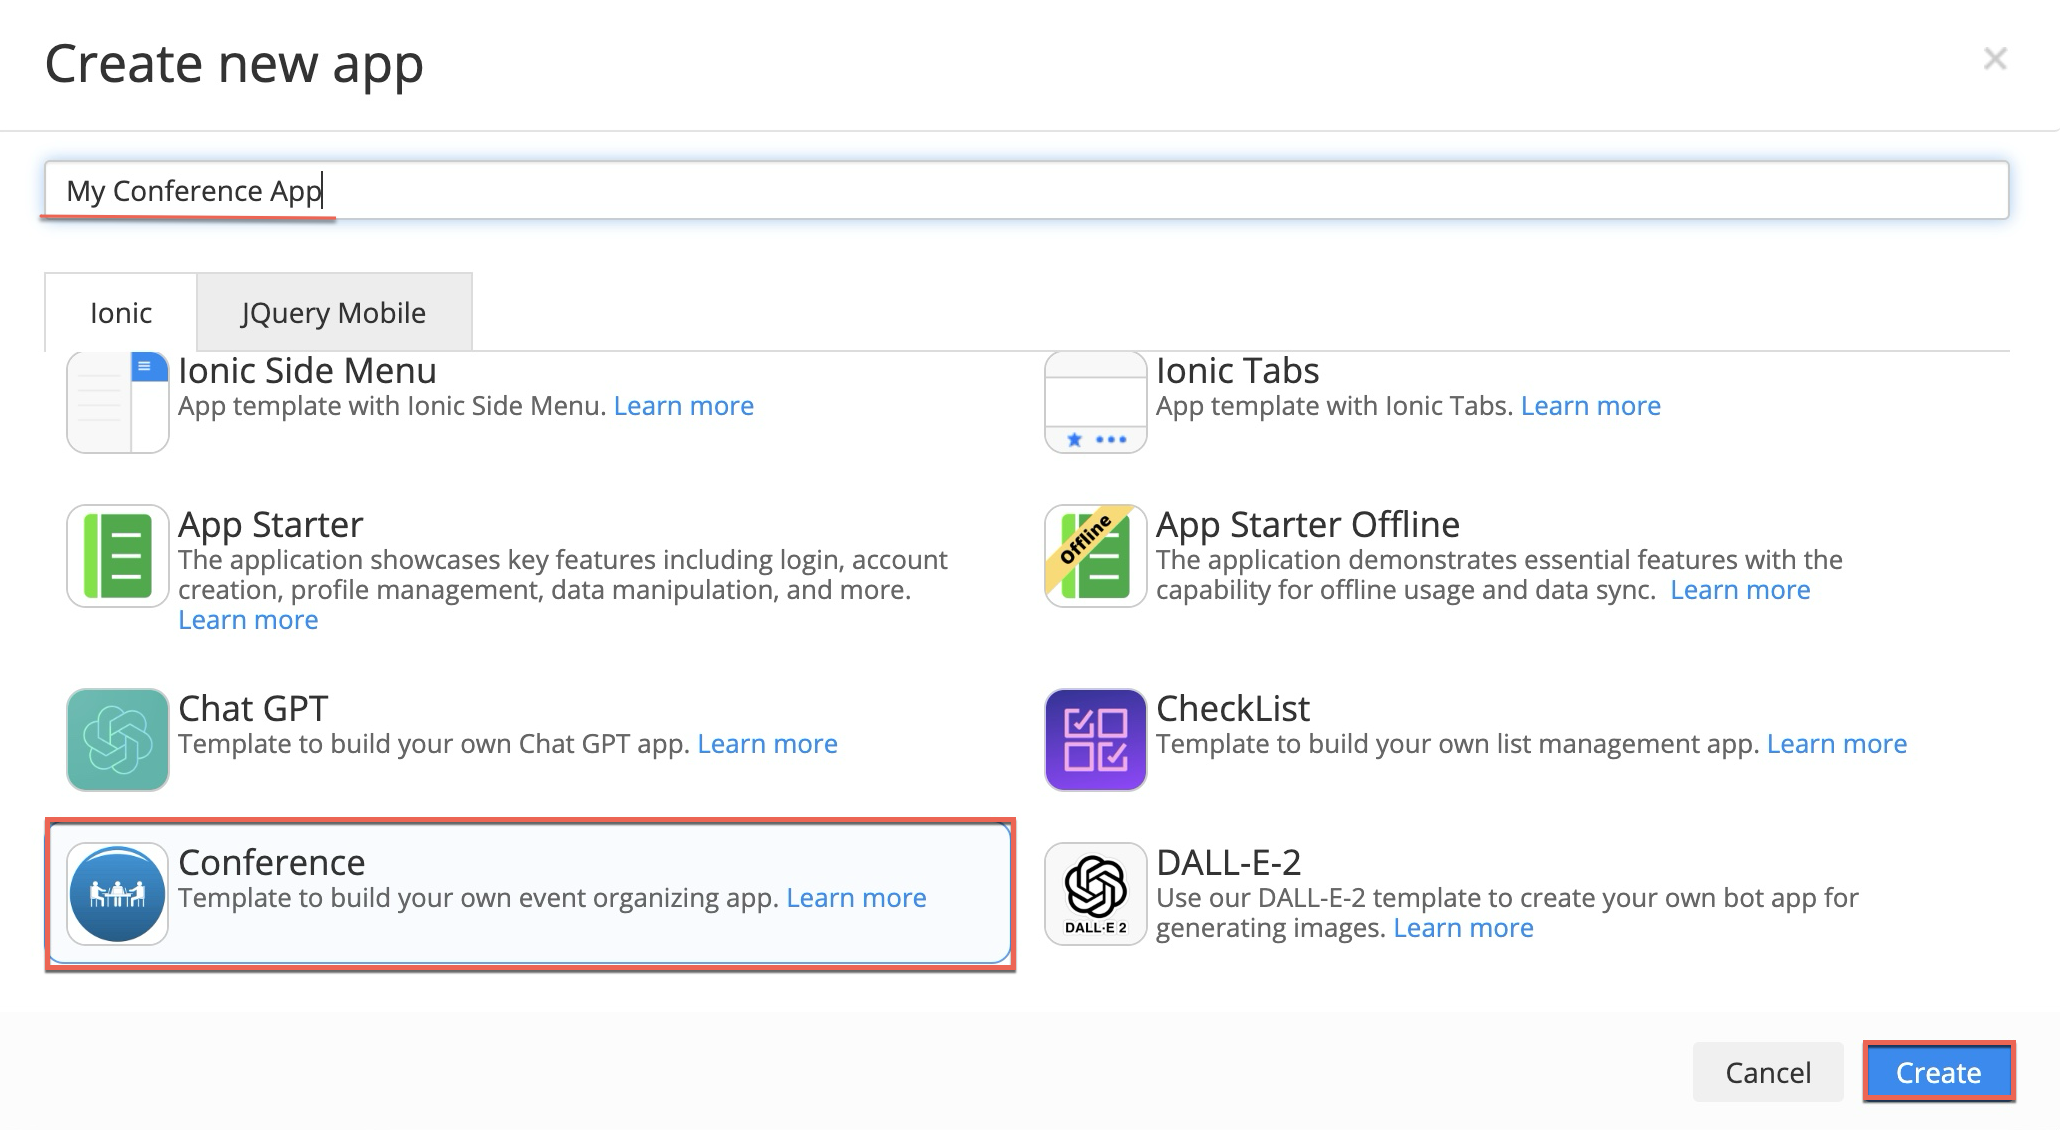
Open Appery.io and click Create new app.

Name your app and confirm. This action creates a blank Ionic app with a predefined screen layout named Contacts.

2. Adding the Contacts Page:

Add this Contacts page layout to your app and adjust the routing to make sure it points correctly to this page.

Reviewing & Testing Your App

Your app is now ready to display contacts. This page will show names, phone numbers, and pictures of contacts. Let’s click TEST to quickly preview the app.

You can also preview what the app looks like and how it functions by using the Appery.io Tester, a native app for testing. It’s user-friendly and works perfectly!

How It Works Behind the Scenes

Now, let’s go deeper into the technical step-by-step process to understand how everything works:

Cordova Plugins:

Under the Project > App settings > Cordova plugins tab, you’ll see that the app uses the Cordova Contacts plugin, which has been automatically imported. This plugin helps fetch the contacts.

Ionic Contacts Wrapper

We utilize the Ionic Contacts wrapper for better integration. You can check its detailed documentation page if you wish to dive deeper into this.

Setting Up Variables

Open the Contacts page’s CODE tab to see the variables that were added automatically:

– `contacts`: Returns the contact list.

– `keyword`: Enables filtering.

– `SAMPLE_AVATAR`: Displays a sample picture. You can upload your custom one by using the Media Manager, if needed.

– `SAMPLE_CONTACTS`: Provides a sample list for testing in the browser.

Displaying Contacts List in the App

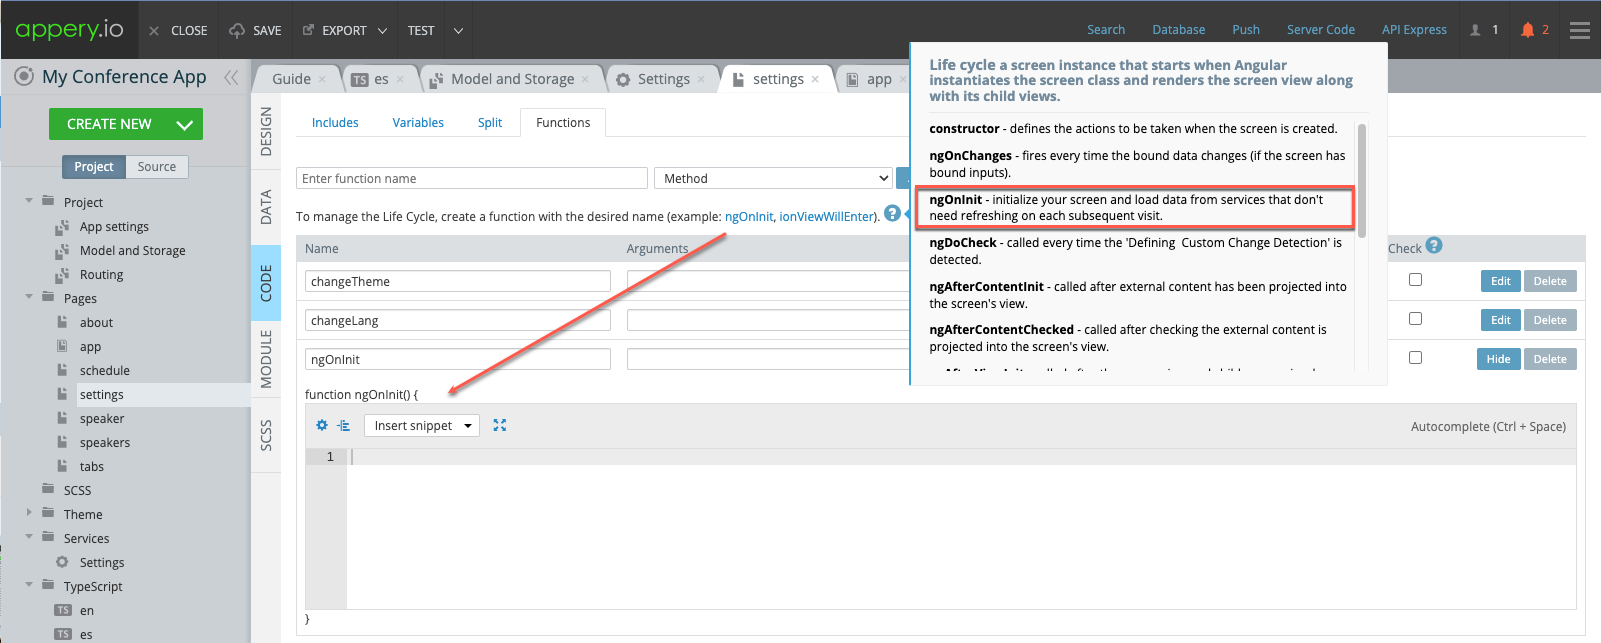
Now, let’s scroll to the Functions section to see how the contacts list is added in our code.

If the app runs in a browser, it uses the sample contacts from the variable above. But if the app is run on a real device, it accesses the actual contacts list via the predefined `contacts` variable.

Creating a User-Friendly UI

Here’s how to make the contacts list visually appealing and easy to navigate:

List Component:

Uses ListItem with the *ngFor attribute to iterate through the contact list and display each contact’s information.

Filtering Contacts:

The *ngModel keyword in the Search component allows users to filter contacts by name.

Using Selections:

The app lets users select contacts easily. Selected contacts have the selected property set to true.

Conclusion

And that’s how to get access to the list of contacts in an Ionic app! This straightforward guide aimed to simplify the technical aspects and provide a clear path for even beginners. Now you can easily fetch and display contacts in your Ionic apps.

Happy coding!

Add Text Recognition to Your Mobile App Easily

Hello everyone!

Welcome to an exciting journey where we’ll show you how to add text recognition to your mobile app using the Appery.io Text Recognition plugin. Our new step-by-step video guide is designed to make everything simple and clear, even if you’re new to this technology.

In this video, you will be guided on how to:

  1. Import the Text Recognition plugin to your app
  2. Update default routing
  3. Test your app

Also, you will learn what modes come with the plugin:

Static Text Recognition:

  • Echo mode
  • Camera mode
  • Gallery mode

Real-Time Text Recognition: 

  • 10-second recognition
  • Continuous recognition

After watching the video guide, you will understand the app structure and also get the code breakdown to see the full picture of what’s behind the plugin.

Ready to Add Text Recognition to Your App?

To implement this feature, activate the Appery.io Text Recognition Cordova plugin in your project and you are ready to go!

And that’s it for now! Thanks for following along. We hope this guide helps you add robust text recognition to your mobile app.

Happy coding!

Unlock Real-Time Communication with WebSockets on Appery.io

Introduction to WebSockets with Appery.io

Have you ever wondered how apps send updates in real-time? The magic happens with WebSockets. Today, we’ll show you how to add WebSockets to your apps using Appery.io. This low-code app-building platform makes it easy to create complex apps quickly. Note that this post supports our comprehensive video tutorial and if you are interested in details, you are welcome to watch it.

By following the steps below, you can easily enhance your app with real-time communication features using WebSockets and Appery.io. Exciting, right? Let’s get started!

Setting Up Your App

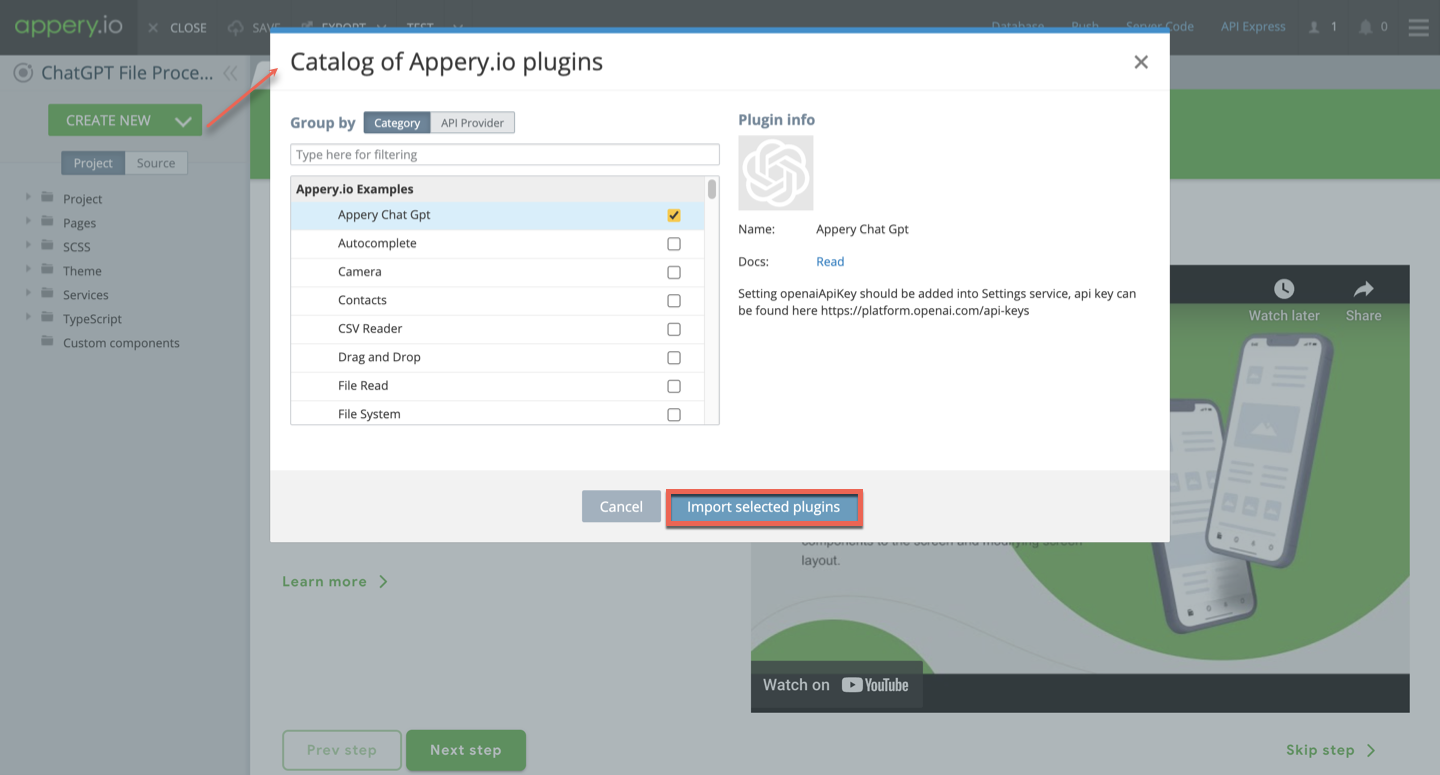
First, create an empty app in Appery.io. Then, go to the Catalog of Appery.io plugins and select the WebSocket Example plugin.

Before importing it, you can click the link to open its documentation page. You’ll see it contains the code for the WebSocket server. This server needs to be run somewhere. While real applications may use Amazon or Azure, we’ll use CodeSandbox for testing.

Using CodeSandbox

1. Create a new Devbox.

2. Select Node.js Server from the list of backend frameworks.

3. Name your Devbox and set its visibility to “Public”.

4. Install two npm modules: `express` and `socket.io`.

Now, let’s move to the next step.

Setting Up Your WebSocket Server

Copy the server code from the documentation page and paste it into your `index.js` file in CodeSandbox. If everything is correct, the server should start successfully.

Back to Appery.io

Return to the Appery.io project and click Import selected plugins with the WebSocket Example plugin checked. This plugin helps you integrate WebSockets into your app. But first, let’s test it.

Testing Your App

Go to the Project > Routing section and set “WebSocketScreen” as the default page.

Next, navigate to TypeScript > WebSocket and specify the URL of your WebSocket server obtained from CodeSandbox.

Now, run your app in different browsers like Google Chrome, Firefox, and Edge. Enter a test message and click the “Send” button.

Ready! The message should be delivered to all clients in real-time.

Conclusion

Now you’ve seen how to add Websockets to your apps using Appery.io. This post is a companion piece to our detailed video tutorial. The demo app isn’t a finished product but provides a solid template for building your own real-time communication features. Give it a try and unlock powerful networking capabilities in your applications!

Push Notifications with Appery.io Server Code: Watch Our New Tutorial

Hey everyone! The Appery.io team is excited to announce our latest video tutorial on integrating push notifications into your mobile app by using Server Code. 🎉

Push notifications are a powerful tool for engaging app users. With Appery.io, integrating these notifications is simple, even if you’re not tech-savvy. In this video, we are showing you how to add push notifications to your mobile app using Appery.io , a low-code platform that makes app development accessible for everyone.

Our new how-to video covers:

Setting Up Push Notifications: Learn how to configure notifications before sending.

Triggering Custom Actions: See how to trigger popups or other actions when a notification is delivered.

Sending Technical Data: Discover how to pass custom data, like navigation instructions, via push notifications.

Automating Notifications with Server Code: Understand how to send notifications programmatically for real-world use cases.

Targeting Specific Devices and Users: Master the art of sending notifications to individual devices and users.

Highlights from the Video

1. Real-Time Updates: With Live debug, any changes you make in Appery.io are instantly reflected on your mobile device.

2. Custom Alerts: Trigger TypeScript code when a notification is delivered, showing custom alerts or actions.

3. Server Code Integration: Learn to automate push notifications using server-side code.

4. User Targeting: Send notifications to specific users across all their devices by linking user IDs.

Watch Now

Don’t miss out! Watch the full video tutorial and elevate your app’s user engagement effortlessly. Click below to watch the video.


Want more insights? Check out our YouTube channel for more videos and tutorials.

Don’t forget to like and subscribe. Your support keeps us going!

Elevate Your Android App with Powerful Push Notifications via Appery.io

Hey there, fellow app developers! Want to keep your users engaged? Push notifications are the perfect way to grab their attention. Today, in our new video tutorial, we’ll guide you through setting up push notifications for Android apps using Appery.io. Let’s dive in!

Here’s a short plan of actions:

Step 1: Create a New Application

First, launch Appery.io and create a new application. Go to Project > App settings > Cordova plugins and enable the Push Notification plugin to get started.

Step 2: Configure Push Settings

Exit the editor and head to the Push Notifications Settings section. Toggle the Enable Push Notification option. Then, we need to specify a database to store device identifiers.

Step 3: Set Up a Database

Navigate to the Databases tab and create a new database. By default, Appery.io provides the predefined Devices collection for storing device IDs and tokens.

Step 4: Link Firebase to Your App

Push notifications on Android require Firebase. You need to get two files:

1.  google-services.json

2. Firebase Admin SDK JSON

So, head to the Firebase console to create a Firebase account if you don’t already have one. Set up a new project and register your Android app. Grab the package name from the Android Settings in Appery.io and enter it into Firebase.

Step 5: Download and Upload Files

Download the `google-services.json` file from Firebase:

And upload it to your Push Notification Settings in Appery.io:

Then, click Next and follow the steps in Firebase to get the Admin SDK file and upload it to Appery.io.

Step 6: Generate Your APK

With everything configured, generate your binary APK file:

Step 7: Test Your Application

Scan the generated code to install the APK on your device:

Launch the app and grant permission to receive push notifications:

Minimize the app, refresh the Devices collection in your database, and you’ll see a new entry for your device:


Step 8: Sending Push Notifications

Go to the Push Notification Sending section in Appery.io. Specify the type of device (Android), and customize the notifications sending options of your message:

Send the test notification and watch it appear on your app’s icon:

Conclusion

And there you have it! You’ve successfully set up push notifications for your Android app using Appery.io. Stay tuned for more tutorials on setting up notifications for iOS, associating devices with users, and sending notifications from Appery.io Server Code.

Don’t forget to like, subscribe, and share this post if you found it helpful! Happy coding!

Feel free to leave any questions in the comments below. We’re here to help!

Enhance Your App Now: Simplify Powerful Cloud Database Integration!

Diving into mobile app development? Enhance your app’s capacity effortlessly by integrating it with a cloud database. In our new video guide, we take you through an easy-to-follow guide on setting this up using Appery.io, making your app more dynamic and robust.

Why Cloud Databases?

Cloud databases provide a scalable, secure, and efficient way to manage app data. Whether it’s Amazon RDS, SQL Server, or PostgreSQL, these platforms help you handle large volumes of data without compromising on performance. The best part? Appery.io supports various databases, opening a realm of possibilities for your applications.

Getting Started with Database Connection

First, log into the Appery.io App Builder. Go to the API Express tab and create a new database connection. This process is user-friendly and supports different database types. For instance, connecting to a PostgreSQL database is as straightforward as inputting credentials and testing the connection for viability.

Exposing Database Data via REST Service

Once your database is connected, the next step is to expose your data. This involves creating an API Express project that allows your app to communicate with the database via RESTful services. You’ll find this feature particularly useful as it forms the backbone for data interaction within your app.

Building and Testing Your Mobile App

The final step is the most exciting—building your mobile app. Appery.io simplifies this with features that accommodate both no-code and low-code development approaches. Start by creating a new app and dragging the necessary components like Lists or Buttons onto your app’s screens. Then, integrate the services you’ve created to fetch or input data into your cloud database.

Real-World Application: Dynamic Data Handling

To illustrate, imagine your app displays a list of data entries from a cloud PostgreSQL database. You can enhance this by adding functionalities like creating new data entries through the app. This not only makes your app interactive but also practical for real-world use. Testing these functions within Appery.io is straightforward and gives you a firsthand look at your app’s performance.

Conclusion: Embrace the Power of Integration

By integrating cloud databases into your mobile apps, you unlock new layers of functionality and efficiency. As demonstrated in our video guide, the process can be surprisingly simple yet incredibly impactful. Whether you want to improve an existing app or start a new project, cloud database integration is a gateway to more sophisticated and responsive app solutions.

Ready to enhance your mobile app? Dive into cloud database integration and watch your app’s potential unfold!