Supercharge Your App: Unveil the Magic of QR & Barcode Features with Appery.io

Unlock the full potential of your app development skills with our latest video guide! Dive into the world of QR and barcode technology with Appery.io and discover how easy it is to integrate these powerful features into your mobile and web applications. Our step-by-step tutorial will walk you through the process of creating, scanning, and managing codes while seamlessly connecting with a backend database. This video is packed with insights and practical tips to elevate your app projects. Watch now and transform the way you build apps!

Step into the Future of App Development

Why is QR and barcode integration a hot trend? Simple. It enhances user interaction and streamlines data processes. With Appery.io, developing these features becomes an enjoyable journey, even for beginners.

Building Blocks: Your QR and Barcode App Foundation

Start by creating a new app with Appery.io’s blank Ionic template. The goal? Add products with specific codes to your database and scan these codes for detailed information retrieval.

Step 1: Code Creation

Use Appery.io’s versatile “QR Code Generator.” Don’t let the name fool you—it handles all code types! Customizing your code is a breeze: adjust size, color, and format to suit your needs. QR codes are popular, so we’ll start there.

Step 2: Database Integration

Harness the power of Appery.io’s “List Details” plugin to manage product info linked to your QR codes. Create a database, add a collection for items, and include fields like “name” and “description.” Importing this plugin adds two powerful pages to your app, ready for data entry and editing.

Scanning and Display: Bringing It All Together

The final step? Scanning codes to display corresponding information. Appery.io offers a “QR and Barcode Scanner” plugin, adding seamless scanning capability. This integration works beautifully across mobile, web, and PWA environments.

Test and Optimize

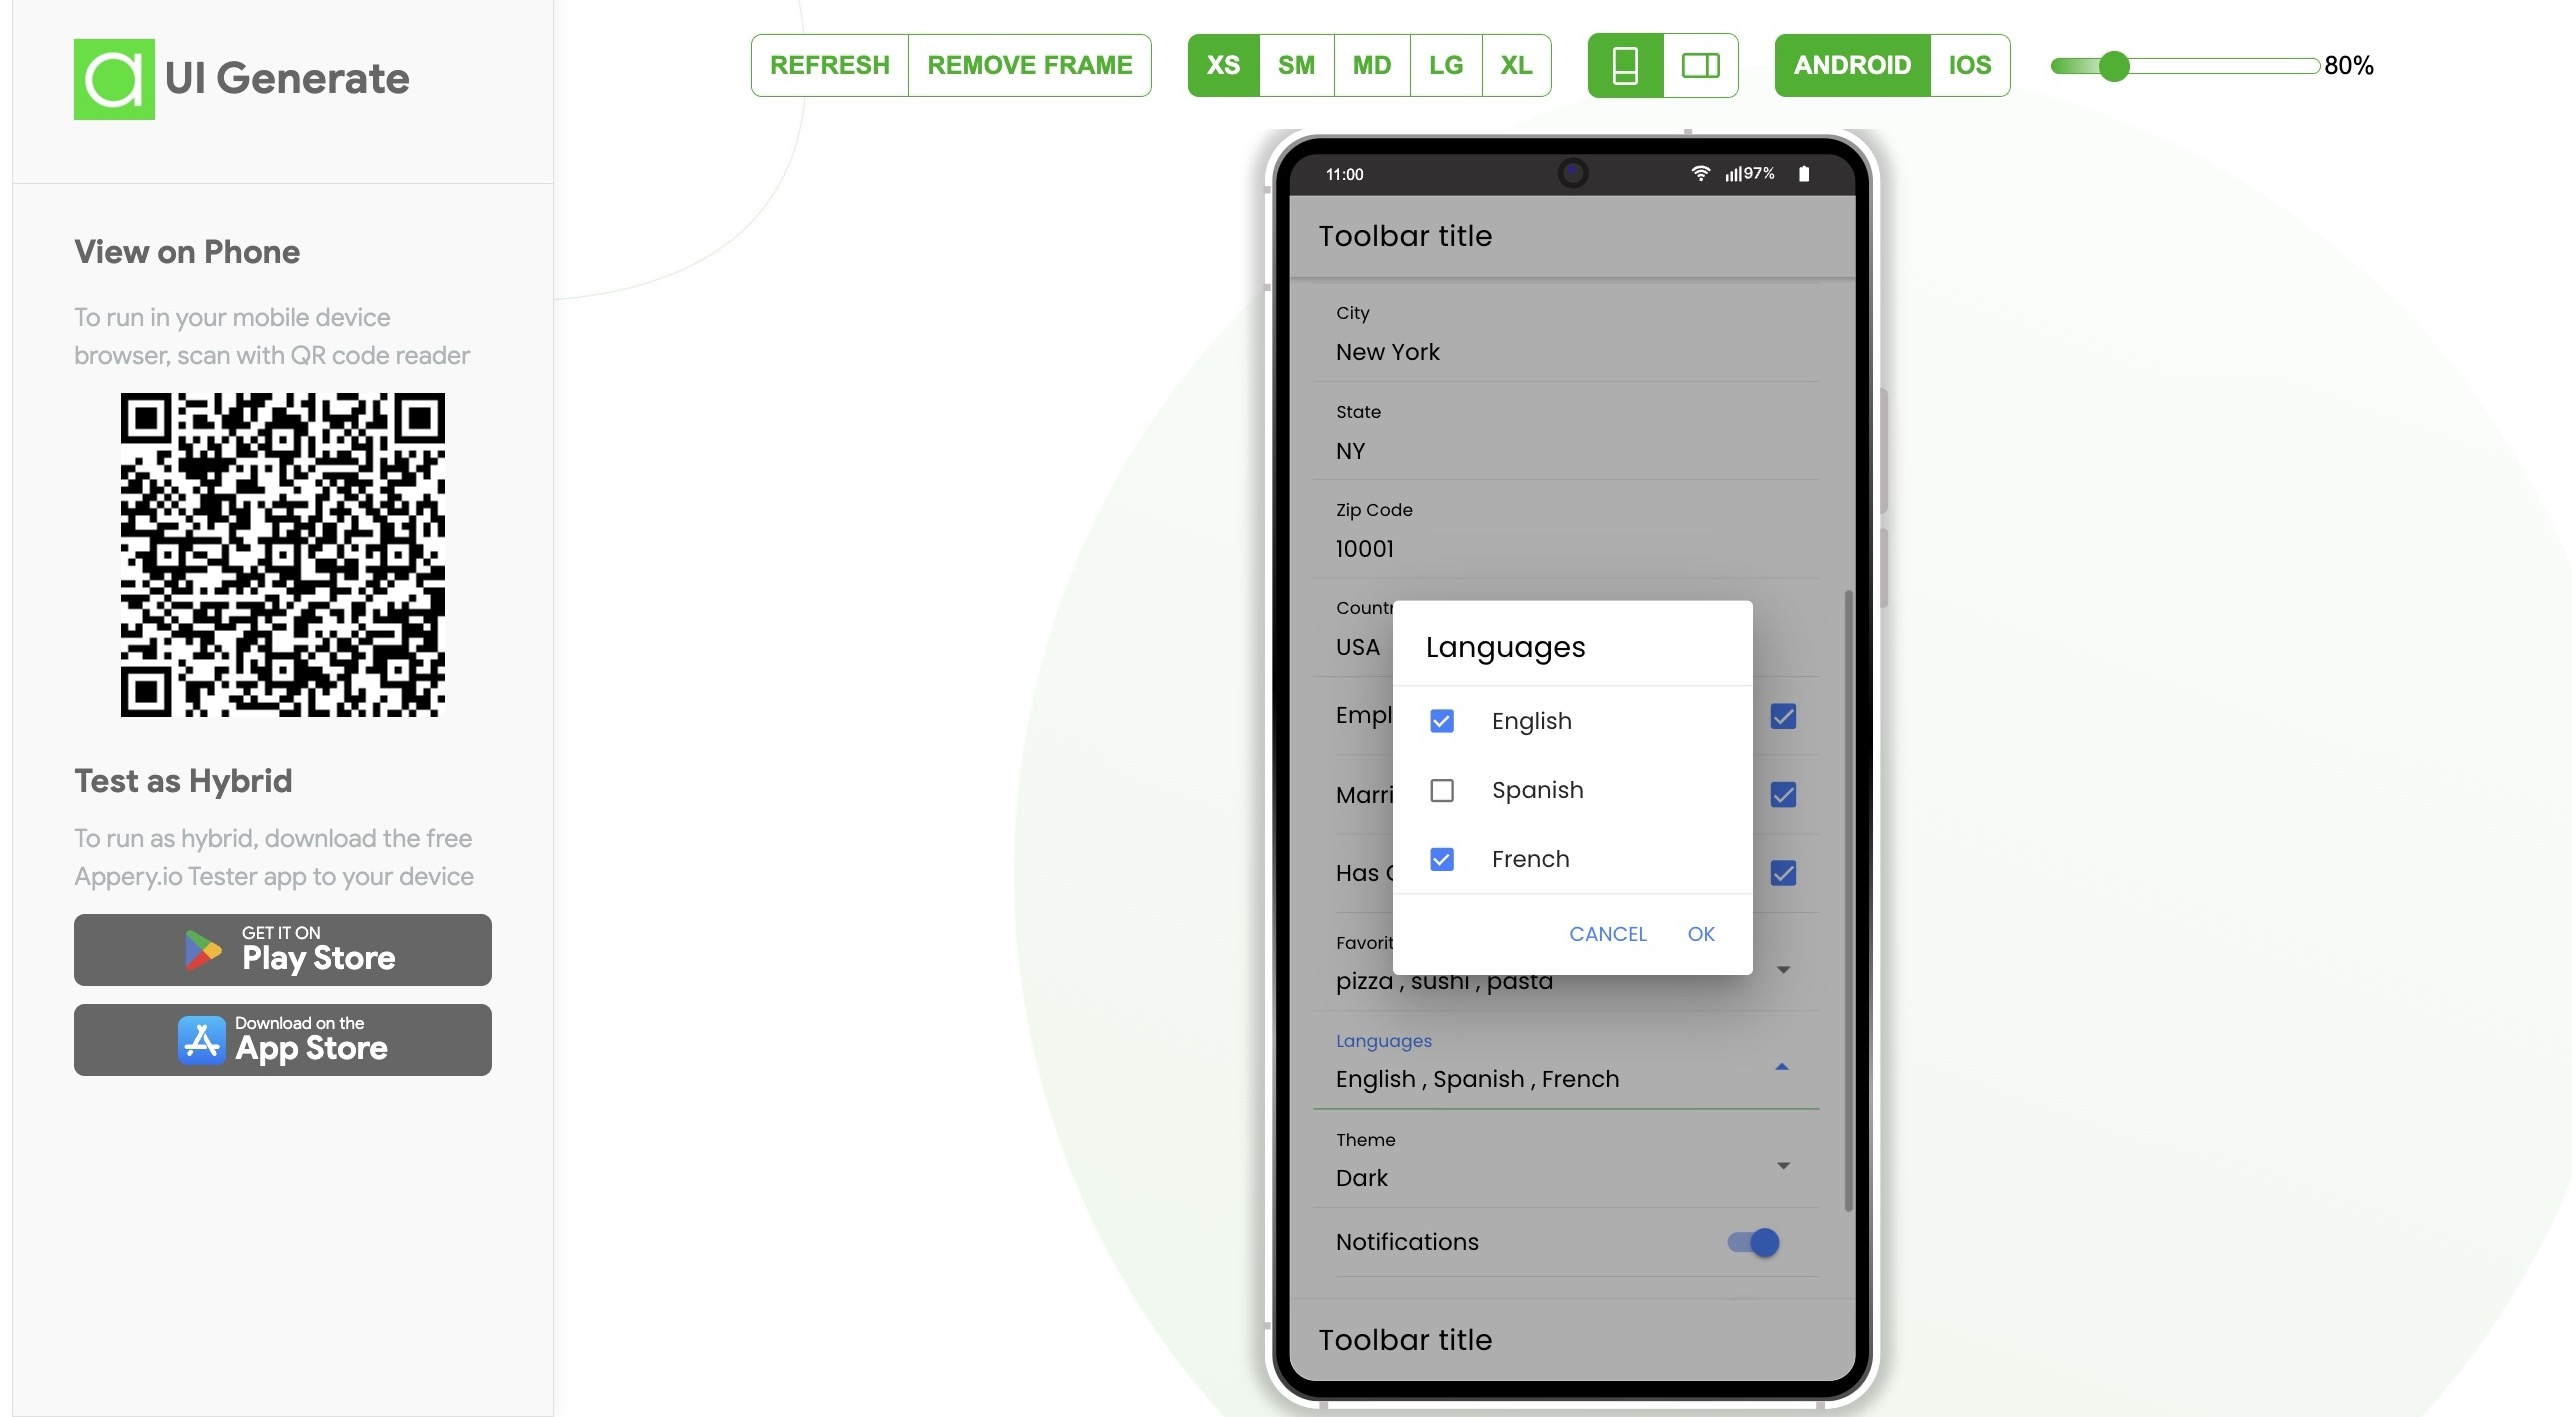
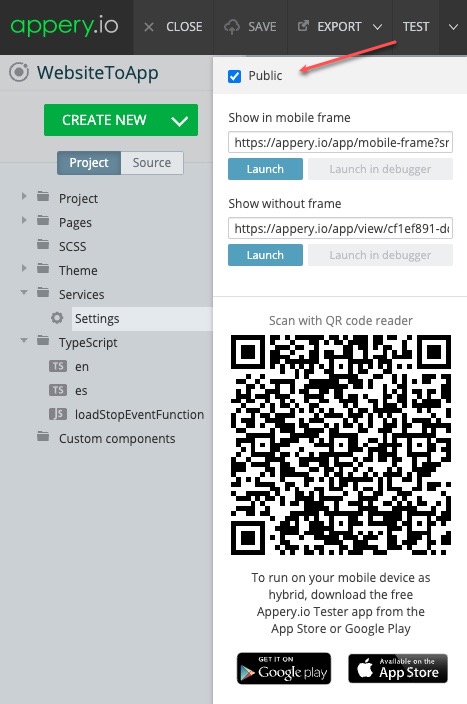
For real-world effectiveness, use Appery.io’s Tester app on your device. It’s free and straightforward: scan your generated QR code and your app is instantly mobile-ready. Play around with different code formats, test your database connectivity, and refine your user interface for the best results.

Elevate Your App Experience

Integrate navigation tabs for a polished user experience. Appery.io’s simplicity lets you focus on creativity, not complexity.

Conclusion: Become an App Maestro

With Appery.io, creating a complex app with QR and barcode features has never been simpler. It’s an exciting time to explore the possibilities, test your creations, and ultimately produce an efficient and engaging application.

Keep exploring, keep innovating, and let Appery.io guide you through the remarkable process of app development. Dive into this opportunity, and soon, you’ll be coding like a pro.

Happy coding!

Revolutionary OpenAI o1-preview Reviewed: Must-Watch Guide!

Have you heard about OpenAi o1-preview? This revolutionary model is making waves in the tech world, and we’ve discovered how to harness its power using Appery.io, the leading no-code app-building platform.

OpenAi o1-preview, the early release of the OpenAi o1 model family, boasts enhanced reasoning abilities in mathematics, coding, and science. It outperforms previous models by using reinforcement learning to perform complex reasoning tasks, making it a game-changer for app development.

In our latest YouTube video, we demonstrate how to combine OpenAi o1-preview with Appery.io to create a mobile app that tests and compares this new model’s capabilities with the well-known ChatGPT-4o. The results are astonishing!

Imagine building powerful apps without writing a single line of code. With Appery.io, it’s possible! Our video showcases how we set up an app to compare the reasoning skills of OpenAi o1-preview and ChatGPT-4o. You’ll be intrigued to see which model comes out on top.

But we won’t spoil it for you here. To get all the exciting details and see the models in action, head over to our YouTube channel and watch the full tutorial. You’ll discover how OpenAi o1-preview can transform your approach to app development and why Appery.io is the perfect platform to bring your ideas to life.

Don’t miss out on this opportunity to explore the future of app development. OpenAi o1-preview and Appery.io are paving the way, and you can be at the forefront.

Watch our video, subscribe to our channel, and join us on this innovative journey!

Boost Your App with ChatGPT-4 Plugin and Appery.io’s No-Code Power

With the advent of Appery.io—a powerful no-code app-building platform—coupled with the cutting-edge ChatGPT-4 plugin, creating advanced, feature-rich applications has never been simpler.

Discover how to harness the full potential of these tools in our latest YouTube tutorial.

Why Choose the Appery ChatGPT-4 Plugin?

The Appery ChatGPT plugin is a revolutionary tool that enables your app to process file uploads and deliver human-like responses. This plugin integrates seamlessly with Appery.io, leveraging OpenAI’s robust capabilities to bring unprecedented interactivity and intelligence to your mobile applications.

Simplified Integration with Appery.io

One of the standout features of Appery.io is its ability to simplify complex tasks. No need to struggle with extensive coding; instead, you can easily add the ChatGPT plugin, set up your app, and start processing images in no time.

The entire process is user-friendly, ensuring that even those unfamiliar with technical jargon can follow along effortlessly.

ChatGPT-4 Plugin Integration

Create Engaging User Interfaces

Using Appery.io, developers can create intuitive and engaging user interfaces. With drag-and-drop functionality, you can quickly design a UI where users can upload images, enter queries, and receive intelligent responses from ChatGPT-4o.

Enhance User Experience

Adding components like file pickers and text input areas enhances the user experience. These features allow users to select and upload photos directly within the app, making the interaction smooth and enjoyable. The ChatGPT plugin then processes these images, delivering impressive, human-like responses.

Seamless and Efficient Testing

Before launching, testing your app is crucial to ensure a flawless user experience. With Appery.io, you can easily test the image upload, query submission, and ChatGPT-4o response features, fine-tuning your app for optimal performance.

Thorough testing guarantees a seamless user experience

Watch Our YouTube Tutorial

Curious about the detailed steps? Our YouTube tutorial covers everything you need to know about integrating the ChatGPT plugin with Appery.io. From setting up your app to designing the user interface and testing functionalities, we guide you through each stage.

For a comprehensive guide, make sure to watch the full video.

Discover the Power of Appery.io

Appery.io empowers you to create powerful, intelligent apps effortlessly. Its no-code platform, combined with the ChatGPT plugin, opens up a world of possibilities.

Don’t miss out—head over to our channel, watch the video, and see how you can transform your mobile app development process today!


Maximize your app’s potential with the ChatGPT-4o plugin and Appery.io. Watch our YouTube tutorial now for a step-by-step guide to creating intelligent, interactive mobile apps with ease. Whether you’re a seasoned developer or just starting out, Appery.io has the tools to help you succeed. Subscribe to our channel for more exciting tutorials and updates.

🌀How to Seamlessly Integrate ChatGPT-4o into Your Mobile App Using Appery.io (No Code Required!) 🌀

Hey, everyone! 👋

The Appery.io team here, ready to present you a new exciting video tutorial that’s going to change the way you approach app development!
In our new YouTube video, we’re diving into how you can seamlessly integrate ChatGPT-4o into your text processing mobile app with zero coding required, thanks to the amazing Appery.io platform! 🚀

We’ll kick off by walking you through creating a new app on Appery.io , where you’ll learn how to add the Open AI key and integrate the predefined ChatGPT plugin. From setting up a simple user interface to handling data mapping and responses, this guide ensures you get your app running smoothly in no time.

You’ll discover how to:

1. Create a dynamic UI where users can ask questions and receive humanlike responses.

2. Integrate the ChatGPT service effortlessly using Appery.io ’s no-code editor.

3. Enhance user experience by adding a loading indicator while the request processes.

4. Format responses conveniently and adjust data mapping for an efficient display.

Watch as we transform complex logic into a fully functional app without writing even a single line of code. 📱✨

By the end of this video, you’ll have a working app that can process text queries with humanlike responses, all thanks to Appery.io and ChatGPT-4o. And if you’re curious about how to achieve similar results with minimal coding, be sure to subscribe and stay tuned for our next tutorial!

🔥 Don’t miss out – click play and let’s get started on creating something amazing together!

#Appery #NoCode #AppDevelopment #ChatGPT #AI #MobileApp #Plugin

How to Get Access to the List of Contacts in an Ionic App

Have you ever wondered how to make you Ionic app access the list of contacts of your device?

This blog post walks you through the steps of creating an Ionic app that can do that. Also, if you prefer watching video guides, you can follow this YouTube tutorial to create such an app:

Getting Started with Your Ionic App

First, we need to create a brand-new Ionic app. For this tutorial, we’re using the Appery.io platform, which makes the development process straightforward and efficient.

1. Create a New App:

Open Appery.io and click Create new app.

Name your app and confirm. This action creates a blank Ionic app with a predefined screen layout named Contacts.

2. Adding the Contacts Page:

Add this Contacts page layout to your app and adjust the routing to make sure it points correctly to this page.

Reviewing & Testing Your App

Your app is now ready to display contacts. This page will show names, phone numbers, and pictures of contacts. Let’s click TEST to quickly preview the app.

You can also preview what the app looks like and how it functions by using the Appery.io Tester, a native app for testing. It’s user-friendly and works perfectly!

How It Works Behind the Scenes

Now, let’s go deeper into the technical step-by-step process to understand how everything works:

Cordova Plugins:

Under the Project > App settings > Cordova plugins tab, you’ll see that the app uses the Cordova Contacts plugin, which has been automatically imported. This plugin helps fetch the contacts.

Ionic Contacts Wrapper

We utilize the Ionic Contacts wrapper for better integration. You can check its detailed documentation page if you wish to dive deeper into this.

Setting Up Variables

Open the Contacts page’s CODE tab to see the variables that were added automatically:

– `contacts`: Returns the contact list.

– `keyword`: Enables filtering.

– `SAMPLE_AVATAR`: Displays a sample picture. You can upload your custom one by using the Media Manager, if needed.

– `SAMPLE_CONTACTS`: Provides a sample list for testing in the browser.

Displaying Contacts List in the App

Now, let’s scroll to the Functions section to see how the contacts list is added in our code.

If the app runs in a browser, it uses the sample contacts from the variable above. But if the app is run on a real device, it accesses the actual contacts list via the predefined `contacts` variable.

Creating a User-Friendly UI

Here’s how to make the contacts list visually appealing and easy to navigate:

List Component:

Uses ListItem with the *ngFor attribute to iterate through the contact list and display each contact’s information.

Filtering Contacts:

The *ngModel keyword in the Search component allows users to filter contacts by name.

Using Selections:

The app lets users select contacts easily. Selected contacts have the selected property set to true.

Conclusion

And that’s how to get access to the list of contacts in an Ionic app! This straightforward guide aimed to simplify the technical aspects and provide a clear path for even beginners. Now you can easily fetch and display contacts in your Ionic apps.

Happy coding!

Unlock Real-Time Communication with WebSockets on Appery.io

Introduction to WebSockets with Appery.io

Have you ever wondered how apps send updates in real-time? The magic happens with WebSockets. Today, we’ll show you how to add WebSockets to your apps using Appery.io. This low-code app-building platform makes it easy to create complex apps quickly. Note that this post supports our comprehensive video tutorial and if you are interested in details, you are welcome to watch it.

By following the steps below, you can easily enhance your app with real-time communication features using WebSockets and Appery.io. Exciting, right? Let’s get started!

Setting Up Your App

First, create an empty app in Appery.io. Then, go to the Catalog of Appery.io plugins and select the WebSocket Example plugin.

Before importing it, you can click the link to open its documentation page. You’ll see it contains the code for the WebSocket server. This server needs to be run somewhere. While real applications may use Amazon or Azure, we’ll use CodeSandbox for testing.

Using CodeSandbox

1. Create a new Devbox.

2. Select Node.js Server from the list of backend frameworks.

3. Name your Devbox and set its visibility to “Public”.

4. Install two npm modules: `express` and `socket.io`.

Now, let’s move to the next step.

Setting Up Your WebSocket Server

Copy the server code from the documentation page and paste it into your `index.js` file in CodeSandbox. If everything is correct, the server should start successfully.

Back to Appery.io

Return to the Appery.io project and click Import selected plugins with the WebSocket Example plugin checked. This plugin helps you integrate WebSockets into your app. But first, let’s test it.

Testing Your App

Go to the Project > Routing section and set “WebSocketScreen” as the default page.

Next, navigate to TypeScript > WebSocket and specify the URL of your WebSocket server obtained from CodeSandbox.

Now, run your app in different browsers like Google Chrome, Firefox, and Edge. Enter a test message and click the “Send” button.

Ready! The message should be delivered to all clients in real-time.

Conclusion

Now you’ve seen how to add Websockets to your apps using Appery.io. This post is a companion piece to our detailed video tutorial. The demo app isn’t a finished product but provides a solid template for building your own real-time communication features. Give it a try and unlock powerful networking capabilities in your applications!

Push Notifications with Appery.io Server Code: Watch Our New Tutorial

Hey everyone! The Appery.io team is excited to announce our latest video tutorial on integrating push notifications into your mobile app by using Server Code. 🎉
Push notifications are a powerful tool for engaging app users. With Appery.io, integrating these notifications is simple, even if you’re not tech-savvy. In this video, we are showing you how to add push notifications to your mobile app using Appery.io , a low-code platform that makes app development accessible for everyone.
Our new how-to video covers:

Setting Up Push Notifications: Learn how to configure notifications before sending.

Triggering Custom Actions: See how to trigger popups or other actions when a notification is delivered.

Sending Technical Data: Discover how to pass custom data, like navigation instructions, via push notifications.

Automating Notifications with Server Code: Understand how to send notifications programmatically for real-world use cases.

Targeting Specific Devices and Users: Master the art of sending notifications to individual devices and users.

Highlights from the Video

1. Real-Time Updates: With Live debug, any changes you make in Appery.io are instantly reflected on your mobile device.

2. Custom Alerts: Trigger TypeScript code when a notification is delivered, showing custom alerts or actions.

3. Server Code Integration: Learn to automate push notifications using server-side code.

4. User Targeting: Send notifications to specific users across all their devices by linking user IDs.

Watch Now

Don’t miss out! Watch the full video tutorial and elevate your app’s user engagement effortlessly. Click below to watch the video.


Want more insights? Check out our YouTube channel for more videos and tutorials.

Don’t forget to like and subscribe. Your support keeps us going!

Introducing the App Starter Offline Template: Your Ultimate Solution for Modern Mobile Applications

We’re thrilled to announce that the Appery.io team has just released a ready-to-go template: App Starter Offline, that serves as a dynamic, adaptable, and interactive foundation for creating state-of-the-art mobile applications, fully equipped to support offline mode and accessible on any device.

Offline Mode: A Game-Changer

One of the standout features of the App Starter Offline template is its robust offline mode. Not only can you read app data when offline, but you can also modify it and synchronize changes. This ensures data consistency, even in situations where multiple users are accessing and modifying data under different online/offline scenarios. Whether your users are in a remote location with no network access or simply in an area with spotty coverage, they’ll be able to continue their tasks without interruption.

Rich Feature Set: Beyond Offline Mode

While offline mode is the star, App Starter Offline comes packed with a host of other valuable features:

Authentication Options: Robust and secure authentication methods, including options such as username & password, and FaceID.

Extensive User Settings: A comprehensive settings dashboard for users to personalize their app experience, including account preferences, notification controls, and privacy settings.

– Personalized Profiles: Enable users to create and edit their profiles with personal data and images for a unique, customized experience.

Multilingual Support: Make your app accessible to a global audience with a wide range of language options.

Dark Mode: Reduce eye strain in low-light conditions and conserve battery life, toggling between light and dark themes.

Secure Messaging for Verification: Enhance security with double opt-in sign-up and operations via email or SMS confirmation codes, perfect for password changes or new device verifications.

Detailed Guide Included!

To ensure a smooth and tailored implementation process, we’ve also provided a comprehensive guide on how to use and customize the App Starter Offline template. Whether you’re a seasoned developer or just starting, our guide will assist you in maximizing the potential of this robust template.

Bonus Time!

New How-To Video: Simplify Your Work in Appery.io Editor

In addition to the new template, we’re excited to share a brand-new how-to video on our YouTube channel . This video demonstrates how to simplify your work in the Appery.io editor using the “Text in Editor” feature, all without disrupting your app’s UI. Check it out to streamline your development process and ensure a hassle-free experience. 


Conclusion: An Essential Tool for Modern Developers

Ideal for entrepreneurs, startups, and businesses aiming to launch applications in sectors like social networking, e-commerce, health & fitness, education, or any user-centric service, the App Starter Offline template is designed to provide an impeccable user journey from the very first interaction. Additionally, whether you’re developing a comprehensive product or testing a minimum viable product (MVP), this template will be instrumental in accelerating your development process and enhancing user engagement. So why wait? Dive into the world of seamless offline experiences with Appery.io‘s App Starter Offline template today and watch your app reach new heights.

Stay tuned for more updates and don’t forget to subscribe to our YouTube channel for the latest tutorials and tips!

Effortless App Mastery: Unveiling Appery.io’s Admin Secrets

Hey there, app enthusiasts!

Welcome back to another insightful journey into the world of app development with Appery.io. In our previous video, we took a deep dive into customizing our Menu app template (You can check here if you missed the post). Today, we’re stepping up the game with a focus on a particularly handy feature for admins.

Imagine being able to tweak your app’s content or adjust prices without the hassle of logging into complex interfaces. Well, with Appery.io, that’s not just a dream—it’s a reality. Let’s explore how you can wield this power right from your device.

Accessing Database User Records:

Before diving in, we need to set up a few things. Head over to the App Builder and navigate to the Database link. Within the Menu_DB database, locate the Collections tab and access the Users collection. Here, you’ll set your password or email address for easy access.

Routing for Admin Convenience:

Next, let’s streamline the admin experience. Within the App Builder, navigate to Project > Routing. Set the default route to the Login page, ensuring swift access for admins. Don’t forget to save your changes—it’s the small steps that lead to big convenience gains!

Testing Made Easy:

Now, for the exciting part—testing your app. Sure, you could export it for Android or iOS, but why not take a quicker route? Enter the Tester app, a free gem available for both platforms. Fire it up, scan the generated code, and voila! You’re in.

Admin Delight:

Once logged in, you’re greeted with the Menu management page, your gateway to culinary control. Edit, reorder, or add new meals with a few taps. It’s intuitive, it’s efficient—it’s a game-changer.

Smooth Sailing:

With edits made and changes applied seamlessly, your app is ready for prime time. Hide the Controls menu for a clutter-free interface, ensuring a seamless user experience.

The Finishing Touch:

With everything in place, it’s time to share your masterpiece with the world. Save your app, click Close, and head over to the Hosting section. Name your project, hit Publish, and watch as your app goes live. It’s that simple.


Bon Appétit!

Print that QR code, place it on your tables, and let your guests indulge in the convenience of browsing your menu in their preferred language. With Appery.io, satisfying appetites has never been easier.

If you found this guide helpful, don’t forget to subscribe to Appery.io to try more handy tips and tricks. And hey, if you’re loving what we’re doing, why not join us on our YouTube channel?

Until next time, happy app building!


Get Ready To Build Better Apps With Appery.io’s Latest Release: A Sneak Peek Inside!

Greetings, Appery.io users!

We have some fantastic news to share with you – our latest release is now live, and it’s packed with exciting new features to enhance your App Builder experience! Here’s what’s in store for you:

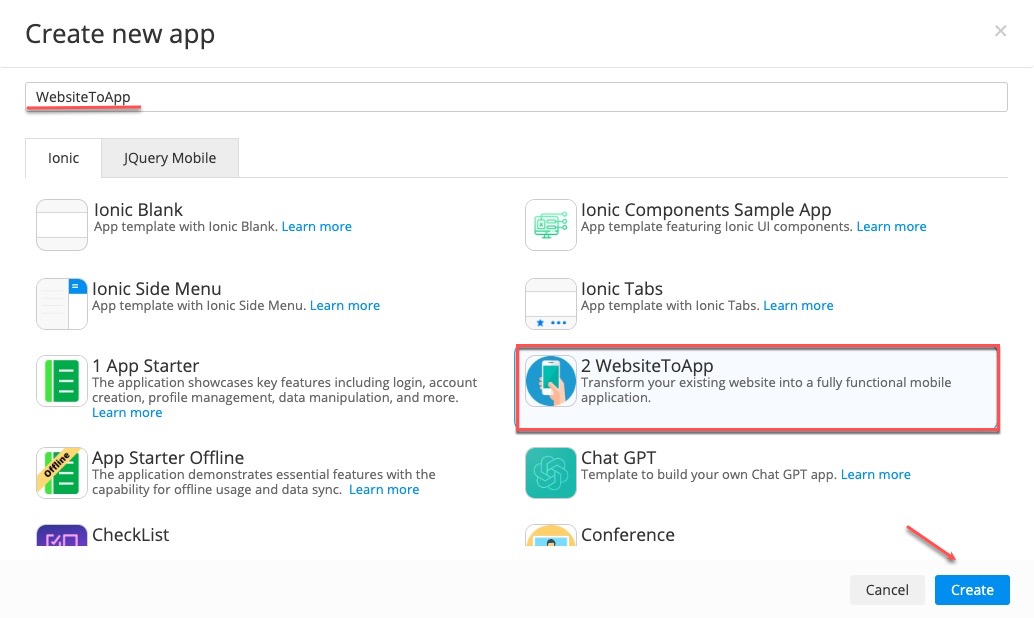
Creating a new app has never been easier! With updated app creation options all in one place, new users can now quickly and easily decide what type of app they want to create. Plus, for added convenience, we’ve moved the link for restoring from backup right under the Create new app button:

Say goodbye to the hassle of certificate generation when publishing your apps to custom domains. Appery.io now automatically generates certificates, and when you’re done, you can share your app by copying the link or selecting from several social sharing options:


Save time and effort by adding necessary styles directly under the PROPERTIES > Styles tab, making styling your app easier than ever before:


Our improved modal window experience means you can now create responsive apps that automatically resize their modal windows. This is especially beneficial for tablet and desktop apps.

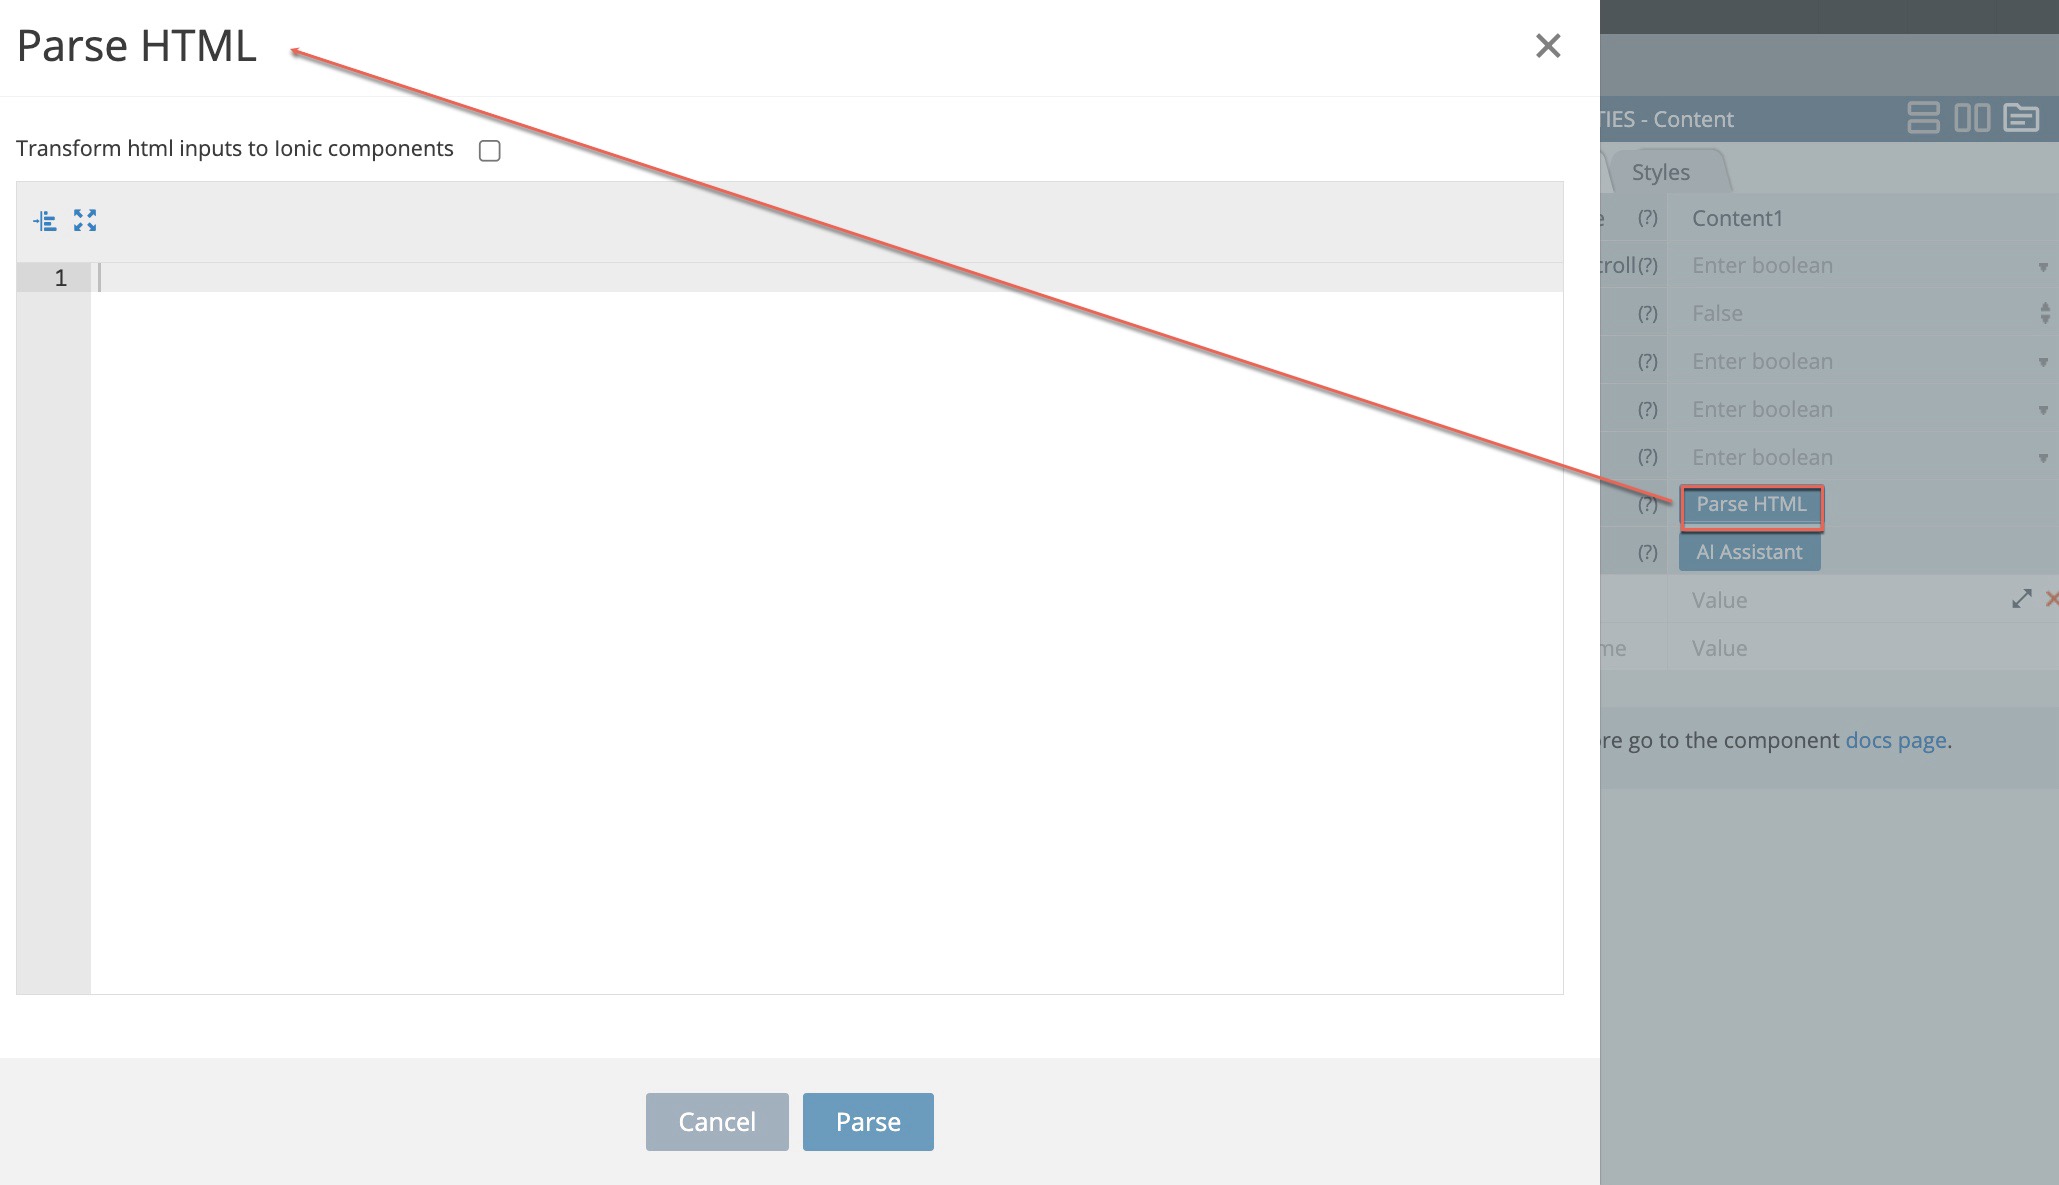
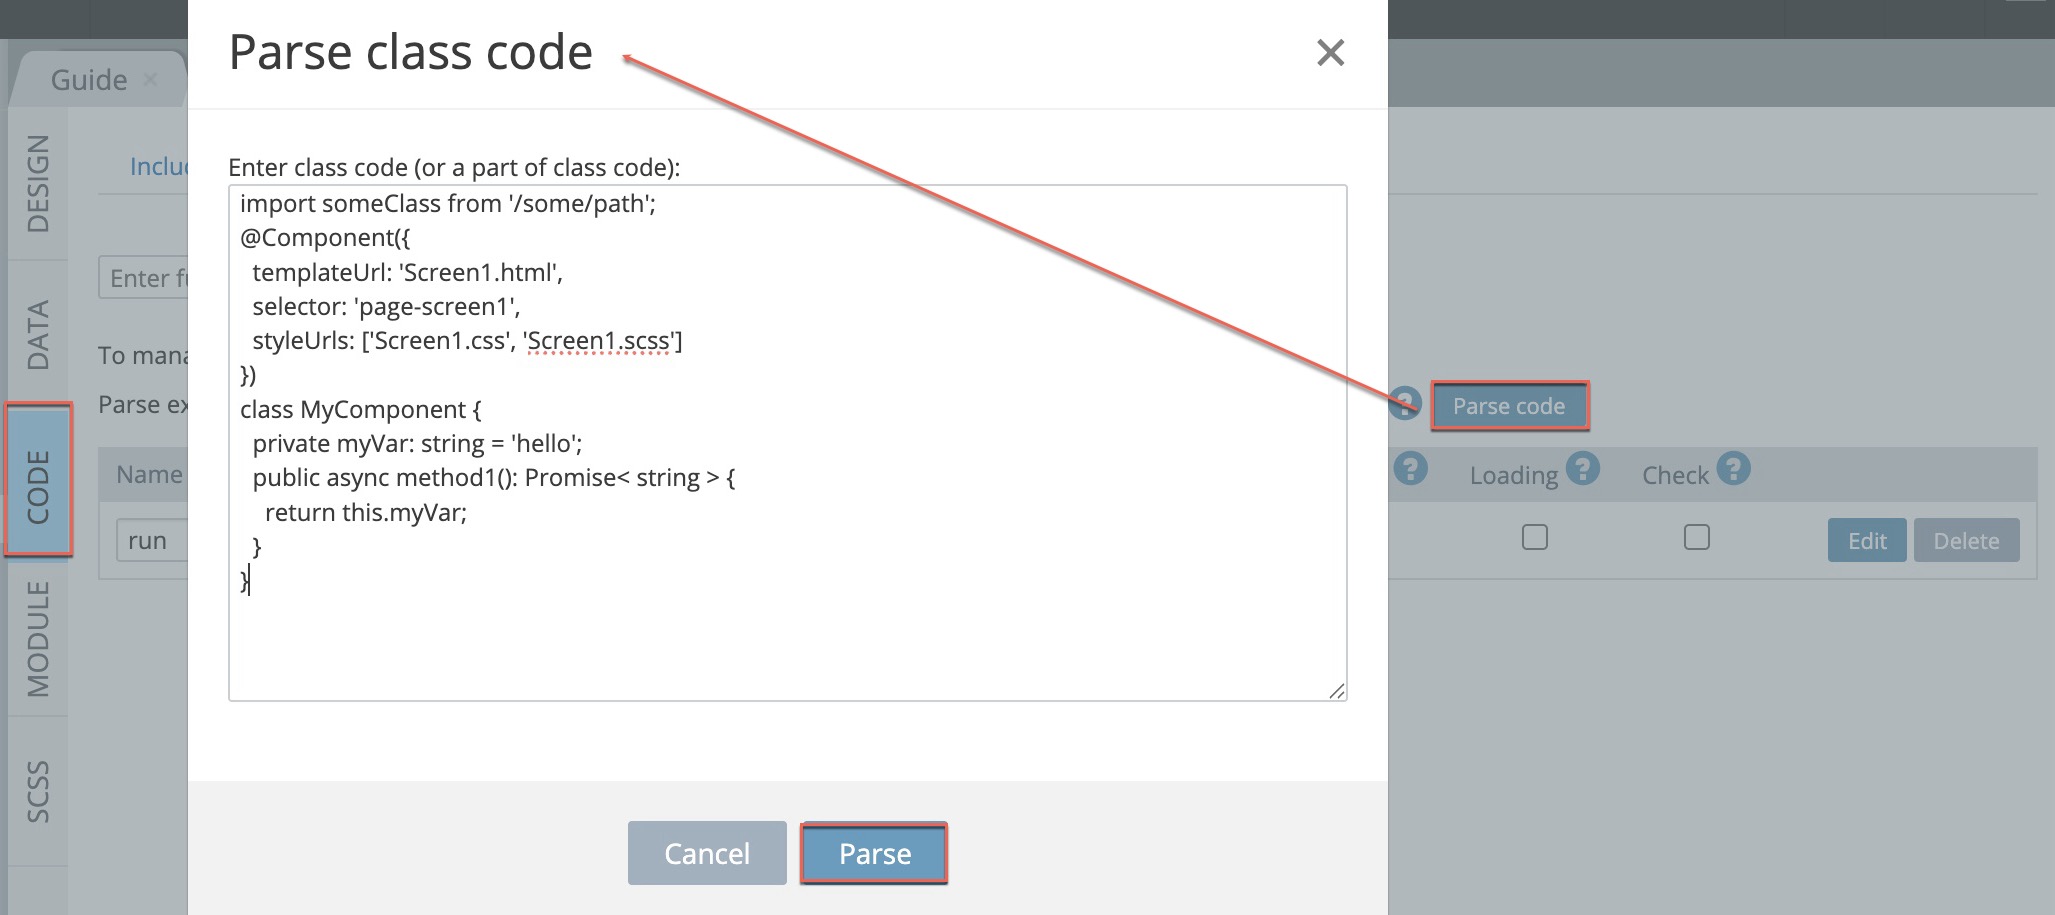
Writing custom code is a breeze with our new code snippets. We’ve added more snippets, including Navigate forward, Navigate back, Navigate root, and Get query parameter, to streamline your coding process.

We’ve also introduced a new action called Mark all as touch, which will allow you to fine-tune the validation flow:


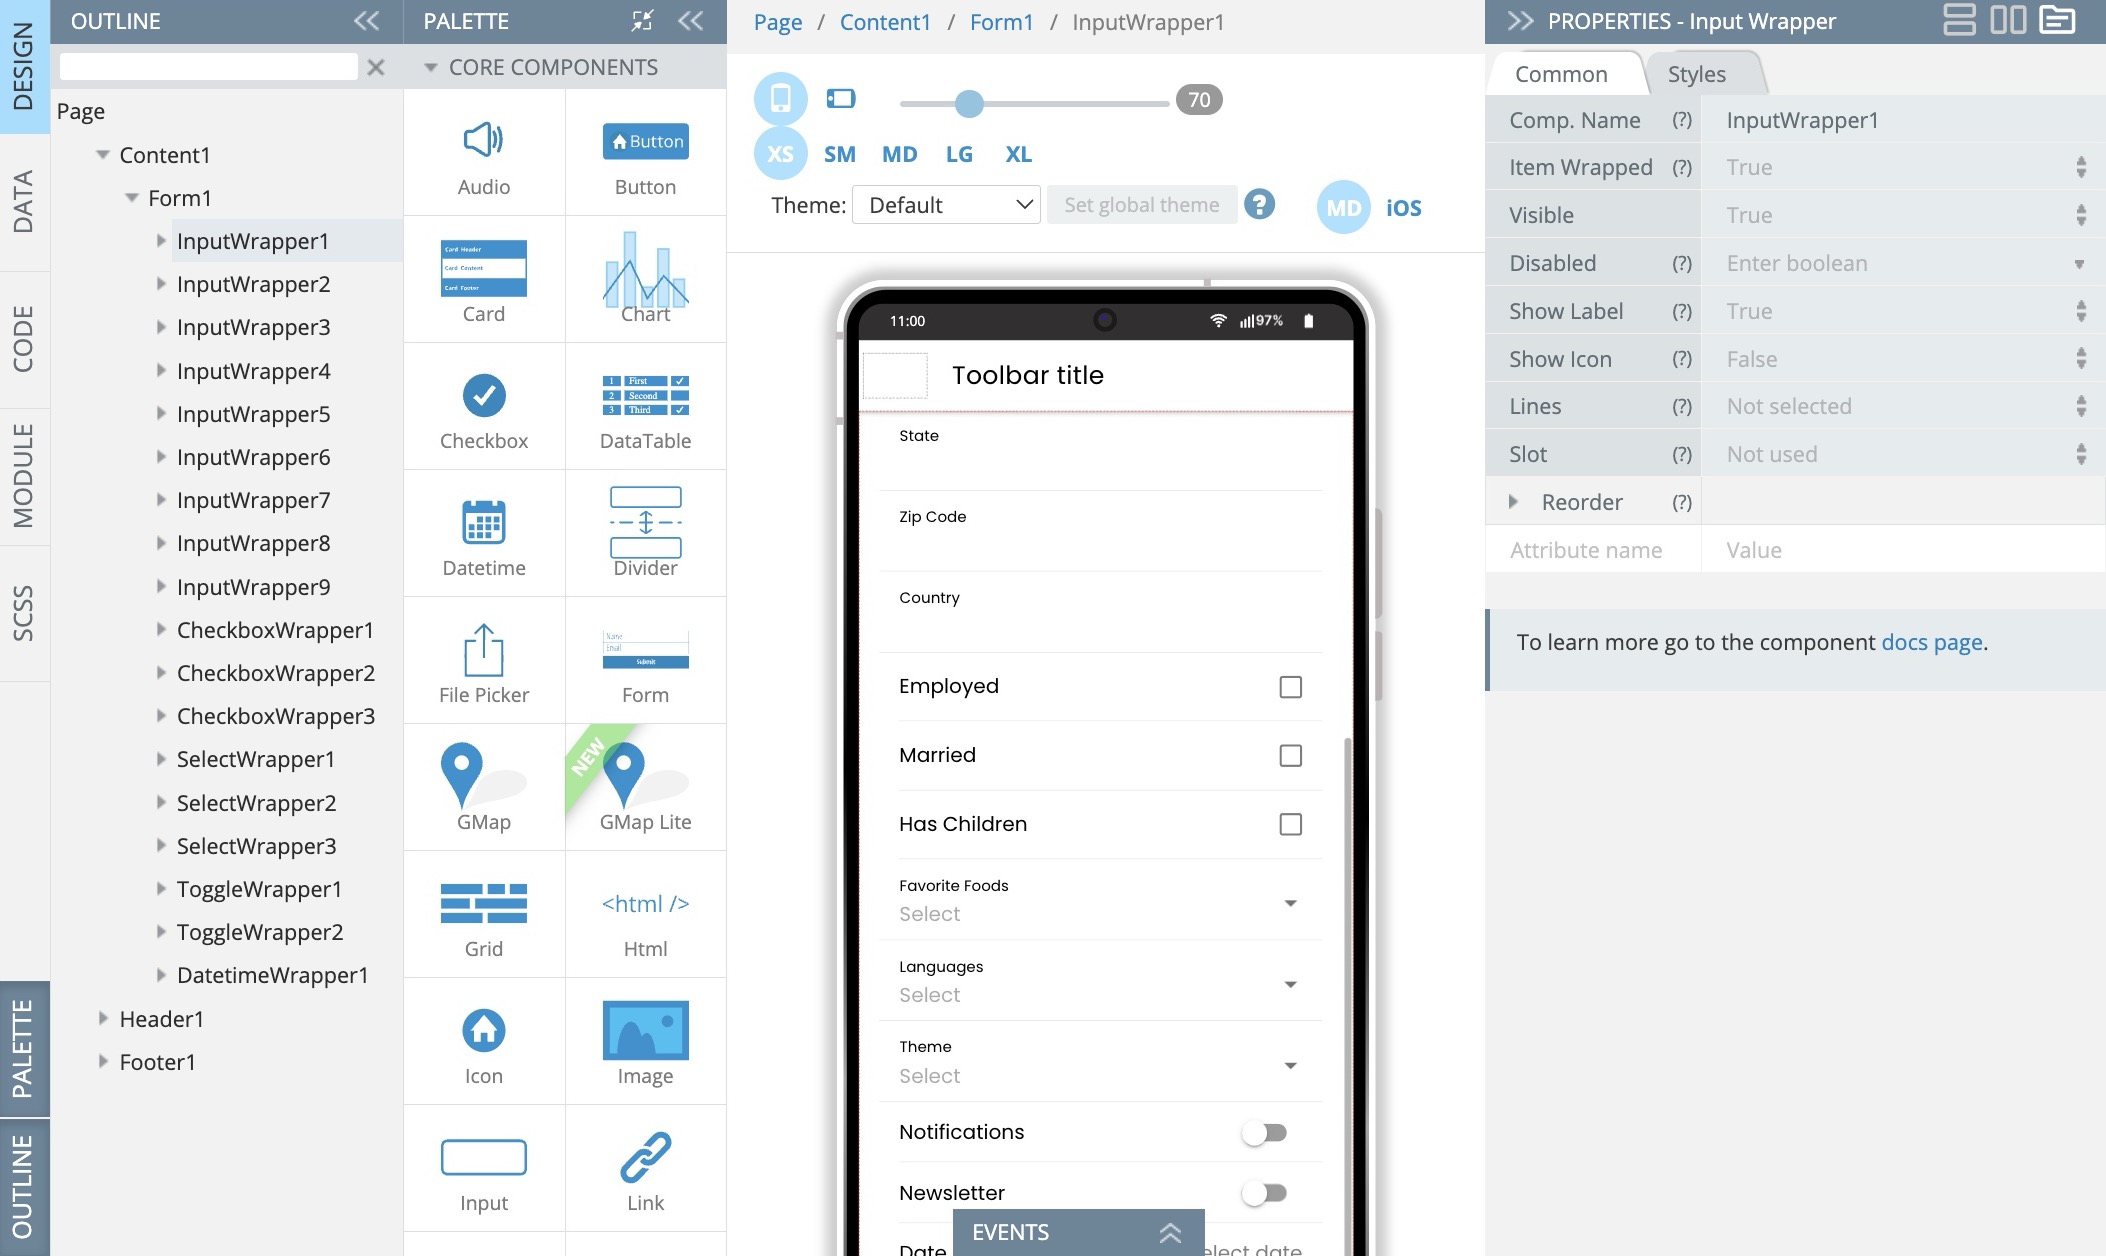
Our expanded UI components arsenal now includes more properties like Truncate and Vertical Align, making them even more useful. Plus, you can now independently edit child components’ properties for wrapping components like Input and Checkbox, giving you more flexibility when designing your app’s UI. One of the added app styling options is expanding our standard icon toolset selection with Material Symbols library from Google with over 2,875 glyphs in a single font file with a wide range of design variants:


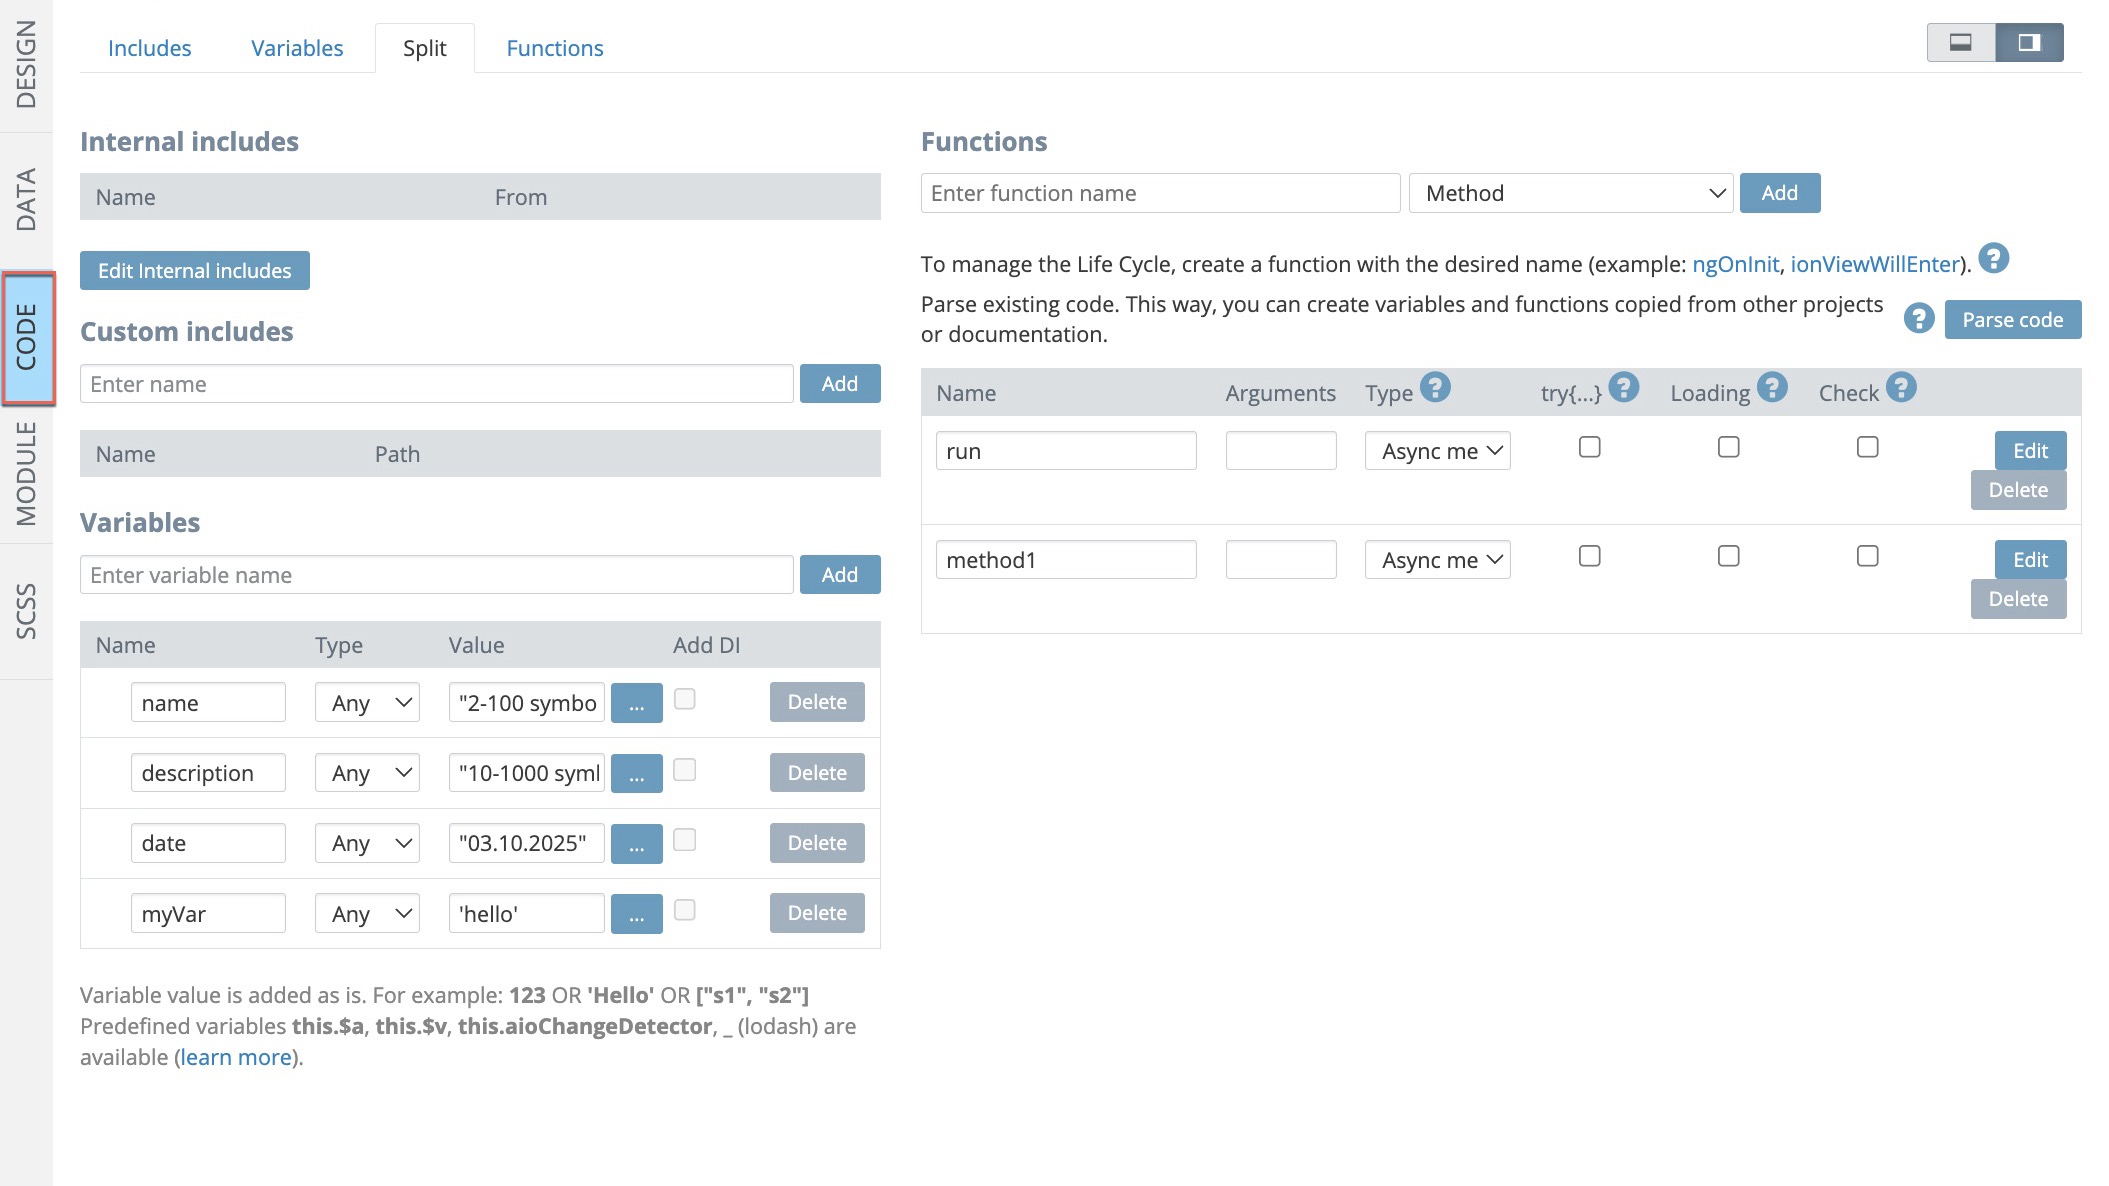
Finally, this release is all about helpers! We’ve added a CODE tab helper to assist you in adding necessary functions, and a helper under the Databases tab to simplify working with binary data. Check out the Files collection CREATE tab to see how quickly you can create binary files and pass your data as Base64.

We are thrilled to bring you these new features and hope that they make your Appery.io experience even better. Thank you for choosing Appery.io – Happy developing!

Your Appery.io Team