Development Tip: Use Server Code Plug-ins and Snippets for Quicker Coding
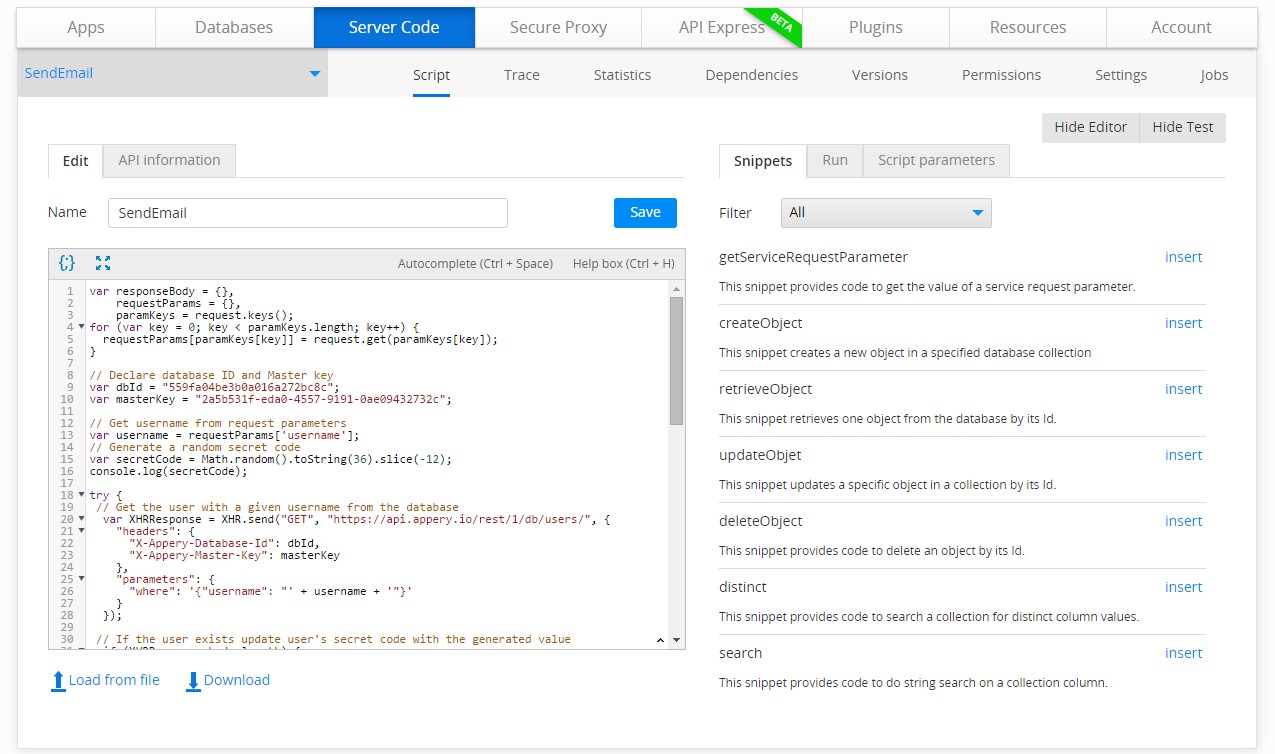
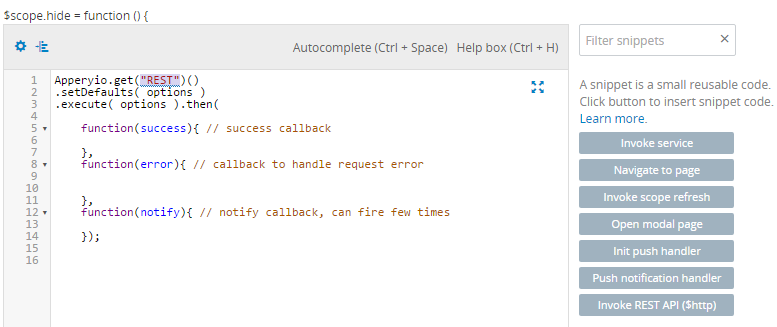
Using Server Code snippets and plug-ins are a great way to save time when making server scripts. Instead of digging through the Server Code documentation, you can simply choose one of the snippets located on the right side of the screen in script editor mode. The set of snippets provided by the Server Code API are the most common, but if you think of other useful snippets, let us know and we’ll add them to the list.
Server Code plug-ins are another way to save time when implementing your logic. To find Server Code plug-ins, go to the Server Code page and then to the Plugins tab. For now, there are two plug-ins. With them, you can quickly integrate with the Twilio or SendGrid API via XHR (XMLHTTPRequest). Simply click “Import” to create the server script based on the plug-in selected, and then customize it by specifying your API keys.
Make sure you check out all of our mobile development tips.
Do you want to build apps fast? Start developing with our trial plan!