Learn How to Send an SMS with Twilio in 5 Minutes
Twilio is a wonderful communication as a service platform that allows sending SMS messages from your app via a REST API. In this blog post you will learn how to send an SMS message from the Appery.io Server Code in about 5 minutes.
- Sign into your Appery.io account (you will also need to have a Twilio account).
- Go to the Server Code page.
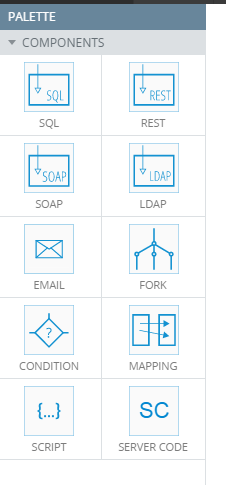
- Server Code has a built-in Twilio SMS plug-in. You just need to add it to your account. Go to the Plugins tab. You will see a list of Server Code plugins:
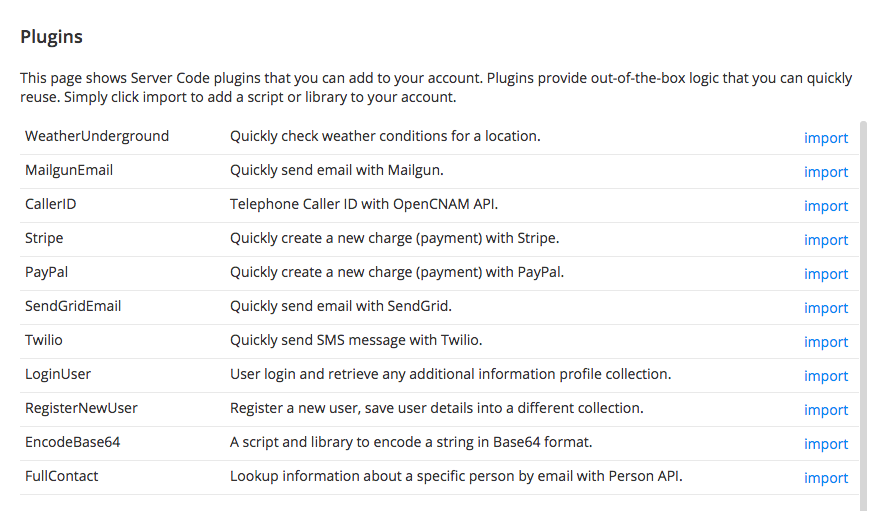
Server Code plug-ins
- Locate the Twilio plugin (Quickly send SMS message with Twilio) and click import. A script called Twilio_SendSMS that sends the SMS will be inserted in the Script panels. A library called Twilio_Base64_library that helps with authentication will also be inserted in the Library panel.
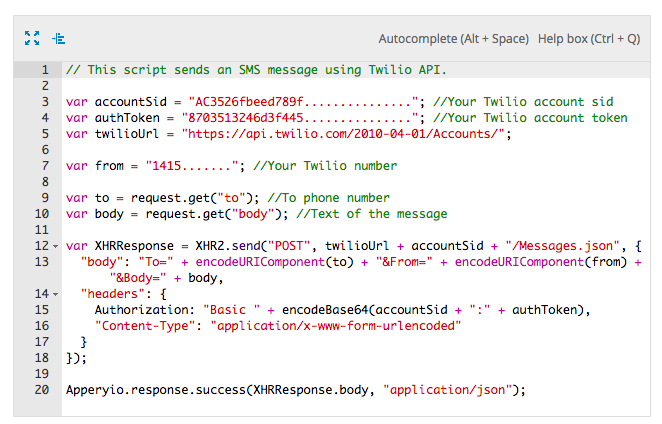
- Open the Twilio_SendSMS script:
var accountSid = ""; //Your Twilio account sid
var authToken = ""; //Your Twilio account token
var twilioUrl = "https://api.twilio.com/2010-04-01/Accounts/";

var from = ""; //Your Twilio number

var to = request.get("to"); //To phone number
var body = request.get("body"); //Text of the message

var XHRResponse = XHR2.send("POST", twilioUrl + accountSid + "/Messages.json", {
  "body": "To=" + encodeURIComponent(to) + "&From=" + encodeURIComponent(from) + "&Body=" + body,
  "headers": {
     Authorization: "Basic " + encodeBase64(accountSid + ":" + authToken),
     "Content-Type": "application/x-www-form-urlencoded"
  }
});

Apperyio.response.success(XHRResponse.body, "application/json");
You need to set the accountSid, the authToken and your Twilio phone number. You can find this information in the Twilio console.
Twilio SMS
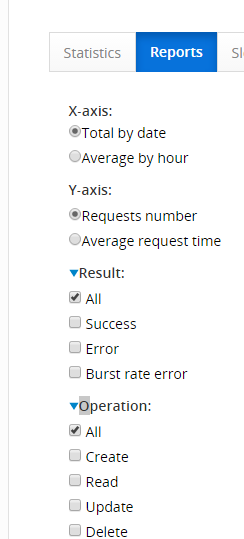
- Once you set those values you are ready to test the script. Switch to Script parameters tab.
- Add two parameters:
- to (that’s the number where the message will be sent)
- body (that’s the message)
These are request parameters into the script (and the API) and are read on lines 9-10.
- Switch to Test tab and click the Save and run button.
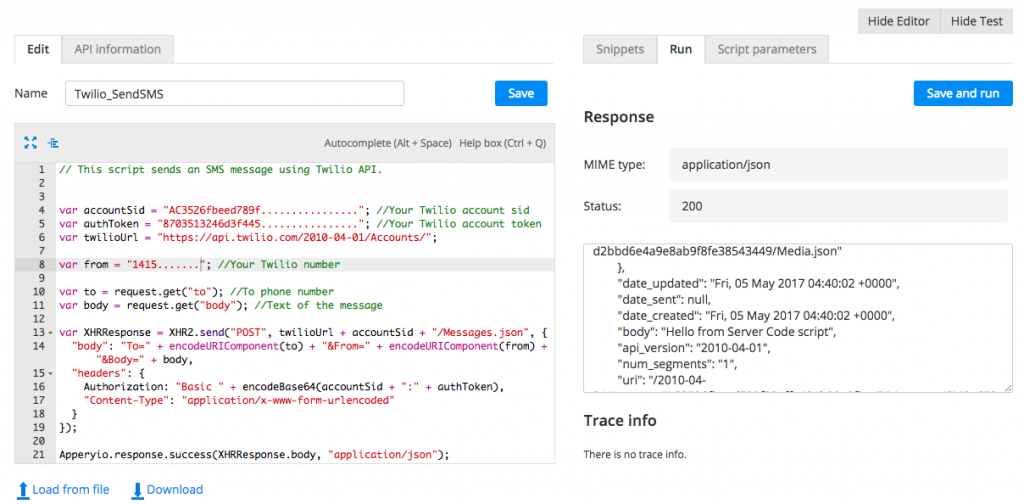
Testing Twilio SMS API
And this is how it looks on the phone:
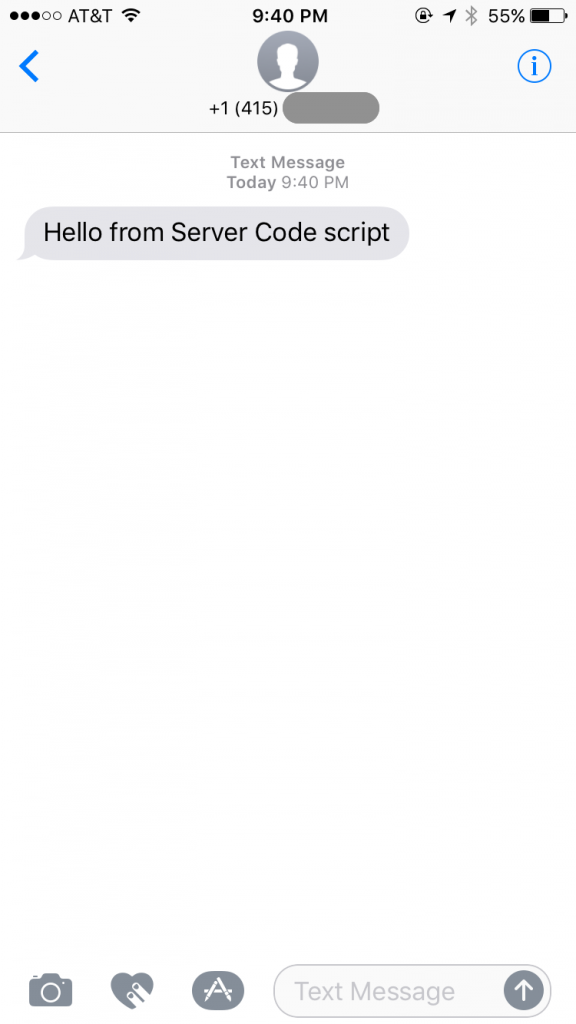
SMS message
Once you tested the Server Code script, it can be quickly added to your app. Here is a video that shows how to import services into an app. Every Server Code script is also an automatically a REST API. To see the endpoint for this script switch to API information tab. To learn more about Server Code, check our the Server Code YouTube playlist where you will find many short videos.