We Built an IoT App to Control Temperature and Humidity in 16 Hours
According to numerous scientific studies, a comfortable work environment directly contributes to the bottom line. Hear what these experts say:
“With high air quality, an individual productivity improvement can range from 13.5% up to 87%.”
— Prof. Vivian Loftness, Carnegie Mellon University
“The incidence of absenteeism or respiratory infections was found to be lower among people working in high air quality environments.”
— Prof. Anthony V. Arundel, University of Tasmania
With that in mind, we decided to improve its controllable indoor air quality. To accomplish this goal, an Appery.io-powered solution has been built to control temperature and humidity in its office spaces in the face of the most demanding conditions.
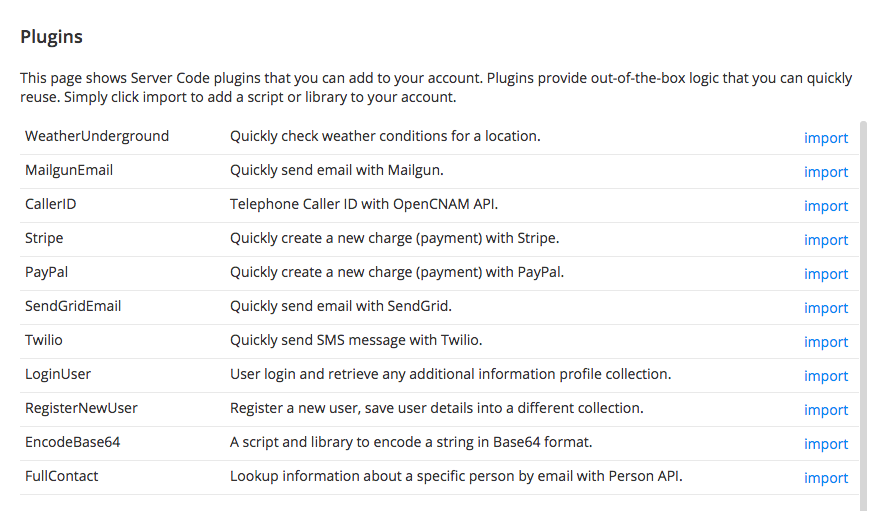
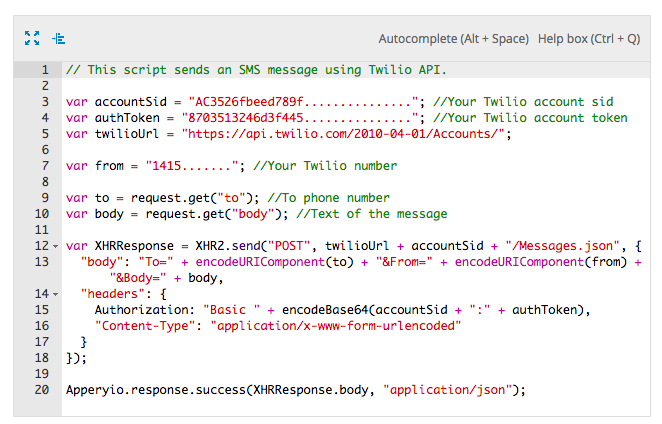
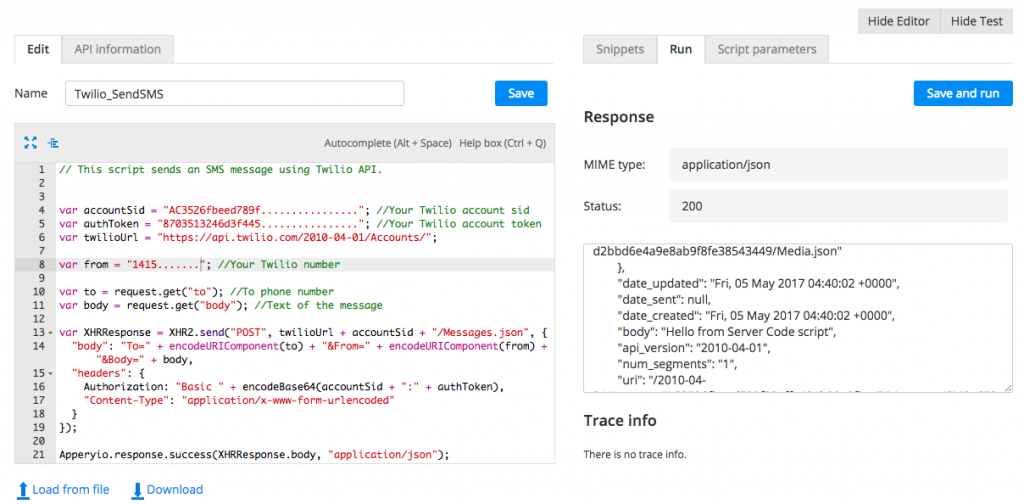
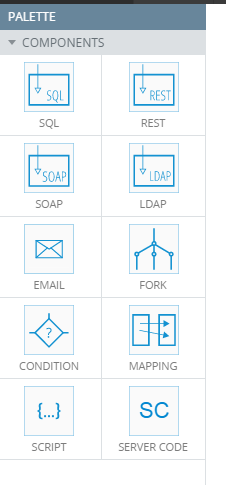
The solution’s design is based on a hub to aggregate probes, a database, and a mobile app. Appery.io API Express (built into the Appery.io platform) was used to expose both the Raspberry Pi sensors and the Appery.io cloud database as REST services, making the orchestration process smooth and fast.
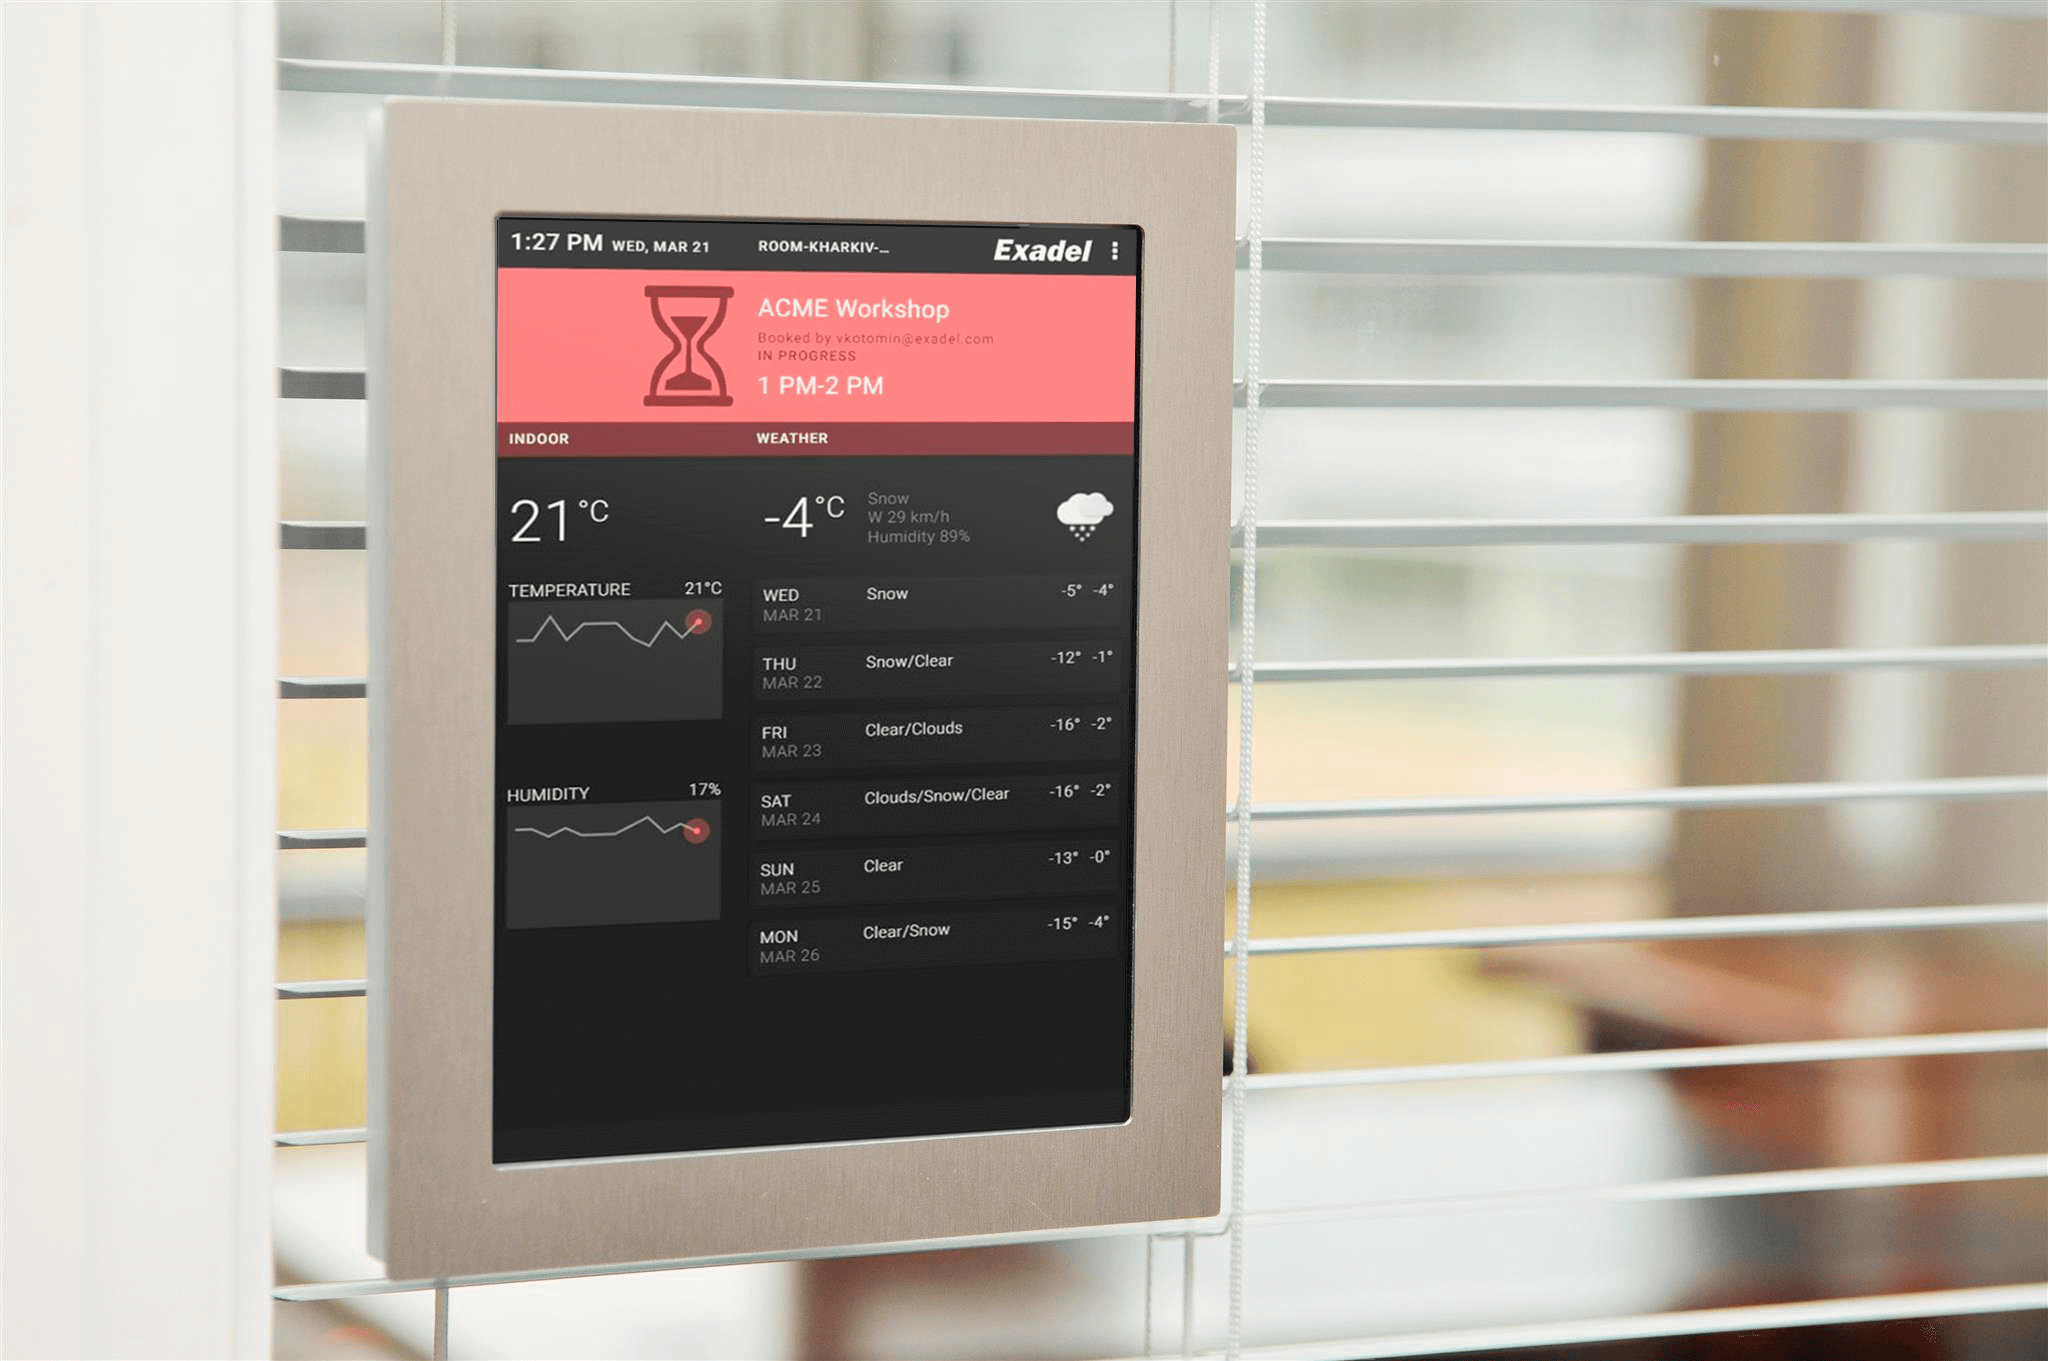
In addition, each conference facility is managed by a booking app to ensure higher utilization. As a result of its initial success, that booking app was extended to provide an interface for controlling indoor air quality.
The really amazing thing was that the complete solution was designed, developed, and tested in about 16 hours.