Effortlessly Create Amazing AI Apps with ChatGPT and Appery.io

Hello everyone and welcome! Today, we have something exciting to share with you. Our latest YouTube video will walk you through the process of integrating the Chat GPT-4o image generation feature into your mobile app.

Watch Our Step-by-Step Video Guide

In this video, we will show you how to add this powerful AI functionality to your app without writing any code. Yes, you heard that right—no coding required!

Follow along to transform your app with incredible AI capabilities using Appery.io’s no-code platform and our new Chat GPT plugin.

Integrating advanced AI features into your mobile app may sound challenging, but with Appery.io, it’s surprisingly simple. Whether you’re a seasoned developer or new to app building, Appery.io provides a low-code platform that lets you integrate powerful AI tools like ChatGPT without writing any code.


Why Choose ChatGPT?

ChatGPT, developed by OpenAI, is a cutting-edge language model that brings intelligent, human-like interactions to your app. With ChatGPT, you can add features like image generation, text processing, and more, all with a few clicks. These capabilities can elevate your app, making it more interactive, engaging, and efficient.

How Appery.io Simplifies ChatGPT Integration

Appery.io is a low-code platform designed to make app development accessible to everyone. It offers a visual interface where you can drag and drop components, configure services, and deploy apps—all without diving into complex coding.

Here’s how you can integrate ChatGPT into your app using Appery.io:

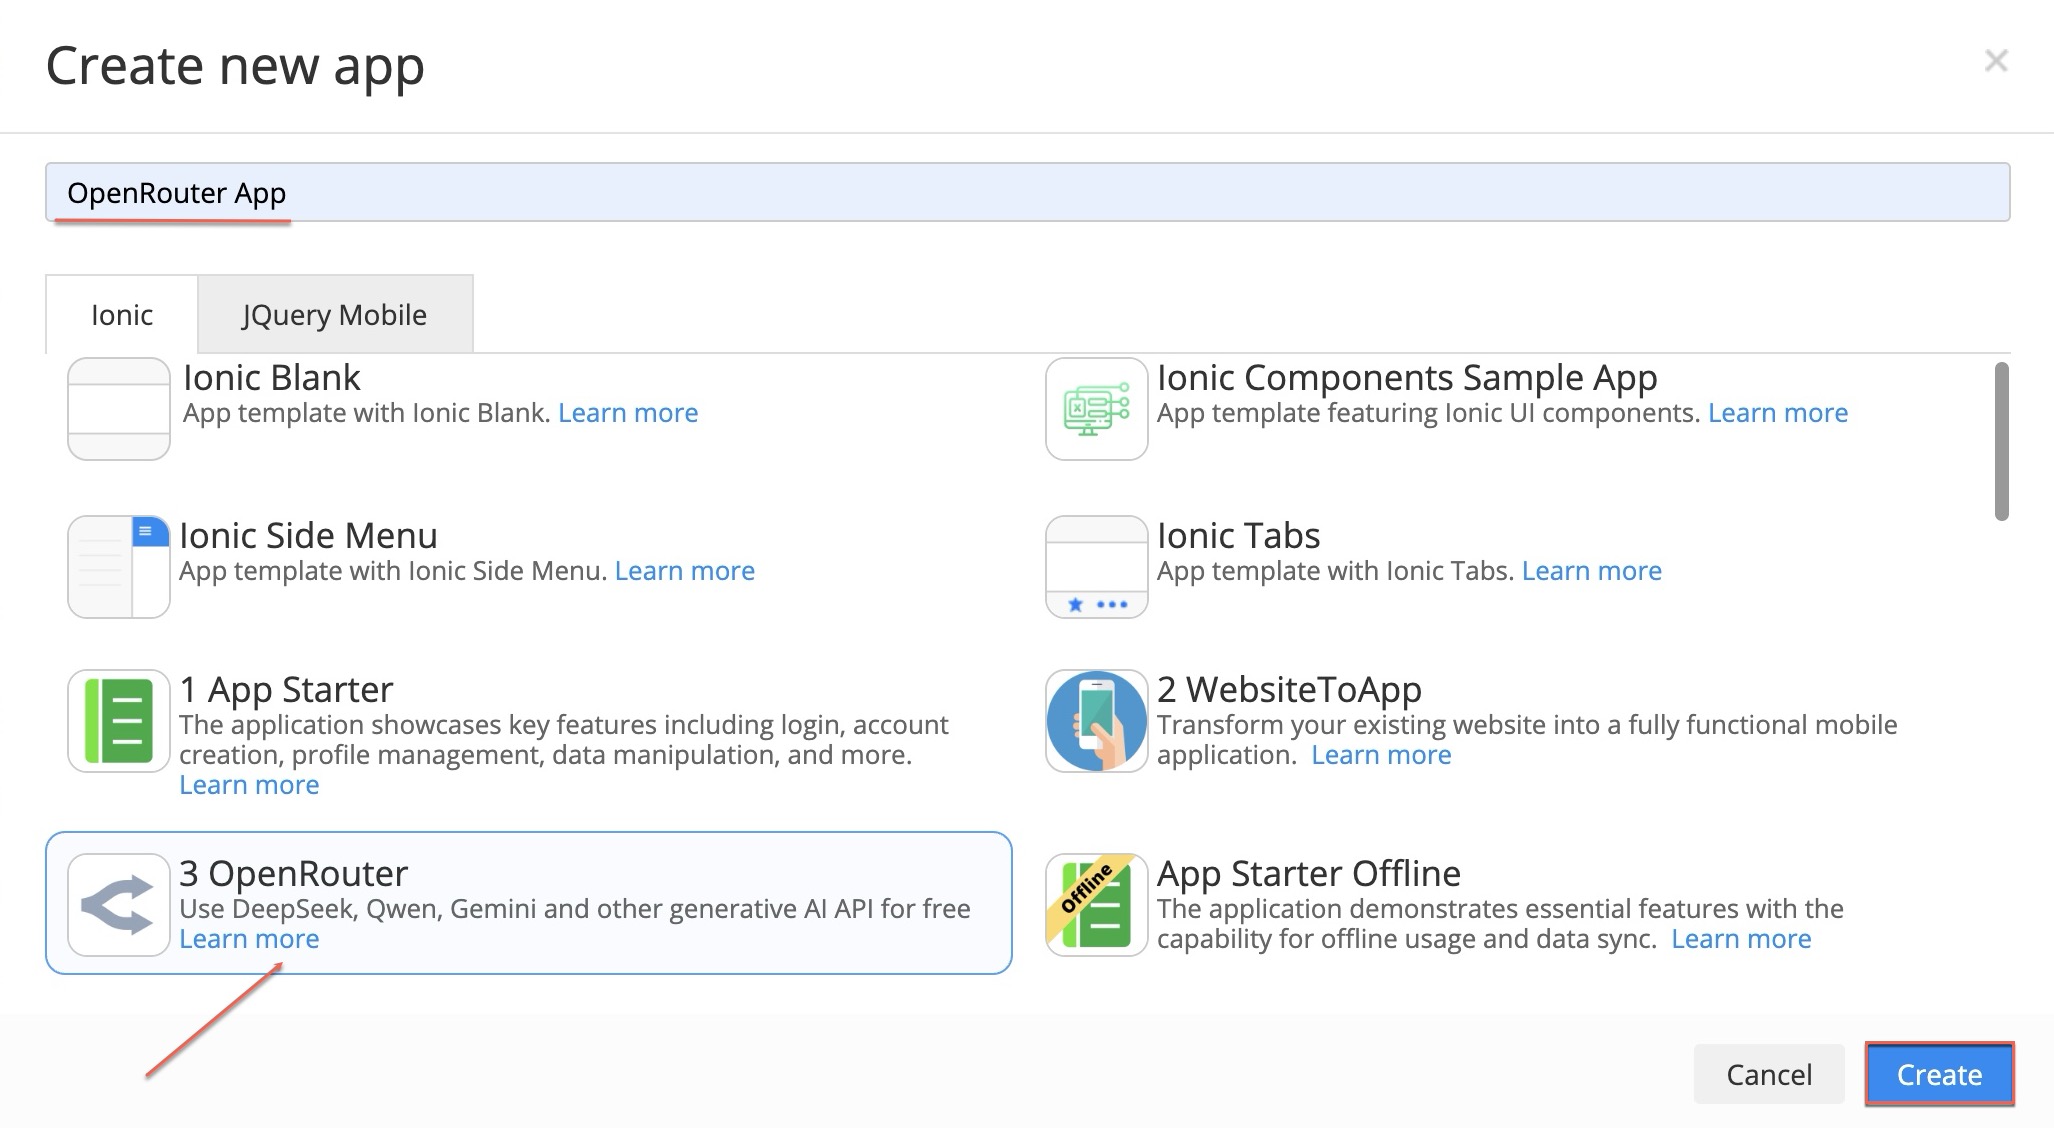
  1. Start a New Project: Log in to Appery.io and create a new project. Choose the Ionic framework, which works seamlessly with Appery.io.
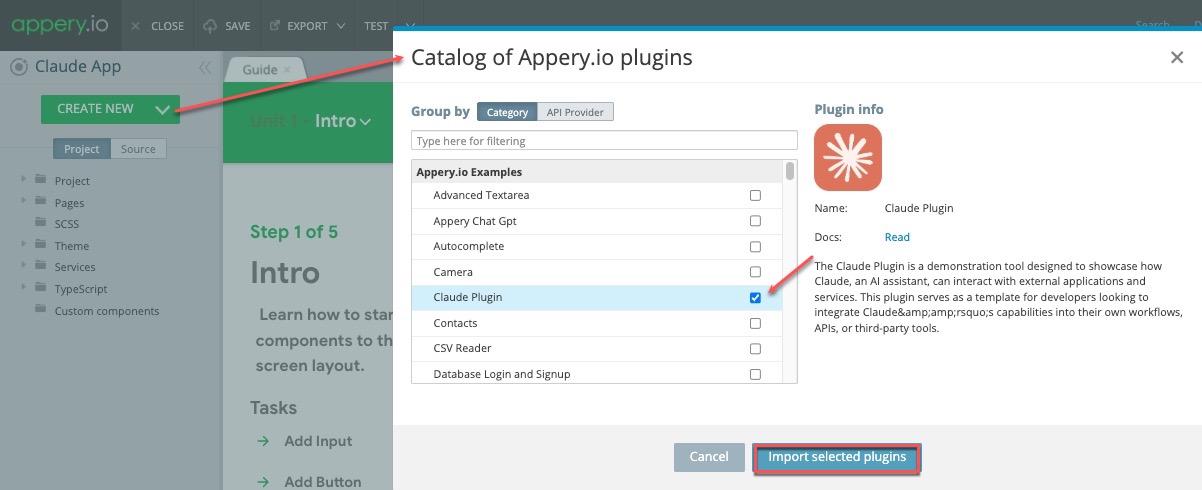
  2. Add the ChatGPT Plugin: Search for the ChatGPT plugin in Appery.io’s plugin catalog and add it to your project. This plugin is pre-configured, saving you from the hassle of manual setup.
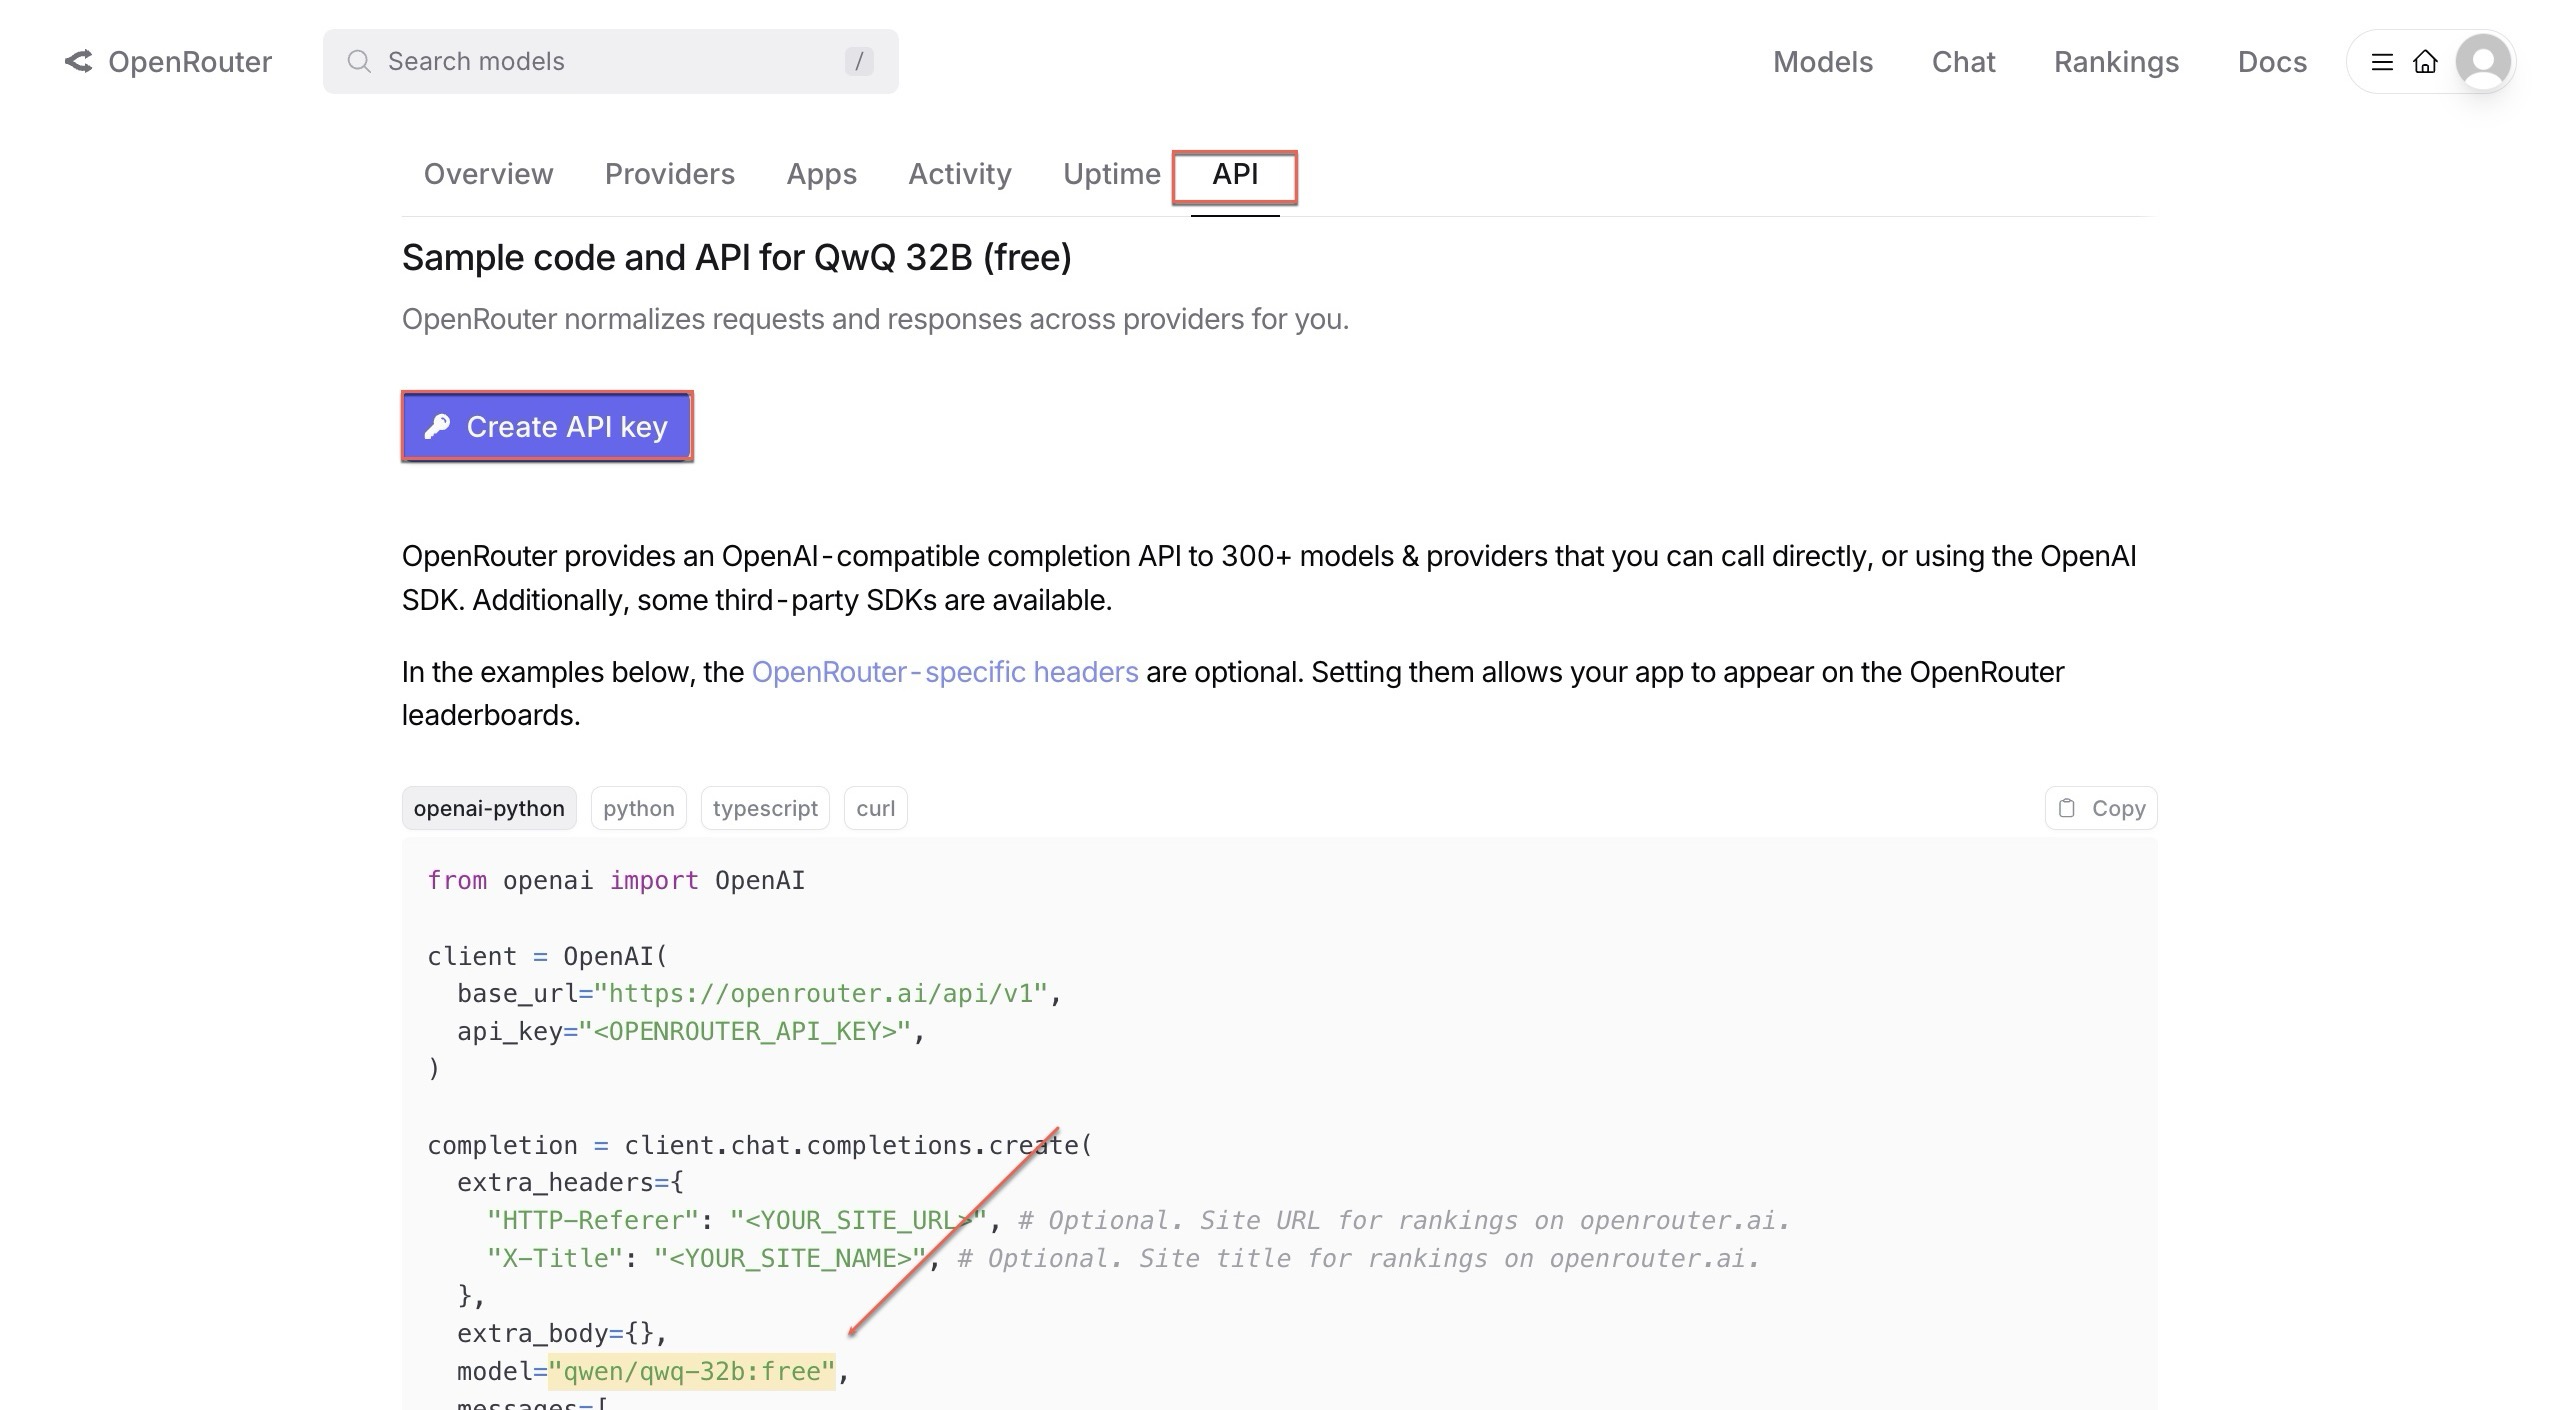
  3. Get Your API Key: To use ChatGPT, you’ll need an API key from OpenAI. Generate or retrieve your key from the OpenAI portal.
  4. Configure Your App: Use Appery.io’s intuitive interface to link your app’s UI components—like text areas and buttons—with the ChatGPT services. This step is straightforward, requiring no coding knowledge.
  5. Test Your App: After setting up, test your app within Appery.io. Make sure everything functions smoothly before you deploy.
  6. Deploy Your App: Once satisfied, deploy your app to your chosen platform, whether iOS, Android, or the web.

The Benefits of Using Appery.io

Appery.io offers a powerful yet simple way to bring AI into your apps. With its low-code approach, you can focus on creativity and user experience rather than getting bogged down by technical challenges. The platform’s flexibility and ease of use make it ideal for developers at any level, from beginners to experts.

Conclusion

Integrating ChatGPT into your mobile app has never been easier. With Appery.io, you can quickly build AI-powered apps that stand out, all without writing a single line of code. If you’re ready to take your app to the next level, give Appery.io a try and see how simple it can be to bring AI into your projects.

Unlock Smarter Apps with ChatGPT and Appery.io’s Low-Code Magic

Hey there!

It’s the Appery.io team back with another exciting tutorial. 🔥

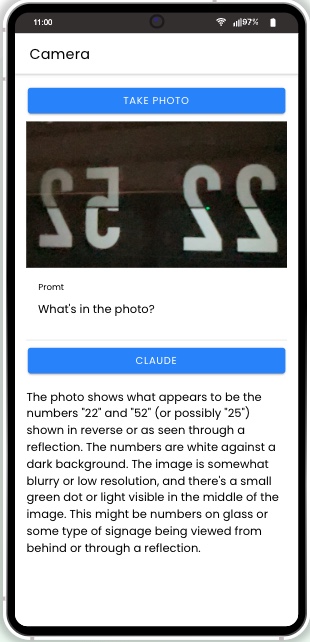
In our last video, we showed you how to integrate ChatGPT-4o with your app using our no-code platform. This cool feature lets your app efficiently process uploaded images and respond just like a human would.

If you missed that video, don’t worry.

You can watch it now by clicking this link.

This time, we’re diving into the low-code environment. We’ll use the Appery.io App Building platform again, but as a low-code editor.

Our new how-to video covers:

âś… Getting Started with Appery.io

âś… Setting Up the User Interface

âś… Adding Variables and Plugins

âś… Creating the `takePhoto()` and `process()` Functions

✅ Adding OpenAI API Key 

âś… Testing Both on Preview and on a Real Device

Ready to start? Let’s jump in!

Follow this step-by-step video guide and by the end, you’ll have a fully functional app, all with minimum coding and with maximum AI power!

Why Choose Appery.io for ChatGPT Integration?

Appery.io is a revolutionary low-code development platform designed to make app building accessible to everyone. Whether you’re a seasoned developer or a beginner, Appery.io simplifies the process of creating functional apps. With its intuitive interface and robust features, it’s never been easier to incorporate advanced functionalities, such as ChatGPT integration, into your mobile applications.


Visit the Appery.io website to download a free trial version and explore the magic of ChatGPT within your own app-building environment.

Happy developing!

Power Up Your App: Effortlessly Fuse ChatGPT Plugin with Appery.io for Next-Level Image Processing Magic

In today’s tech-driven world, mobile app development has evolved to be more accessible and efficient than ever before. With the emergence of innovative tools like the ChatGPT plugin and platforms like Appery.io , building powerful apps has become a breeze, even for those with no coding experience.

At the forefront of this technological advancement is the integration of the ChatGPT-4o functionality into mobile apps using Appery.io . This dynamic duo enables developers to process uploaded images and receive human-like responses seamlessly.

To kickstart this process, the Appery.io team showcases how to leverage the Appery.io platform as a no-code editor, alongside the new Appery ChatGPT plugin. With predefined services at your fingertips, the integration of OpenAI’s power into your app becomes a seamless experience – no coding required!

Key takeaways from the integration process:

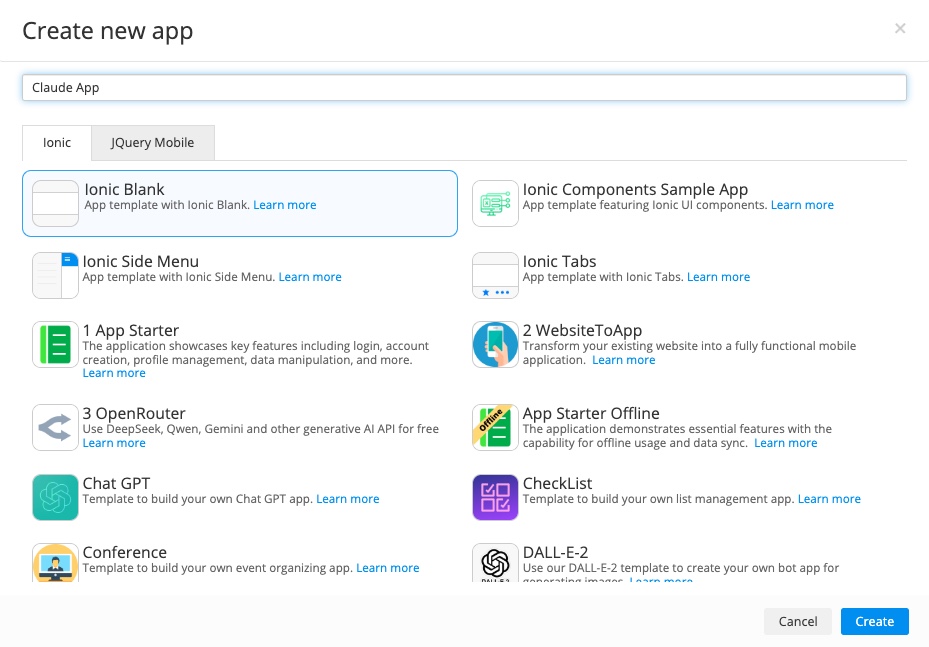
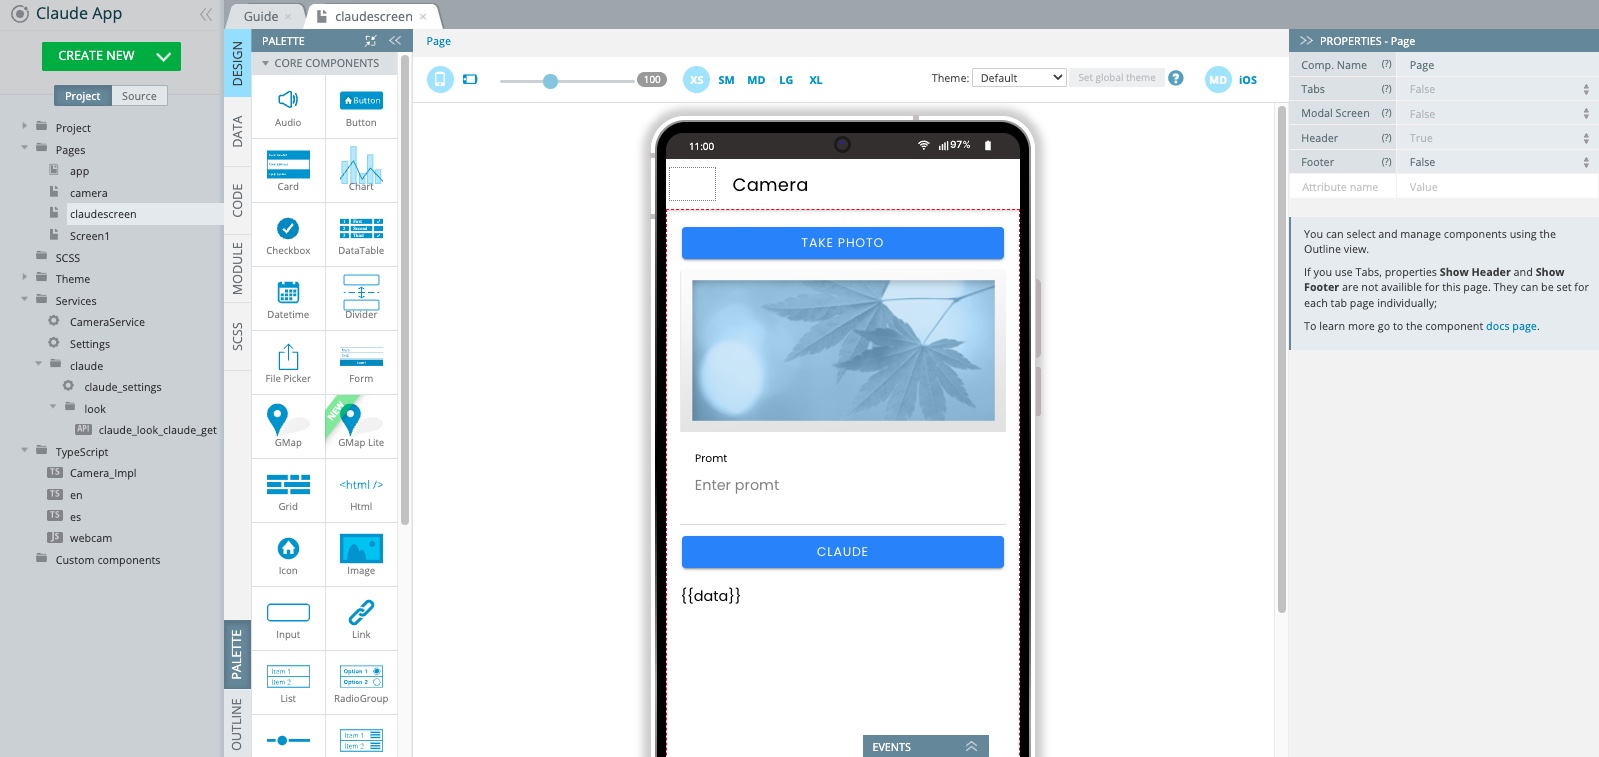
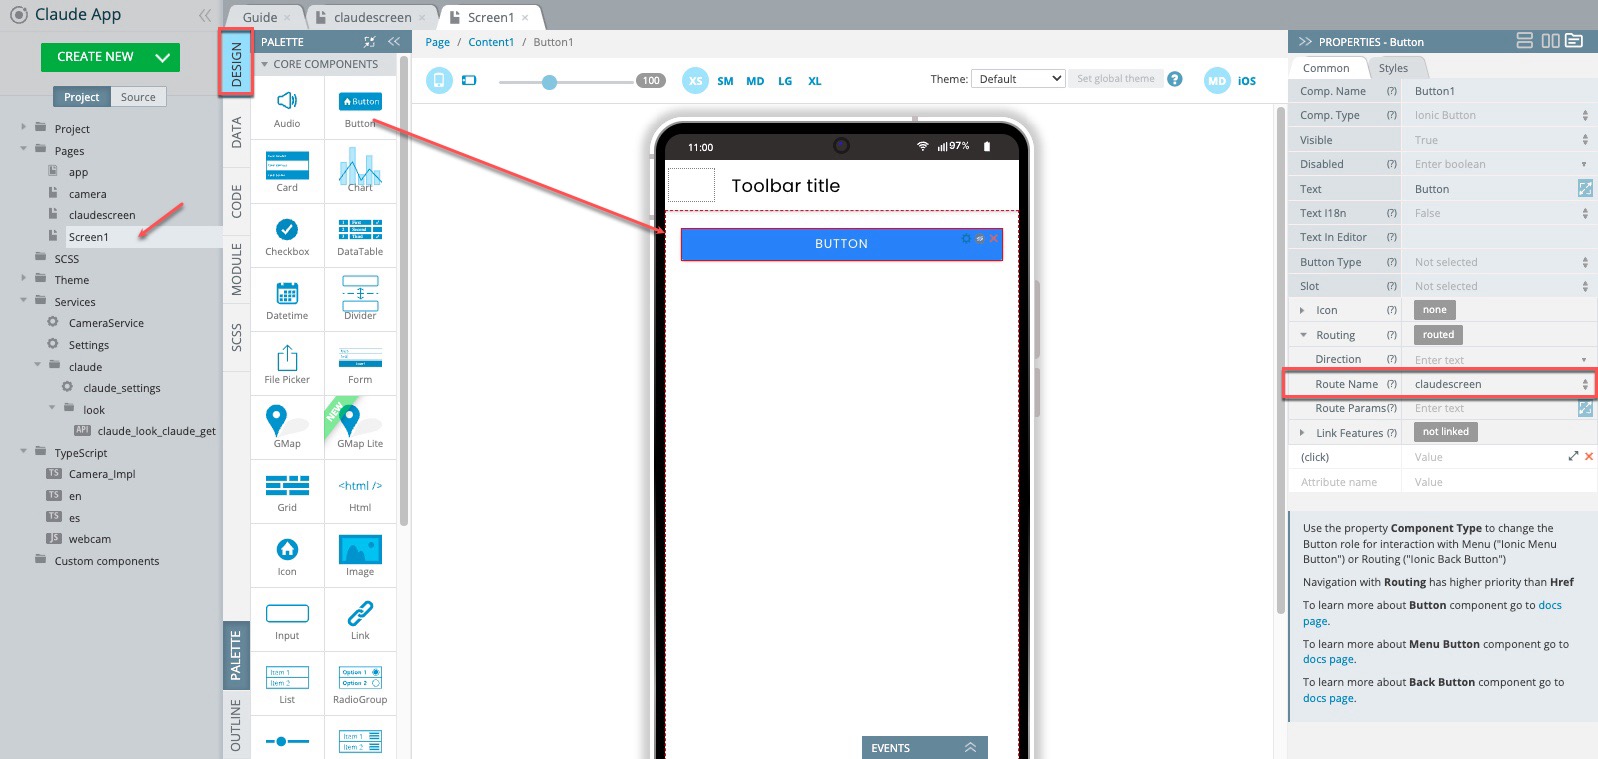
1. Create a new blank Ionic app on Appery.io, naming it “ChatGPT-4o Image Processing_No-Code” for easy identification.

2. Click CREATE NEW > From Plugin and add the Appery Chat GPT plugin by selecting it from the Appery.io plugins catalog.

3. Also, add the Camera service for uploading images effortlessly.

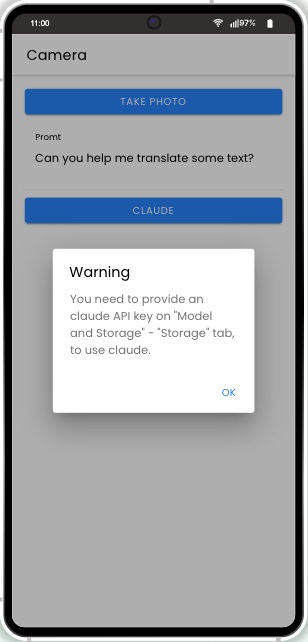
4. Integrate the OpenAI key from the OpenAI portal into the Settings service of your app.

5. Once the building blocks are in place, it’s time to craft the app’s user interface. With components like buttons for capturing images, uploading functions, and querying ChatGPT for responses, the app promises a user-friendly experience.

6. The integration doesn’t stop at the UI design – defining services such as input and output mappings ensure that the app functions smoothly. With the Camera service mapping images to display on the screen and ChatGPT service processing queries, the app’s core functionalities come to life effortlessly.

7. Appery.io’s platform streamlines the process further by enabling direct triggering of services with a simple button click.

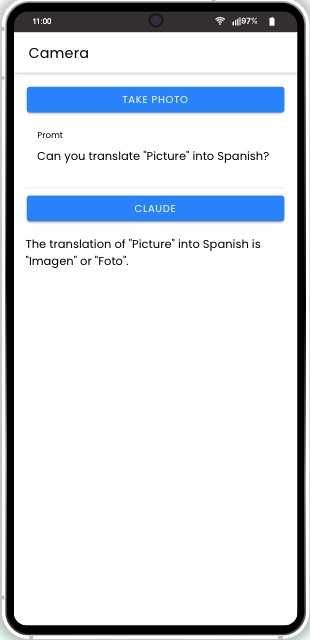
8. Testing the app’s functionality, whether on a mockup image or a real device using the Appery Tester tool, showcases the app’s capabilities in real-time.

In conclusion, the seamless integration of ChatGPT plugin on Appery.io signifies a paradigm shift in mobile app development, proving that complex application logic can be achieved without writing a single line of code.

Stay tuned for more insights on leveraging Appery as a low-code editor in our upcoming video!

Unlock the Magic of ChatGPT-4o: Effortless Low-Code Transformation for Your Text App!
We have an exciting news for you today! In our last video (you can find more details in this post), we showed you how to integrate an app with ChatGPT-4o using our platform as a no-code editor. Now, we’ll take it a step further. In out new video tutorial, we are demonstrating a similar integration, but this time using a low-code approach.

This means that only a minimum amount of code will be needed to implement the ChatGPT functionality for more complex integrations. Intrigued? Let’s dive in!

For your convenience, we are also providing the step-by-step instructions below.

Getting Started: Create a New App

First, let’s go to the Appery.io platform and traditionally create a new app.

You’ll need to add the necessary OpenAI Key that you can get from the OpenAI portal. Navigate to the Settings service and enter this key.

Just like before, any application will automatically get access to the OpenAI object once the OpenAI API key is specified. You can find more details in our documentation if you need further guidance.

Setting Up the User Interface

Before we start creating our UI, we need to decide how the code will access the input and display the output. We can use either local or global variables. For this demo, let’s use global variables.

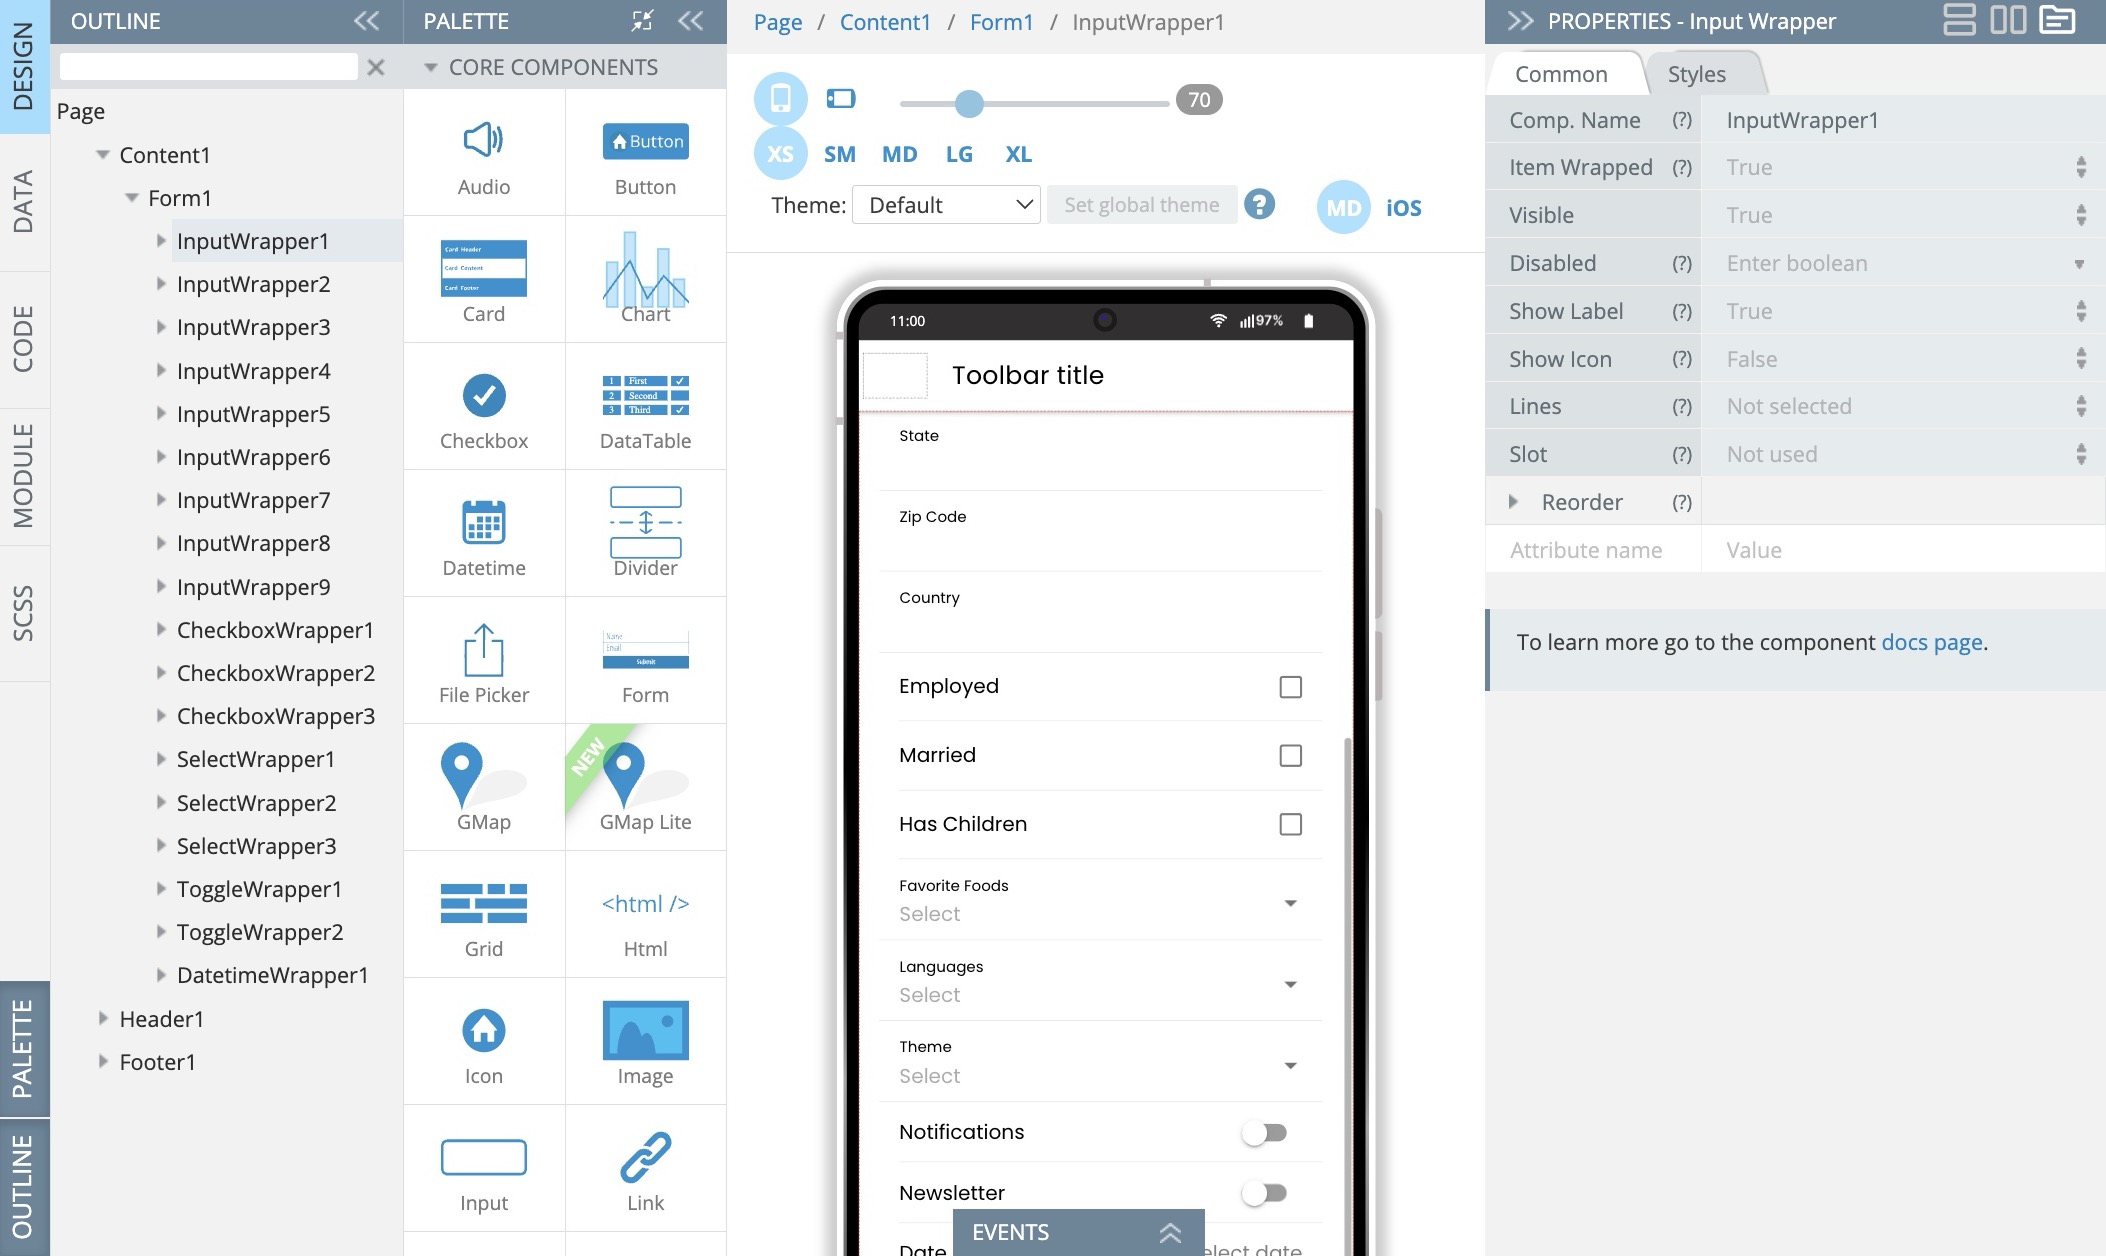
So, open Screen1 in your new app, drag the following UI components onto the page and define them as follows:

Textarea (this is where you’ll enter questions):

  • Label = Question
  • [(ngModel)] = $v.question (Global variables are accessed with the $v variable) 

Button: (this will trigger the function named process() to handle the questions):

  • Text = Process
  • (click) = process()

Text: (this will display the responses from ChatGPT):

  • Text = {{obj}}
  •  Text in Editor = Food1 (to make page appear appealing in the editor without breaking the app’s UI)
  • *ngFor = let obj of $v.arr

We configured our no-code app to receive output as an array, not a string. For this low-code app, we’ll do the same. Let’s assume that ChatGPT will return an array of entities which we will iterate over and display.

Setting Up the Process Function

It’s time to configure the process function:

1. Open CODE > Functions, enter process for the function name and make sure it’s set as an async method.

2. Define the process method with the following code:

this.$v.arr = await this.$a.openai.aioRequest(this.$v.question, {format: ["food1", "food2", "..."]})

In this code, we’ll use the OpenAI object to send requests and receive an array of strings as responses. The first parameter is our question, represented by $v.question.

We also need the response to be an array of strings, so we’ll define the format for the second parameter in our code.

To enhance user experience, add a loading indicator before sending the request and remove it once the response is received.

await this.$a.showLoading()

await this.$a.dismissLoading()

All Set! Testing the App

Your app is ready for testing! Enter a query, press the button, and see the output from ChatGPT-4o:

Thank you for keeping up with us! We hope you found this video helpful.

Don’t forget to subscribe to our channel for more insightful content. Stay tuned and happy coding!

Boost Your Mobile Apps: Appery.io and ChatGPT Integration for Superior User Experience

Hello everyone!

Have you ever wished mobile app development could be more straightforward? Appery.io, a powerful low-code app-building platform, can make your dreams come true—especially when you integrate it with ChatGPT. Combining Appery.io and ChatGPT accelerates the development process and simplifies adding complex business logic to your applications.

Why Use Appery.io with ChatGPT?

Appery.io‘s intuitive builder lets you quickly create your app’s user interface (UI). And with simple tools, you can seamlessly integrate ChatGPT, an advanced AI from OpenAI. By using ChatGPT, you can add sophisticated features to your app without diving deep into complex coding.

A Simple Integration Guide

Here’s a simplified walkthrough of how you can get started:

1. Create a New App

First, open Appery.io and create a new app. In a blank Ionic app, click CREATE NEW > Page to generate a page with a predefined GPT-4o screen layout based on GPT-4o technology.

2. Obtain an API Key

For this integration, you’ll need an API key from the OpenAI portal. Just click the provided link, generate your API key, and copy it.

3. Insert Your API Key

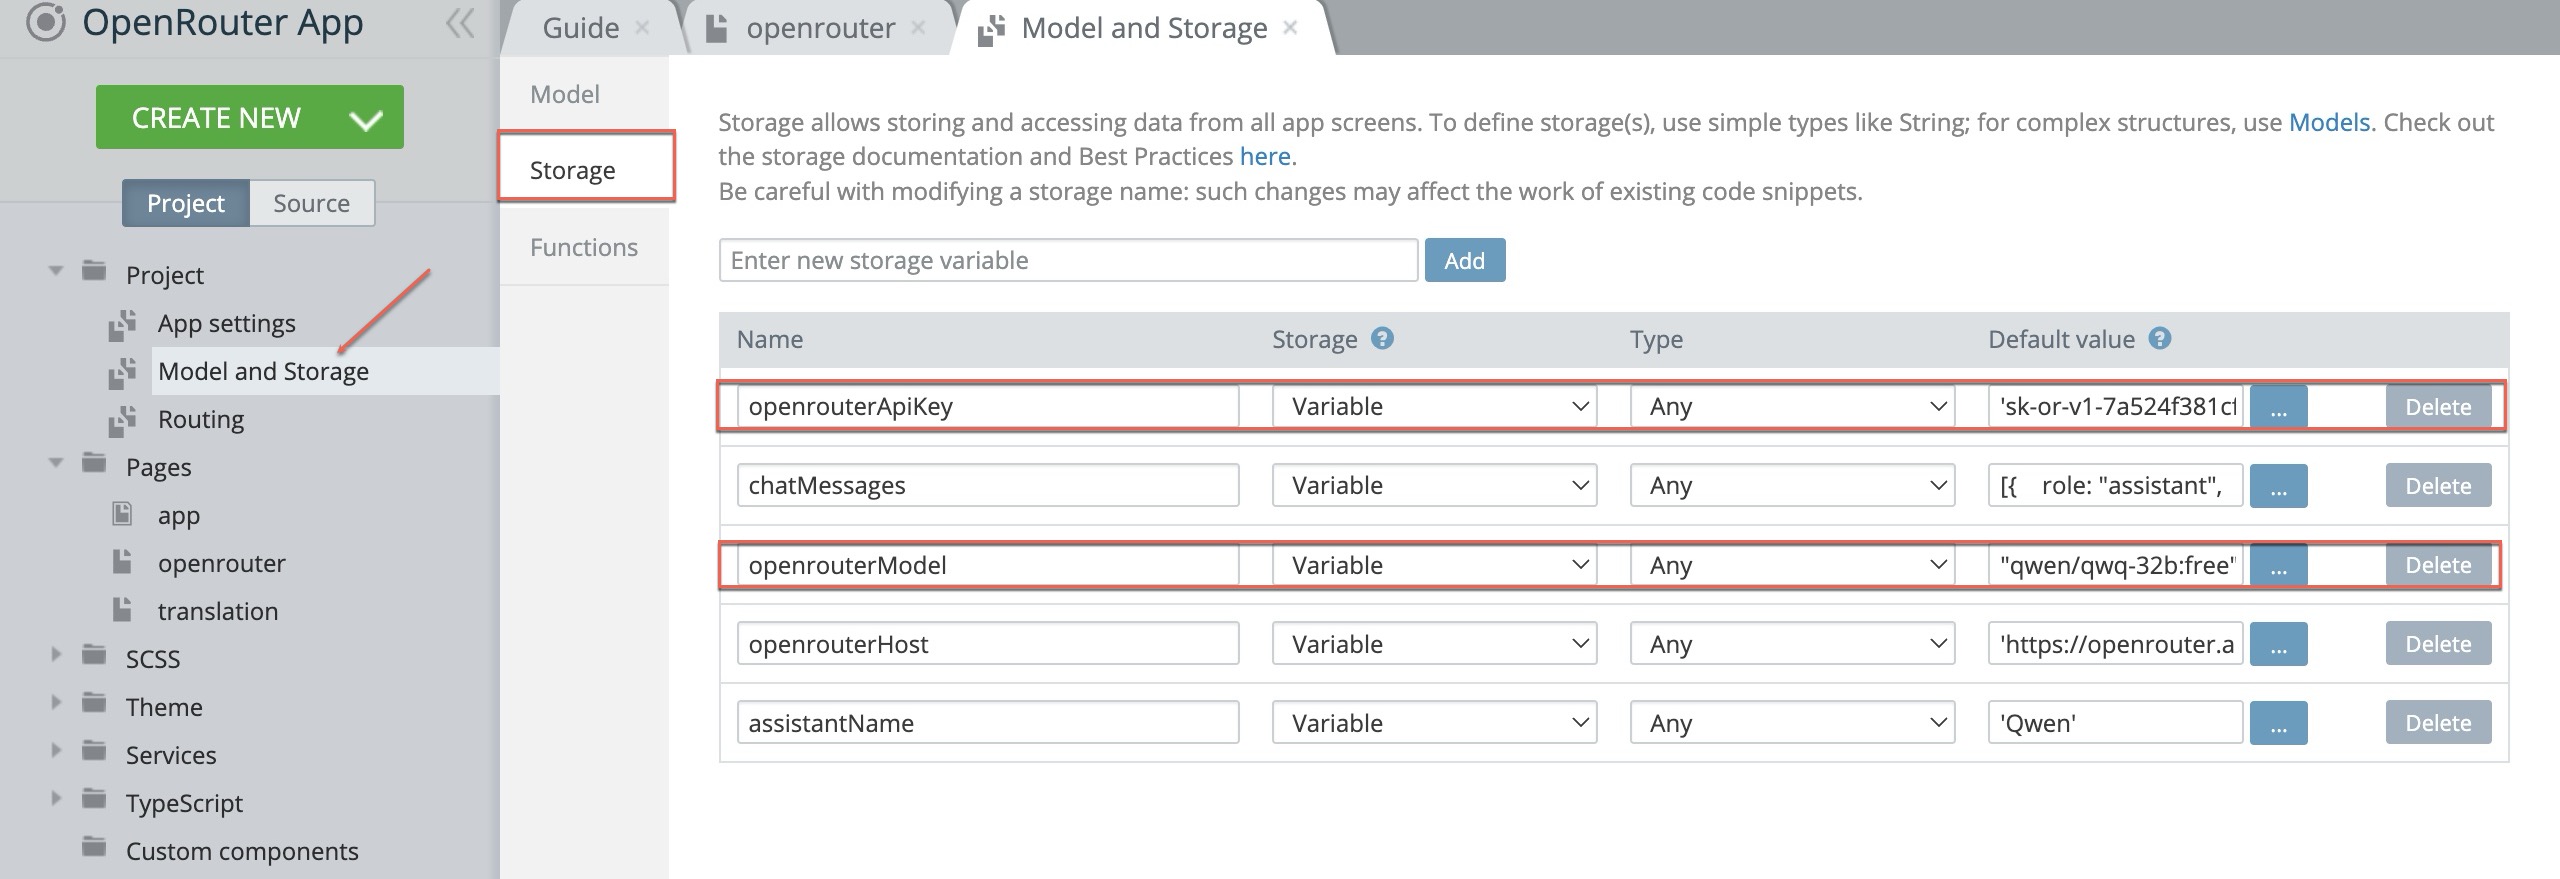
Go to Project > Model and Storage > Storage tab, and paste your copied API key. This step is essential for enabling the AI technology.

4. Build Your UI

Next, open Screen1 and create a simple UI to test your app’s business logic:

Textarea component: For entering questions, define the [(ngModel)] value as “question”.

Button component: Add a button for processing requests and name it “process”. Define its (click) method as process().

Text component: This will display the response from ChatGPT. Define its Text value as {{result}}.

5. Add Business Logic

Navigate to the CODE tab and add two variables: `question` and `result`. Also, define the “process” function as an asynchronous method.

this.result = await this.$v.openai.aioRequest(this.question);


When you included the screen layout earlier, the OpenaiModule (check TypeScript > Module) was automatically added. This module has the `openai.aioRequest` method, which you’ll use in your “process” function.

6. Test Your App

Save your app and start testing! Ask a question and see how ChatGPT responds.

7. Enhance Business Logic to Get Response in the Form of an Array 

Let’s say you want a response in the form of an array.

To get different output format response, for example, an array, you’ll need to modify your function with defining the format parameter.

this.result = await this.$v.openai.aioRequest(this.question, {

    format: {

            arr: [“”, “”, “”]

        }

    });

Also, adjust your UI accordingly by adding an *ngFor attribute with the value set to let obj of result?.arr to the Text component and replacing its {{result}} with {{obj}}.

When testing, enter a request like, “Provide a list of ten healthy foods” and click the button to process it. ChatGPT will return the requested list formatted correctly. And just like that, with minimal coding, you’ve added valuable business logic to your simple app!

That’s all for now. To discover how Appery.io and ChatGPT can streamline mobile app development by integrating AI-powered business logic explore our YouTube video guide:

Remember to stay tuned – in our next videos, we’ll demonstrate how to add image processing functionality.

How to Get Access to the List of Contacts in an Ionic App

Have you ever wondered how to make you Ionic app access the list of contacts of your device?

This blog post walks you through the steps of creating an Ionic app that can do that. Also, if you prefer watching video guides, you can follow this YouTube tutorial to create such an app:

Getting Started with Your Ionic App

First, we need to create a brand-new Ionic app. For this tutorial, we’re using the Appery.io platform, which makes the development process straightforward and efficient.

1. Create a New App:

Open Appery.io and click Create new app.

Name your app and confirm. This action creates a blank Ionic app with a predefined screen layout named Contacts.

2. Adding the Contacts Page:

Add this Contacts page layout to your app and adjust the routing to make sure it points correctly to this page.

Reviewing & Testing Your App

Your app is now ready to display contacts. This page will show names, phone numbers, and pictures of contacts. Let’s click TEST to quickly preview the app.

You can also preview what the app looks like and how it functions by using the Appery.io Tester, a native app for testing. It’s user-friendly and works perfectly!

How It Works Behind the Scenes

Now, let’s go deeper into the technical step-by-step process to understand how everything works:

Cordova Plugins:

Under the Project > App settings > Cordova plugins tab, you’ll see that the app uses the Cordova Contacts plugin, which has been automatically imported. This plugin helps fetch the contacts.

Ionic Contacts Wrapper

We utilize the Ionic Contacts wrapper for better integration. You can check its detailed documentation page if you wish to dive deeper into this.

Setting Up Variables

Open the Contacts page’s CODE tab to see the variables that were added automatically:

– `contacts`: Returns the contact list.

– `keyword`: Enables filtering.

– `SAMPLE_AVATAR`: Displays a sample picture. You can upload your custom one by using the Media Manager, if needed.

– `SAMPLE_CONTACTS`: Provides a sample list for testing in the browser.

Displaying Contacts List in the App

Now, let’s scroll to the Functions section to see how the contacts list is added in our code.

If the app runs in a browser, it uses the sample contacts from the variable above. But if the app is run on a real device, it accesses the actual contacts list via the predefined `contacts` variable.

Creating a User-Friendly UI

Here’s how to make the contacts list visually appealing and easy to navigate:

List Component:

Uses ListItem with the *ngFor attribute to iterate through the contact list and display each contact’s information.

Filtering Contacts:

The *ngModel keyword in the Search component allows users to filter contacts by name.

Using Selections:

The app lets users select contacts easily. Selected contacts have the selected property set to true.

Conclusion

And that’s how to get access to the list of contacts in an Ionic app! This straightforward guide aimed to simplify the technical aspects and provide a clear path for even beginners. Now you can easily fetch and display contacts in your Ionic apps.

Happy coding!

Add Text Recognition to Your Mobile App Easily

Hello everyone!

Welcome to an exciting journey where we’ll show you how to add text recognition to your mobile app using the Appery.io Text Recognition plugin. Our new step-by-step video guide is designed to make everything simple and clear, even if you’re new to this technology.

In this video, you will be guided on how to:

  1. Import the Text Recognition plugin to your app
  2. Update default routing
  3. Test your app

Also, you will learn what modes come with the plugin:

Static Text Recognition:

  • Echo mode
  • Camera mode
  • Gallery mode

Real-Time Text Recognition: 

  • 10-second recognition
  • Continuous recognition

After watching the video guide, you will understand the app structure and also get the code breakdown to see the full picture of what’s behind the plugin.

Ready to Add Text Recognition to Your App?

To implement this feature, activate the Appery.io Text Recognition Cordova plugin in your project and you are ready to go!

And that’s it for now! Thanks for following along. We hope this guide helps you add robust text recognition to your mobile app.

Happy coding!

Unlock Real-Time Communication with WebSockets on Appery.io

Introduction to WebSockets with Appery.io

Have you ever wondered how apps send updates in real-time? The magic happens with WebSockets. Today, we’ll show you how to add WebSockets to your apps using Appery.io. This low-code app-building platform makes it easy to create complex apps quickly. Note that this post supports our comprehensive video tutorial and if you are interested in details, you are welcome to watch it.

By following the steps below, you can easily enhance your app with real-time communication features using WebSockets and Appery.io. Exciting, right? Let’s get started!

Setting Up Your App

First, create an empty app in Appery.io. Then, go to the Catalog of Appery.io plugins and select the WebSocket Example plugin.

Before importing it, you can click the link to open its documentation page. You’ll see it contains the code for the WebSocket server. This server needs to be run somewhere. While real applications may use Amazon or Azure, we’ll use CodeSandbox for testing.

Using CodeSandbox

1. Create a new Devbox.

2. Select Node.js Server from the list of backend frameworks.

3. Name your Devbox and set its visibility to “Public”.

4. Install two npm modules: `express` and `socket.io`.

Now, let’s move to the next step.

Setting Up Your WebSocket Server

Copy the server code from the documentation page and paste it into your `index.js` file in CodeSandbox. If everything is correct, the server should start successfully.

Back to Appery.io

Return to the Appery.io project and click Import selected plugins with the WebSocket Example plugin checked. This plugin helps you integrate WebSockets into your app. But first, let’s test it.

Testing Your App

Go to the Project > Routing section and set “WebSocketScreen” as the default page.

Next, navigate to TypeScript > WebSocket and specify the URL of your WebSocket server obtained from CodeSandbox.

Now, run your app in different browsers like Google Chrome, Firefox, and Edge. Enter a test message and click the “Send” button.

Ready! The message should be delivered to all clients in real-time.

Conclusion

Now you’ve seen how to add Websockets to your apps using Appery.io. This post is a companion piece to our detailed video tutorial. The demo app isn’t a finished product but provides a solid template for building your own real-time communication features. Give it a try and unlock powerful networking capabilities in your applications!

Custom Domain Publishing Made Simple with Appery.io

Are you interested in mobile app development but concerned about the complexities of deploying your app? Look no further! Today, we’ll discuss custom domain publishing in the context of Appery.io, a user-friendly, low-code app-building platform. This feature allows you to seamlessly publish your Appery.io application on a custom domain with an automatically generated SSL certificate. This process eliminates the need for purchasing SSL certificates, saving you both time and money.

What is Appery.io?

Appery.io is an accessible, low-code platform designed for developing mobile apps. It stands out due to its ease of use and rapid development capabilities. Whether you’re an experienced developer or just starting your journey, Appery.io provides an intuitive interface for building high-quality applications quickly.

Why Choose Custom Domain Publishing?

1. Professional Appearance: Publishing your app on a custom domain provides a more professional look and feel.

2. Enhanced Security: The automatically generated SSL certificate ensures your app is secure without any additional costs.

3. Ease of Sharing: Custom domains make it easier for users to remember and access your app.

Step-by-Step Guide to Custom Domain Publishing

Here’s a simple guide to publishing an Appery.io application on a custom domain:

1. Enter Your Domain Name:

– If you have an existing domain, enter it in the designated field within the Appery.io platform Hosting section and click Publish.

– Follow the on-screen instructions for the next steps.

2. Don’t Have a Domain?

– Click on the provided link to purchase a domain from Google or another domain provider.

3. Configure DNS Settings:

– If you already own a domain, navigate to your Domain Registration Website.

– Click on the “Manage” button and access the DNS settings.

– Add a new record: specify the name and IP address you copied from the instructions.

4. Finalizing the Process:

– Retry the publish process if an error occurs; sometimes, new DNS records need a few minutes to propagate.

– Click Publish again. Once completed, your app will be available by default via HTTPS.

Viewing and Sharing Your Published App

Once your app is published, you can view it through the provided link. For sharing purposes, Appery.io offers a user-friendly interface that makes your app more appealing and professional. You can share this directly on popular social media platforms like Facebook, Twitter, LinkedIn, or even via email.

Conclusion

Custom Domain Publishing withAppery.io makes mobile app deployment straightforward and efficient. No more worries about buying SSL certificates or dealing with complicated setup processes. Your app can now have a professional touch with enhanced security in just a few steps.

Sounds interesting? Head over to our latest video for the complete guide!

If you found this article helpful, consider subscribing to our blog for more guides and tips. Thank you for reading, and happy app developing!


Push Notifications with Appery.io Server Code: Watch Our New Tutorial

Hey everyone! The Appery.io team is excited to announce our latest video tutorial on integrating push notifications into your mobile app by using Server Code. 🎉

Push notifications are a powerful tool for engaging app users. With Appery.io, integrating these notifications is simple, even if you’re not tech-savvy. In this video, we are showing you how to add push notifications to your mobile app using Appery.io , a low-code platform that makes app development accessible for everyone.

Our new how-to video covers:

Setting Up Push Notifications: Learn how to configure notifications before sending.

Triggering Custom Actions: See how to trigger popups or other actions when a notification is delivered.

Sending Technical Data: Discover how to pass custom data, like navigation instructions, via push notifications.

Automating Notifications with Server Code: Understand how to send notifications programmatically for real-world use cases.

Targeting Specific Devices and Users: Master the art of sending notifications to individual devices and users.

Highlights from the Video

1. Real-Time Updates: With Live debug, any changes you make in Appery.io are instantly reflected on your mobile device.

2. Custom Alerts: Trigger TypeScript code when a notification is delivered, showing custom alerts or actions.

3. Server Code Integration: Learn to automate push notifications using server-side code.

4. User Targeting: Send notifications to specific users across all their devices by linking user IDs.

Watch Now

Don’t miss out! Watch the full video tutorial and elevate your app’s user engagement effortlessly. Click below to watch the video.


Want more insights? Check out our YouTube channel for more videos and tutorials.

Don’t forget to like and subscribe. Your support keeps us going!