Unlock Game-Changing QR and Barcode Features in Your App with Appery.io

App development continually evolves, and integrating QR and barcode scanning has become a game-changer for many apps. Appery.io, a low-code platform, has simplified the integration process significantly. In our recent YouTube video, we share how you can easily build a mobile app with robust scanning functionality using Appery.io.

Watch this detailed video guide for a visual and interactive learning experience:

The steps below aim to supplement the video instructions and provide additional clarity as you work through the integration process.

Getting Started with Appery.io

First, create an account on Appery.io; itā€™s free. Once logged in, you begin by creating a new project. Click on ā€˜Create new appā€™, name it, and you are ready to begin.

Approach 1: Using Predefined Page Layout

Appery.io offers predefined layouts that simplify your work. To integrate a QR Code Scanner:

  1. From the main menu, select CREATE NEW,  then Page, and choose QR Code Scanner from the available page layouts.
  2. Confirm the selection, and just like that, you add a fully functional scan page to your app.

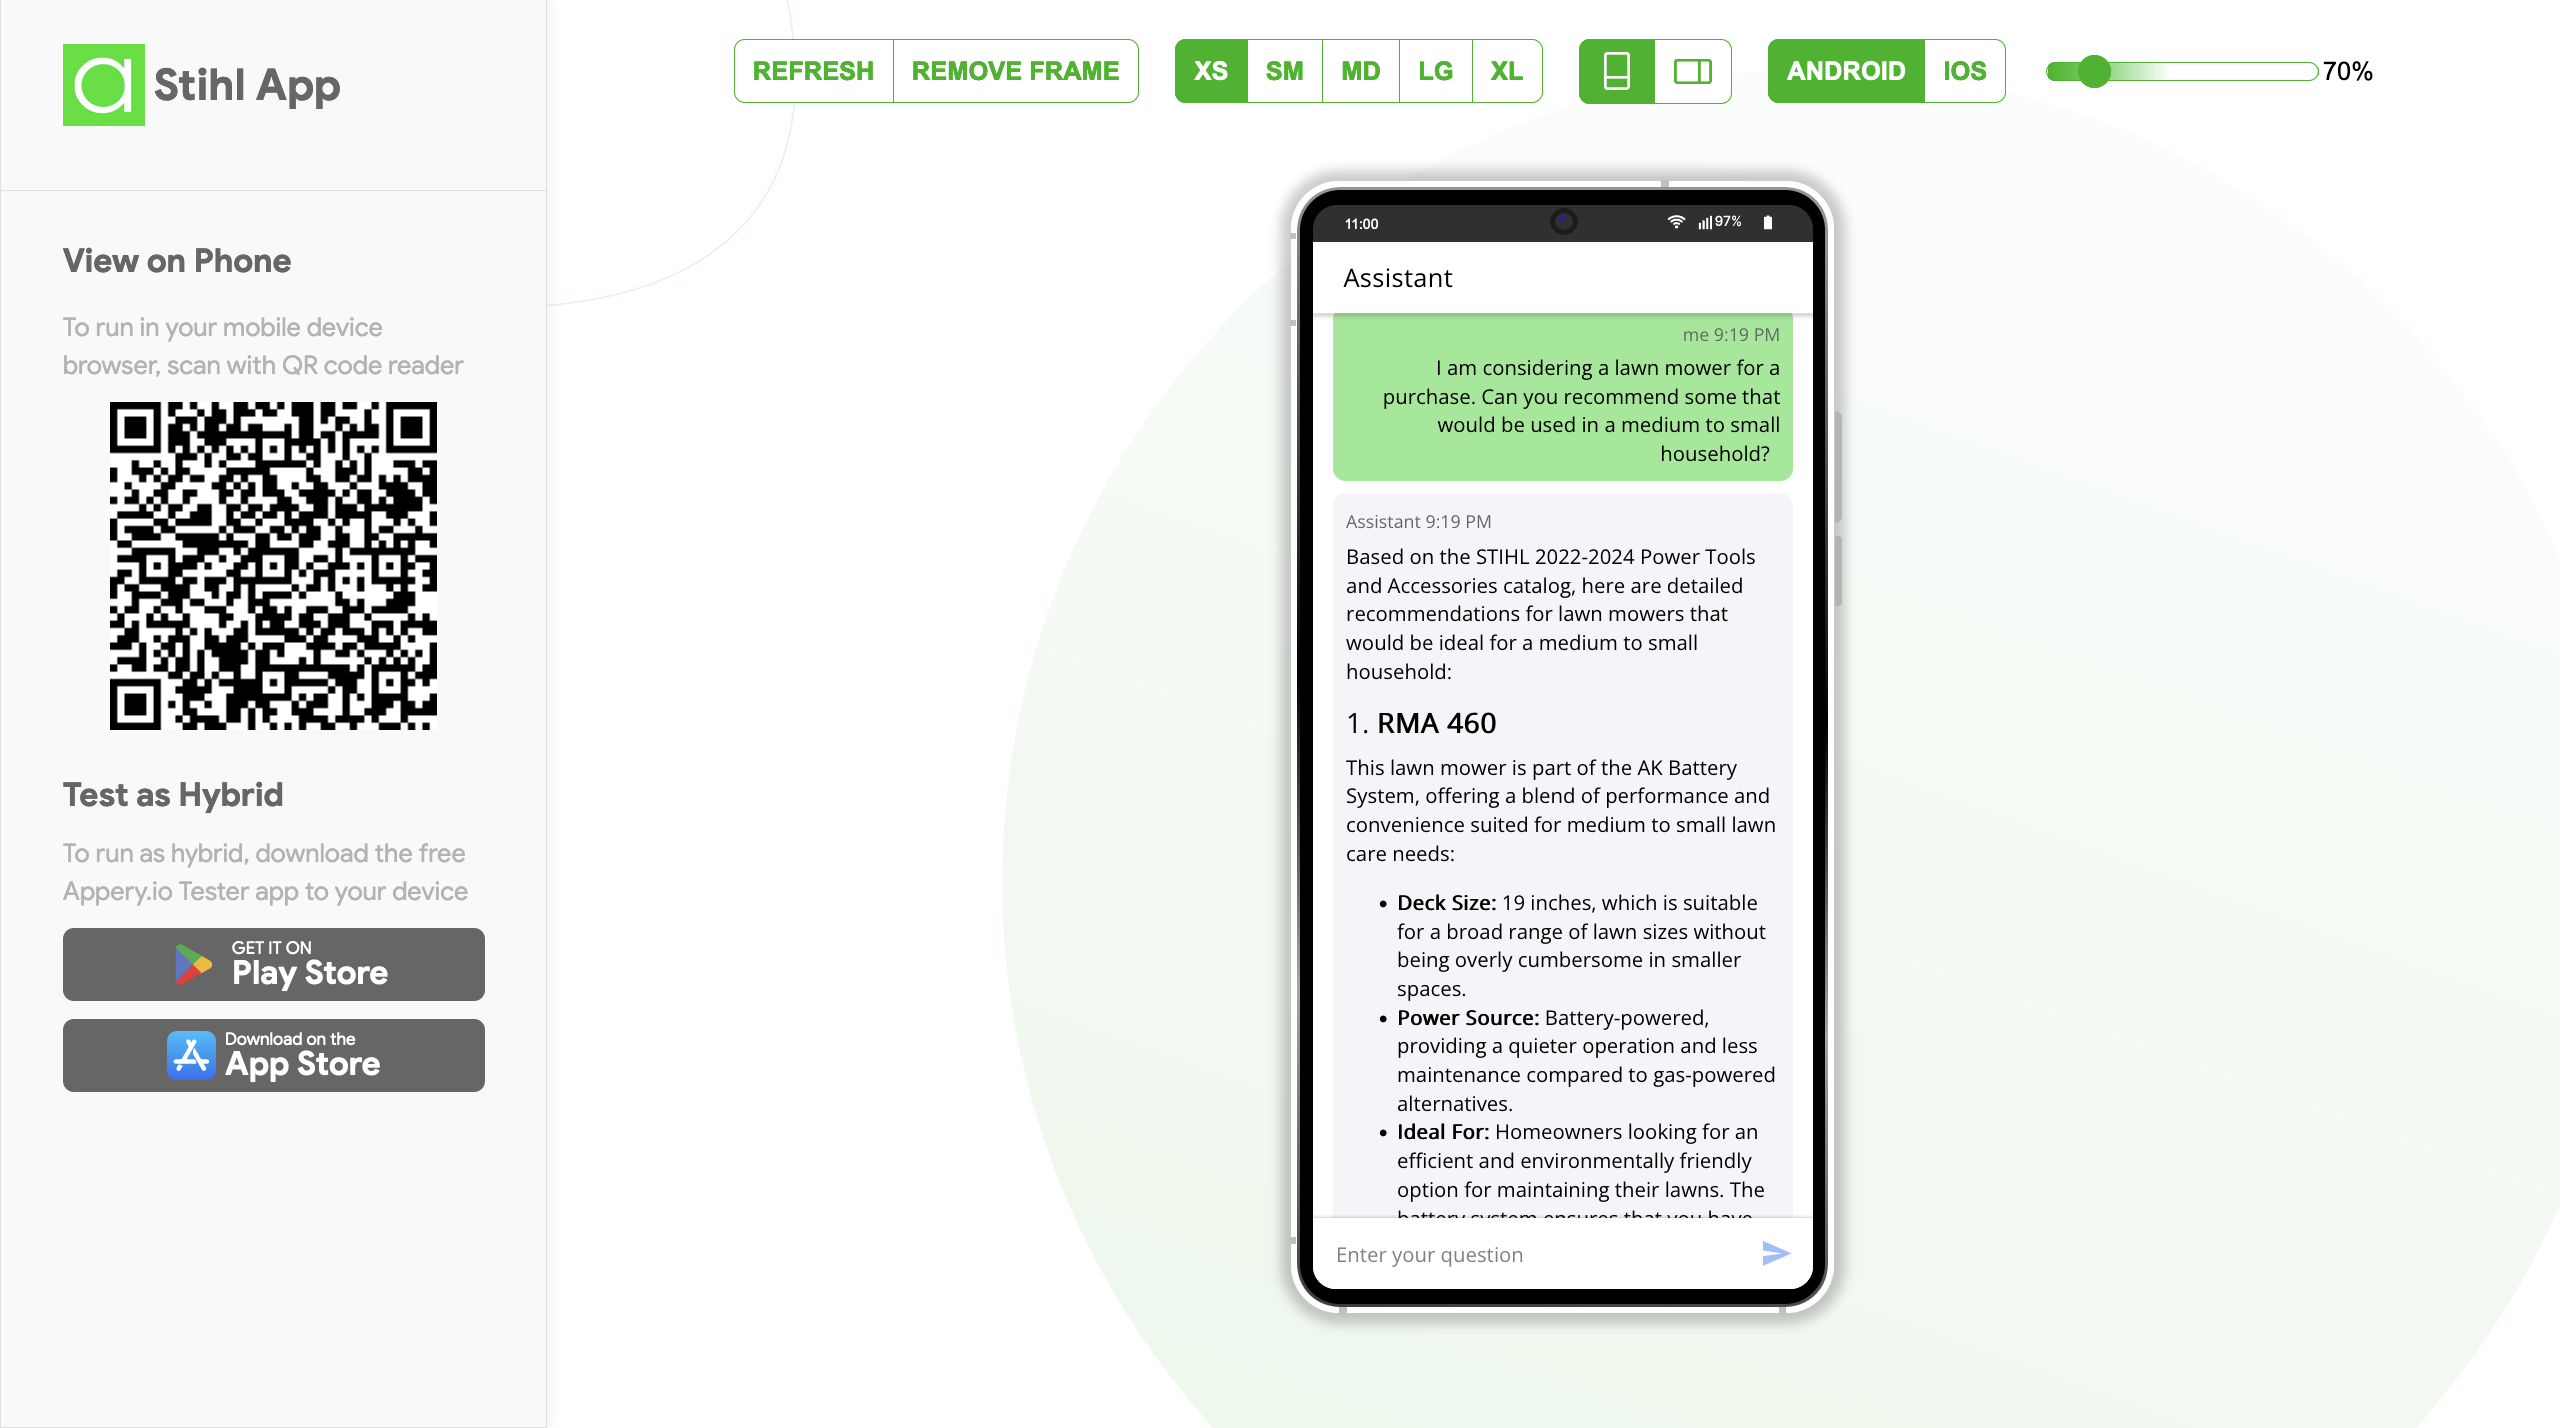
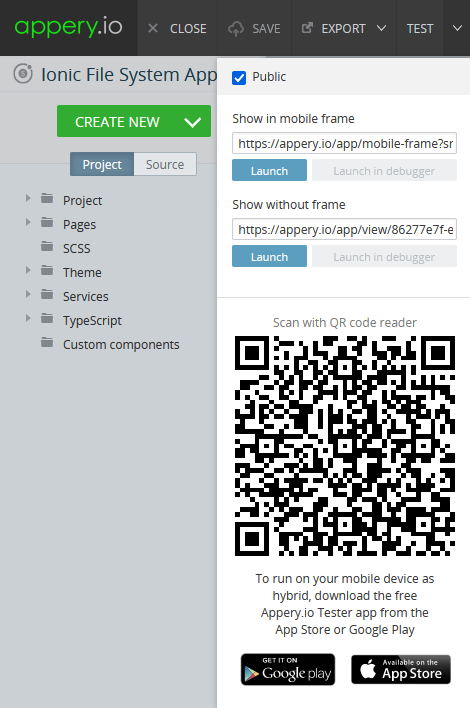
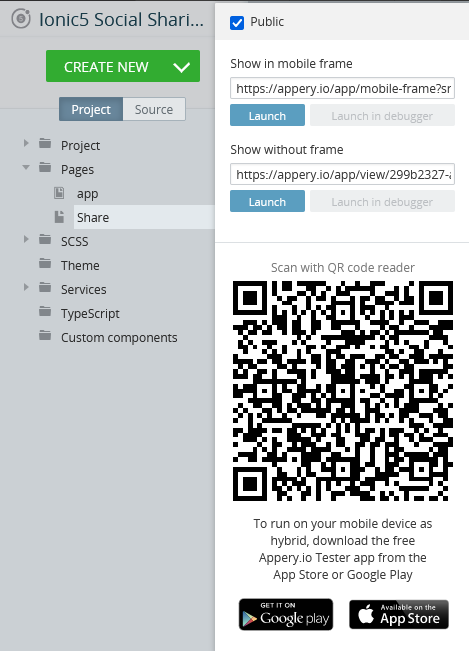
Testing is straightforward. Set the newly created page as the home page from the Project > Routing settings. This setup ensures it loads first upon opening the app. Use the Appery.io Tester app available on both iOS and Android to simulate real-device testing. Instantly, your app can handle QR codes and barcodes, making it incredibly versatile.

Approach 2: Adding Plugins to Existing Apps

If you wish to add scanning functions to an existing app without disrupting its structure:

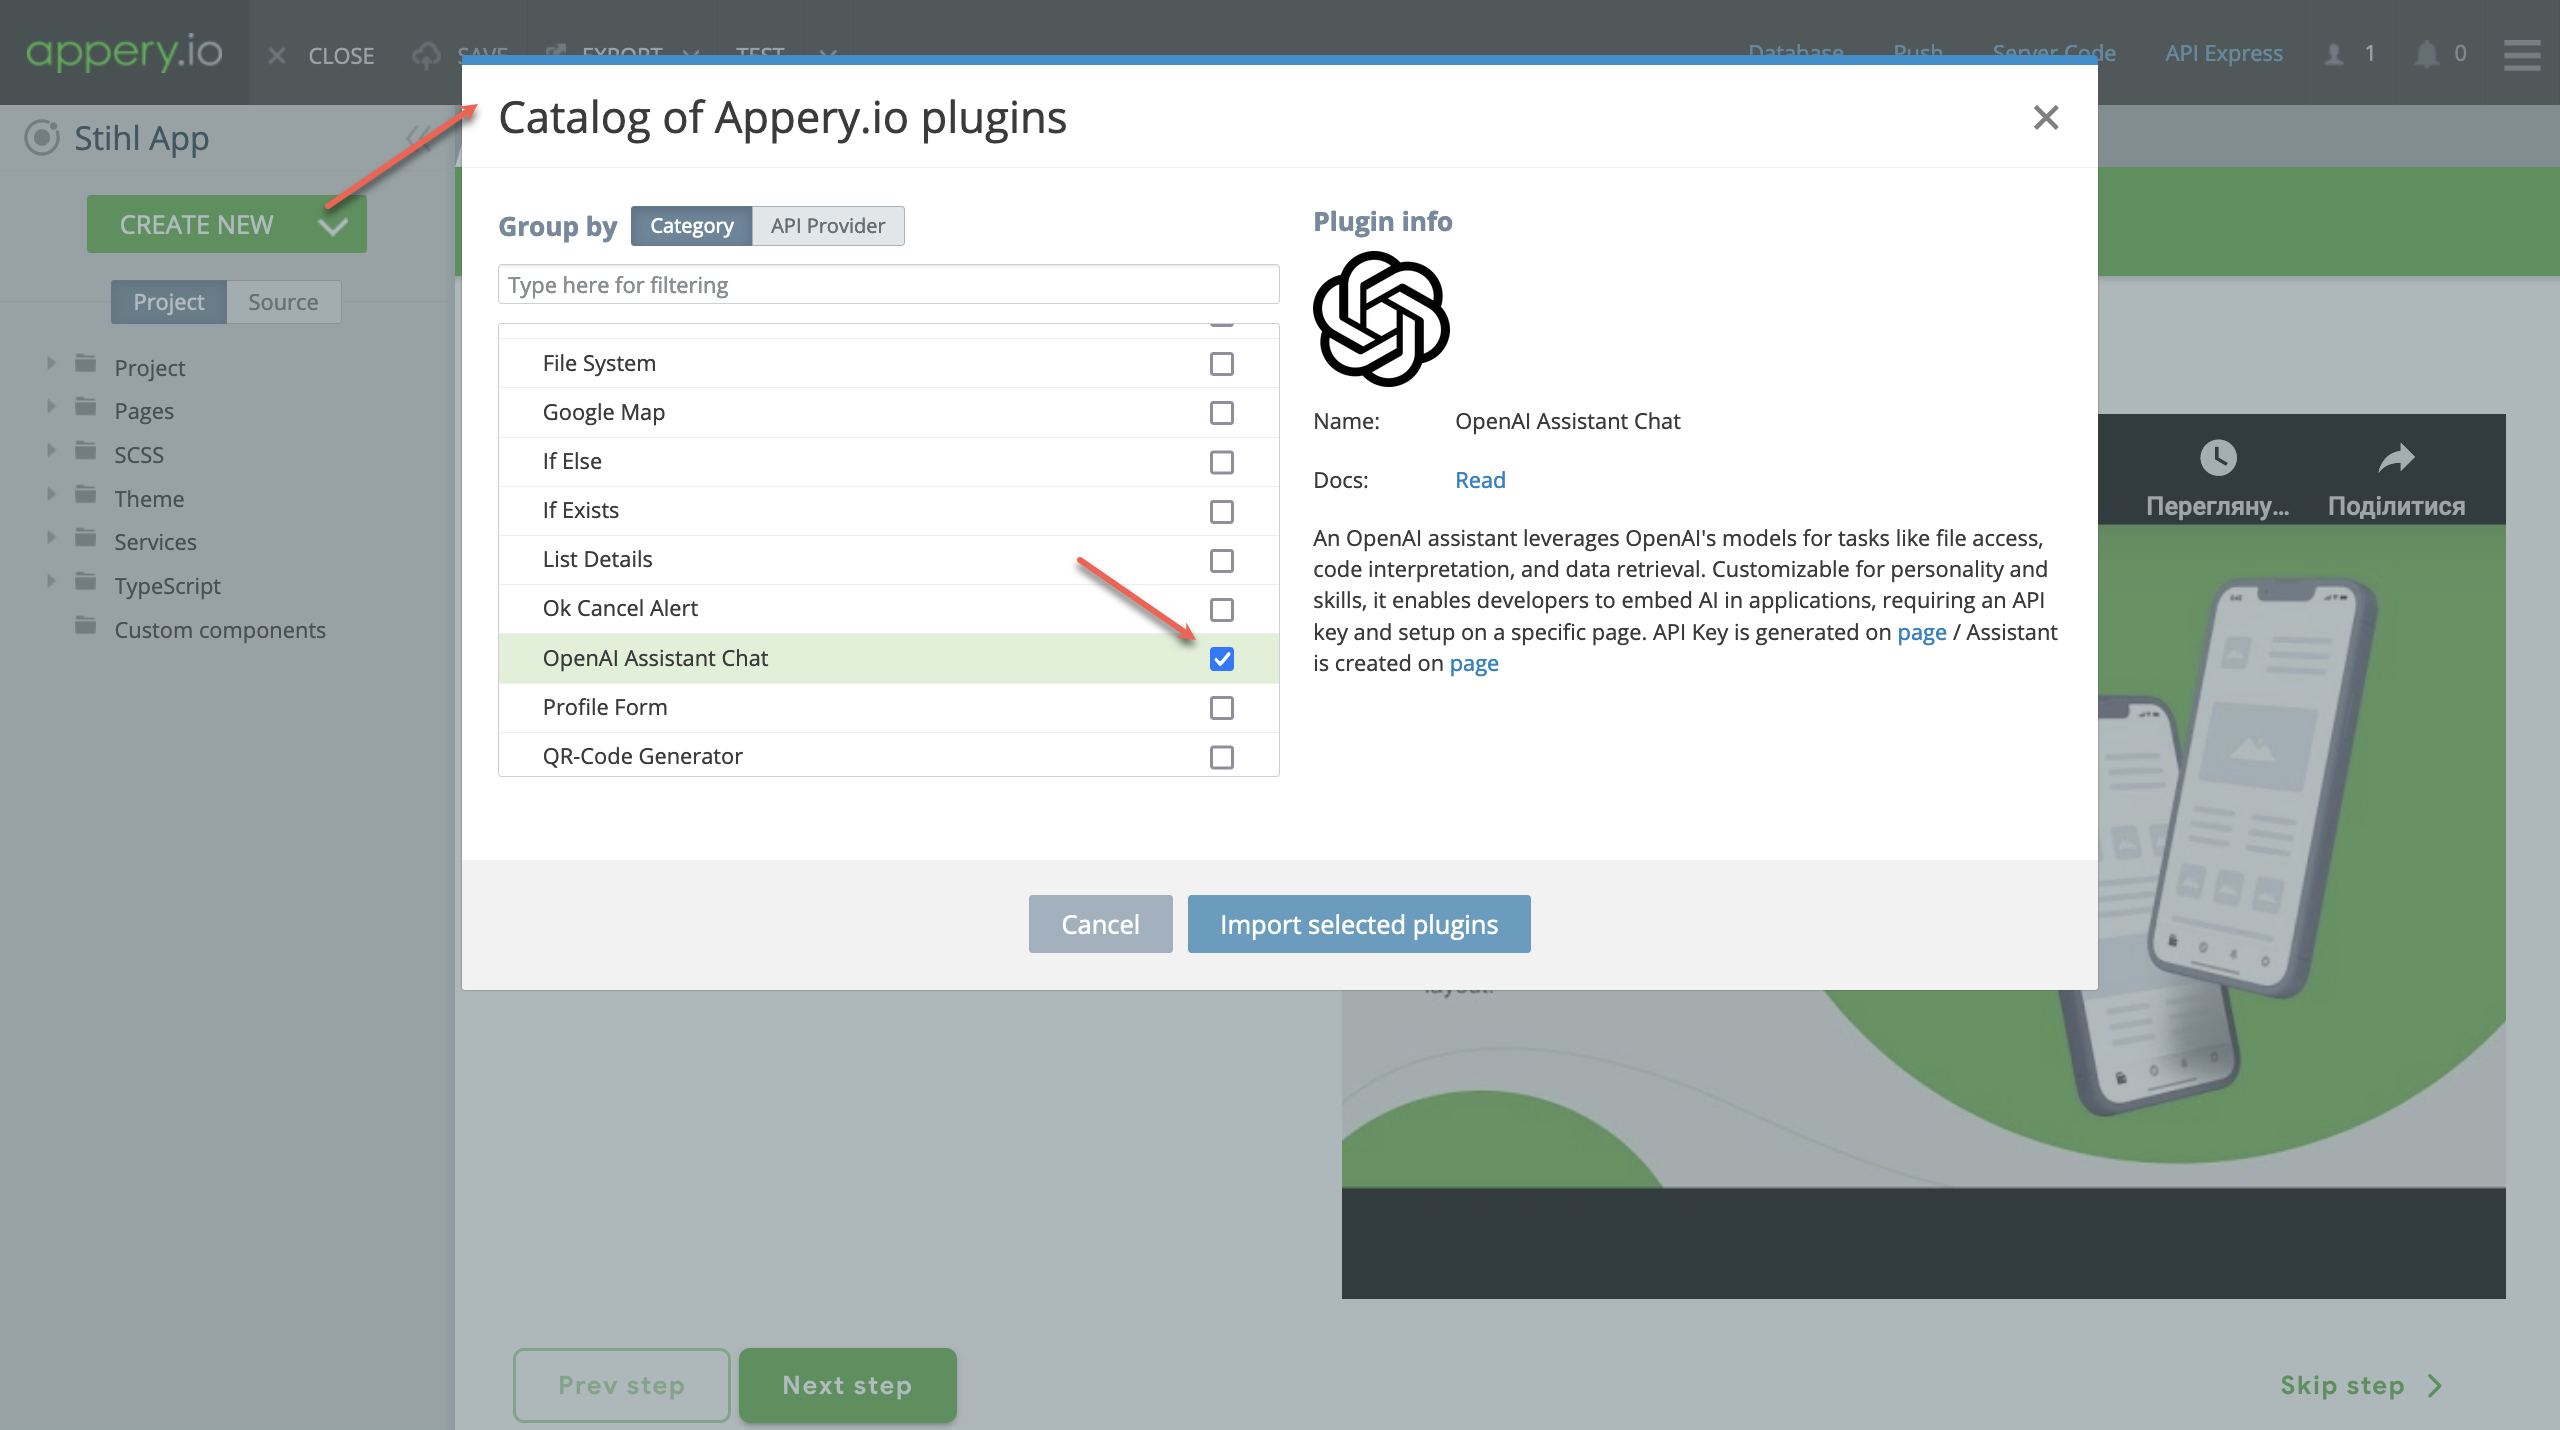
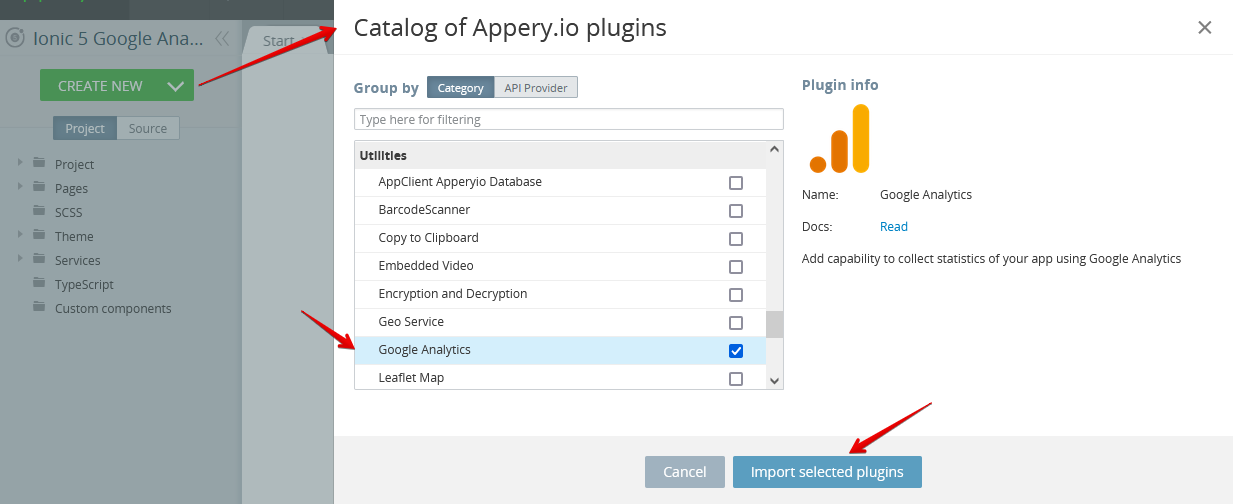
  1. Start by creating a new app and under CREATE NEW, select From Plugin.
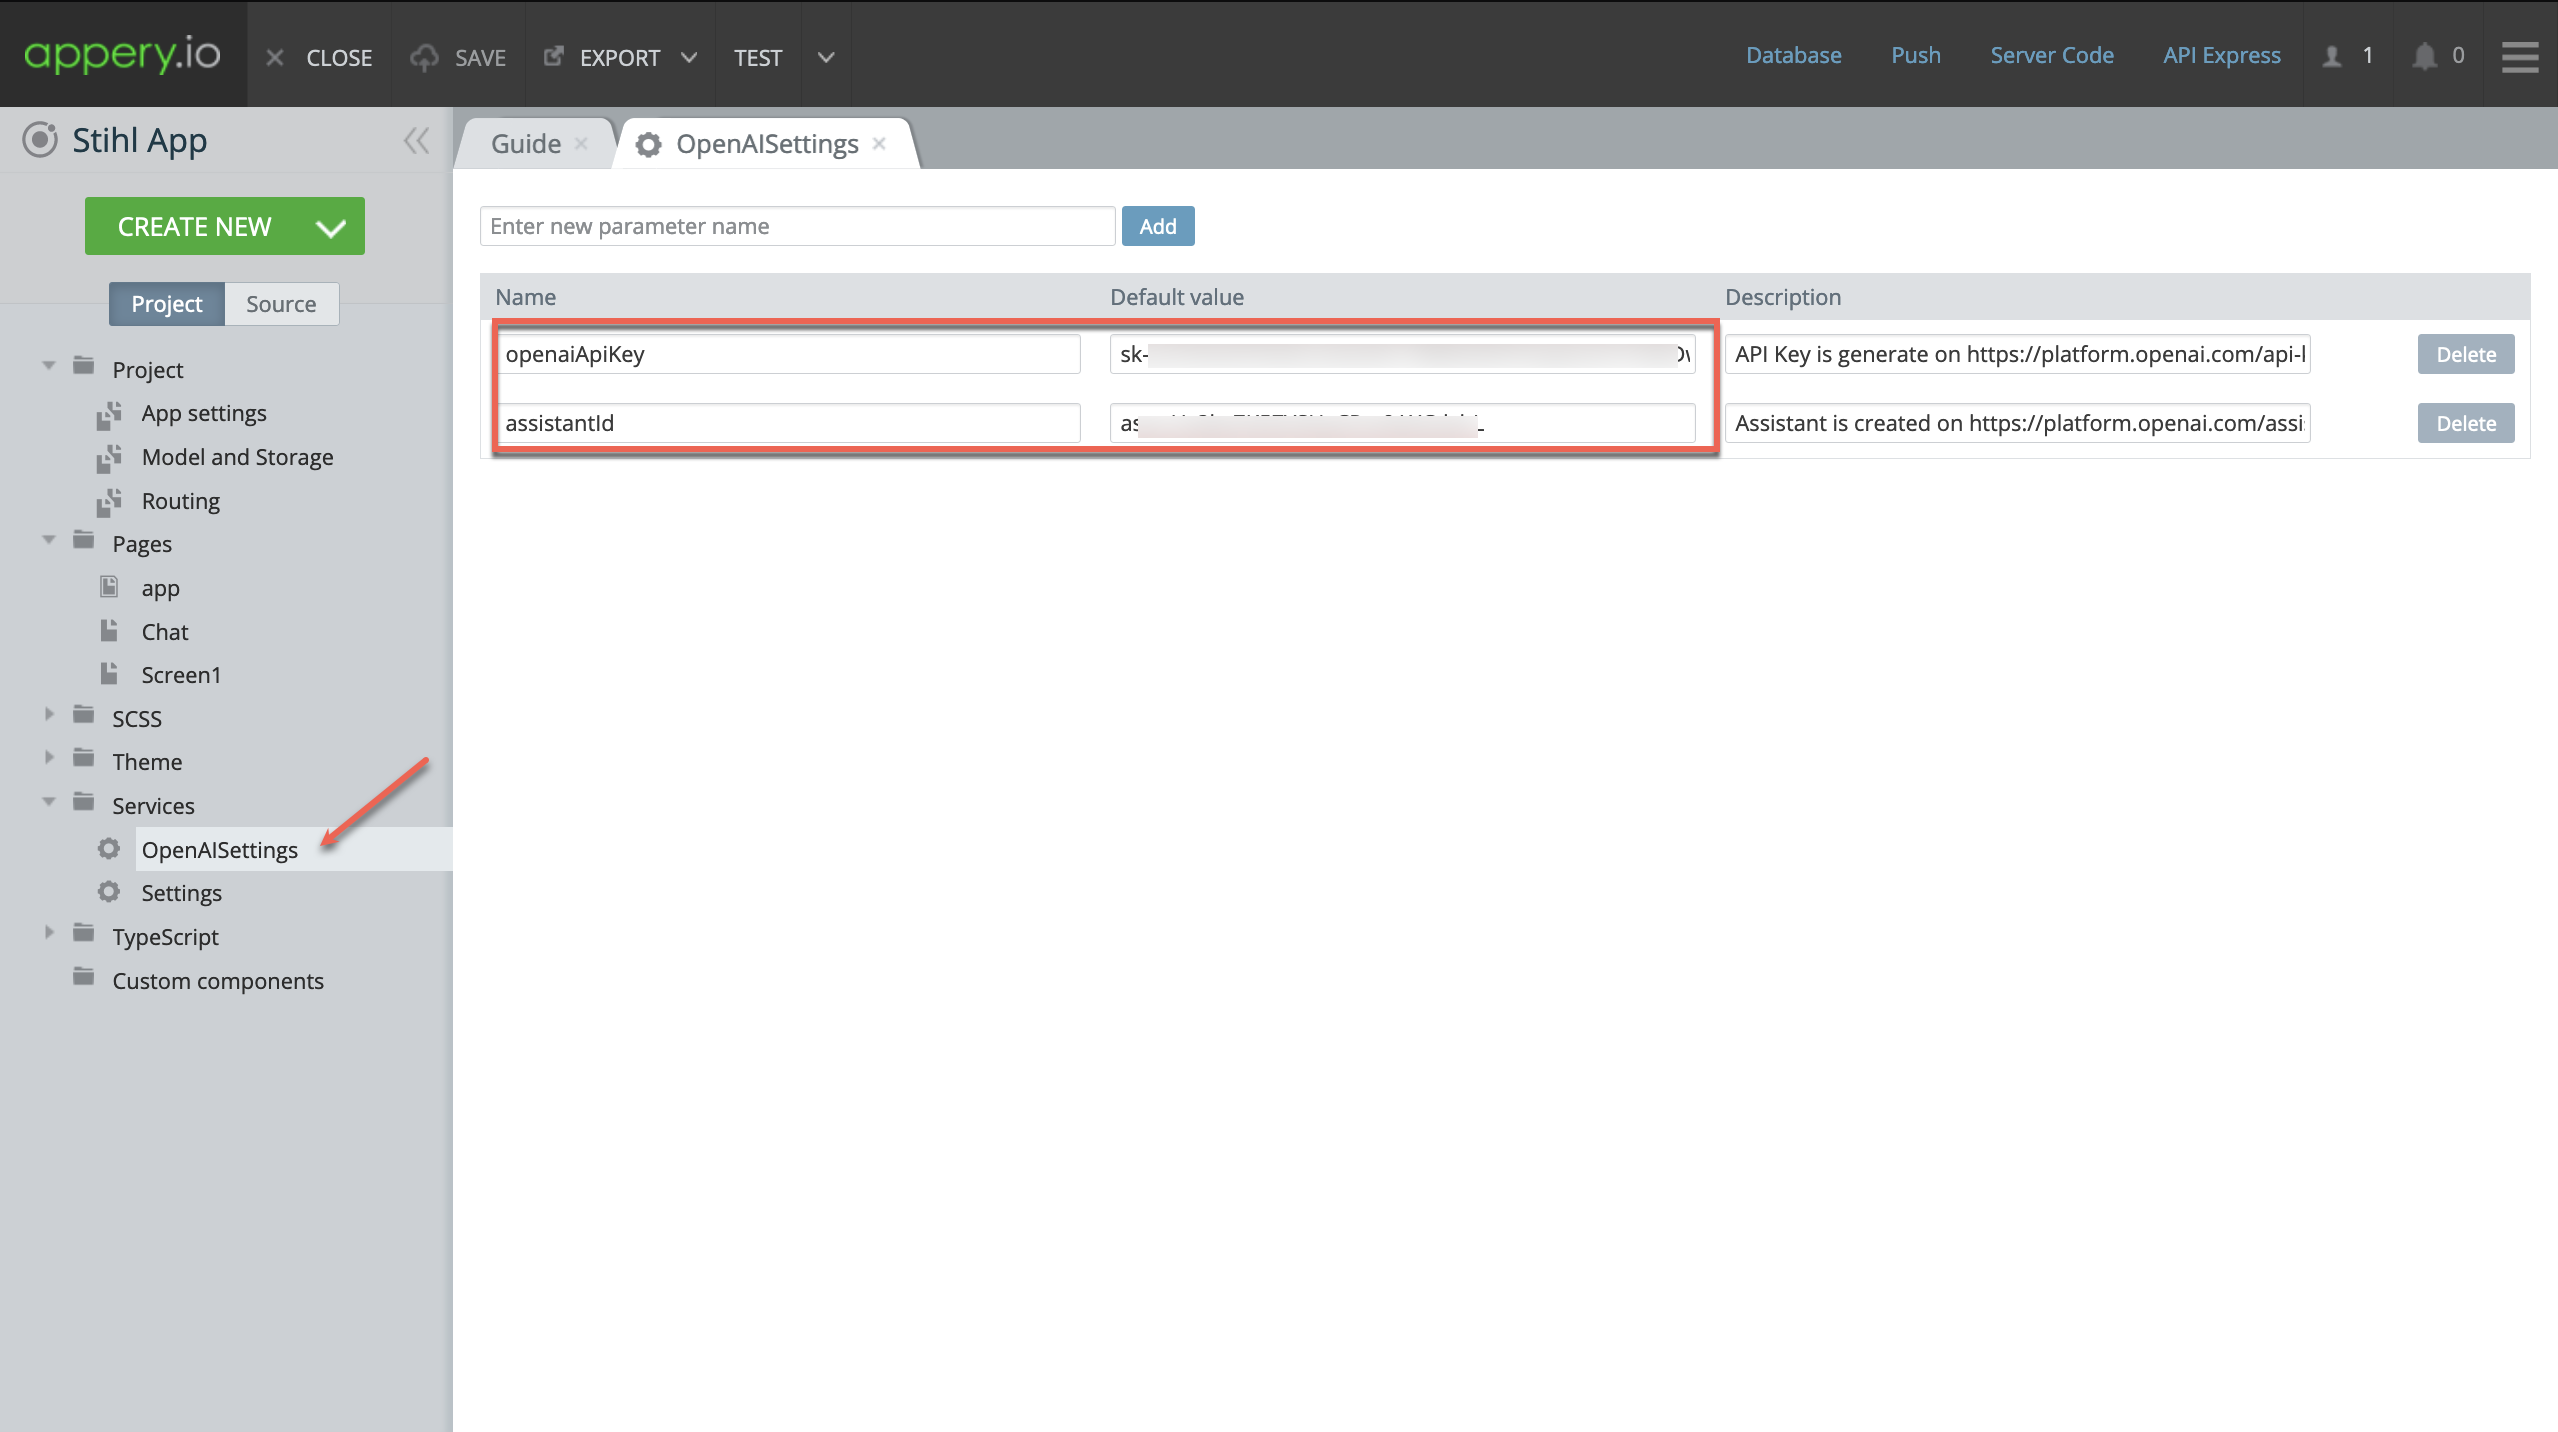
  2. Import the QR and Barcode Scanner service.
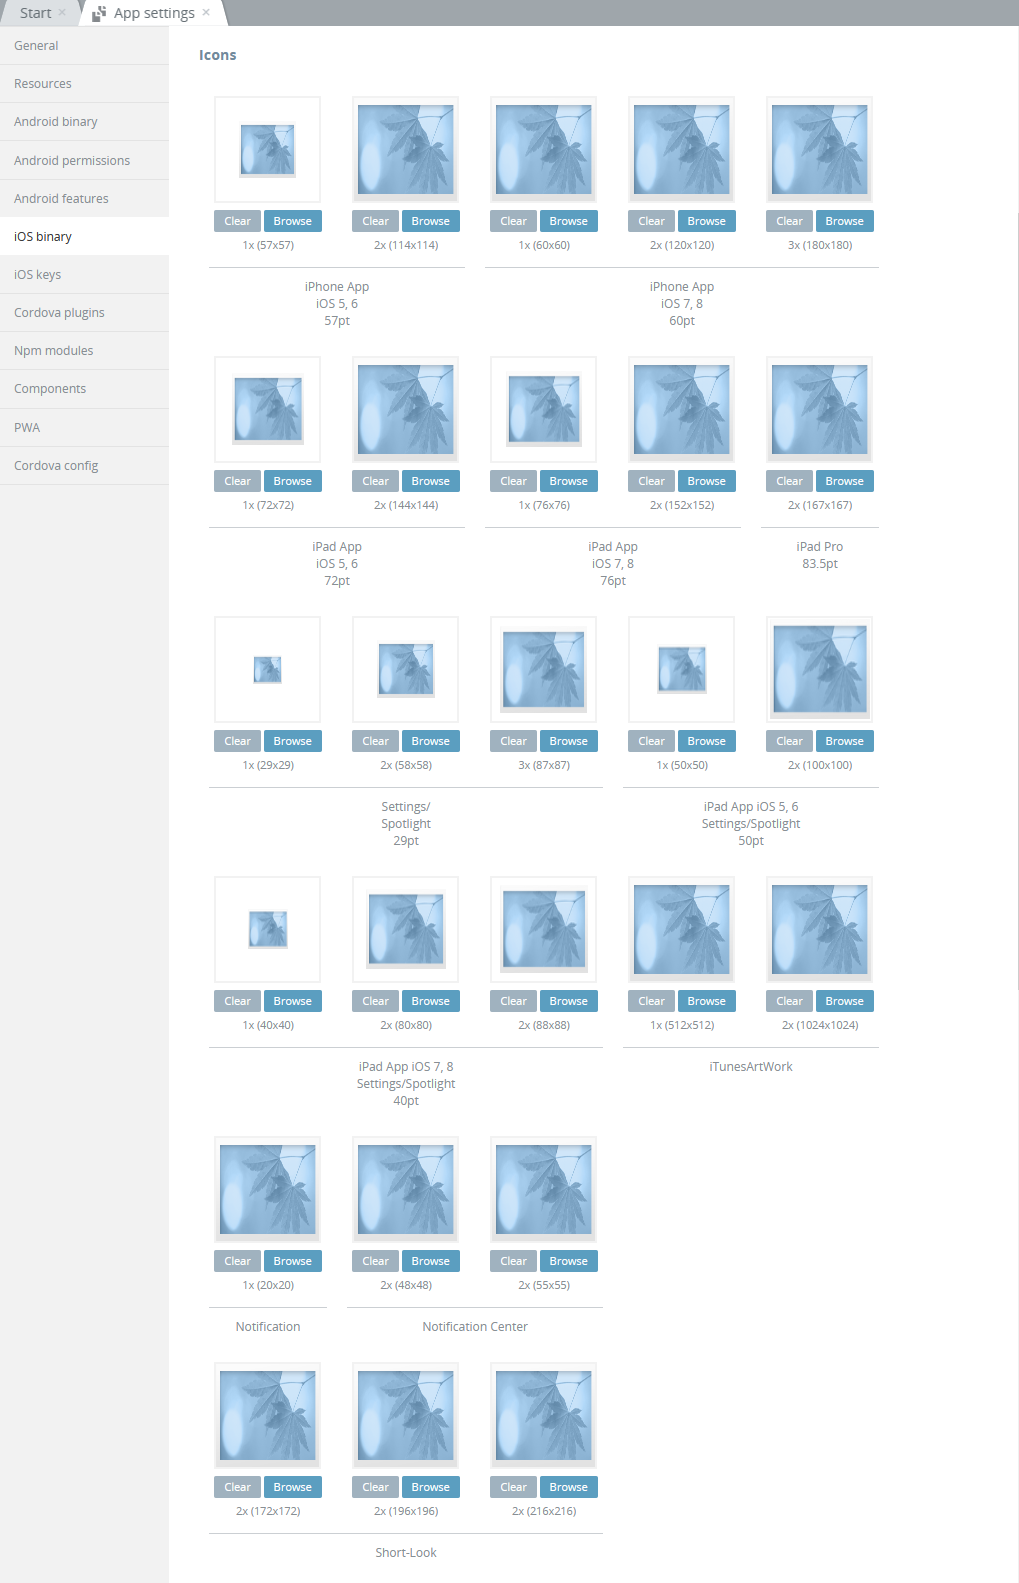
  3. Enable the necessary plugins like BarcodeScanner under Project > App settings > Cordova Plugins.
  4. On your appā€™s page, add a Button and a Text. The button triggers the scanner, and the text field displays the scanned data.
  5. Set an event for the button that invokes the scanner service when clicked.

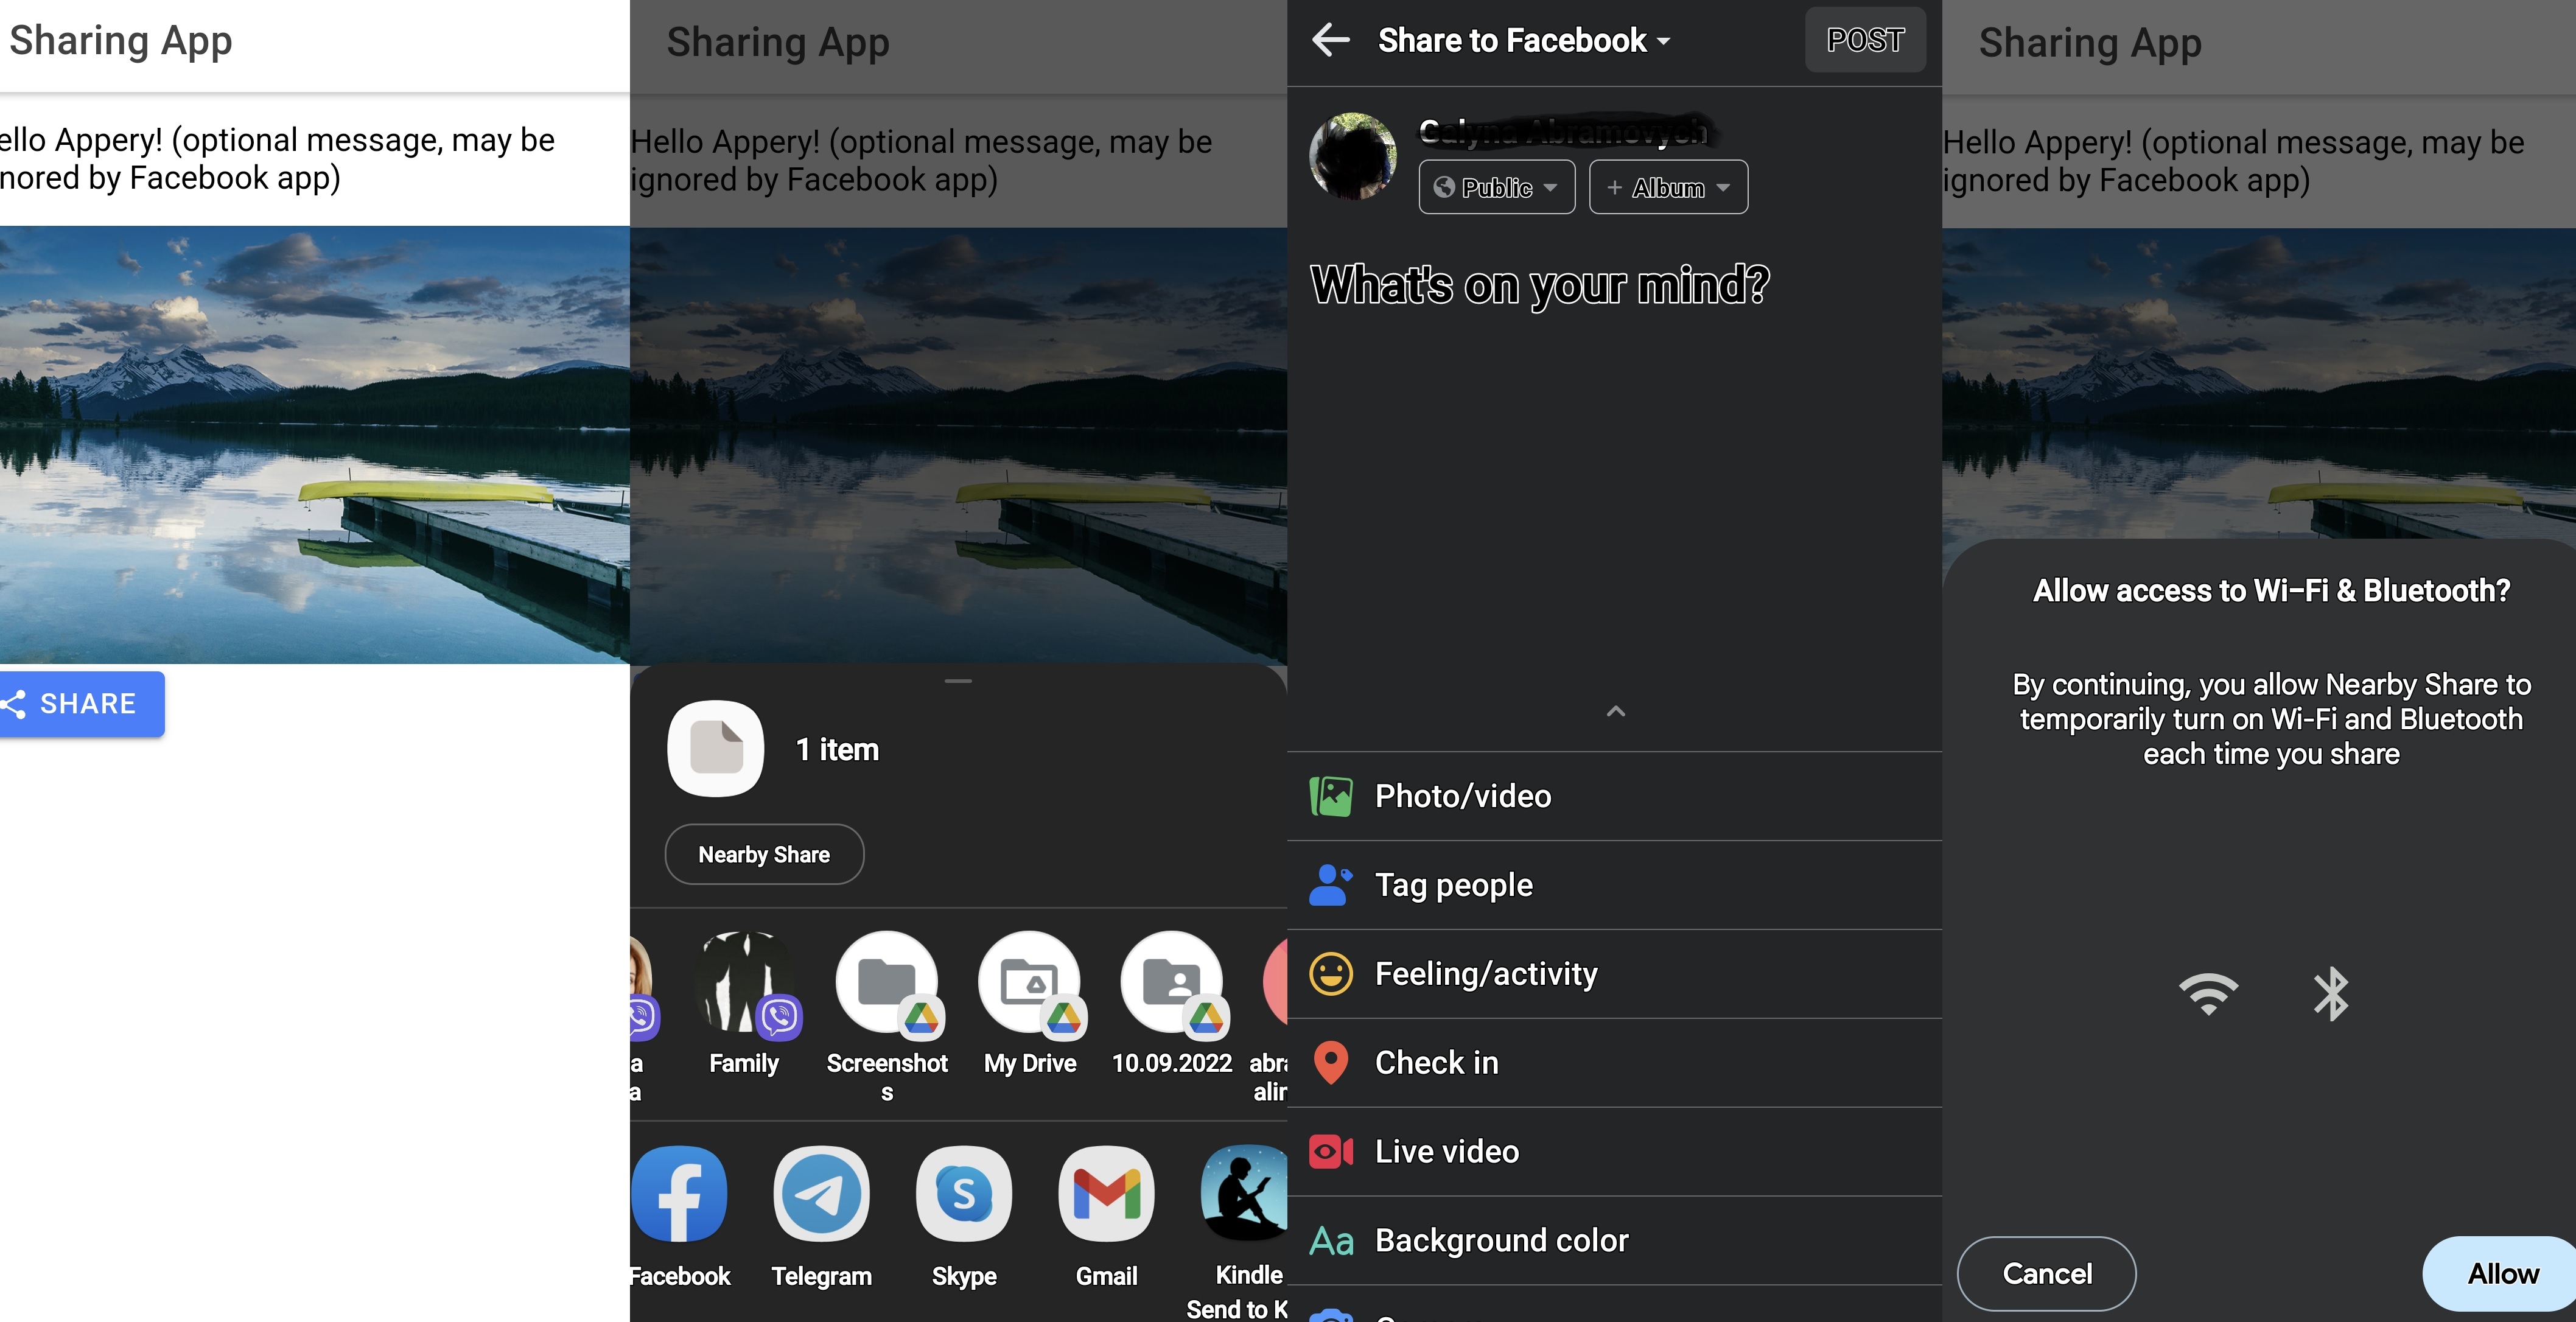
This method embeds the scanning function into your app just as seamlessly, providing a web scanning option during preview and flawless operation on devices.

Approach 3: Low-Code Method

Perhaps the most innovative approach is adding scanning functionality without any server-side actions:

  1. Simply remove any services from your page.
  2. In the CODE panel, create a variable, for instance, ā€˜textā€˜.
  3. In the DESIGN panel, link this variable to display in a Text field.
  4. Add a new attribute to the Button component to trigger a ā€˜scan()ā€˜ function when clicked.

Define this `scan()` function to handle the scanning operation. This method is not only straightforward but also modular, allowing adjustments and additions without deep dives into complex coding.

Why Choose Appery.io?

What makes Appery.io stand out is its simplicity and efficiency. Whether you are a novice or an expert, these tools are designed to streamline the creation process. Additionally, the platform supports a wide range of functionalities that can be integrated with just a few clicks.

We have plenty of detailed video guides available to walk you through each step, ensuring you have all the support you need. These resources are perfect for both visual learners and those who prefer to follow along at their own pace.

Wrap-Up

Embracing Appery.io for your mobile app development not only simplifies the entire development process but also opens up a realm of possibilities with QR and barcode scanning functionalities. Start experimenting today by signing up for a free two-week trial on Appery.io and join us on this innovative journey to transforming your applications.

Enjoy the journey, and hereā€™s to developing apps that truly stand out! If youā€™ve enjoyed this tutorial, donā€™t forget to subscribe to our YouTube channel for more updates and tips. Thank you for reading, and see you in our next post!

How to Build a ChatGPT App with Appery.ioā€™s OpenAI Assistant Chat Plugin

Creating an app with advanced AI chat capabilities might sound challenging, but itā€™s surprisingly easy with Appery.io. Letā€™s walk through the process of utilizing the OpenAI Assistant Chat plugin to bring AI to life in your next app.

Here is our new how-to video that illustrates the power of AI combined with Appery.io possibilities:

But if youā€™d rather read to follow the instructions step-by-step, please check below.

1. Start Your Appery.io Project

First things first, you need a home for your new AI creation:

  • Sign In to Appery.io: Head over to Appery.io, sign in, or set up a new account if youā€™re stepping in for the first time.
  • Create Your App: Click Create new app. Choose your app typeā€”like Ionic blankā€”name it, and hit Create. Now, youā€™re set up.

2. Add the Magic Ingredient: OpenAI Assistant Chat Plugin

This plugin is your key to easy AI integration:

  • Go to Plugins: Inside your project, click CREATE NEW > From Plugin to open the Catalog of Appery.io plugins.
  • Find and Add the Plugin: Search for the OpenAI Assistant Chat plugin. Click Import selected plugins to add it to your app.

3. Key Configurations: API Key and Assistant ID

These essentials connect your app with OpenAIā€™s brainpower:

  • Secure an API Key from OpenAI: Visit the OpenAI site, sign up or log in, and navigate to obtain your API key. This key is your appā€™s passport to AI land.
  • Create Your AI Assistant: This step is integral. Creating an assistant on OpenAI provides you with an Assistant ID ā€“ think of this as giving your app its own AI personality.
  • Input Your Credentials in Appery.io: Back in Appery.io, within the plugin settings, thereā€™s a spot waiting for your API key and that shiny new Assistant ID. Fill these in to forge the link between your app and OpenAIā€™s capabilities.

4. Make It Yours

Now for the fun part. Tailor the plugin to fit your appā€™s vibe:

  • Adjust the Looks: With Appery.ioā€˜s easy drag-and-drop, you can tweak the pluginā€™s appearance so it meshes well with your app.
  • Set Up AI Functions: Decide what your AI should do. This could be answering customer queries, giving recommendations, or having a chat. Configure away to align with your vision.

5. Test Your Creation

Before releasing your app into the wild, you need to see it in action:

  • Run a Test: Appery.io has built-in testing to trial how the AI responds and integrates with your app.

  • Tweak if Needed: Testing might reveal some tweaks are in order. No problem. Adjust and test again until itā€™s just right.

6. Launch Time

Your AI chat app is ready to meet its audience:

  • Deploy It: With a few clicks in Appery.io, you can deploy your app across the preferred platforms.
  • Iterate Based on Feedback: Once your app is out there, listen to how users find the AI and refine it further based on their insights.

Why Appery.io?

Bringing AI into your app shouldnā€™t be daunting. With Appery.io and its OpenAI Assistant Chat plugin, itā€™s not just easy but also fun. This combo lets you leap into the future of app development, focusing on creating unforgettable user experiences rather than fretting over-complicated code.

So, why wait? Dive into Appery.io today, and start crafting the kind of AI-powered app that users will love.


By simplifying the process into manageable steps, this guide is designed to promote an approachable and enjoyable foray into AI-powered app development for creators at any skill level, focusing on the practical application of Appery.io`s OpenAI Assistant Chat plugin.

Great News: ā€œAutoupdateā€ Plug-in is added to Appery.io Apps

There is another great news we are happy to share with you today: the Autoupdate plug-in has been added to all Appery.io apps and is ready to be used.

Adding this plug-in is simple and requires zero effort on your part to set it up. But when added, it just gets the job done. 

The idea behind it is as simple as it can possibly be:

  • You add the plug-in to your app and publish it so that your users can install it on their devices.
  • Next time you need to make changes to your app you just make them and push the app updates.
  • With the next app run on the device, the plug-in automatically detects there is a new update on the server and lets the end user make decisions on whether to download it from the server and then install it on their device or postpone this action:
Autoupdate plug-in

Autoupdate plug-in on the device

Please check out our document here to learn how to work with the Autoupdate plug-in.

File System Plug-in: a Great Tool to Manage Your Device Files

Take a moment to check out our File System plug-in that contains a number of services based on the file API and provides the simplest way to work with the deviceā€™s file system.

We have a step-by-step tutorial to make getting to know the plug-in more engaging. Please feel free to check it out here.

Tip!

A great option to quickly test the app on the device is to use our Appery.io Tester app.
The app is free and available for both iOS and Android.
You can check out this page to learn more about using the Appery.io Tester app.

Adding Social Sharing to Your Arsenal is Easy with Appery.io!

Social networking has been gaining in popularity in recent years; and so has social sharing. At the moment, this feature is an integral part of any successful mobile app, in particular the ones meant to deliver their mission to as many people as possible.

With Appery.io, you can significatly simplify integrating the Social sharing feature into your mobile app and involve a wide audience by adding Cordova SocialSharing plug-in. And the beauty behind it is that creating such an app is just a matter of several clicks!

Moreover, for your convenience, we created a ready-to-go sample app, Ionic 5 Social Sharing plug-in Sample App, that can be used to share links, images, and text messages out of the app on social platforms or by email.

The best of it is that to get the sample app working on your device, you do not even need to create the app. You can simply use our Appery.io Tester app (it is free and available for both iOS and Android) to scan the sample app QR code we already generated for you and run it on your device:

Social Sharing Plug-in App QR Code
Also, before starting the app make sure you have the needed app(s) (Twitter, Facebook, Instagram, email app, etc) installed on your mobile phone:


But if you would lke to go further and learn all the ins and outs of how it was created, you are free to follow the detailed tutorial. Also, you can try it by recreating the app from the backup (note that you will need to be registered as an Appery.io user to do it).

New to Appery.io and do not know where to start? You might find our Getting started series or step-by-step quick start tutorials useful.

PS A great tip from the Appery.io Team: itā€™s easiest to start developing by following our educational video guide.

Interested? Then click below to sign up and feel free to experiment with many more our sample apps out there.

Collecting Your App Statistics is Now Easy with Our Google Analytics Plug-in

We are happy to announce that the updated Google Analytics plug-in is live now and ready to be used with no restrictions for building your mobile applications. Any Appery.io user (including those enjoying their 14-day free Trial subscription) can now add it to their Ionic 5 app(s).  What is extra ā€“ it can be added in no time at all and will work on both iOS and Android devices! This makes adding the option of collecting different statistical information about how your app is used even simpler!

So, if you like the idea of adding this functionality to your Ionic 5 project(s), you are highly welcome to do that by creating your mobile app with Appery.io with importing the Google Analytics plug-in from the Catalog of Appery.io plugins:

And just in case you are unaware of the fact that we offer so many different out-of-the-box example apps that can be easily added to your Ionic 5 project, please visit our Appery.io Plug-ins Categories page.

PS  As a gesture of goodwill, we have also created this step-by-step tutorial for you to make your development experience even more positive and productive.

Happy developing!

Have Appery-related questions? Ask them on Stackoverflow!

Dear Appery.io Users,

Since recently, our customers have started complaining about issues with registration/login into our forum. Therefore, we have decided to introduce yet another open channel where you are free to ask any Appery.io-related question(s) you might have: Stackoverflow. 

Stackoverflow is one of the most popular and renown platforms where anybody can ask for an advice on any programming issue. Where hundreds of users find answers to their questions daily and thousands of experts are happy to provide their colleagues with useful recommendations and examples.

Is is truly a huge community and from now on, we encourage you to post your questions (like those on Appery.io Platform, App Builder, Appery.io plug-ins, etc.) there instead of using forum.

Please make sure you use the tag <Appery> or <appery.io> while posting so that our experts from Support Team (as well as other users that can be of help) could answer them ASAP to our mutual satisfaction:


We hope this will help to remove any barriers to effective communication and make getting professional help as easy and productive as possible.

And as usual, we offer more ways for you to get help. Please check this link to learn how to reach to our Support Team for help.

Lots of love on St. Valentineā€™s Day!

Your Appery.io Team


How to Take a Photo and Save It to the Appery.io Database

In this short tutorial, you will learn how to add and set up the camera plug-in in order to take photos from your device. Using the file reader plug-in, you can easily save your photo through a built-in database service.

Minor and Awesome: Whatā€™s added with our New Release

Hi everyone!

We are thrilled to announce that last weekend, another Appery.io release successfully went live!

Letā€™s take a minute and look at the introduced features and check out how useful they are.

These include:

  • A modification to the Reorder component, so it is now easy to move and interact with components immediately after adding them:

Thatā€™s all for now, but stay tuned! We have more ideas on how to fulfill all of your Appery.io wish lists!

How to Add a Condition Logic to Mobile and Web Applications

You can easily add conditional logic to your Appery.io application without a TypeScript using our new ā€œIf Elseā€ plug-in. Watch our new tutorial to learn more about the plug-inā€™s configuration.