Easy Supabase Full Setup: Build Secure Apps Now
Building a powerful mobile application usually requires a complex backend. You need to manage servers, security, and databases. This can be overwhelming. However, modern tools have changed the game. By combining the Supabase Full Setup with Appery.io, you can build professional apps in a fraction of the time.
In our latest YouTube tutorial, we guide you through the entire process. We transform a blank canvas into a fully functional “Notes” application. This guide is perfect for beginners who want to build powerful apps without writing complex backend code.
Why Choose Supabase?
Supabase is an open-source alternative to traditional backend platforms. It provides all the backend features you need to build a product:
-
Database: Store your data in organized tables.
-
Authentication: Manage user sign-ups and logins securely.
-
Storage: Save images and files easily.
-
Edge Functions: Run custom server-side logic.
Our video demonstrates how to perform the Supabase Full Setup from scratch. We start by creating a project and setting up your first database table. You will see how to create columns for your data, such as a “Notes” table, and how to populate it with test data.
Seamless Integration with Appery.io
The true power of this tutorial lies in the integration. We use Appery.io, a leading low-code platform, to build the user interface.
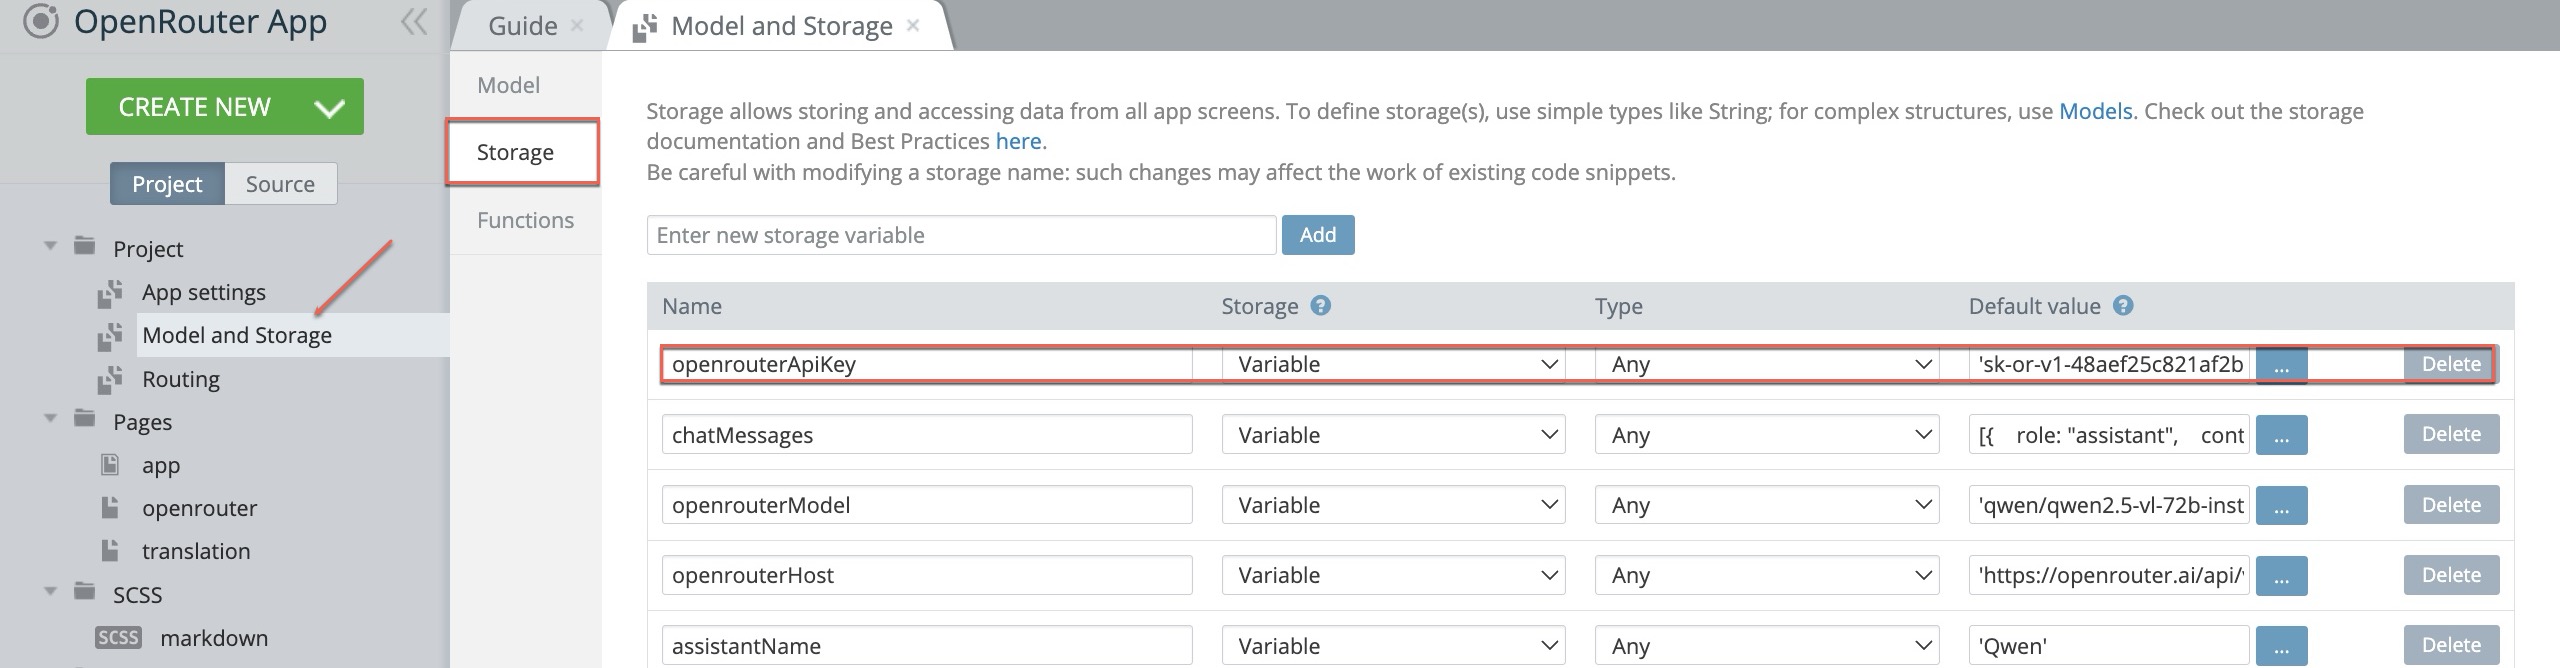
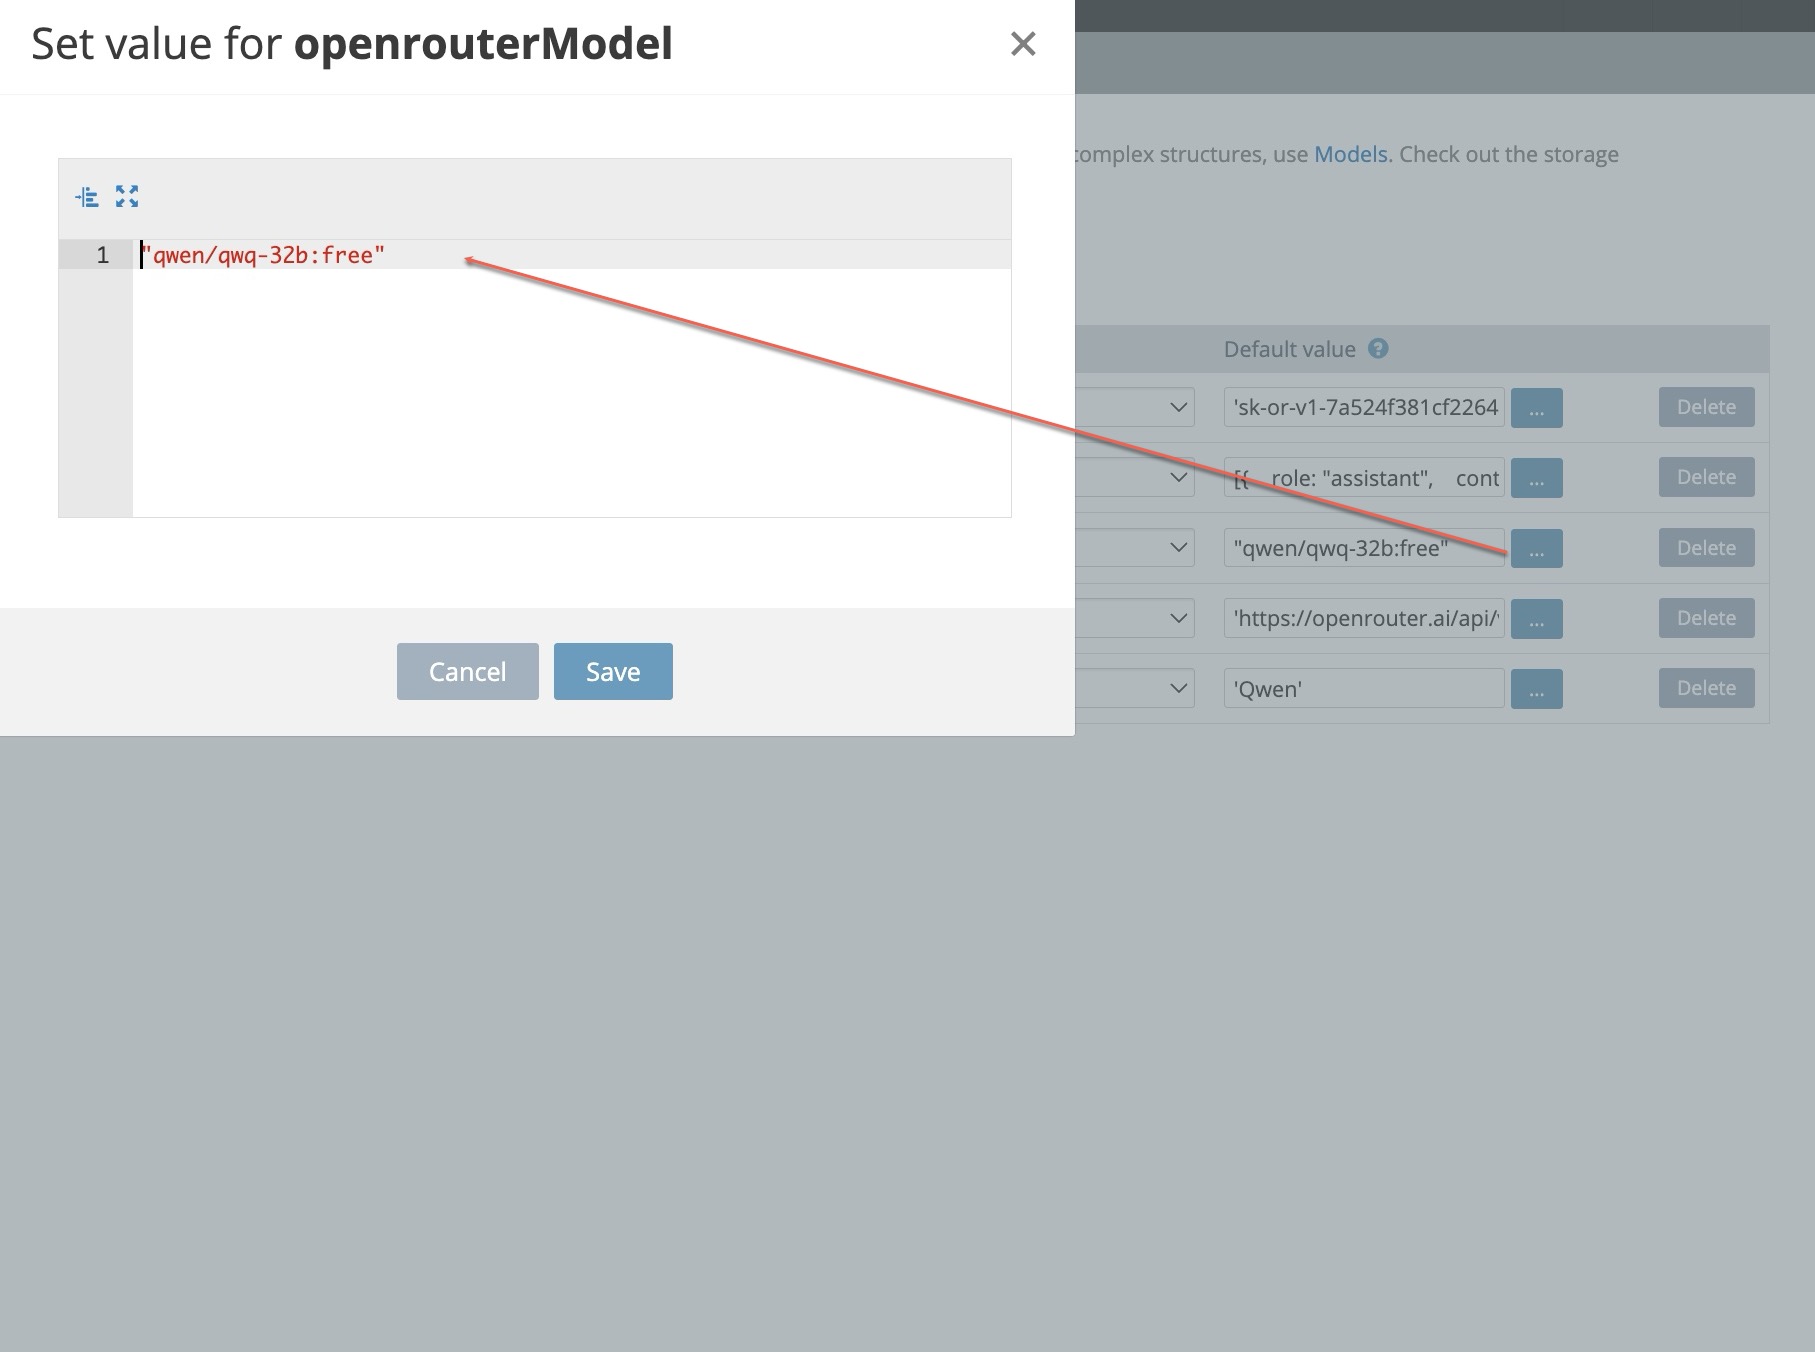
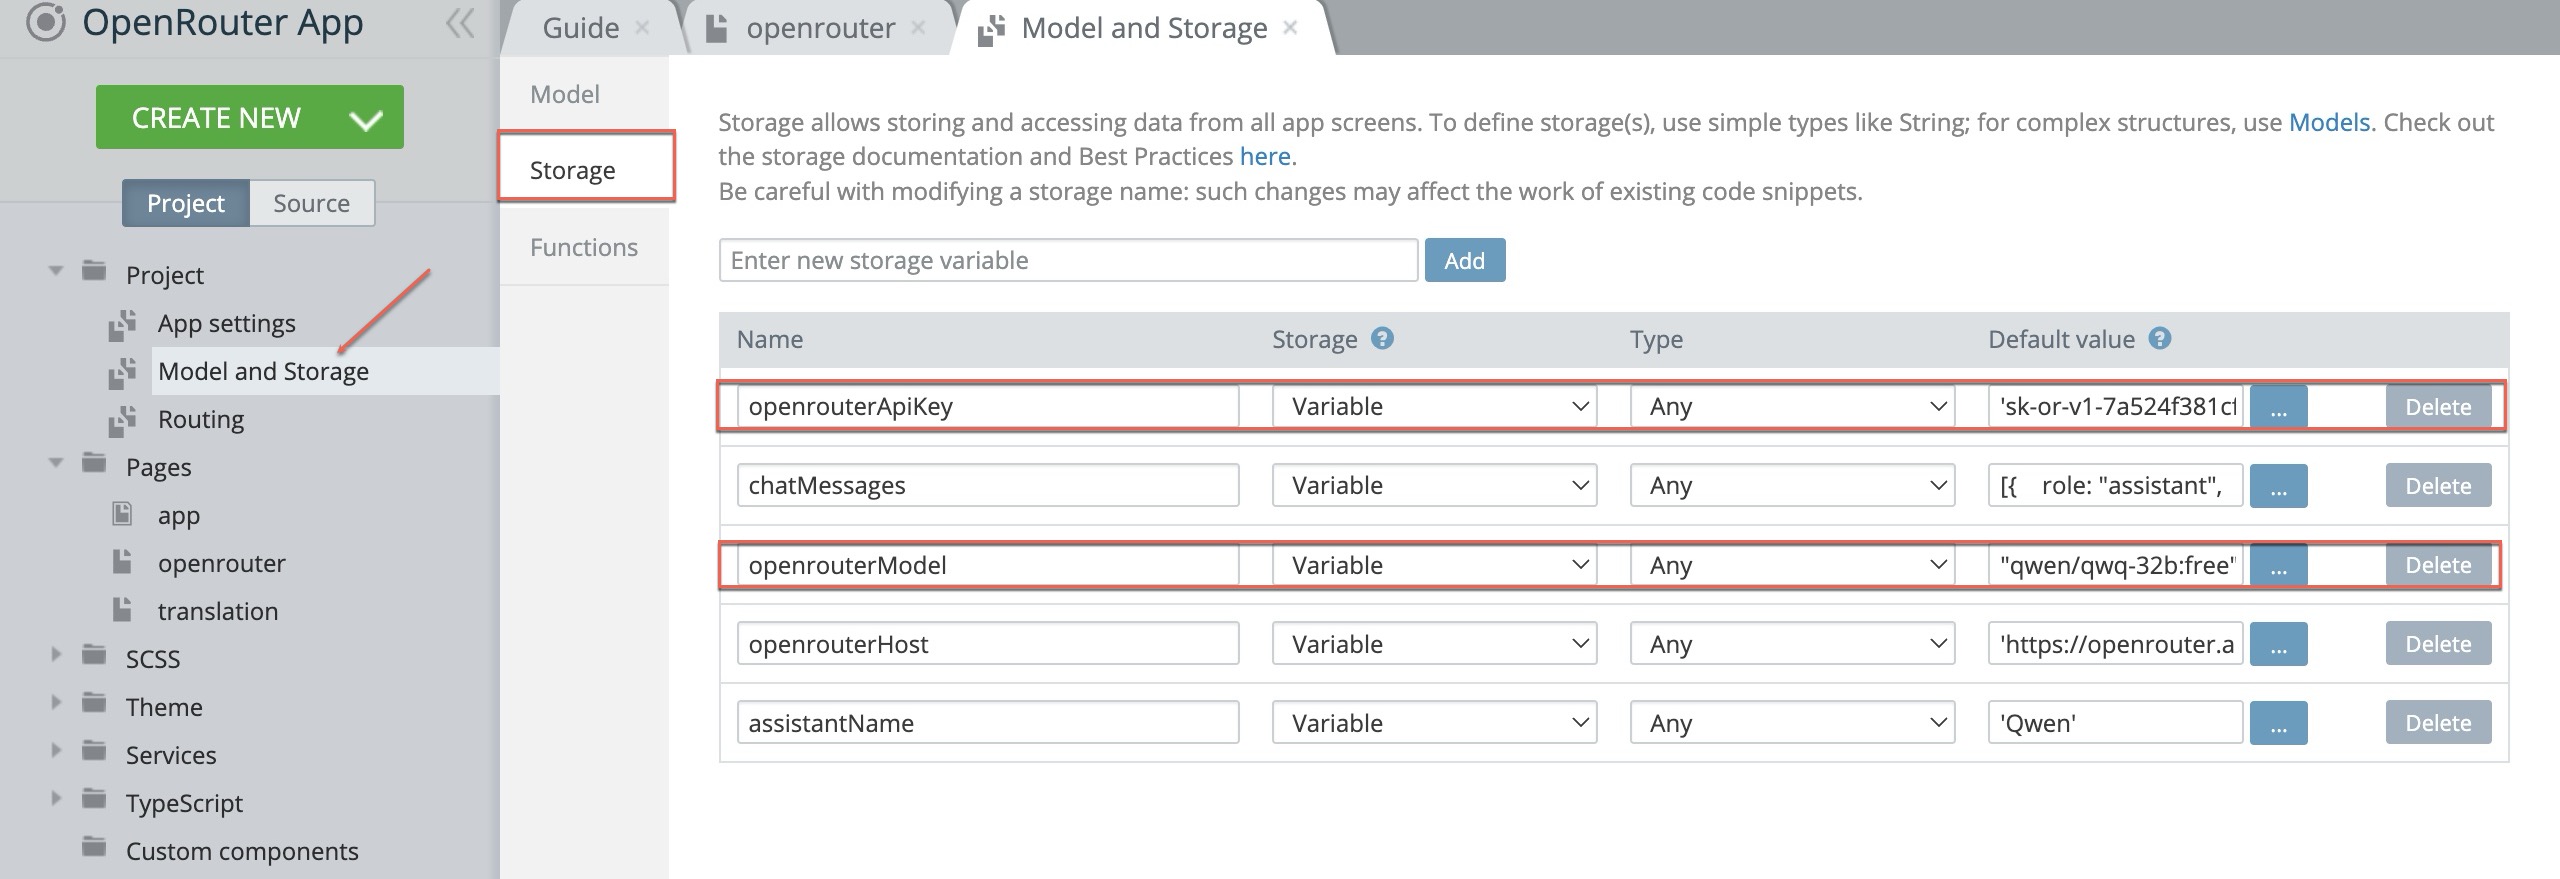
We show you how to use the Appery.io Supabase plug-in. This tool simplifies the connection process. You simply copy your URL and Key from the Supabase dashboard and paste them into your Appery.io project. This instantly connects your visual interface to your powerful backend.
What You Will Learn in the Video
This video is a comprehensive walkthrough. We don’t just show you how to read data; we show you how to secure it. You will learn about:
-
Data Management: How to create, read, and save data directly from your mobile app screen.
-
Security Rules: We explain Row Level Security (RLS). This ensures users can only see their own notes, keeping data private and secure.
-
User Authentication: We implement a complete login and sign-up system. You will see how to handle email verifications and secure login flows.
-
Advanced Logic: We even touch on Edge Functions for when you need custom code execution.
Watch the Full Tutorial
Ready to build your own secure mobile app? Stop guessing and start building. Watch the video below to see the Supabase Full Setup in action.
Build Faster with Appery.io
Supabase handles your data, and Appery.io handles your interface. Together, they are the perfect toolkit for modern developers.
If you are ready to start your development journey, visit Appery.io today. Don’t forget to subscribe to our channel for more low-code tutorials and tips. If you have questions, our support team is ready to help!


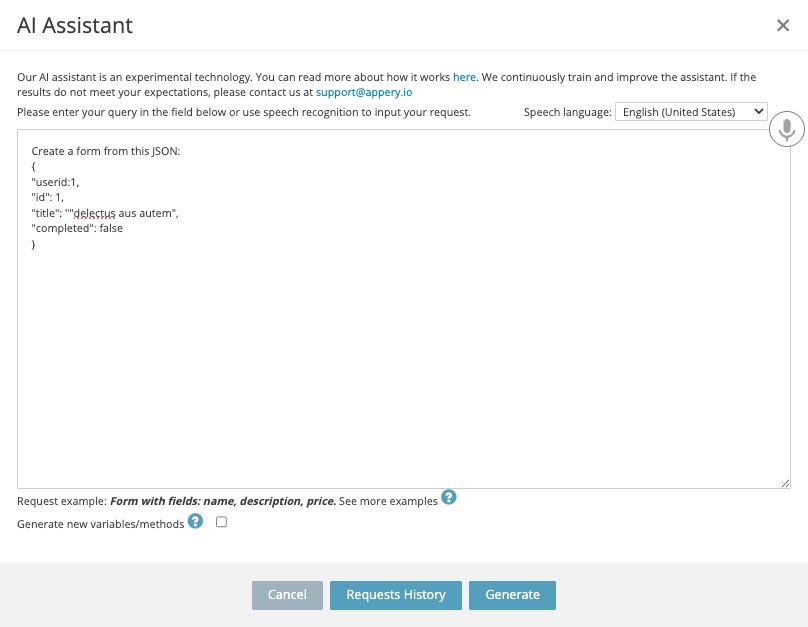
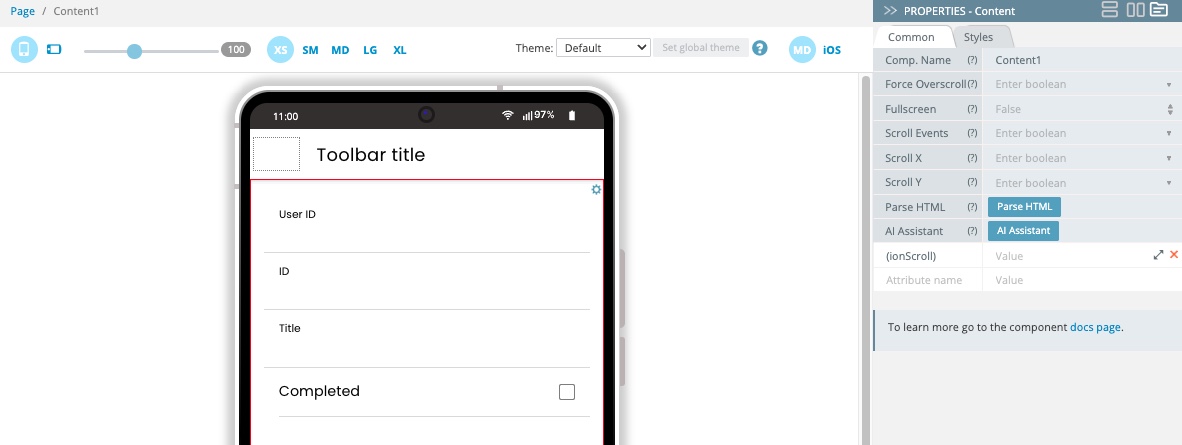
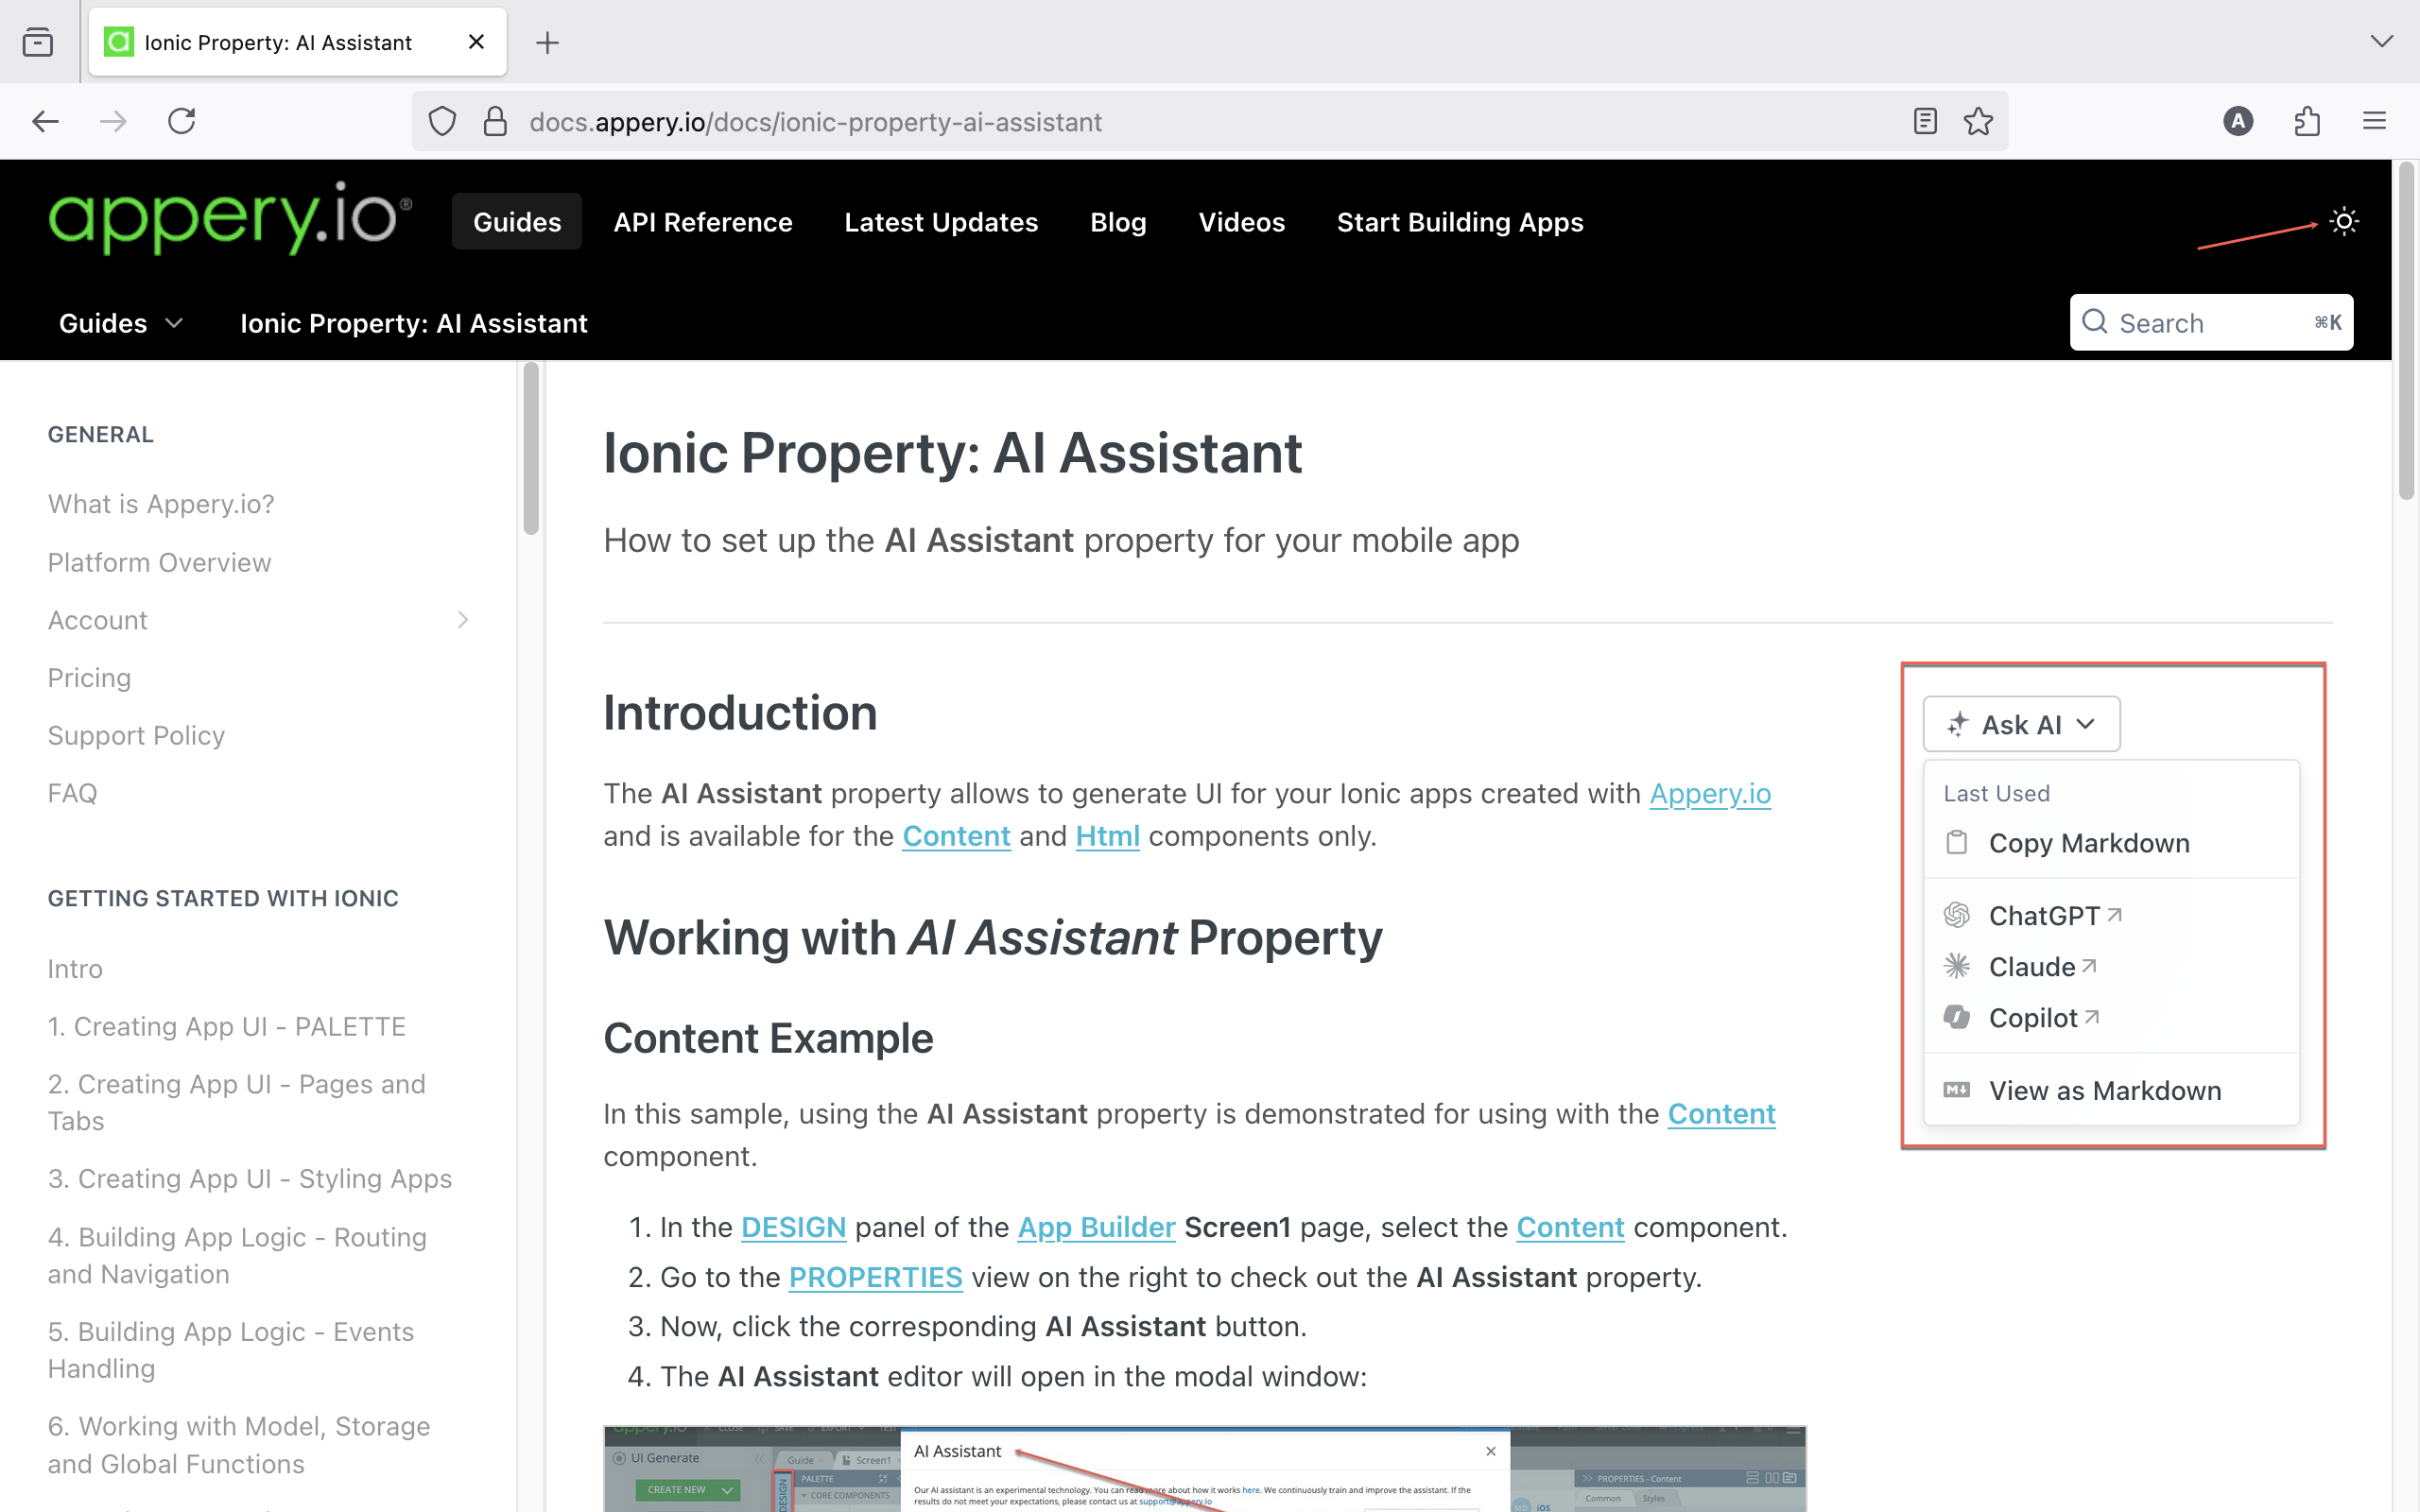
 Meet Your New Co-Pilot: The AI Assistant