Amazing Datetime Validation Customization Secrets for Your App!
Unlock Advanced Datetime Validation for Your Mobile Apps
Building a powerful mobile app often involves handling user-entered data, and dates are a common, yet tricky, element. Ensuring users pick the right dates – whether it’s an end date after a start date, or confirming a user is over 18 – is crucial for a great user experience. If you’ve ever wondered how to implement Datetime validation customization effortlessly in a no-code environment, you’re in the right place.
This post highlights a fantastic new video tutorial that shows you exactly how to take control of the dating component in your mobile applications.
Easy Validation in a No-Code World
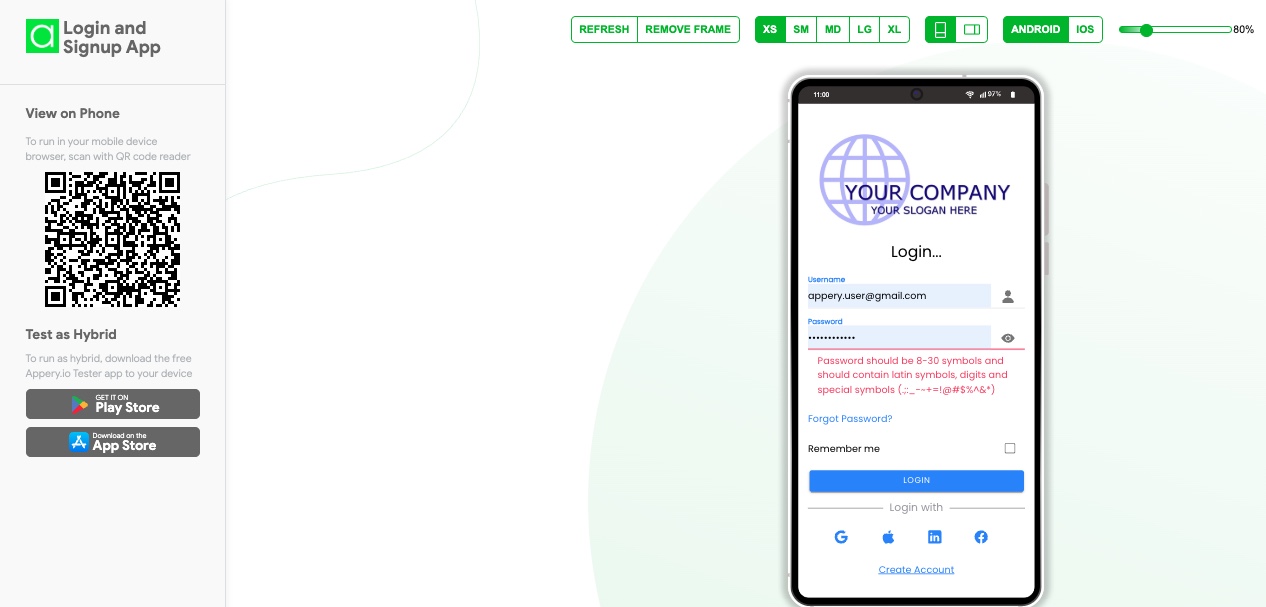
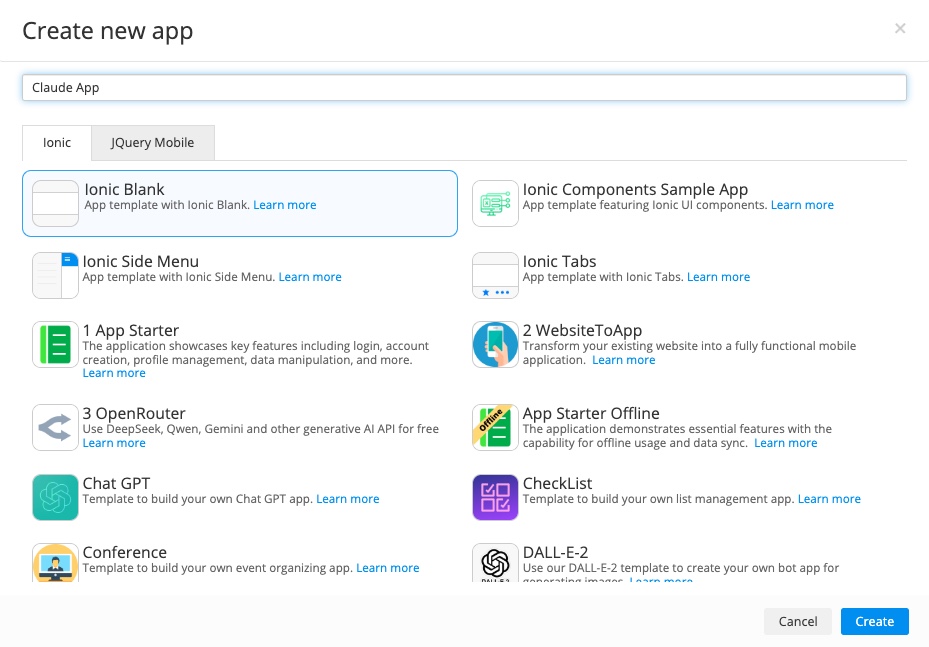
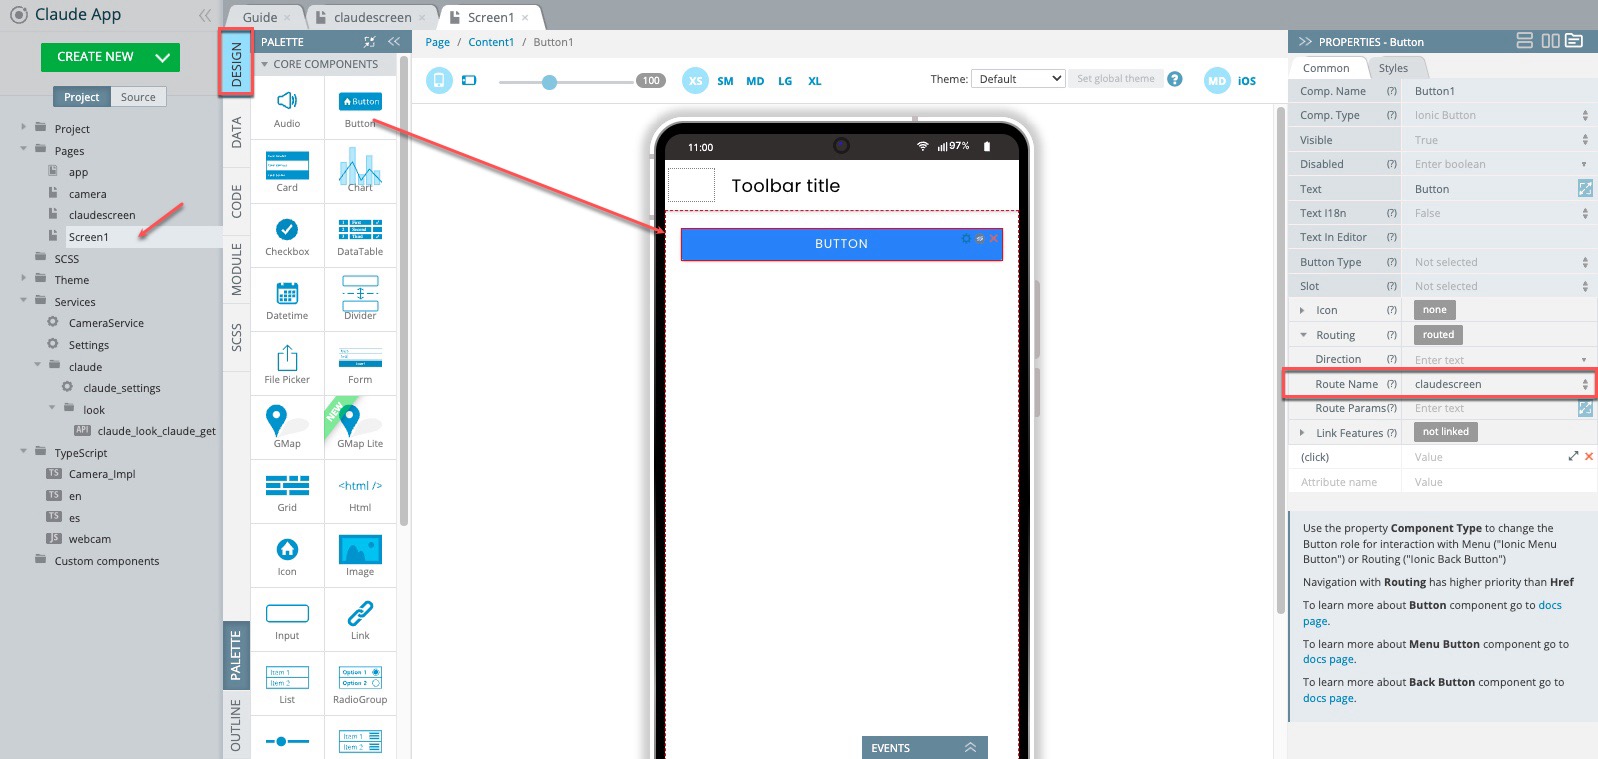
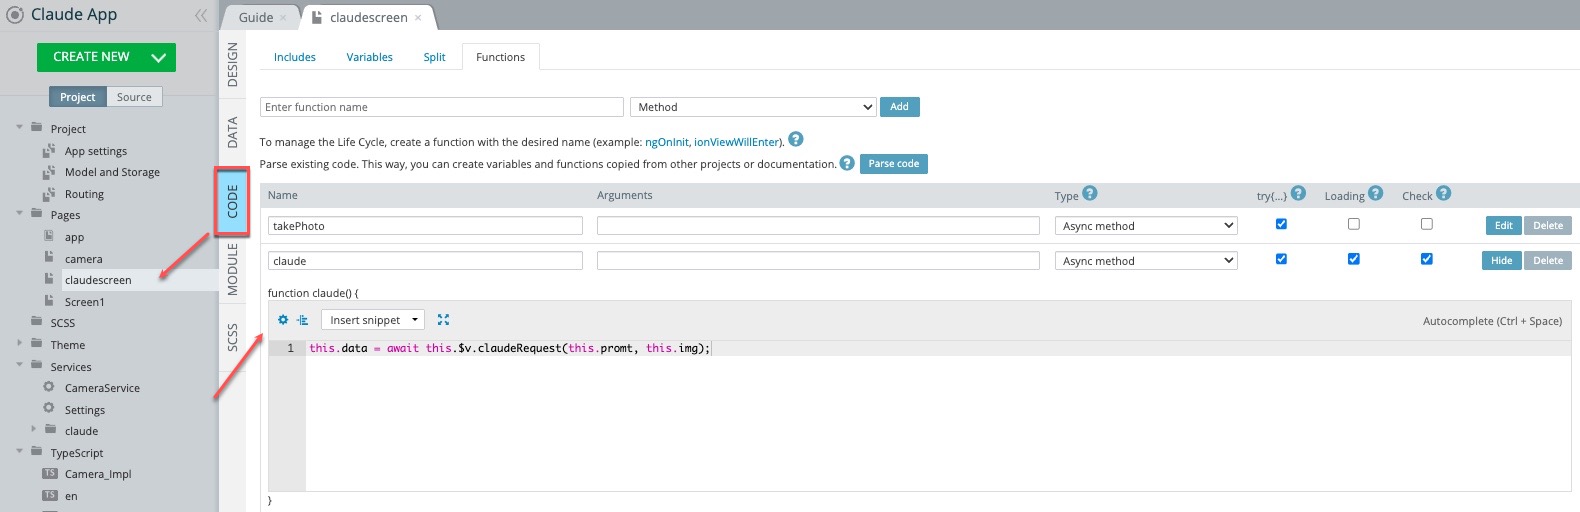
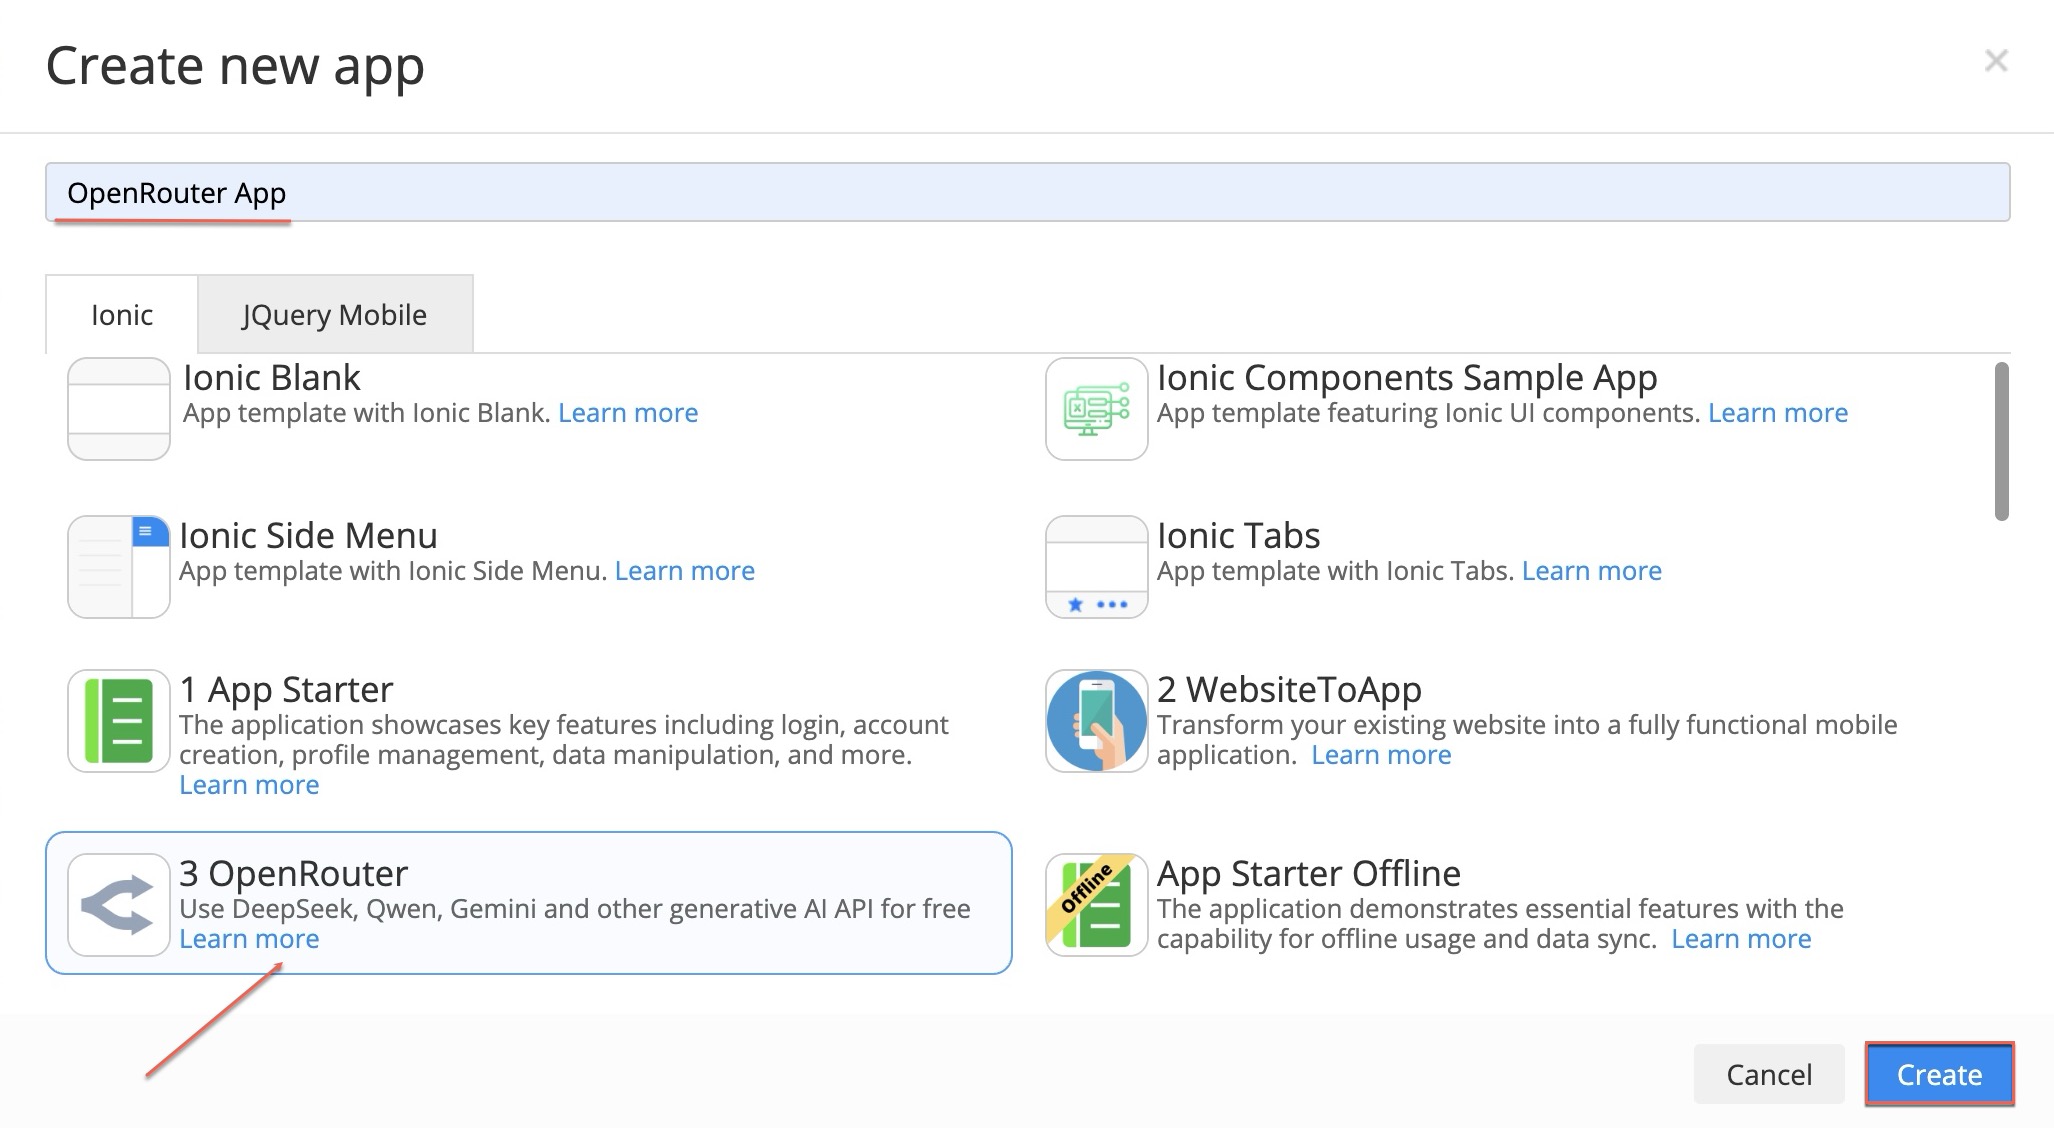
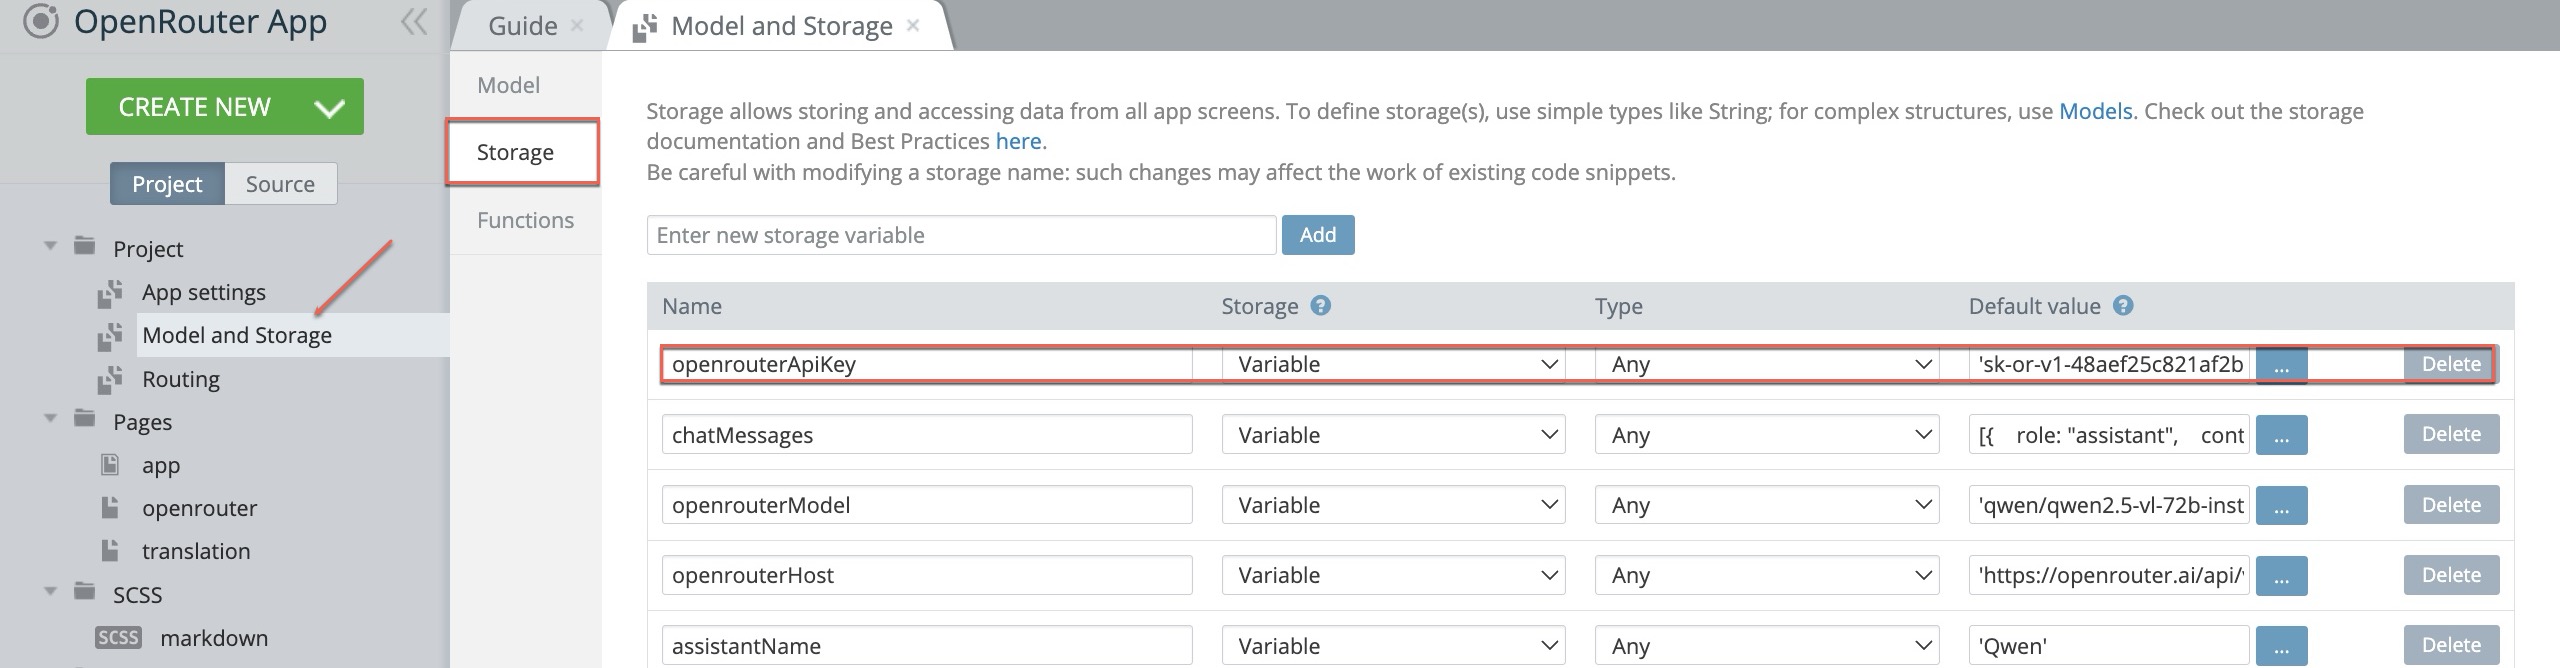
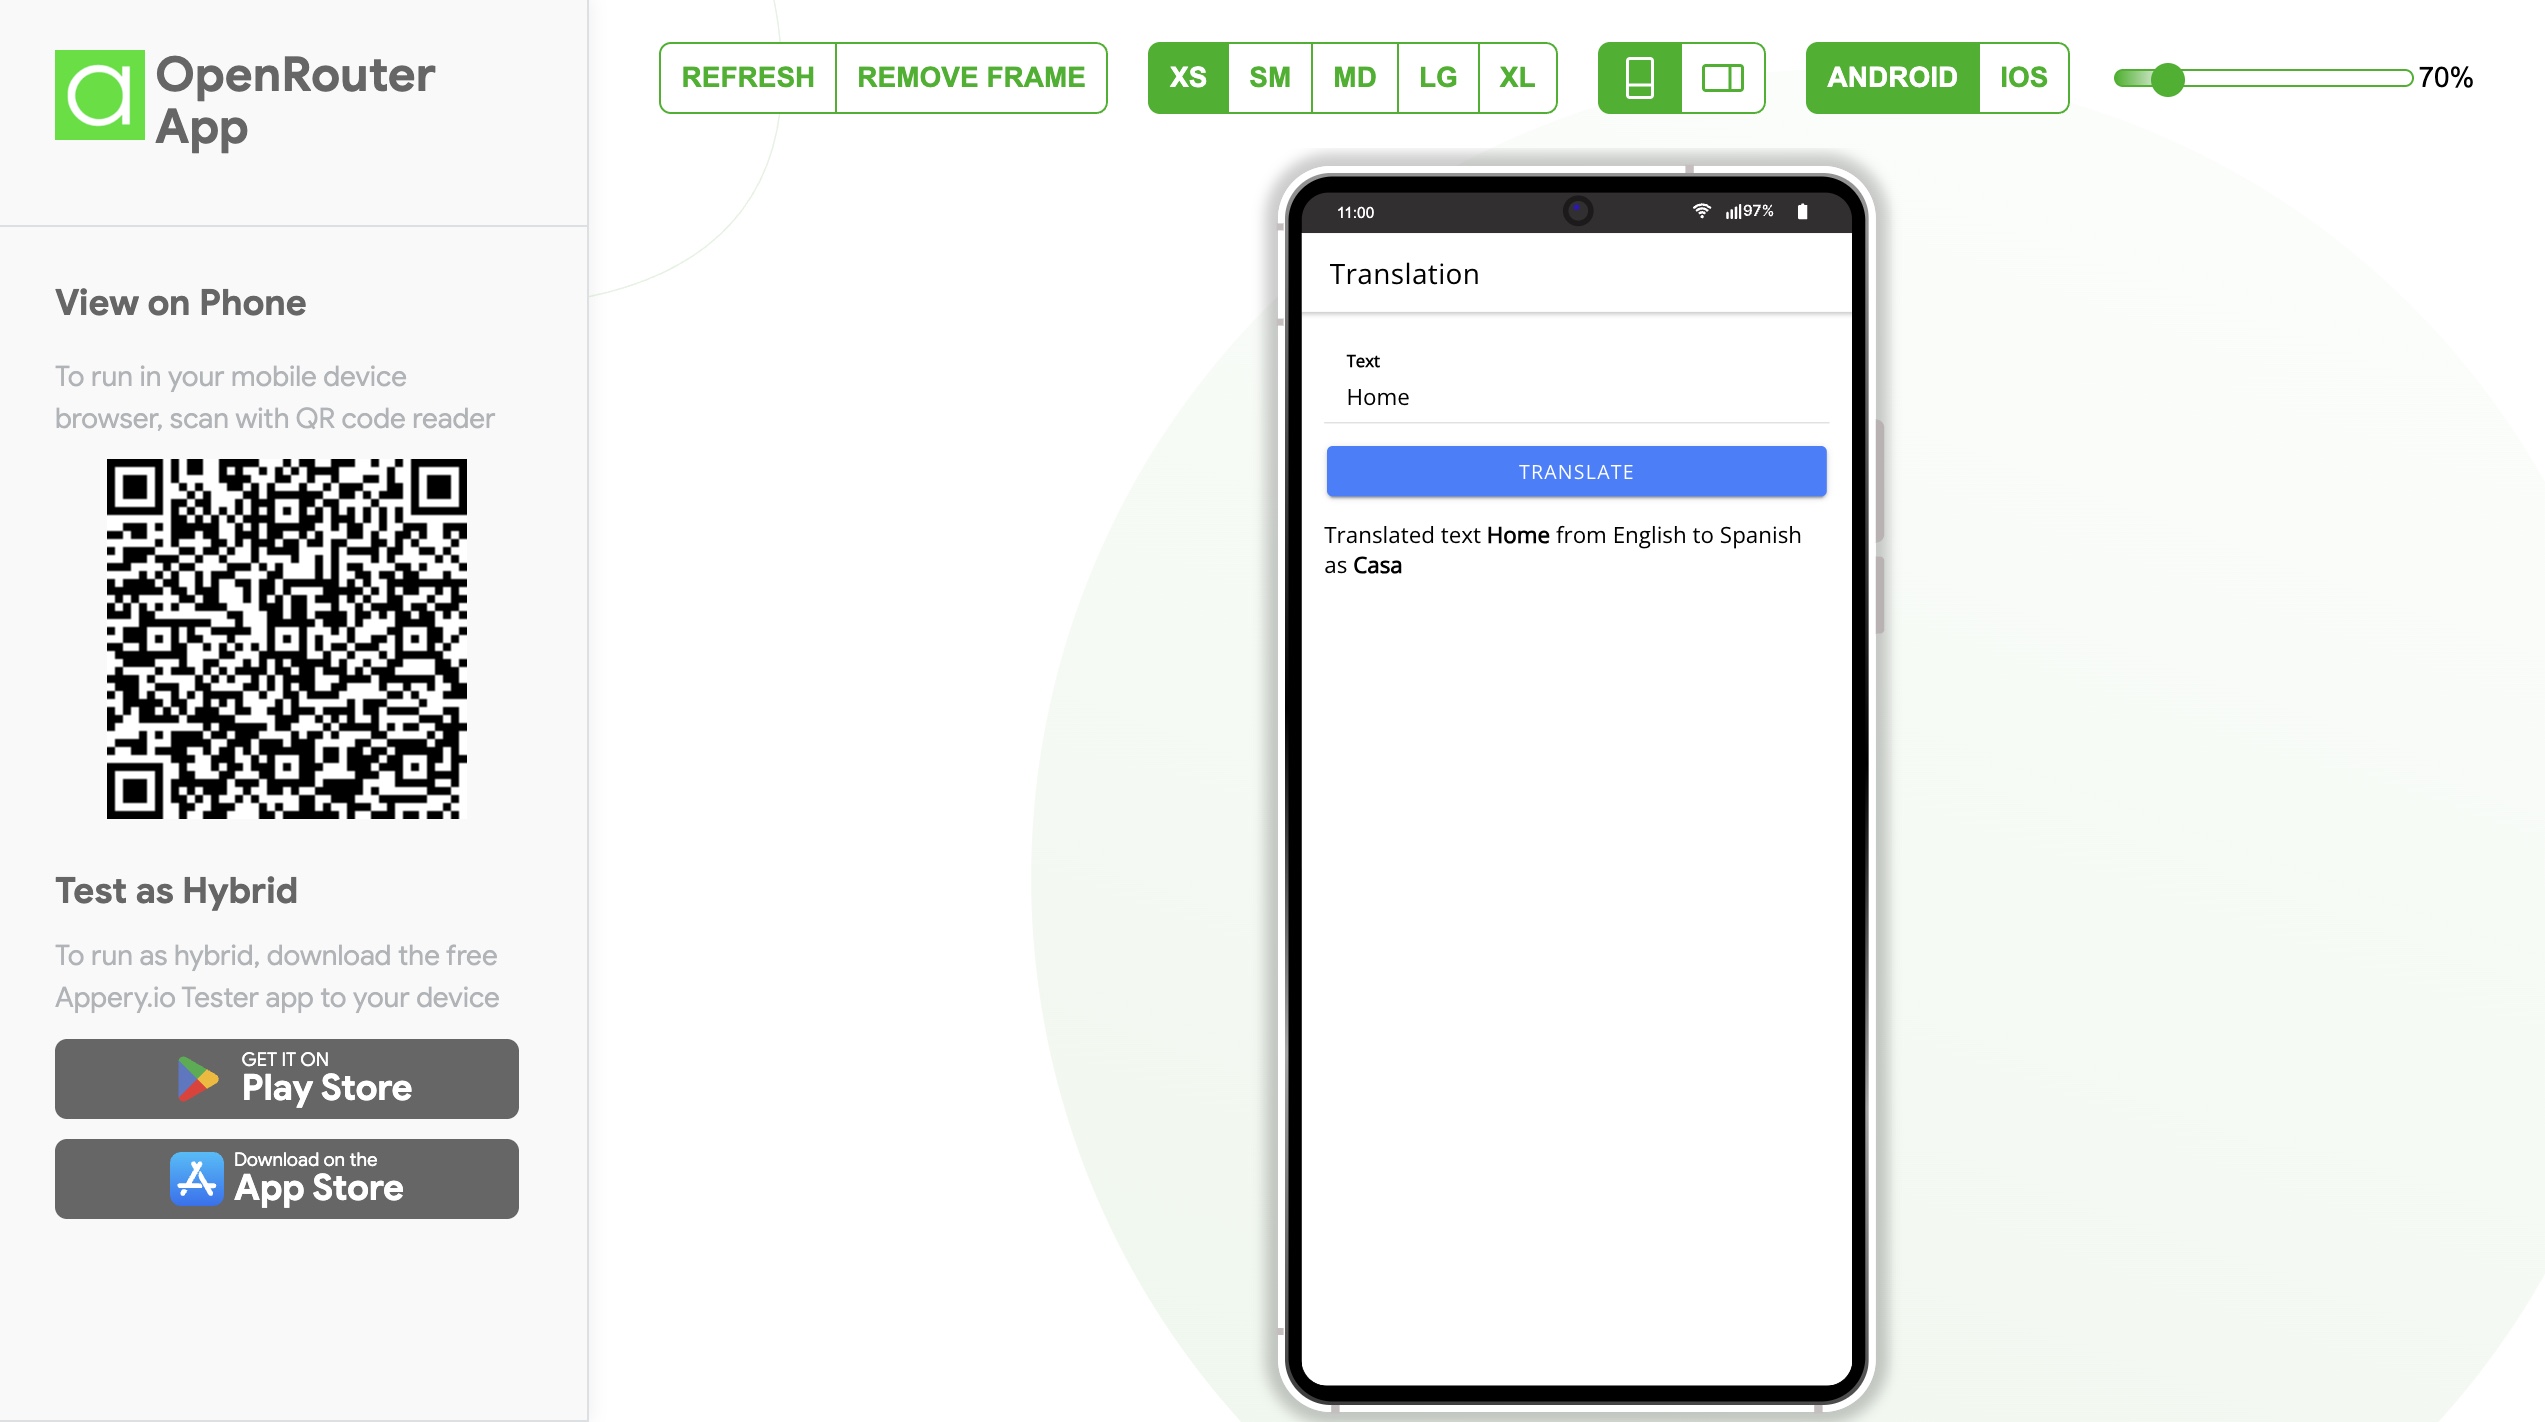
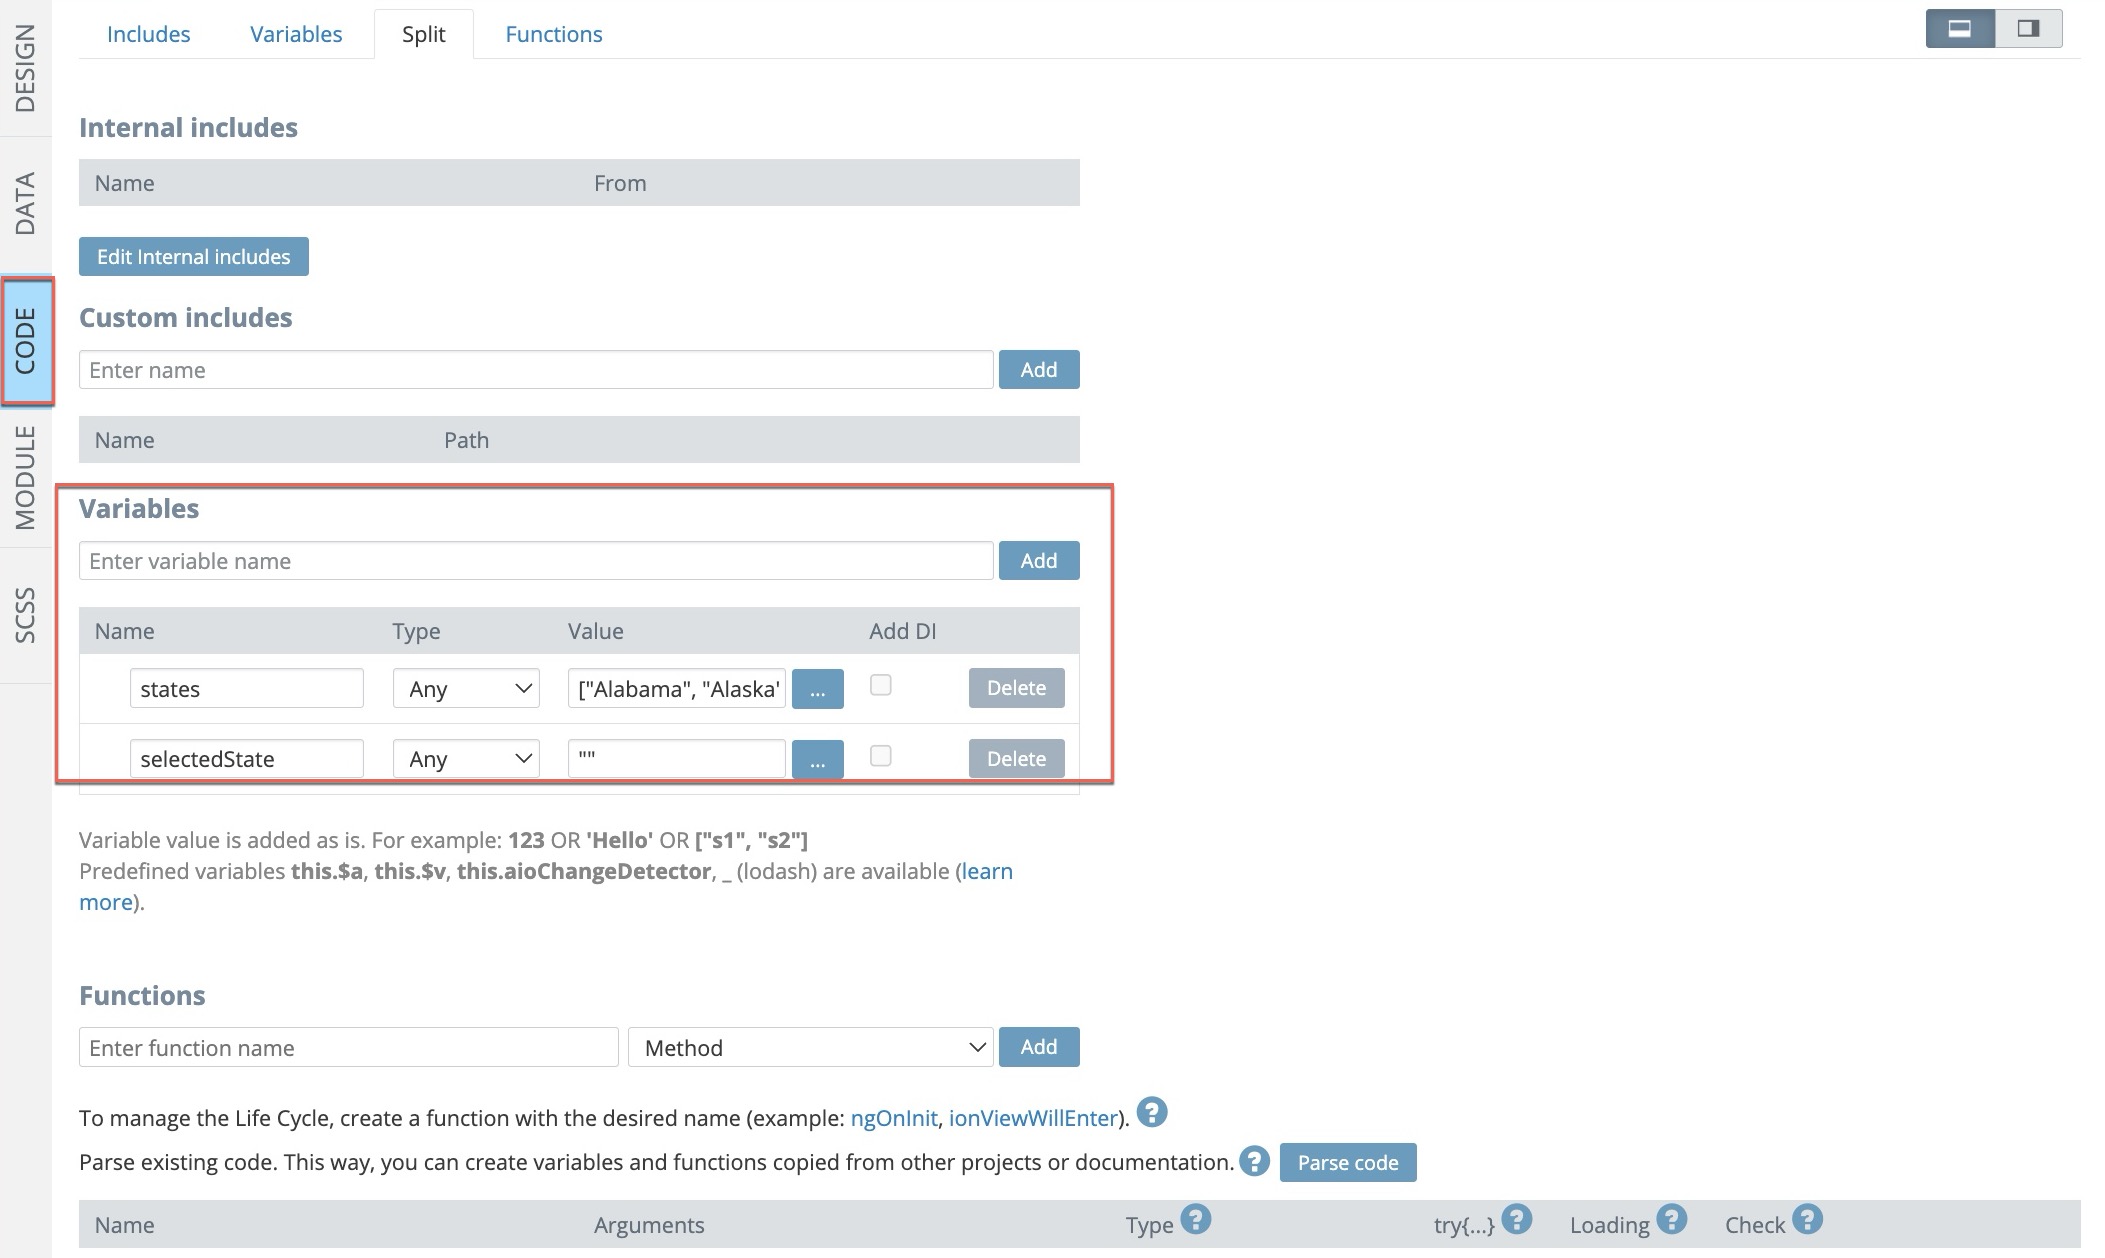
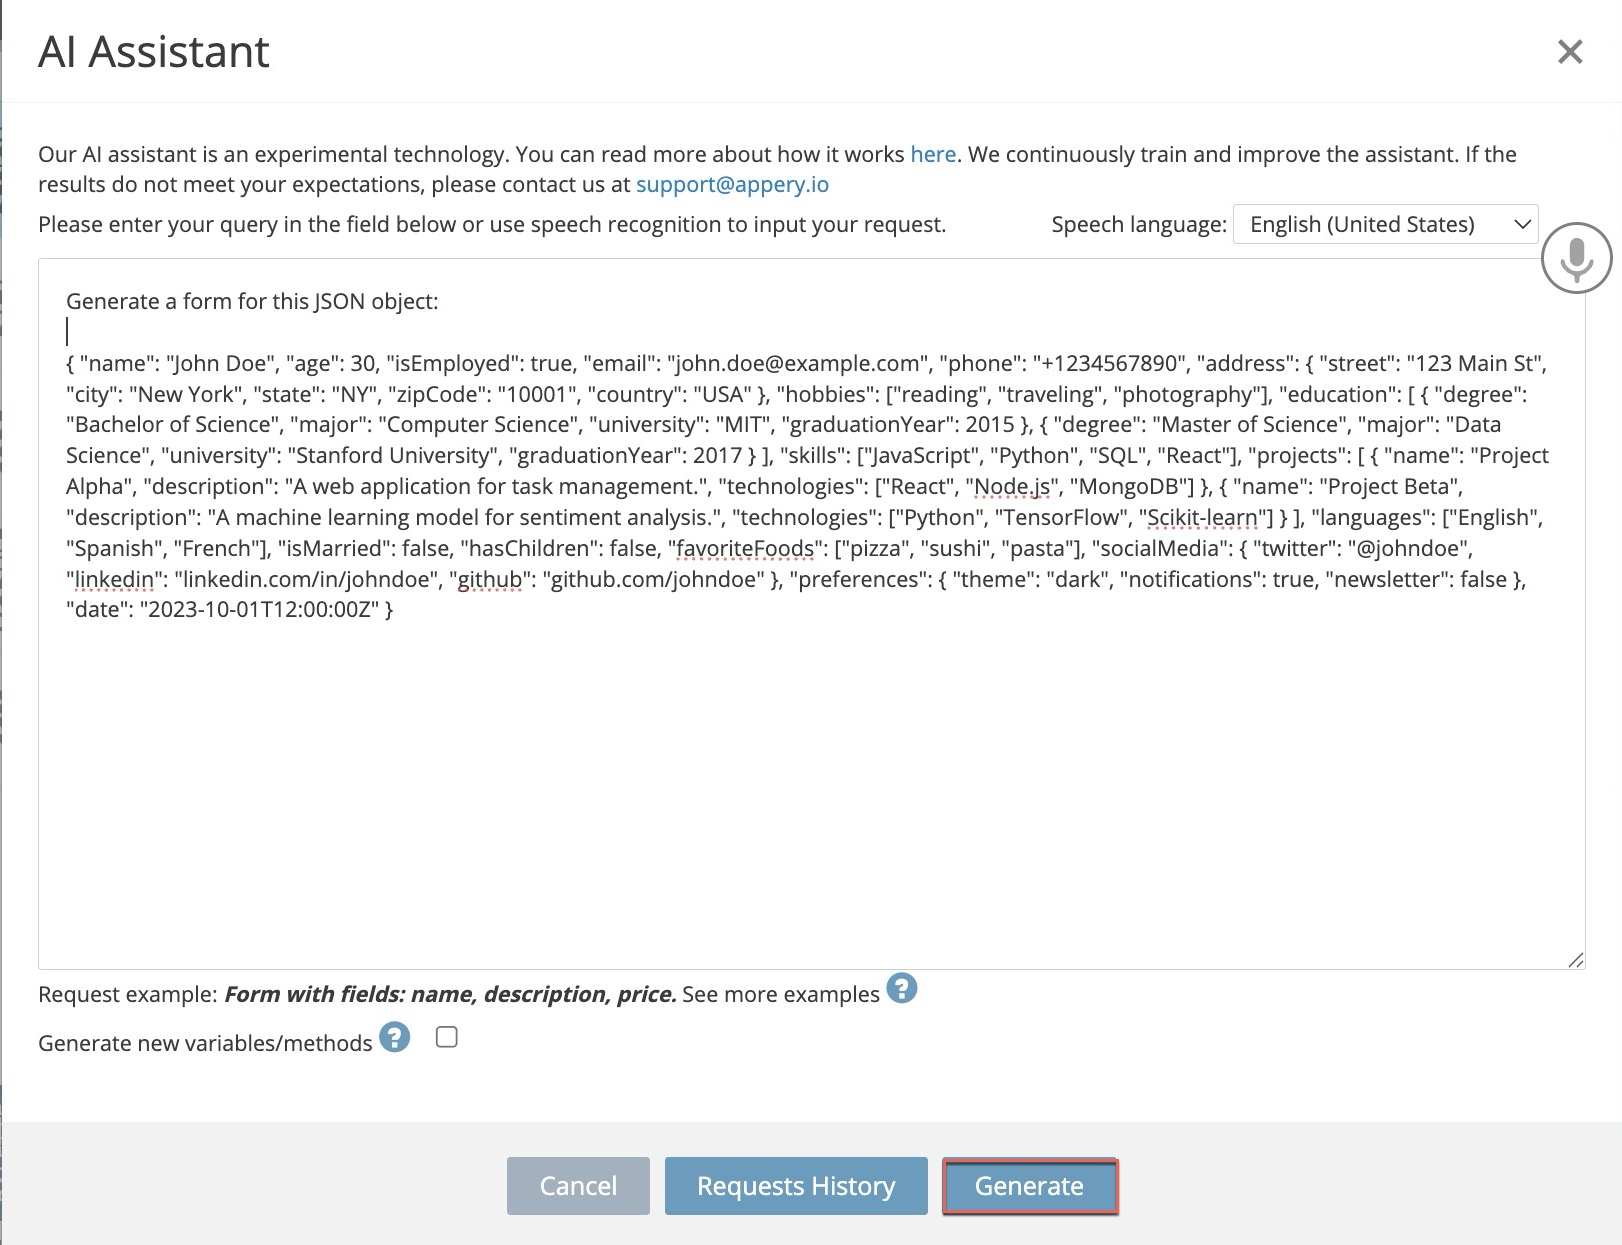
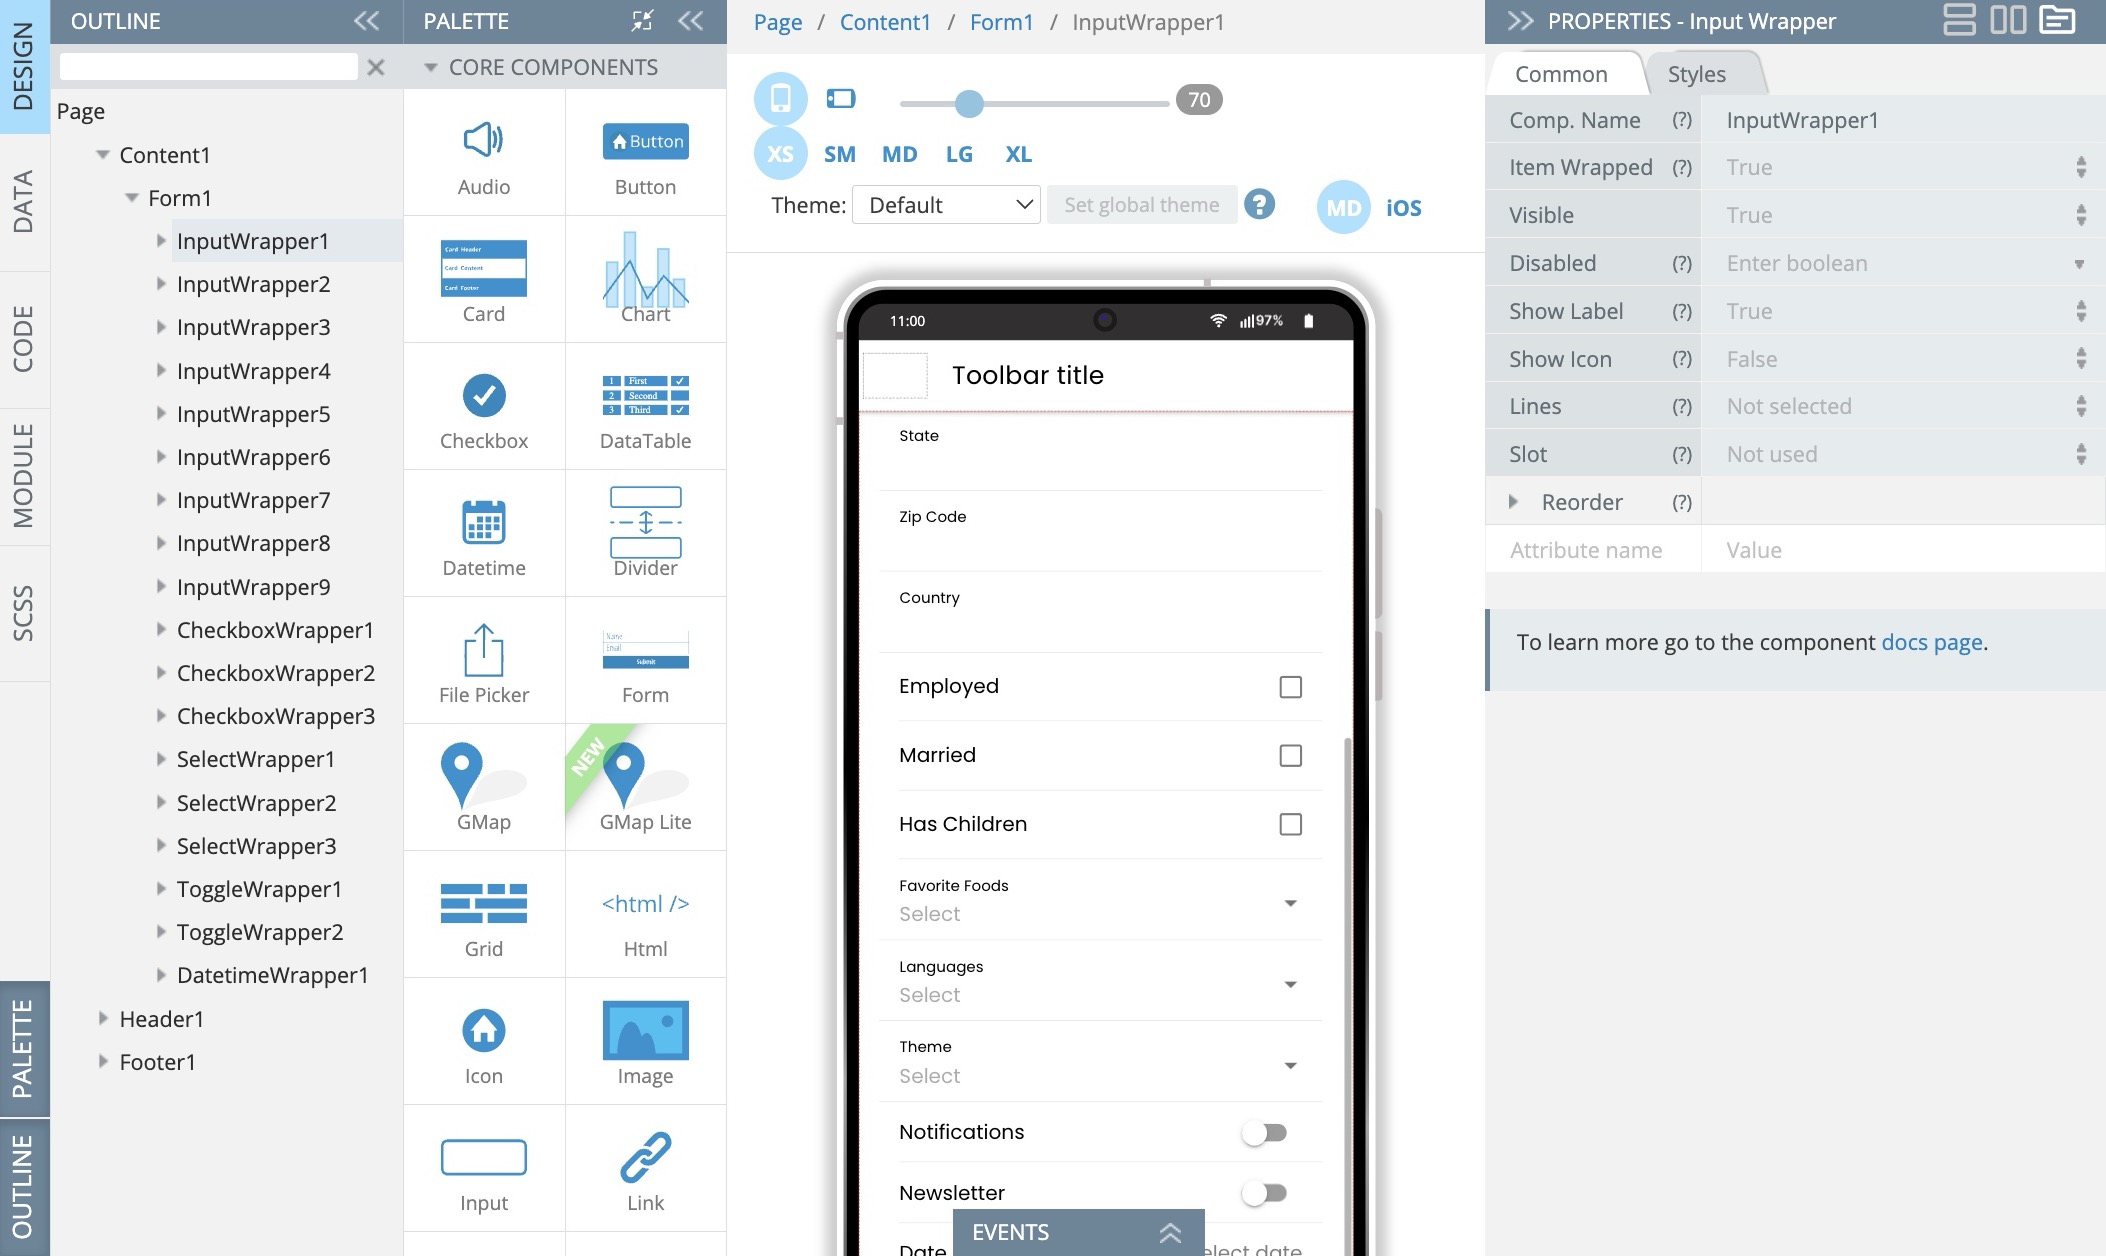
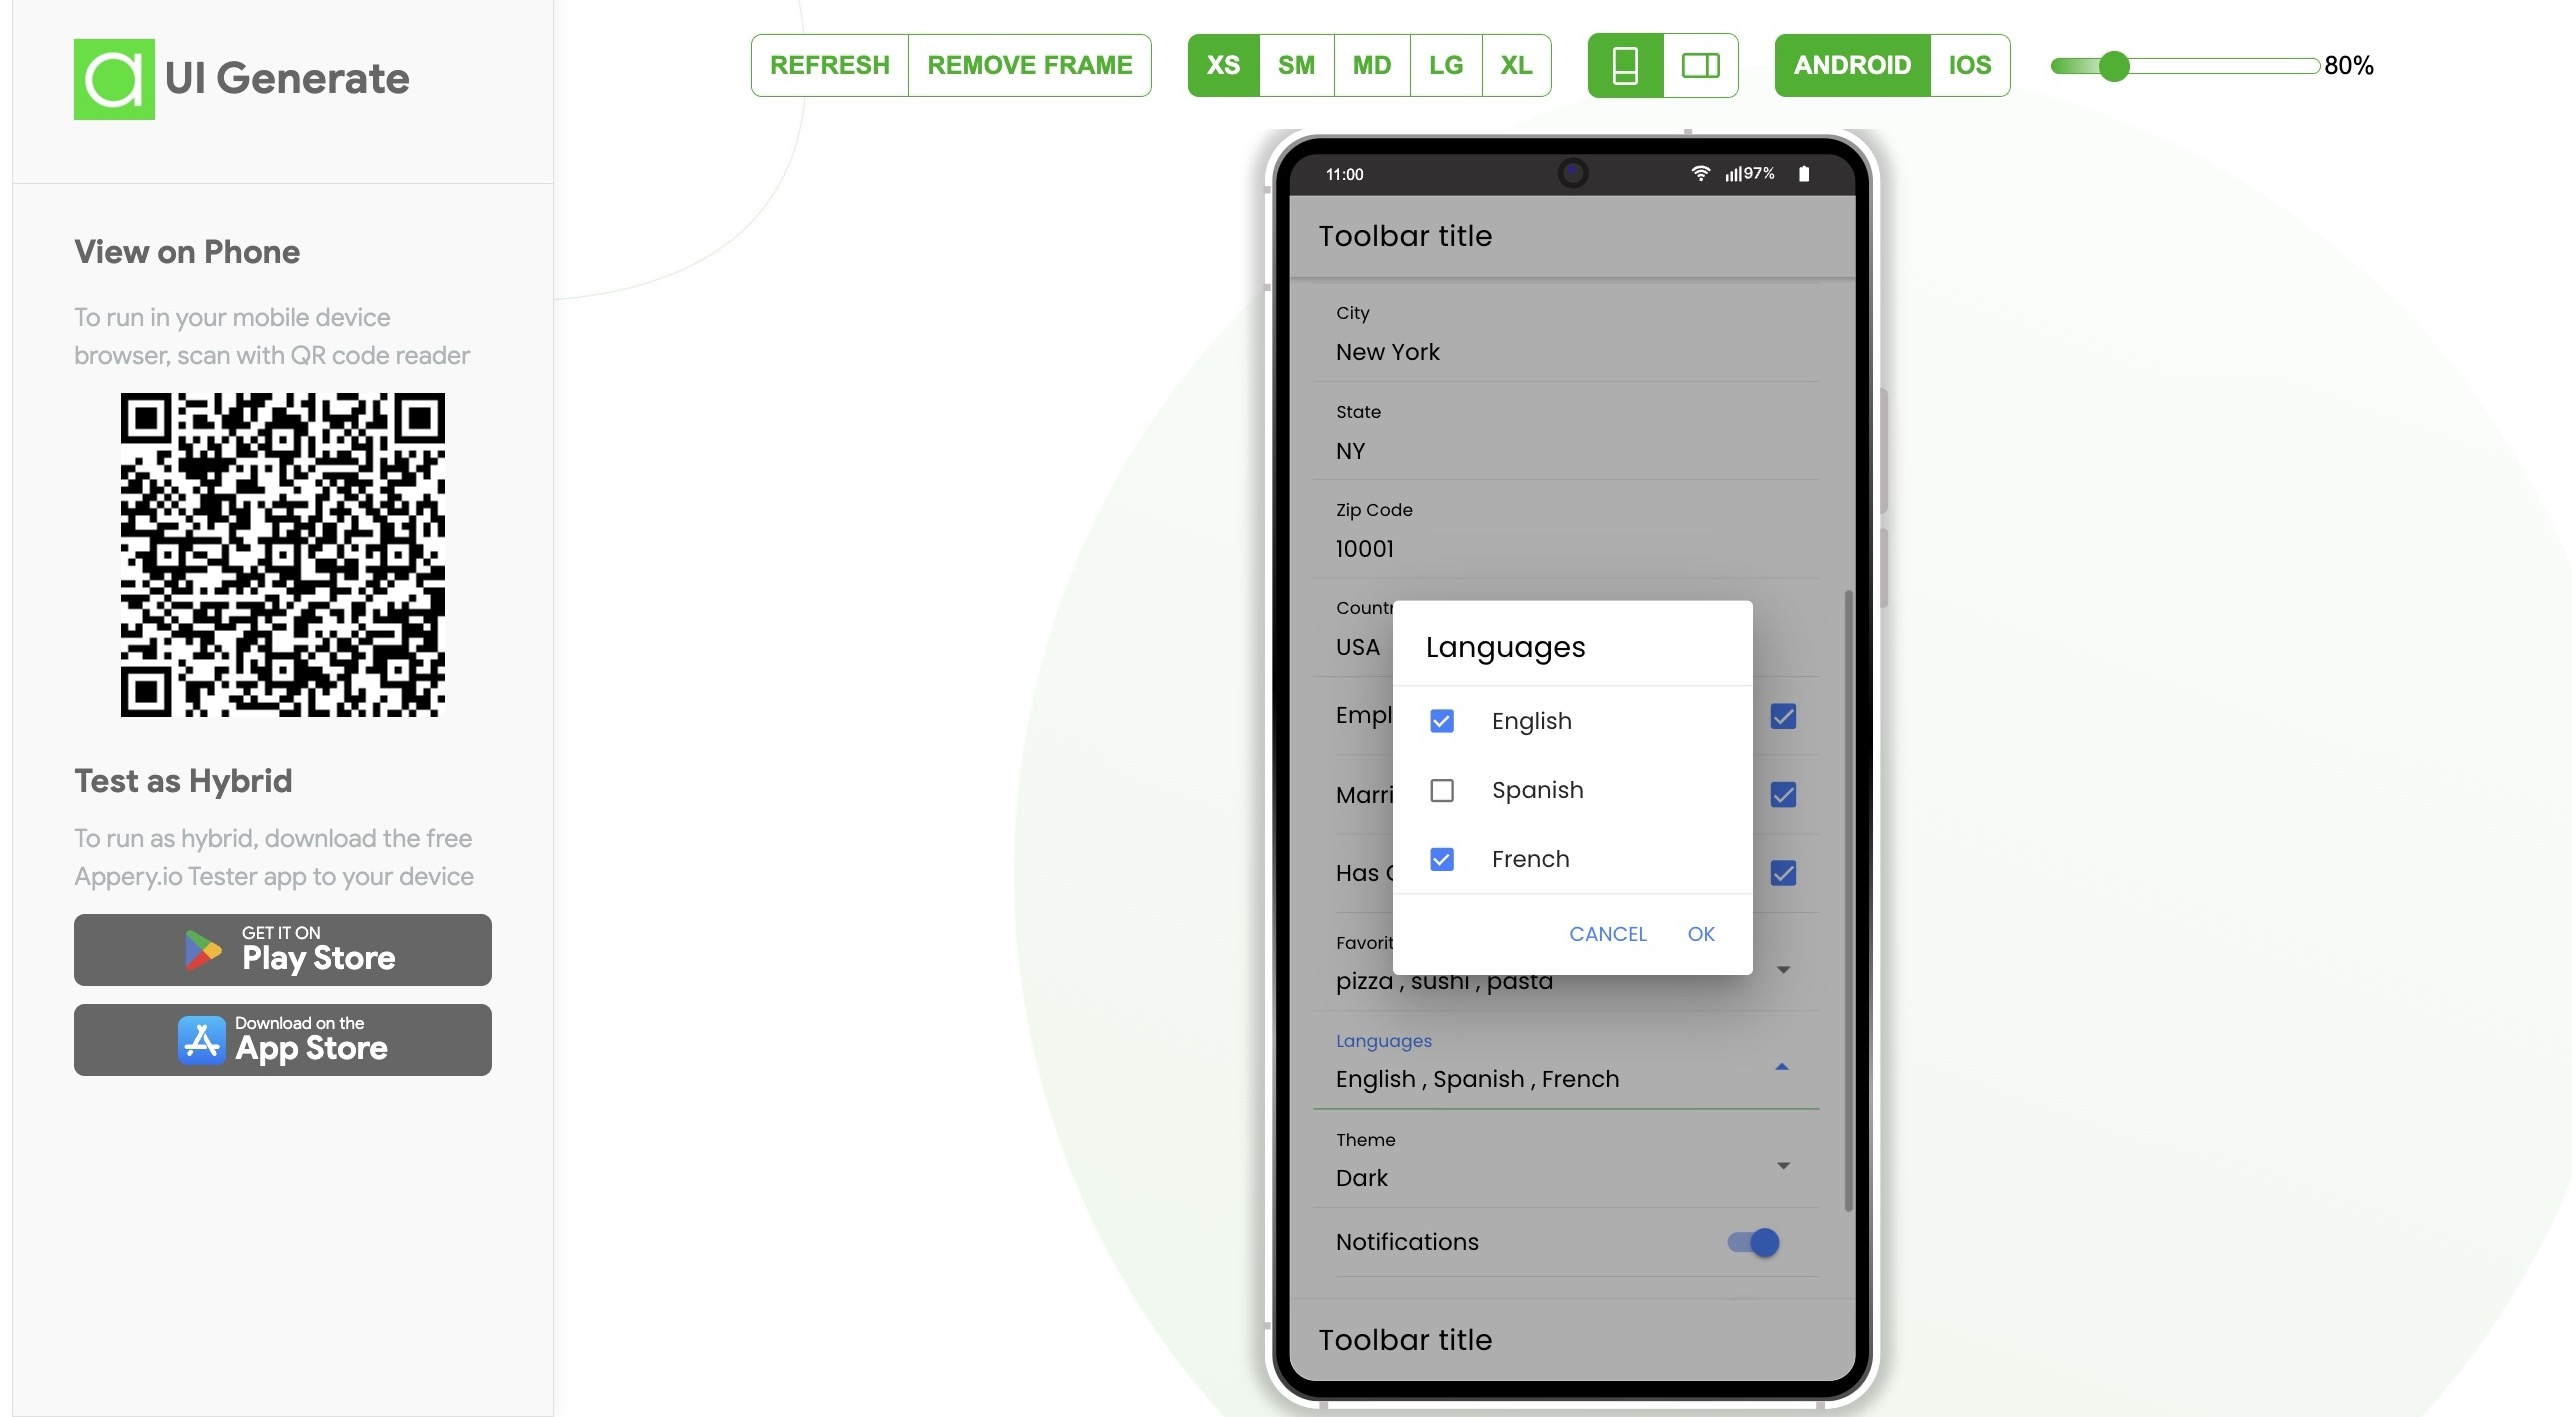
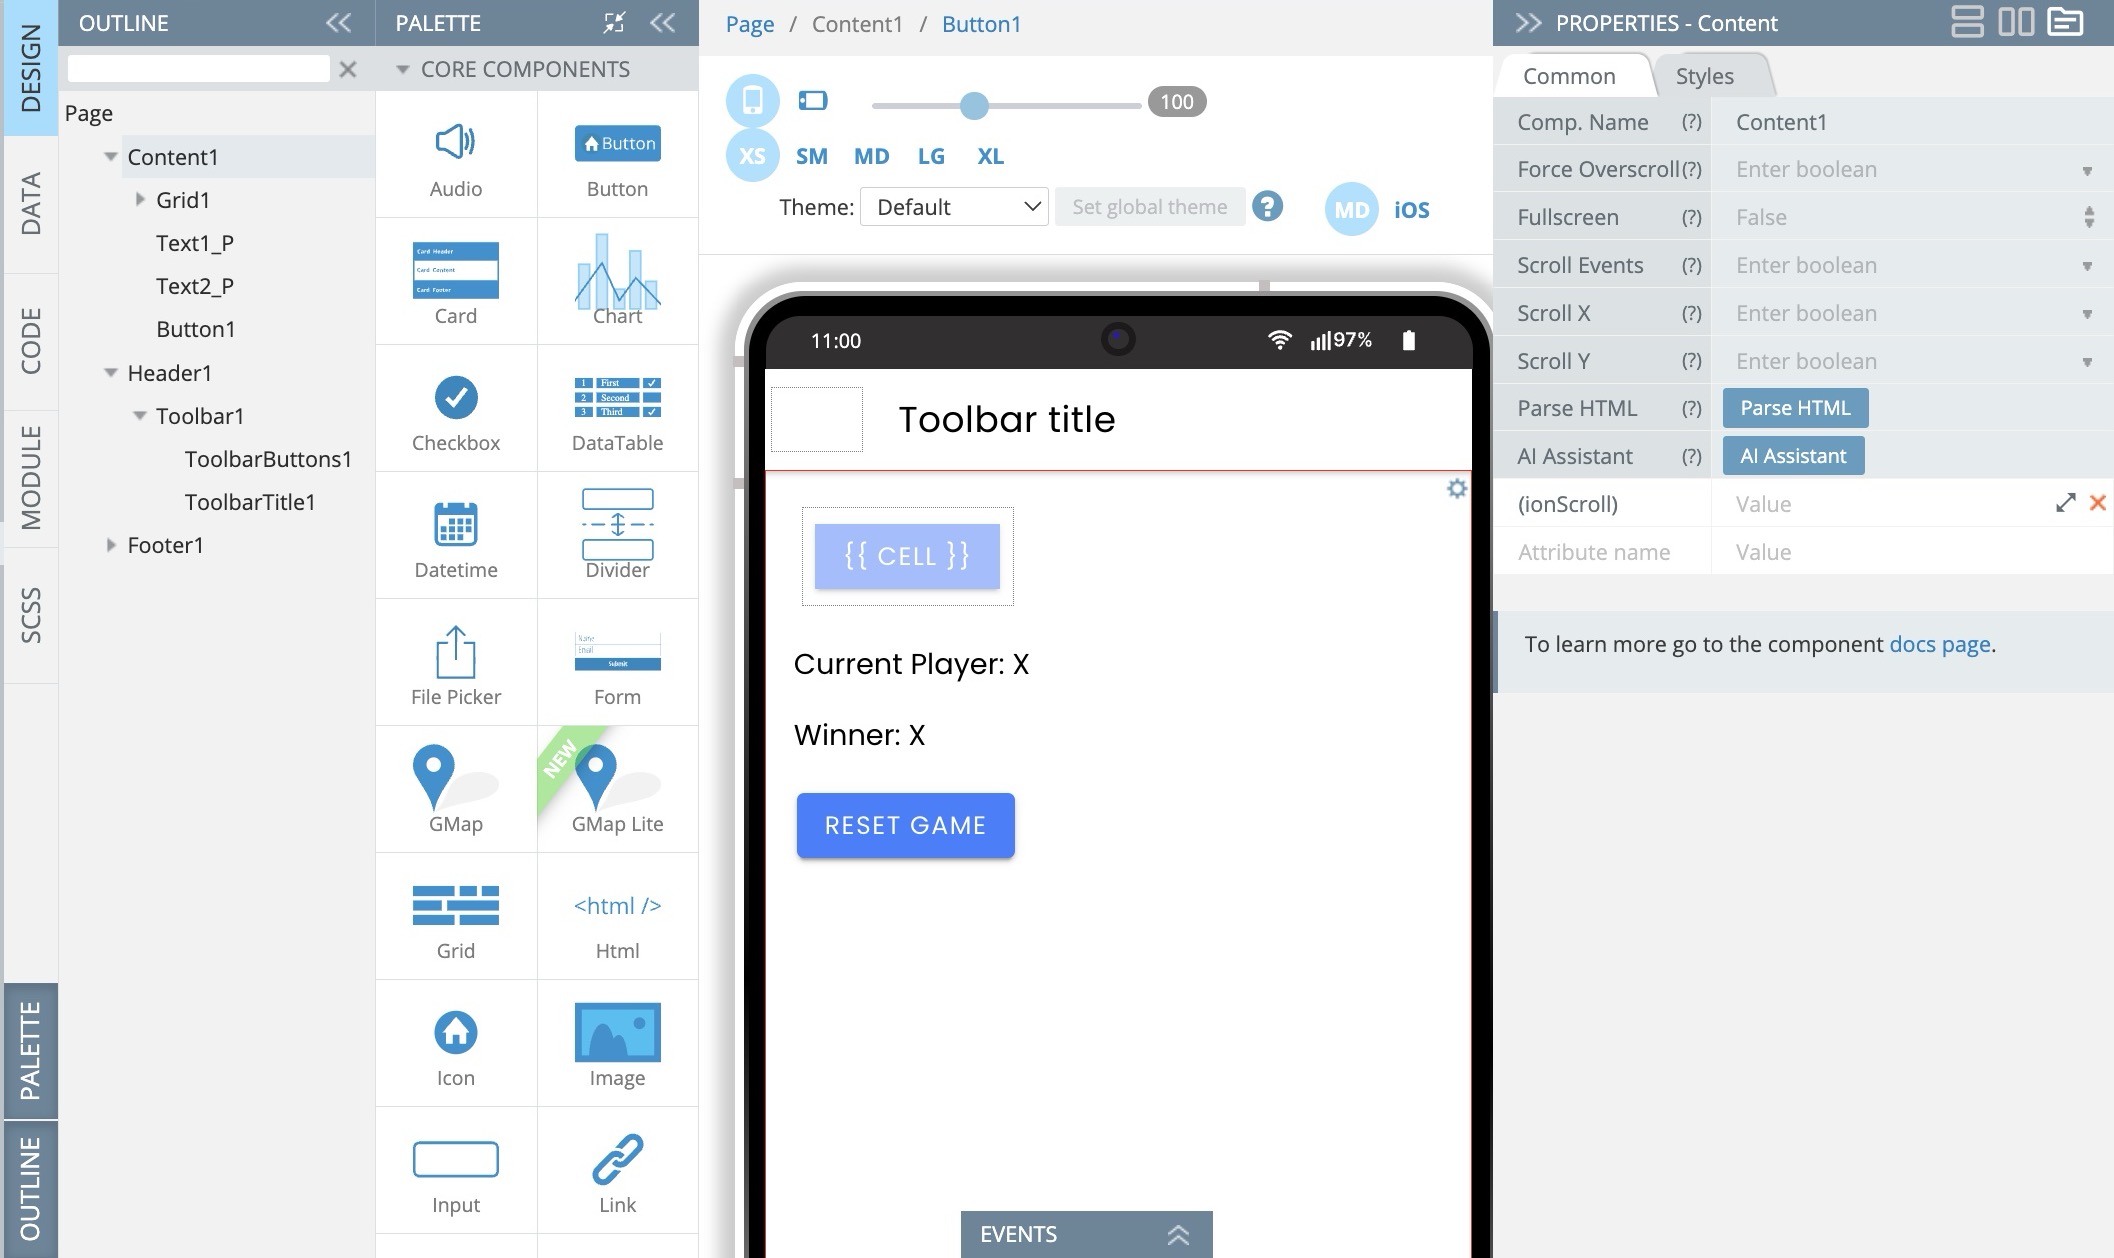
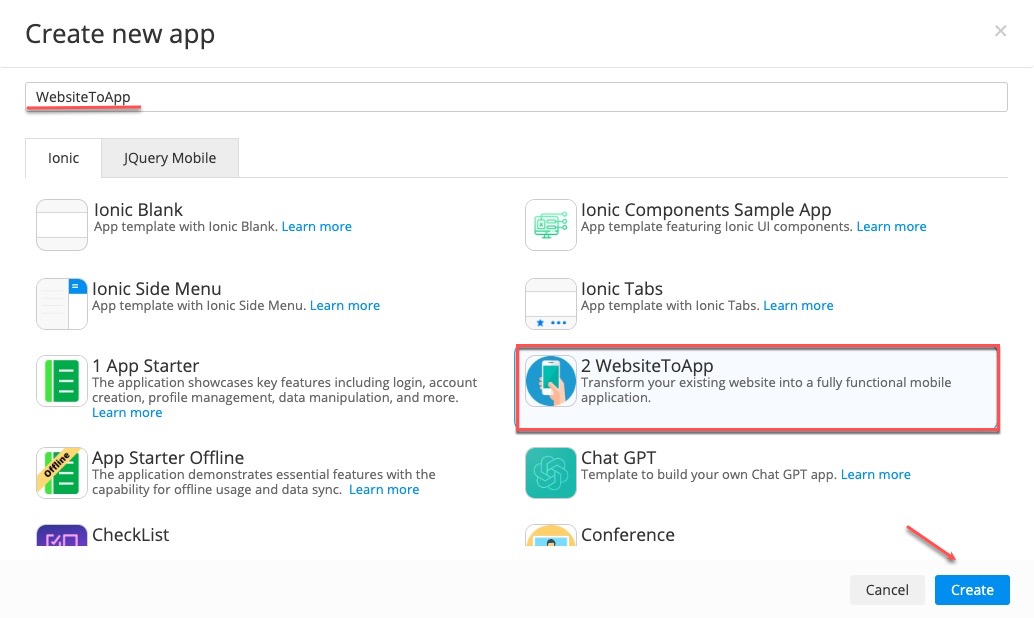
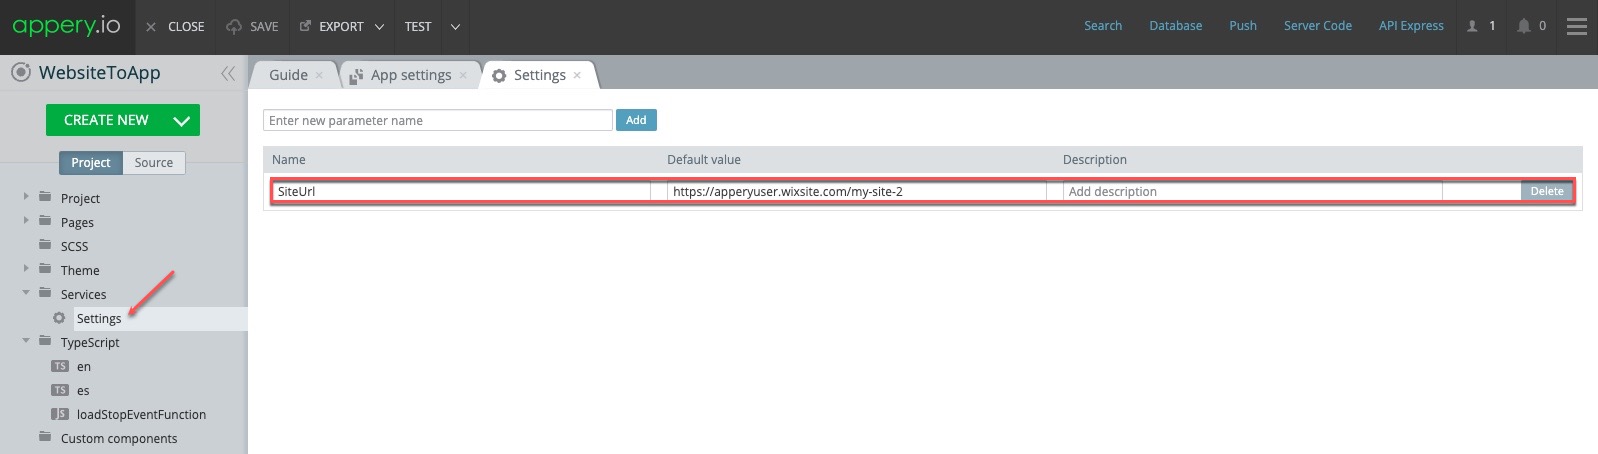
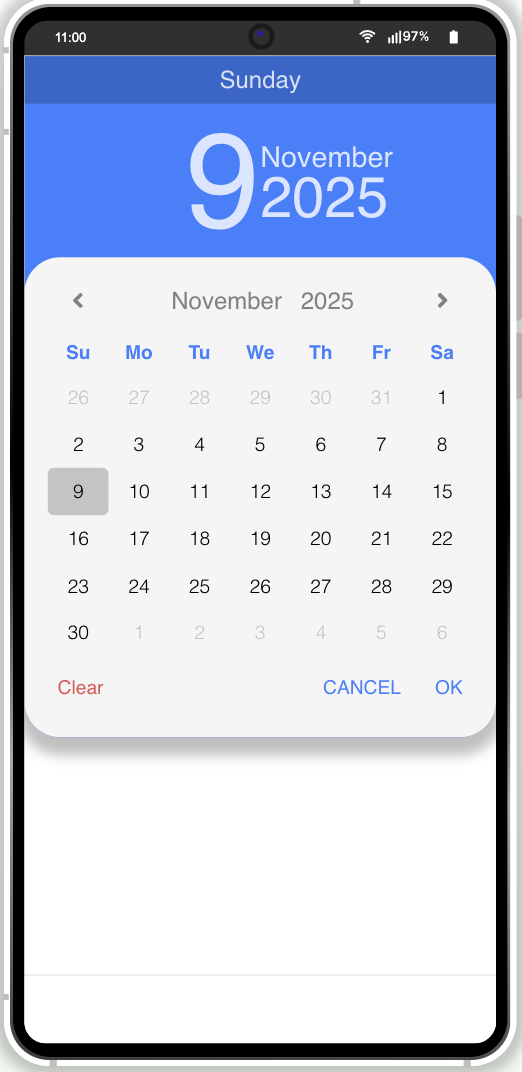
Appery.io is a leading platform that lets you build stunning mobile apps without writing a single line of code. It offers powerful, built-in components like the Datetime picker. While this component is excellent out of the box, our video tutorial dives deep into how you can customize its validation rules to fit any complex requirement.
You’ll see how to easily:
-
Set up basic validation to ensure a date is selected.
-
Create advanced logic to check if a user meets an age requirement (like being 18+).
-
Validate two dates against each other, ensuring the second date is always greater than the first.
-
Fine-tune the trigger for validation to make sure everything updates instantly when a user changes a date.
The video also touches on the powerful Moment.js library, which is pre-integrated into Appery.io, simplifying all date calculations.
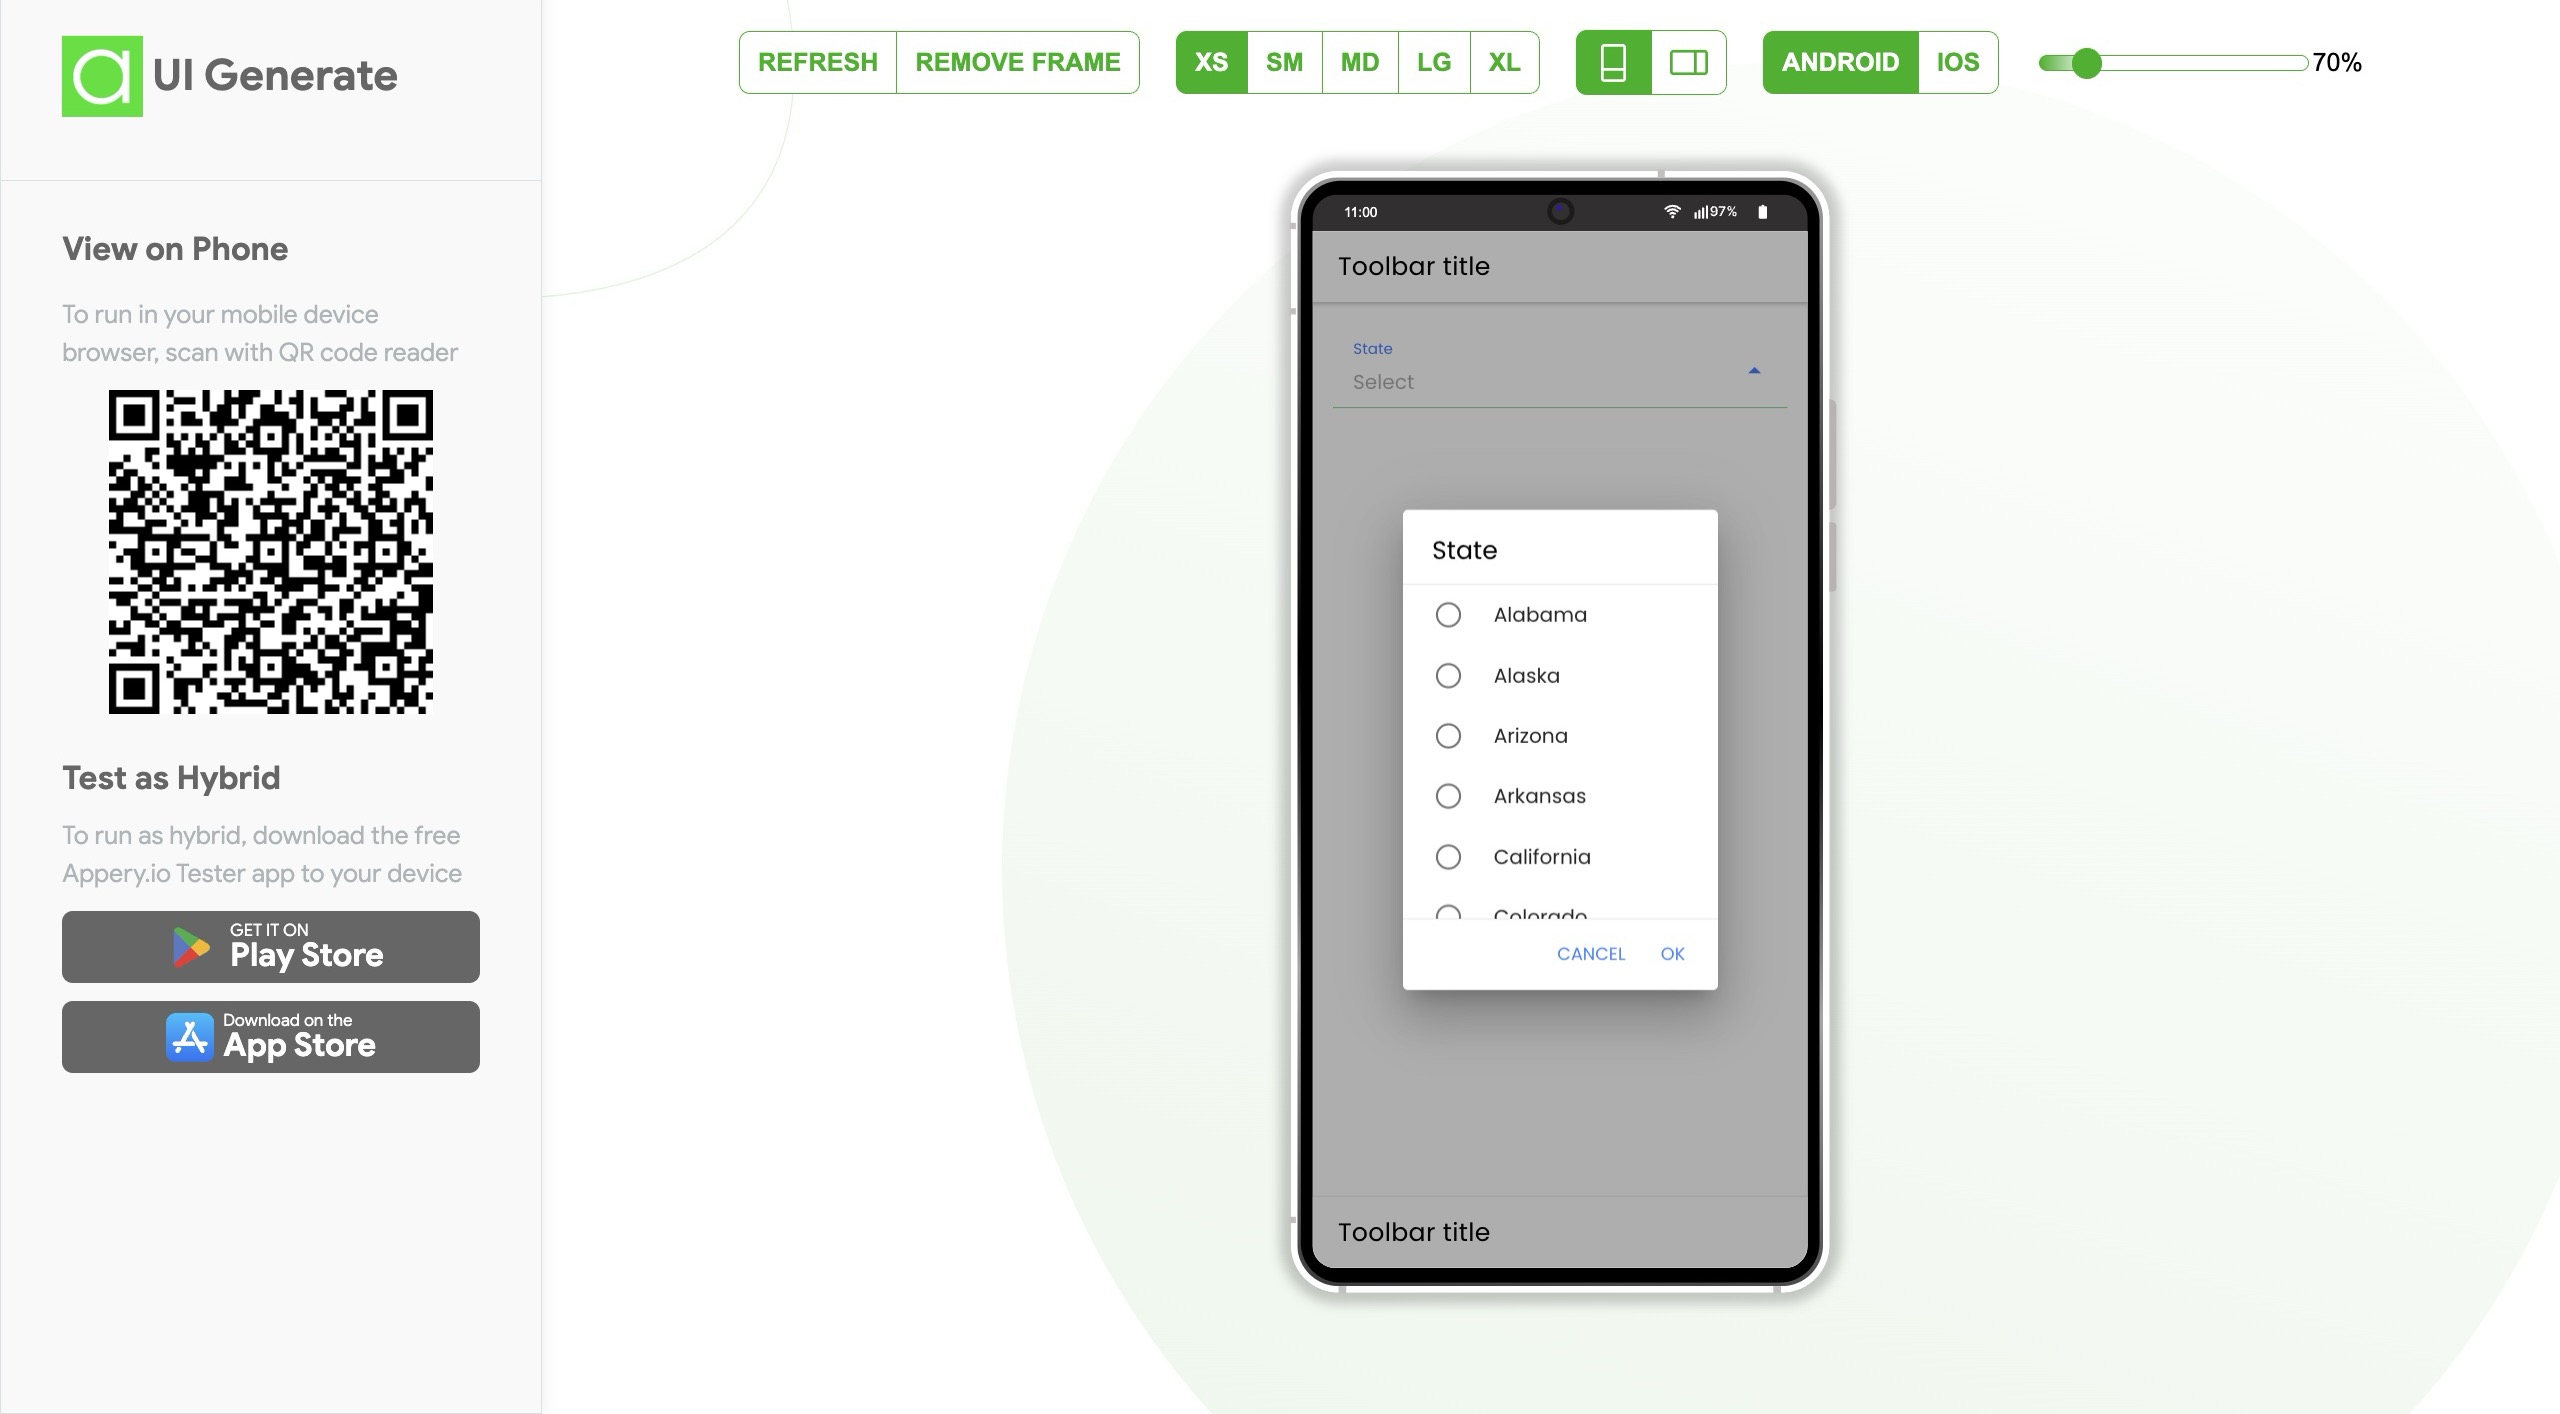
Plus, you’ll get a look at the alternative, sleek DatePicker Plugin available for a better-looking UI across all platforms.
Why You Need to Watch This Video Now
You don’t need to be a coding wizard to make your app secure and highly functional. This tutorial is perfect for anyone looking to build professional-grade mobile apps fast.
The video tutorial provides all the necessary details and step-by-step guidance on implementing every trick for effective Datetime validation customization. It’s the ultimate resource for instantly boosting the quality of your app’s user input fields.
Ready to master advanced Datetime validation?
Watch the full YouTube tutorial now!
Build Better Apps with Appery.io
Appery.io is your go-to no-code platform for building powerful, cross-platform mobile apps for iOS and Android. It lets you focus on functionality and user experience, not complex code.
Subscribe to the Appery.io YouTube channel for more tutorials and guides on simplifying your app development process!