Transform Your Google Sheets into a Fully Functional App Today!
Are you looking for a simple and effective way to manage data for your mobile app? Google Sheets can be your solution. With Appery.io, a powerful no-code app-building platform, you can easily integrate Google Sheets into your app development process, turning your data into dynamic and interactive elements in your mobile app.
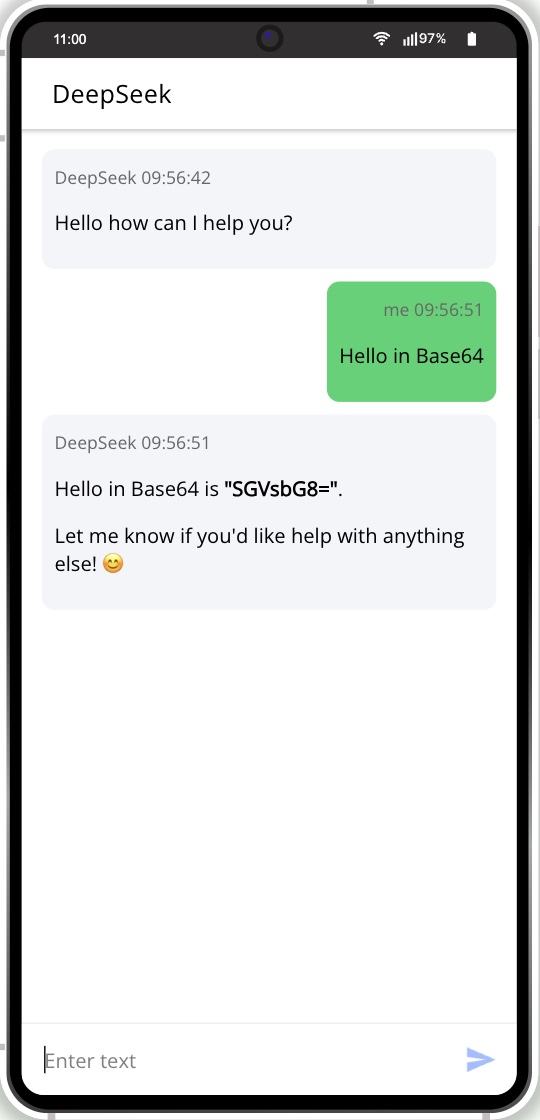
In the video tutorial, you’ll see how to use Google Sheets as a database for your mobile app without writing any code. Whether you need to store product information, customer data, or any other kind of content, Google Sheets serves as a flexible and user-friendly database. With Appery.io, integrating this data into your app becomes seamless and straightforward.
Want to see how it works in action?
Check the video below to learn how to connect Google Sheets to an app, manage data, and build a working system—all without coding! This step-by-step YouTube guide walks you through setting up the Google Sheets API, integrating it into Appery.io apps by using the List Details and the Server Code GoogleSheetCRUD plugins, and making a real-time app with CRUD operations.
This combination of Google Sheets and Appery.io gives you a simple yet powerful toolset for mobile app development.
If you’re ready, start building now and take your app to the next level!
PS If you found this helpful, don’t forget to like, comment, and subscribe for more tech tutorials!