Big Update: New Enterprise Components in API Express, Upgraded Push Notifications, New Ionic Version and More
This is our second major platform update in 2016, we are excited to share our new features and benefits to help you build enterprise apps fast.
New enterprise components in API Express
There are two new features of our API Express, these new service components are for creating advanced service logic using the visual builder. Our new features to API express are: Script and ServerCode. Both components allow you to write custom service logic using JavaScript.
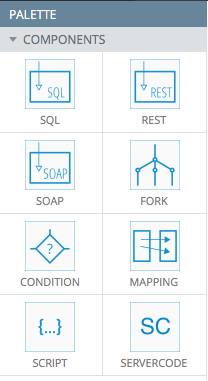
API Express visual editor enterprise components
- ServerCode component – allows call Server Code scripts from the API Express. This will be beneficial if your app relies on some server-side logic that is written as a Server Code script. Read more about this component here.
- Script component – can be used for changing the body structure before passing the data to another component. Find more on Script component in documentation.


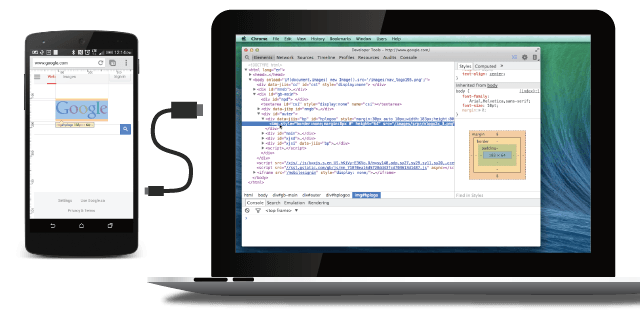 Debugging your JavaScript apps that are made with Appery.io can be performed in a several ways, but today we would like to share with you another method. This approach has been available before, but for a some reason not many people know about it. The flow is looks really simple:

 Appery.io API Express enables enterprises to easily and securely integrate apps with any back-end system. Recently, the Appery team has published