Appery.io + Salesforce: The Tools to Build Enterprise Mobile Apps Fast
We just made it incredibly easy and fast to build enterprise mobile apps connected to Salesforce API with the Salesforce Mobile Pack for Appery.io. Appery.io has two plug-ins that make it super easy to connect to Salesforce:
- Salesforce OAuth API – this plug-is includes everything you need to connect to the Salesforce API via OAuth 2. Examples include Salesforce API, SOQL, and Chatter API
- Salesforce Contacts API Sample App – this plug-in includes the OAuth 2 implementation plus a Contacts sample app. The mobile web app allows you to view, edit and create new contacts on Salesforce using the REST API.
A step by step tutorial shows how to import and use the plug-ins.
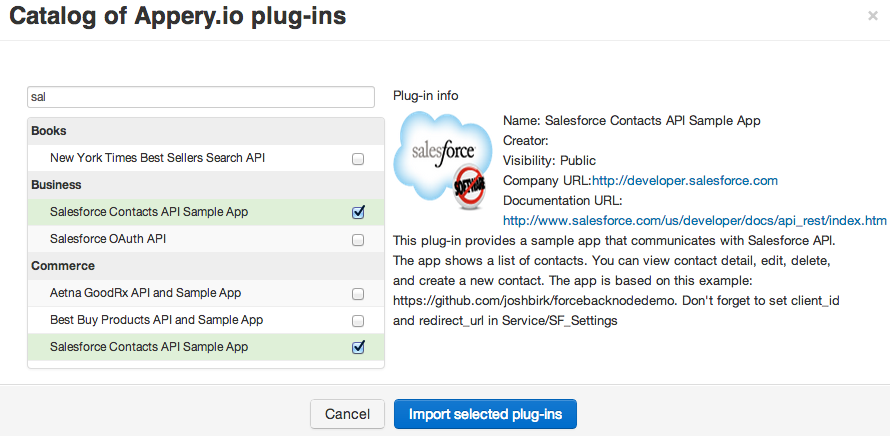
Adding Salesforce plug-in
The Salesforce Contacts API Sample App has a complete app that allows to view and edit contacts in your Salesforce account. Use this app to learn how to use Salesforce API or as a starting for your app.
The Salesforce OAuth API has everything you need to get started. It includes a number of examples to get you started: using Salesforce API, using SOQL, and use Chatter API.
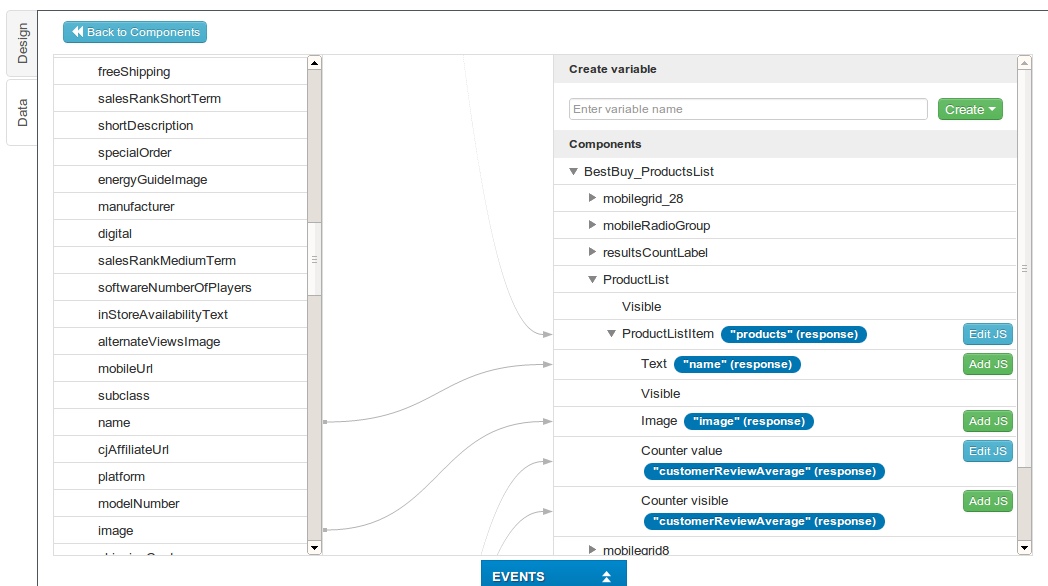
The Appery.io drag and drop visual app builder makes it incredibly easy to build or modify the app UI. You simply drag and drop components into the phone area. For example, editing the edit contact page from Contacts app:
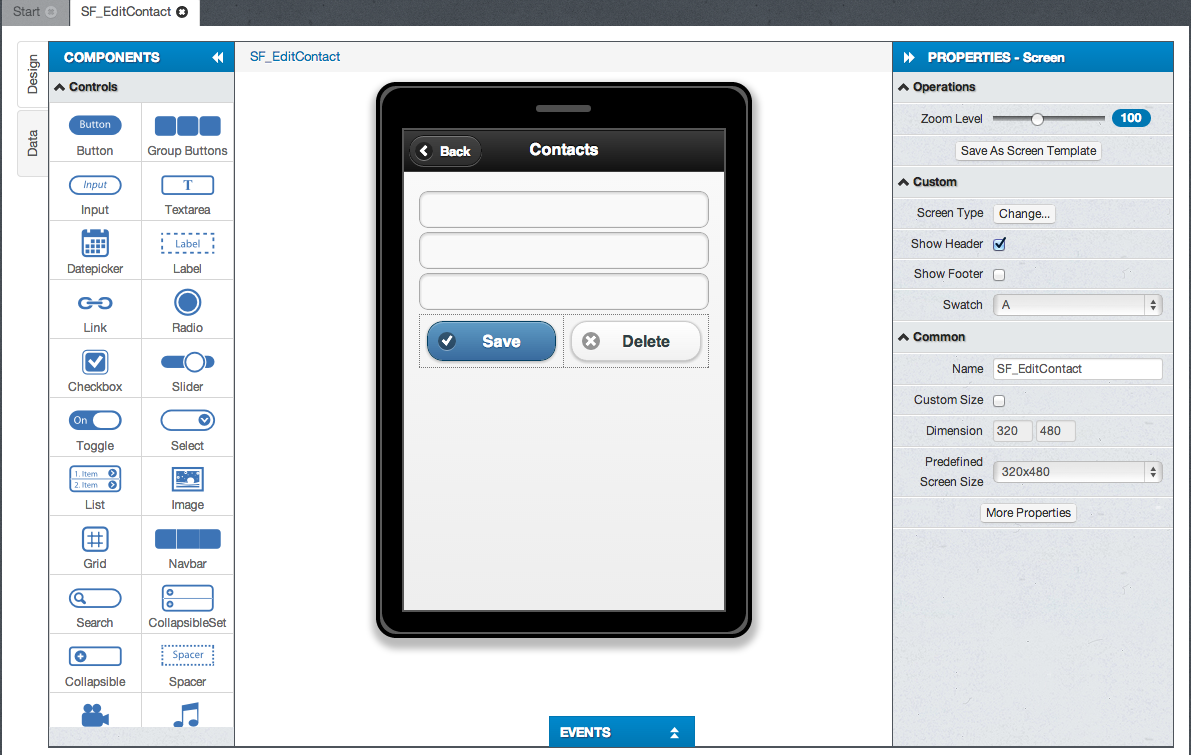
Visual drag and drop editor
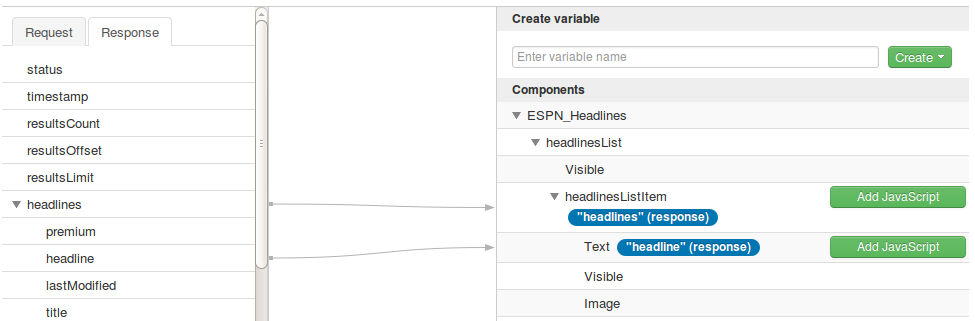
You are not limited to what the plug-in provides. You can build any app UI using the visual editor and connect to any Salesforce APIs. Here is an example defining a service that connects to Salesforce:
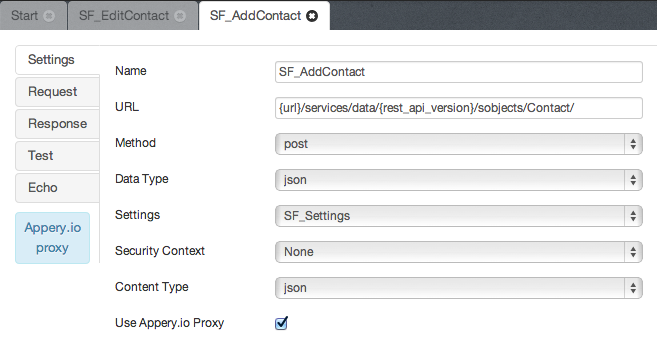
Salesforce API
Our guide shows in detail how to setup any Salesforce API service.
By combining the power of Salesforce and Appery.io dev. tools – we just made it super easy to build enterprise mobile apps entirely in the cloud. Visit https://appery.io/saleforce for a special promo code for Salesforce developers.
Originally posted on Maxa blog.


