Hey! Our New Release is Live: New Component, Autocompleting Attributes, and Extending Context Menu. And a Great Bonus!
We are excited to announce that our new release brings several nice and handy features you will love!
Also, we have a bonus YouTube video.
Enjoy!
New UI Component: Google Map Lite
As you probably know, Google Maps web browser API key is required for the Google Map component to work properly. However, obtaining this key requires some time and efforts and is paid. Therefore, if you need to test the basic map functionality, please consider using our new Google Map Lite component. In this component, the Appery public key is used to allow to you test the basic map functionality without investing costs and time into configuring your own key.
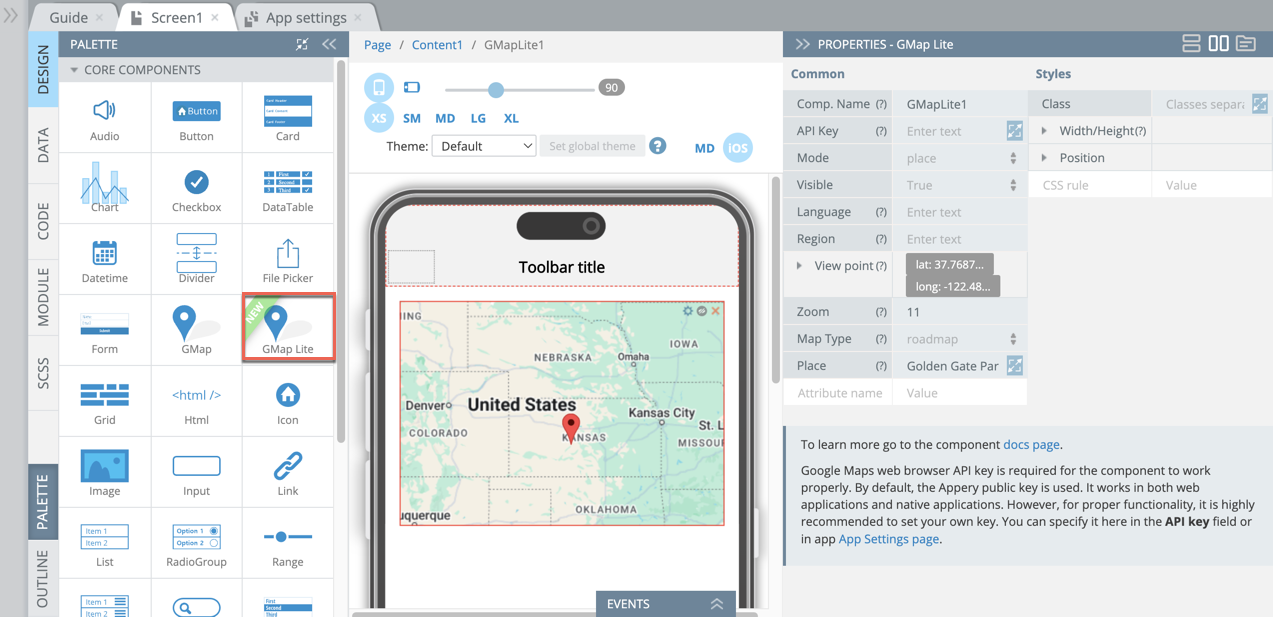
The Google Map Lite component works in both web applications and native applications. However, for proper functionality, it is highly recommended to set your own key. You can specify it the API key field or in the app App Settings page
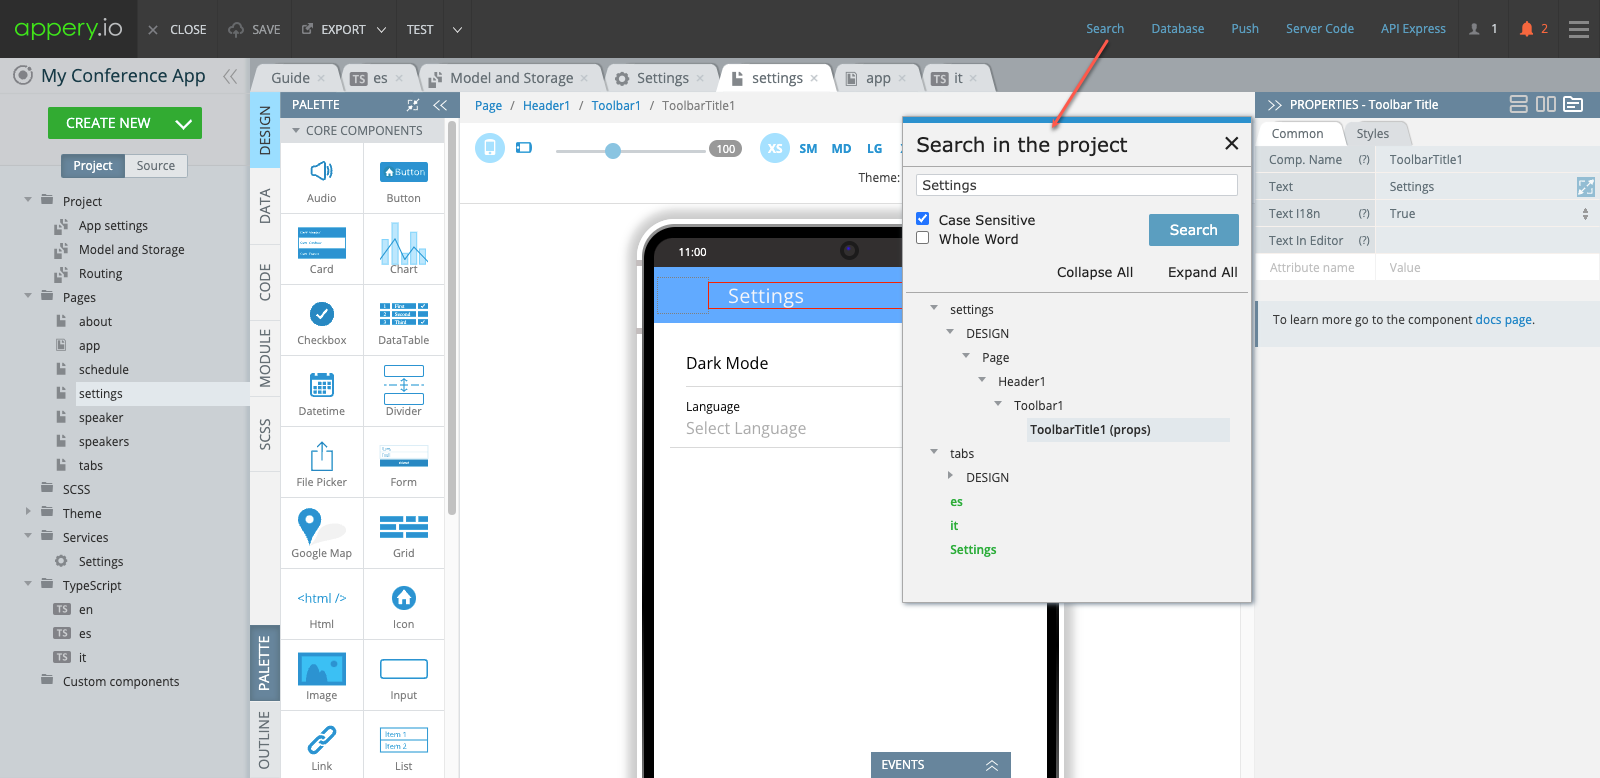
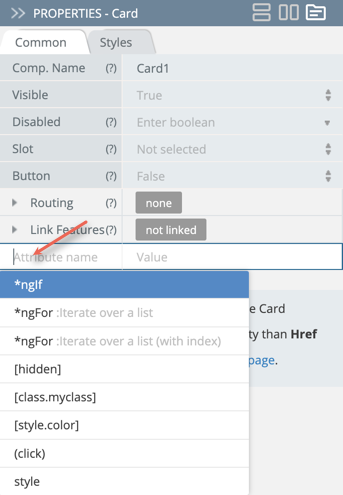
Directives Autocomplete
While adding custom attributes under the Common tab, you can use autocomplete to create the most popular directives, for example *ngFor or *ngIf. To do it, place the cursor in the Attribute name field and select from the drop-down list offered:
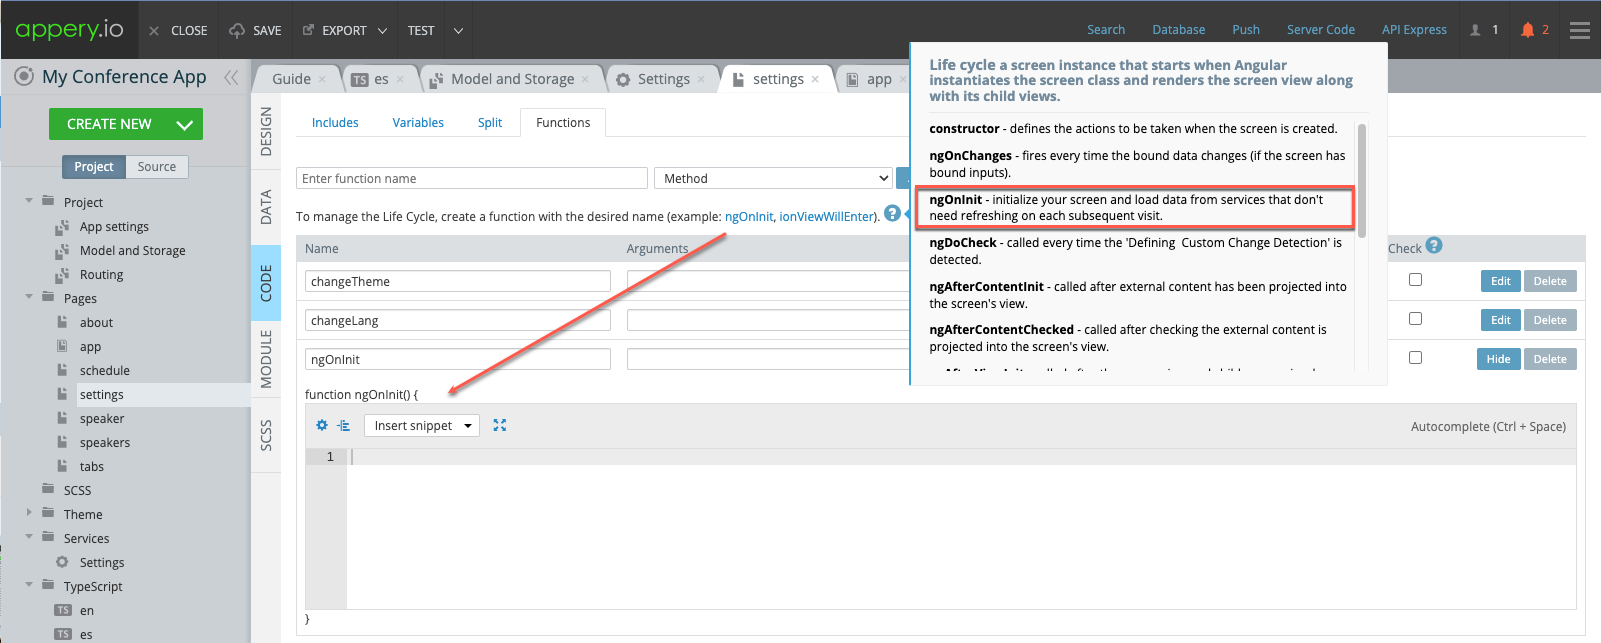
Updated Context Menu
Another comfy improvement added is our expanded Context menu functionality. It now has extra options for pasting components: Paste Before and Paste After:

It’s time for the BONUS we promised:
Understanding Driver’s License Barcode Scanning
Driver’s license barcodes are treasure troves of information. They contain vital data that is crucial for verification, identification, and record-keeping. Understanding the types of barcodes used, such as PDF417, is imperative for developers seeking to harness this data effortlessly and accurately.
The video shows how you can use our new Driver License Scanner plugin to build a Driver’s License Barcode Scanning app in no time, so it is well worth watching.
Click to watch the video and don’t forget to put the thumb up!
See you soon!