It’s that time of the year again, time to reflect, celebrate, and start planning ahead. As we look back over the year for our low-code development platform Appery.io, we have to say we are pretty proud!
In general, it was great to see a resurgence in the market for low-code development platforms. As IT leaders face more complexity and more pressure to innovate, low-code and no-code tools like Appery.io allow IT leaders to keep up with the pace of modern technology. Appery.io stands out for its excellence in this area—as shown by the more than 500,000 developers worldwide who trust Appery.io for their low-code and no-code development projects.
Having a platform that is both simple and extremely advanced is critical to the Appery.io team. This focus has enabled us to keep the platform up-to-date incorporating all the latest trends in mobile and app development—as seen in our many updates.
Along with many momentous feature updates, we have also published new resources and received many industry recognitions in 2019. We wanted to share some of the highlights of this activity, in case you missed it.
Major Feature Updates
- Progressive Web App (PWA) Support
- Codeless Features Added
- Ionic 4 Support
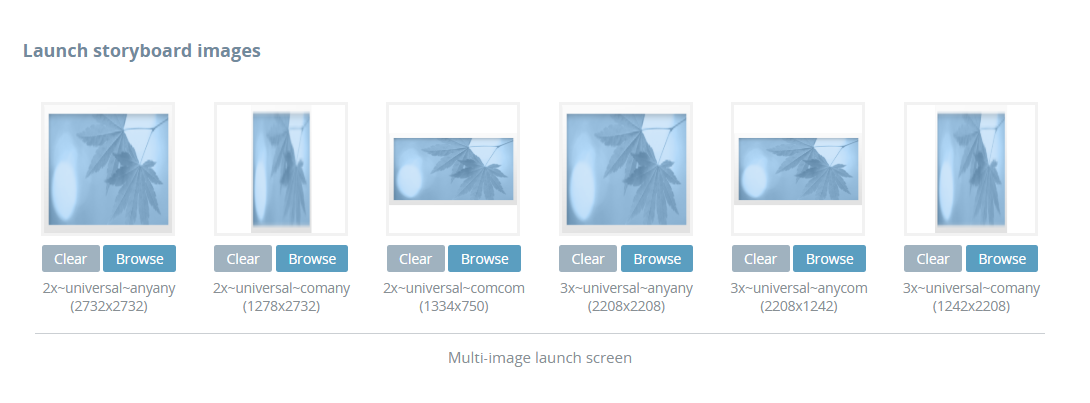
Progressive Web App (PWA) Support
PWAs are the new generation of web application development. These apps load like regular web pages but offer users more functionality, such as working offline, push notifications, and access to device hardware, traditionally available only to native applications. PWAs work seamlessly on desktop, mobile, and tablets from a single codebase. This enables PWA developers to be the sole managers of their application without having to jump through the hoops of multiple app platform uploads or review processes.
In Appery.io, users are able to turn apps into PWAs seamlessly with a few clicks, and without having to change any code.
Additional Resources on PWAs:
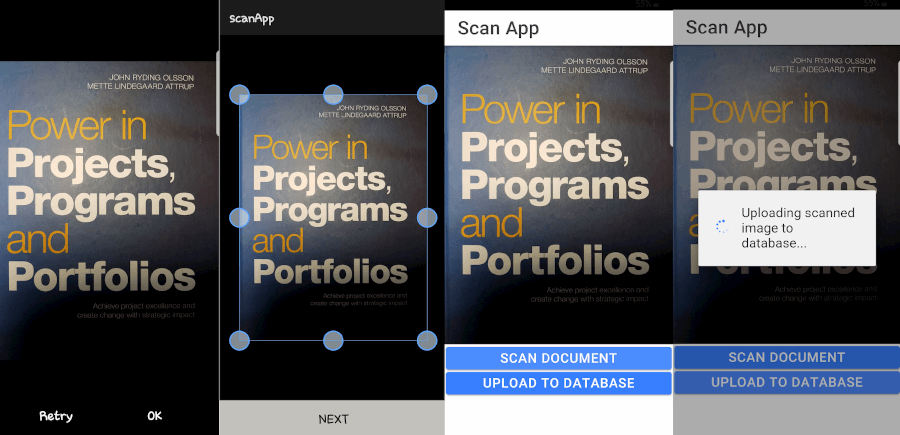
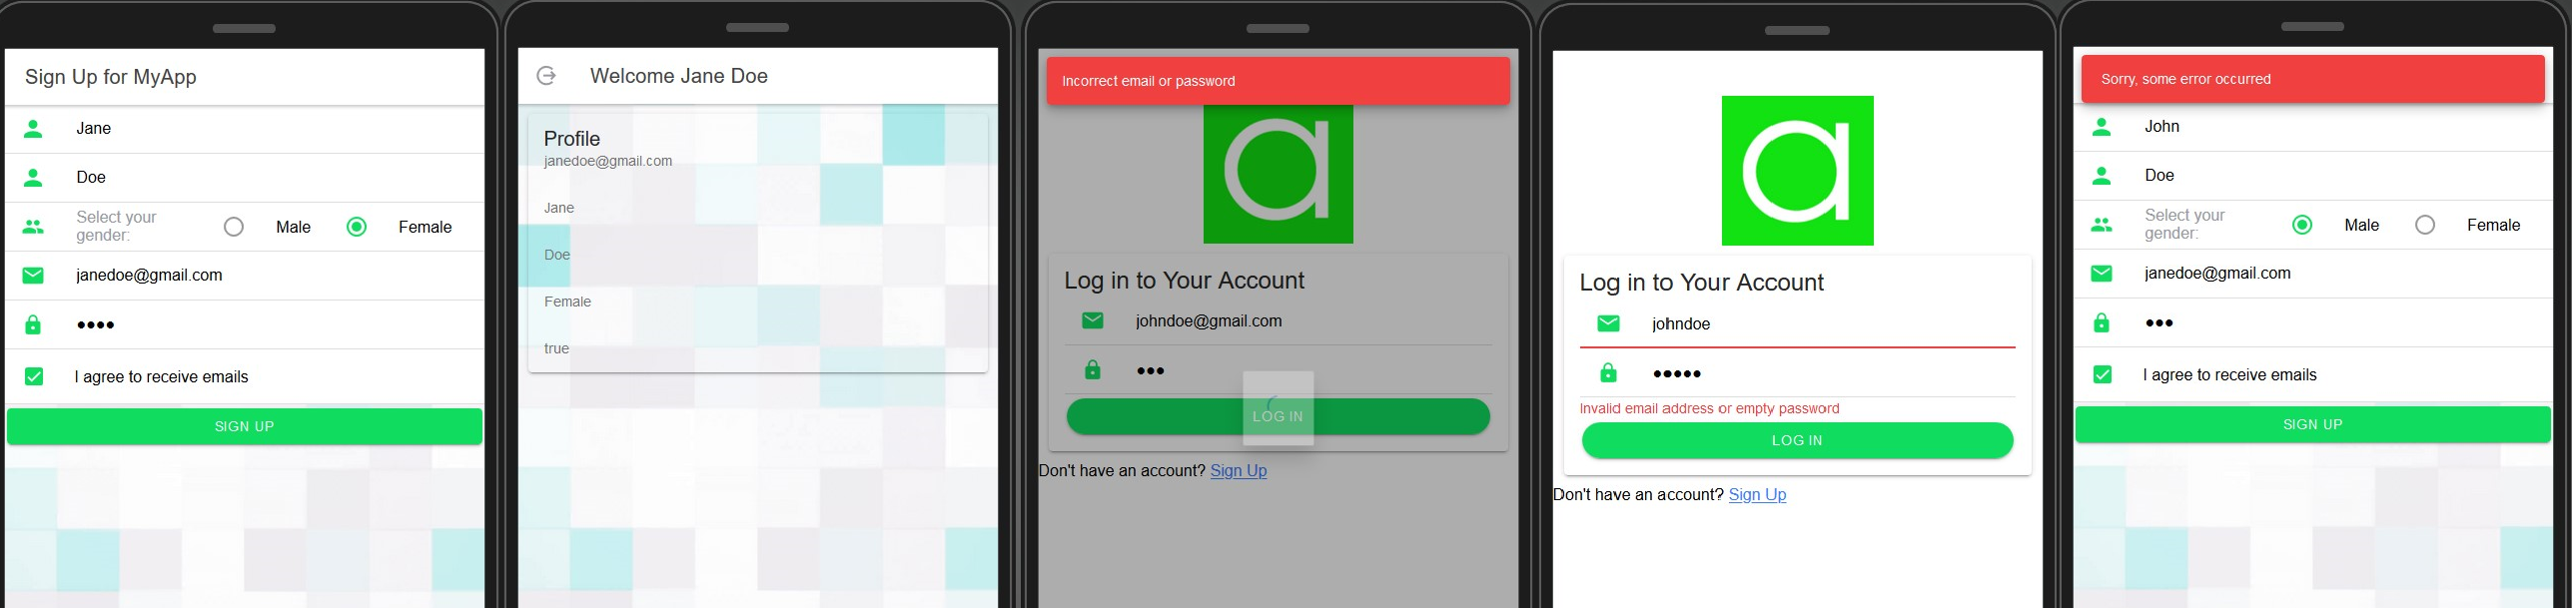
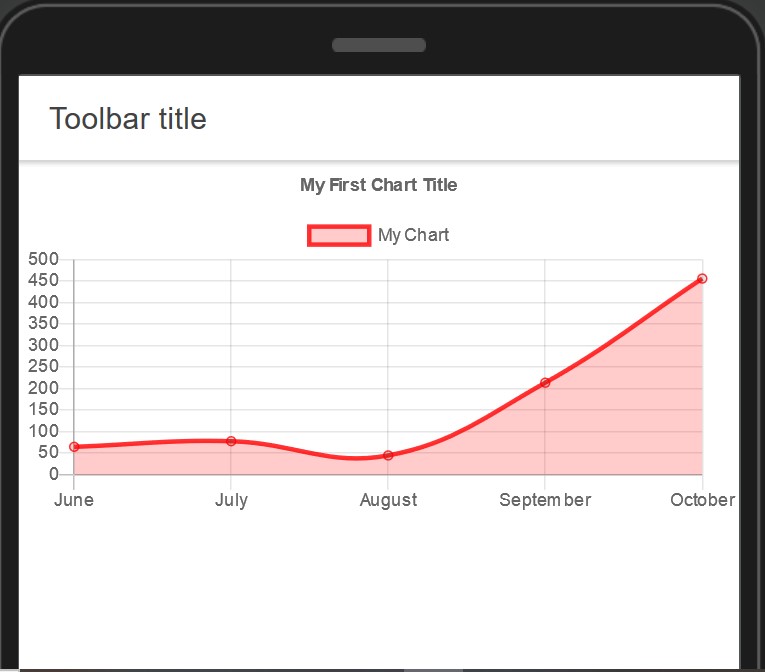
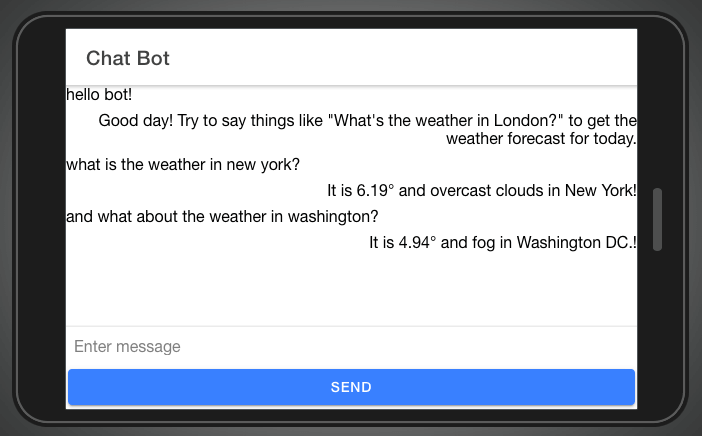
Codeless Features Added
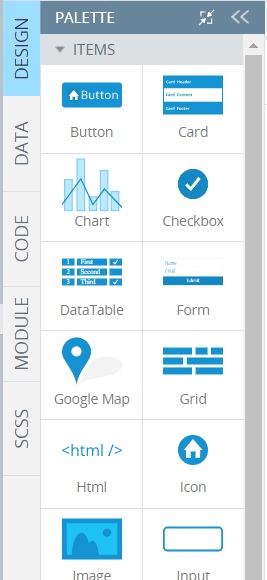
The Appery.io AppBuilder allows developers and technology leaders alike to create iOS, Android, or PWA apps with no or low code. Key codeless features in Appery.io include:
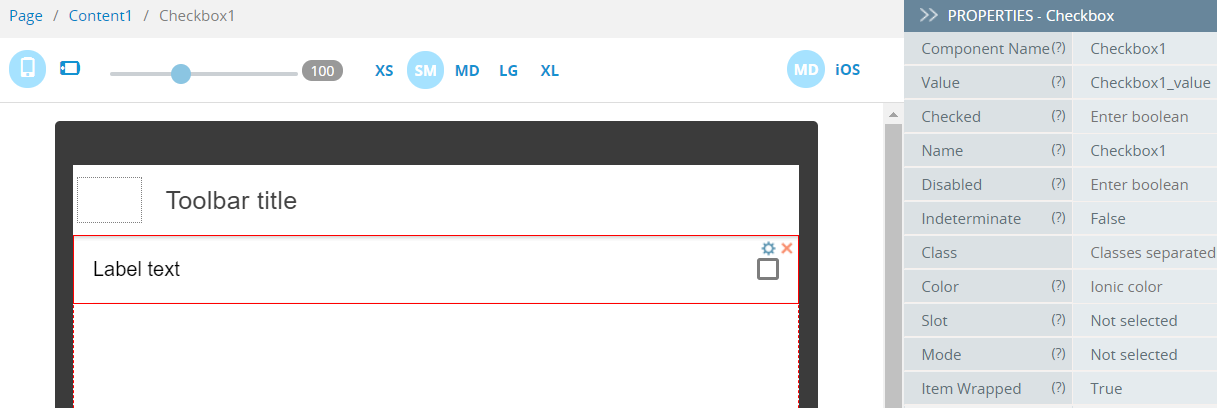
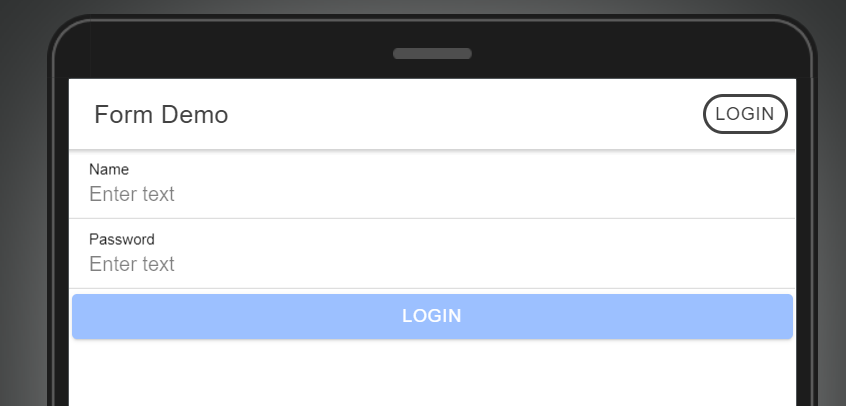
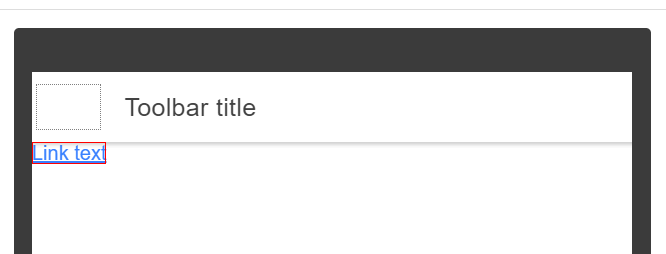
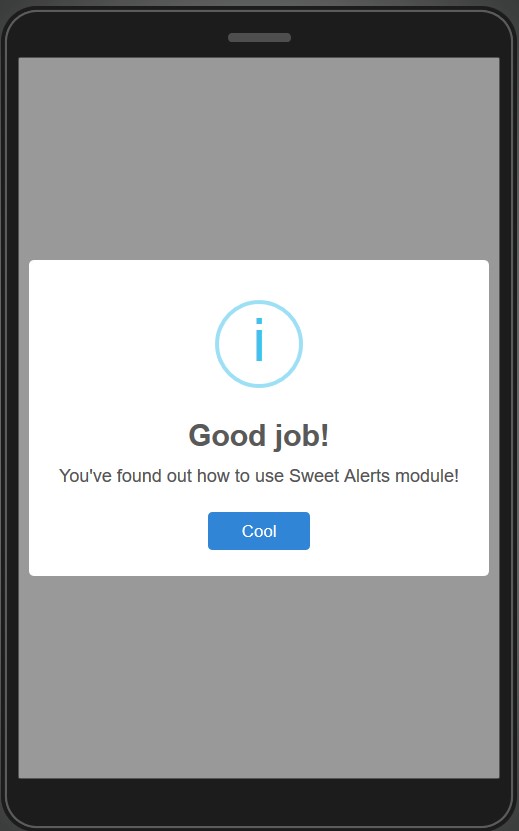
UI Composition: Build an application UI with a few clicks. Appery.io allows users to easily drag and drop a component from the AppBuilder palette to the design page. Switch design modes seamlessly to preview the UI on Android and iOS.
Event Panel: Allows users to set a single action or set of actions for every event in an app. In a few steps, users can select a component, open the Events Panel, and set an action that will run when the event appears.
Mapping: the Mapping Editor allows users to drag component properties to service request parameters. An arrow shows which way values will be mapped to take out the guesswork.
Additional Resources on Codeless for Appery.io:
Ionic 4 Support
Keeping up with modern development trends, Appery.io now offers the Ionic 4 App Builder as a production-ready solution for building mobile apps. Ionic 4 allows developers to build PWAs in a way that is future-proof, fast, and framework-agnostic. Bringing Ionic 4 to Appery.io gives users the flexibility and intuitive design they need to craft modern applications.
Additional Resources on Ionic 4:
More New Appery.io Resources
Industry and Community Recognition
We ❤️ the developer community. It’s the reason we do what we do! What motivates us is the continuous support and feedback we receive in blogs, industry reports, and other honorable mentions. We’d like to take a moment to share some of what the community had to say about Appery.io this year:
Ovum On the Radar: Appery.io facilitates rapid mobile application development
Thanks to Ovum analyst Michael Azoff for featuring Appery.io as one of their On the Radar platforms. Download the report to find out what makes Appery.io different, how the Innovation Cloud supports development and more.
The 15 Best App Makers to Build Your Own Mobile App in 2019
By: Aasif Khan on HackerNoon
“As this is a cloud-based app building platform, there is no need to download and/or install anything, which makes it convenient to begin the process of building your app quite quickly.”
Best Mobile App Development Software/Tools for 2019
By: Sourodip Biswas on KapokCom Tech
“The main feature of this platform is its visual app building tool which uses jQuery Mobile, Ionic, AngularJS, Bootstrap, and HTML5 components inside the Visual Editor. Samsung and AT&T are few of the companies that utilize Appery.io for their app development.”
Top Platforms For Building Mobile Apps
By: Wilfredo E. Keeling on iCharts
“A powerful and useful visual app builder tool, Appery.io is considered by mobile apps developers to be responsive and easy to use.”
We think it is safe to say that 2019 was one of the best years yet for Appery.io—maybe even the best, if we dare to be so bold! However, this is by no means a stopping point. We have a lot in store for 2020 and expect to be keeping our pulse on the latest trends in mobile and web app development to make sure Appery.io users have the latest and greatest features they need to build complex apps, simply. Have an idea or suggestion for Appery.io? Drop a note in our forum here: https://appery.io/forum.
Happy New Year!