Claude AI Integration: Quick Setup with Appery.io
Want to integrate Claude AI into your app? You don’t need to be a coding expert. With Appery.io, you can connect Claude AI’s Cloud API to your web or mobile app in just a few steps. This guide will show you how.
Also, if you are into video instructions, you can check our new YouTube tutorial for how to use our new Claude plugin:
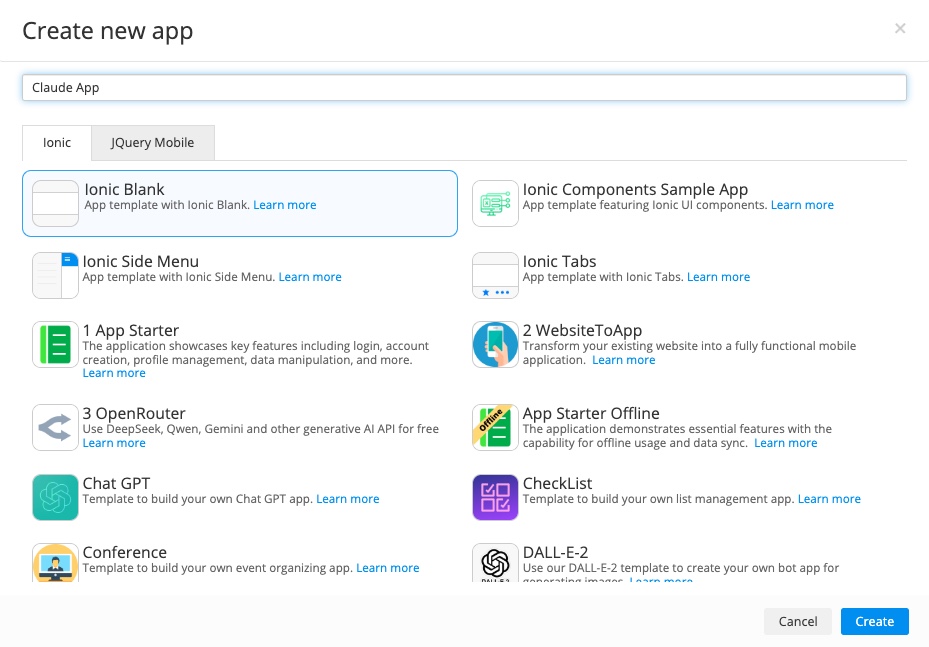
Step 1: Create a New App
Start by making a new project in Appery.io. Choose the blank template to get a fresh start. Once created, test it. Right now, it only has one empty screen, but we’ll improve that soon.
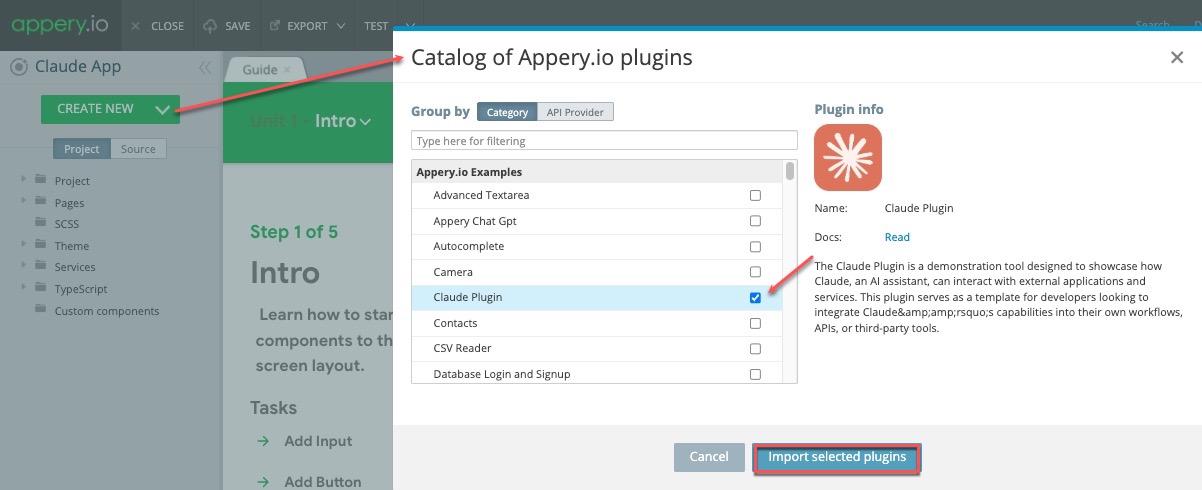
Step 2: Add the Claude AI Plugin
To connect with Claude AI, add the Claude plugin to your app. This plugin lets you send text and image-based requests to Claude AI, allowing it to generate smart responses.
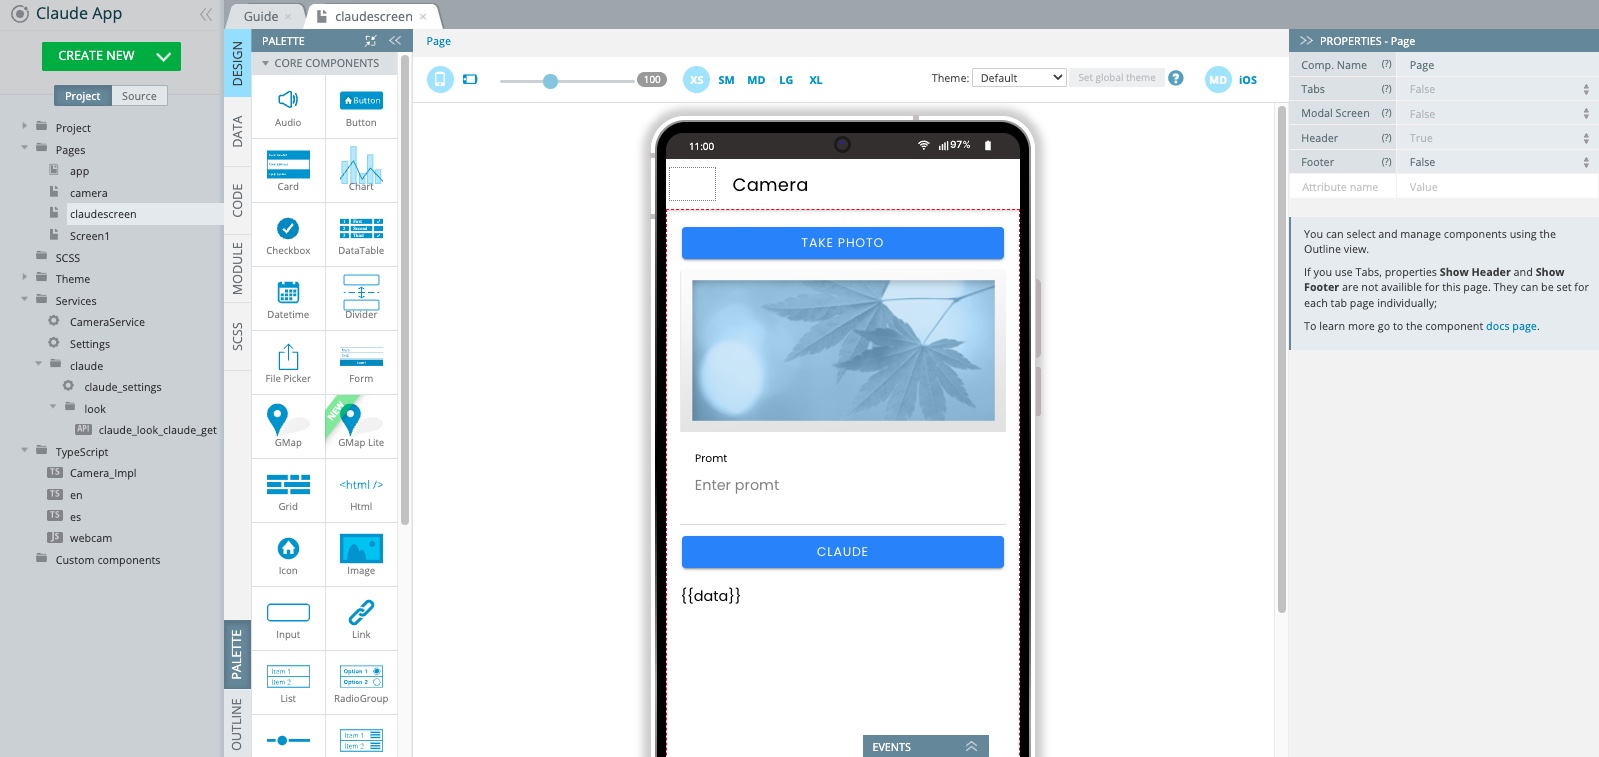
The app now has the Claude screen:
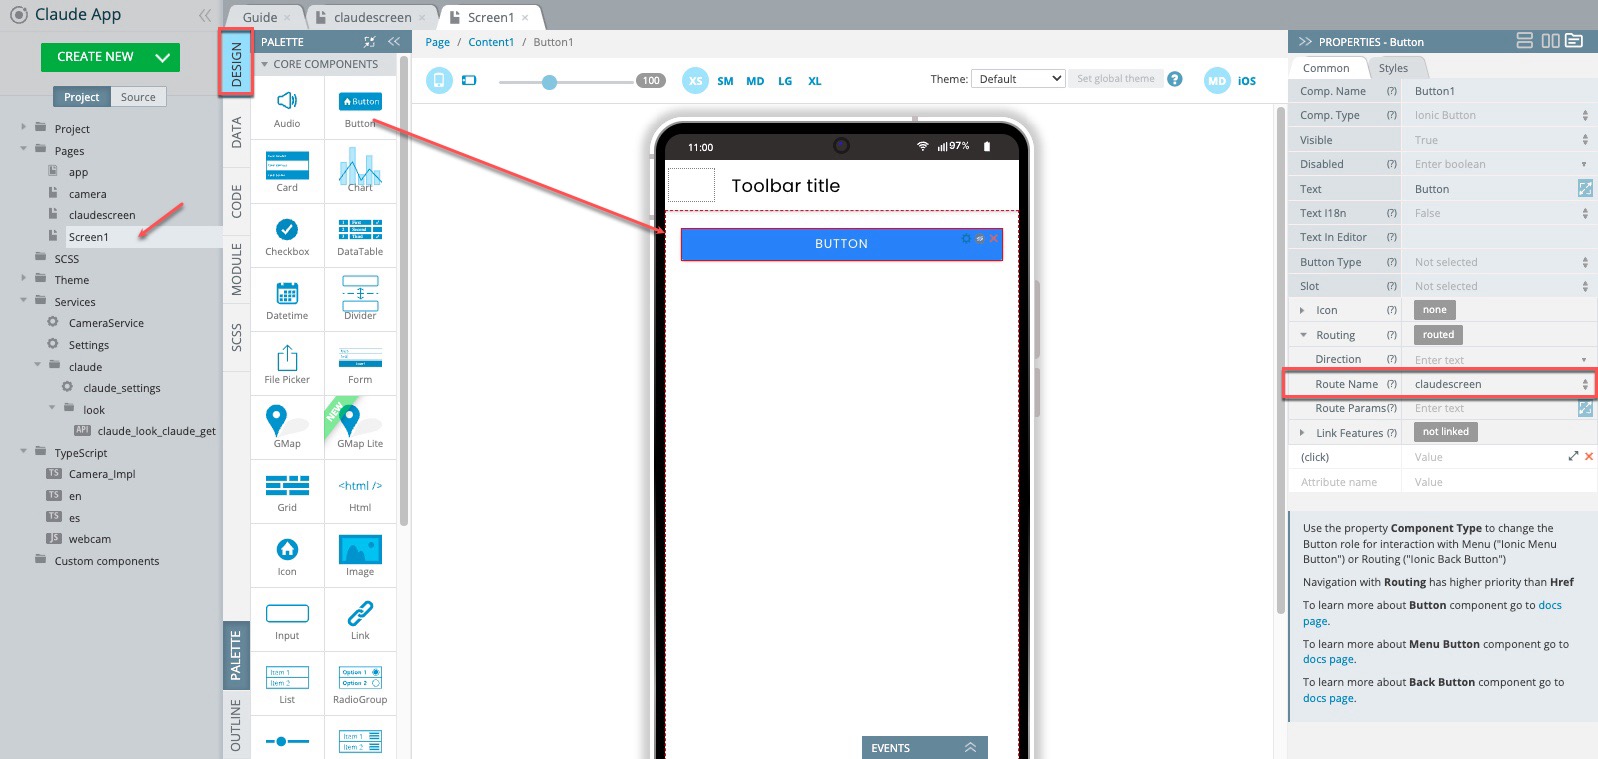
Step 3: Add a Button to Access Claude AI
Next, let’s open Screen1 and add a Button component to it. Set it up so that pressing the button will take users to the Claude screen.
Now, save the app and click to test it. Click the button, enter a prompt, and see what happens. You’ll get an API key warning, but don’t worry—we’ll fix it next.
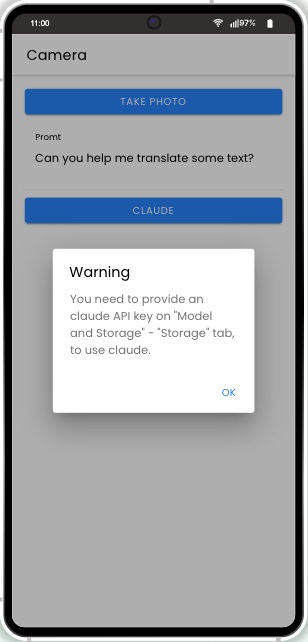
Step 4: Enter Your API Key
To use Claude AI, you need to obtain an API key from them. Go to the Model and Storage > Storage section in Appery.io, paste your key, and save the app.

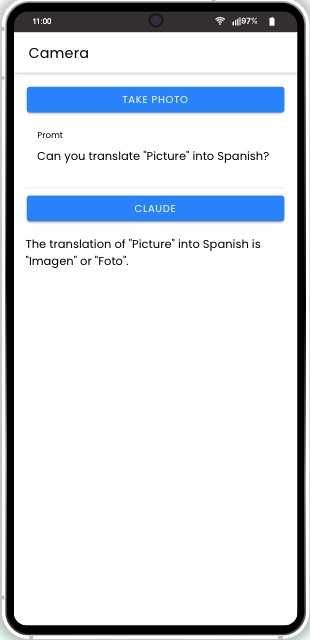
Test again. This time, Claude AI should respond correctly!
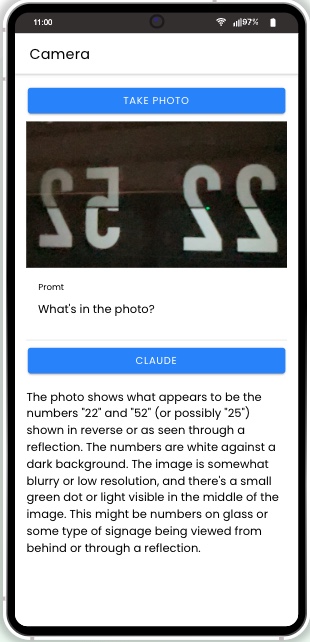
Step 5: Test Image Processing
Want Claude AI to analyze images? Click the TAKE PHOTO button. If you have more than one camera, select one. Then, ask Claude AI: What’s in the photo? It should process the image and give a response.
Step 6: How the App Works
Let’s break it down. In Appery.io, you can:
-
✅ Store API details in the storage section.
-
✅ Use the Claude AI screen to interact with the API.
-
✅ Invoke the Take Photo function to access the camera.
-
✅ Run the app as a mobile or web version and take photos accordingly.
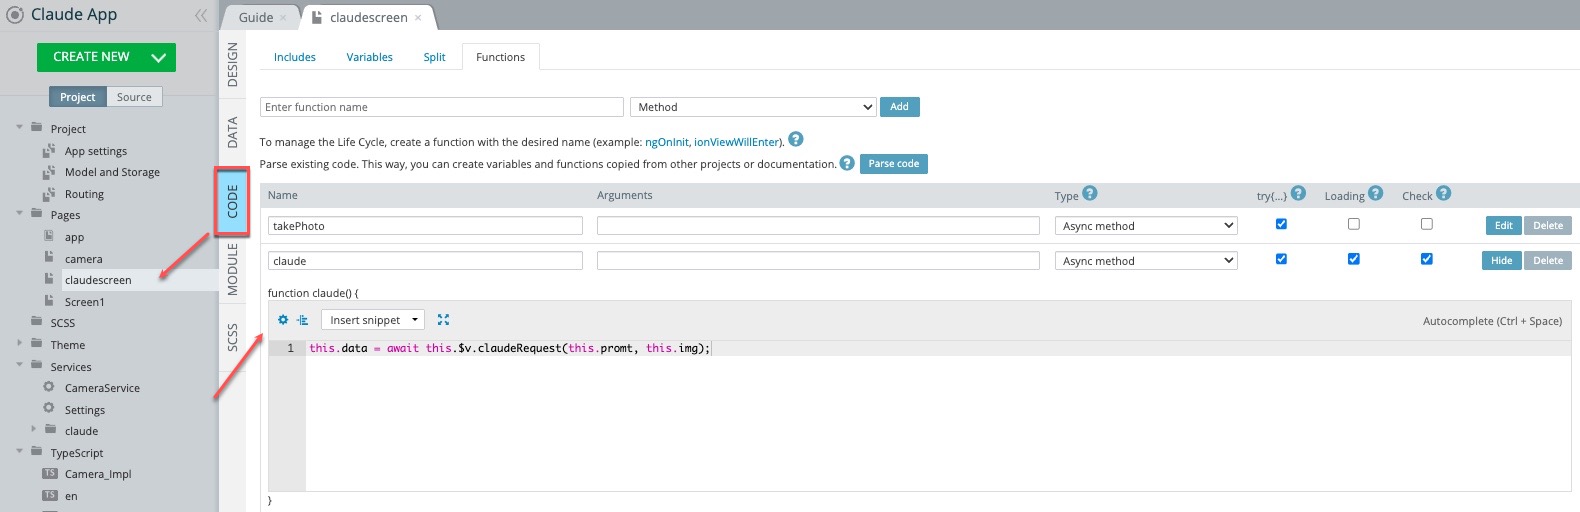
When you hit the CLAUDE button, the claude request function sends the prompt and image to Claude AI for processing.
Step 7: Claude AI’s API Request Code
The request code is in the Functions section of Appery.io. Here, the app checks if an API key is present, builds a request body, and sends it to the API.
That’s it! Your app is now integrated with Claude AI.
Final Thoughts
As you can see, integrating Claude AI with Appery.io is quick and easy. No advanced coding is needed! Follow these steps, and you’ll have AI-powered features in your app in no time.
If you found this guide helpful, 👍 like, subscribe, and share to stay updated for more tutorials!