SMTP Settings For Confirmation Email Delivery: A How-To Guide
Hello, Appery.io users!
Recently, we released a video introducing our latest Starter App template, sparking numerous inquiries about configuring SMTP server settings for sending confirmation emails. We’re thrilled to announce that we’ve created a comprehensive YouTube tutorial demonstrating the process. For illustration, we’ll utilize the app built from the beloved Appery.io‘s Starter App template:
Below, for your convenience, we’ll additionally walk you through the process step by step for easy understanding.
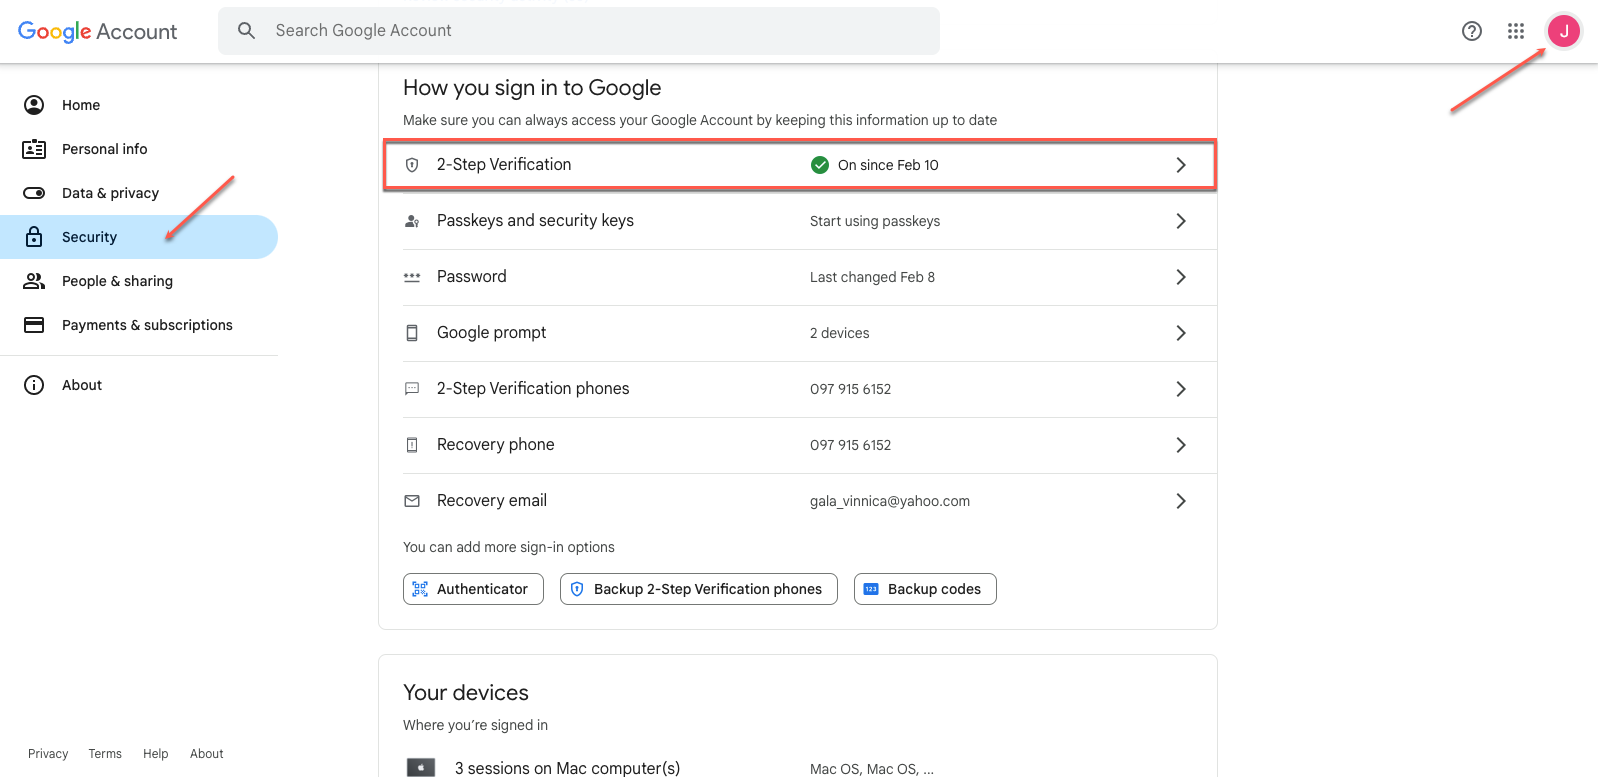
Step 1. Configuring SMTP Settings: Set up SMTP server settings by enabling 2-step verification in your Google account settings. Then, generate an app-specific password.
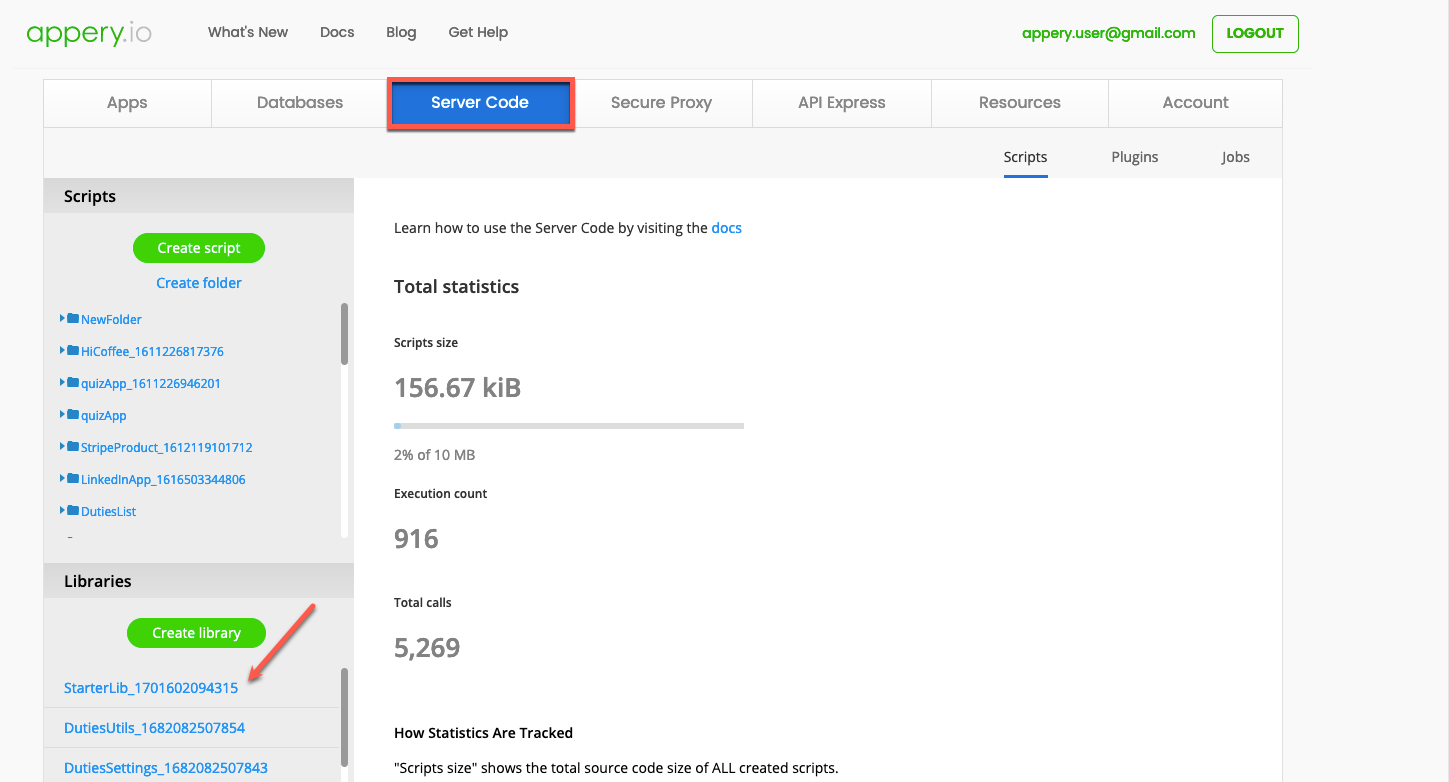
Step 2. Accessing App Builder: Head over to the Appery.io App Builder and create a new app using the Starter App template. Go to the Server Code tab and open the StarterLib library.
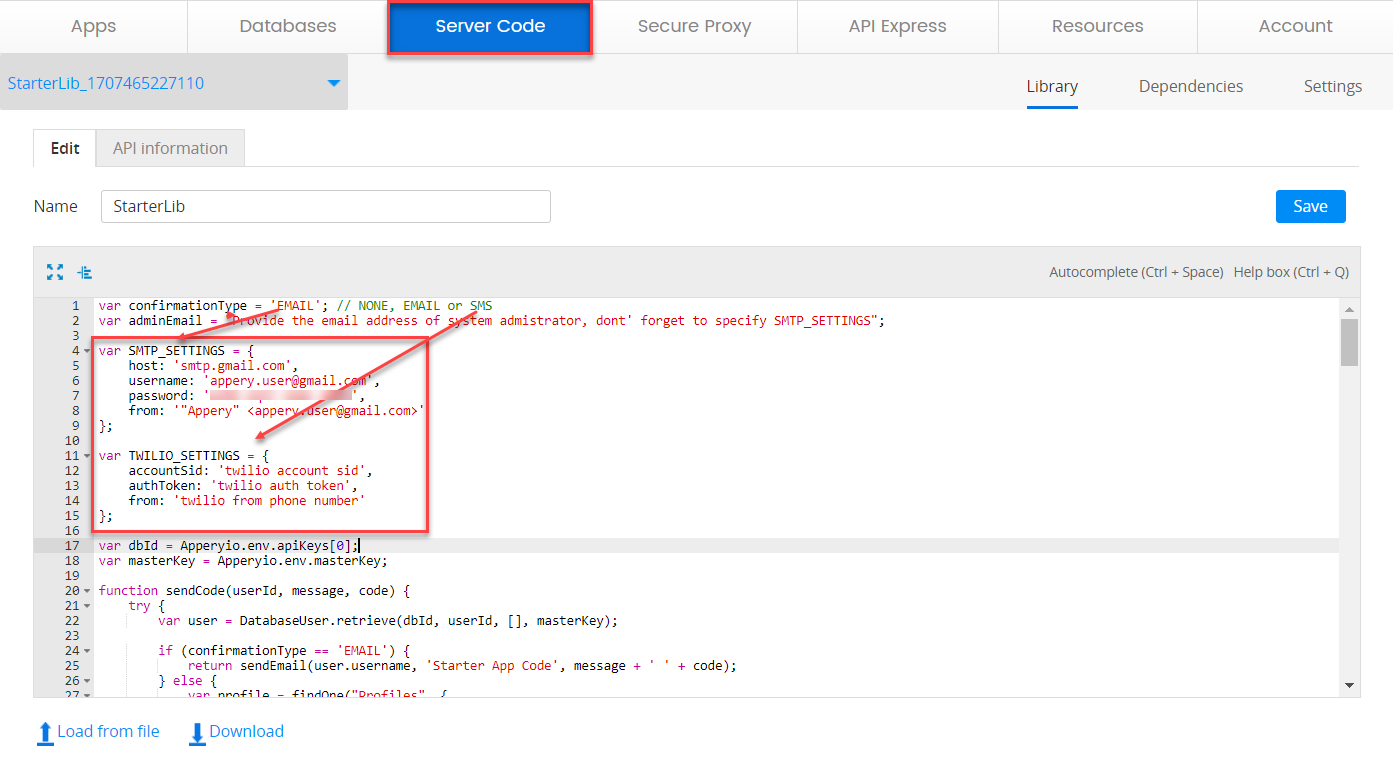
Step 3. Defining Email Confirmation: In the library, define email as the confirmation type. Enter your email address, paste the app-specific password you just generated, and fill in the from values. Save the changes.
Step 4. Testing the Configuration: Click TEST in the App Builder to ensure everything works smoothly. Fill in the registration details in the app, check your inbox for the verification code, and copy it.
Step 5. Confirming Registration: Paste the verification code into the app to complete registration. Verify the user record has been added to the app database to ensure accuracy.
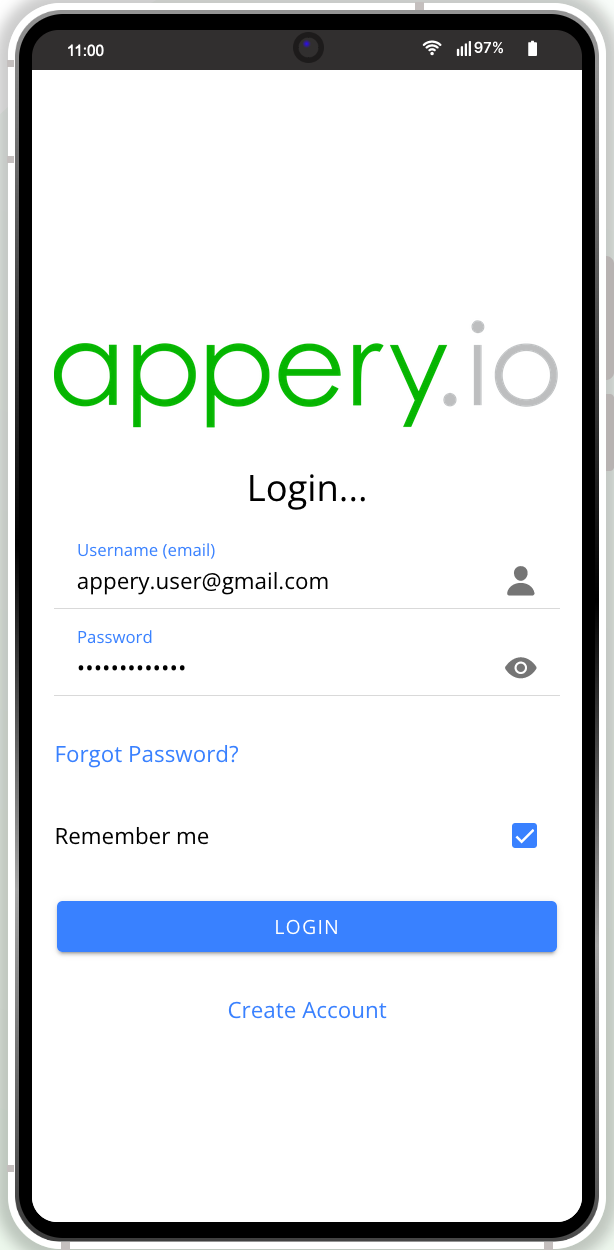
Step 6. Final: Log into the app to verify successful registration and explore its features. You’ve now configured SMTP settings for confirmation emails!
Conclusion: That’s it for our guide on configuring SMTP server settings with Appery.io. Stay tuned for our next video where we will show how to set up Twilio for confirmation messages.
Try our Starter App Template and subscribe to our channel for more updates.
Thank you for using Appery.io and Happy Developing!
Your Appery.io Team


