Development Tip: Internationalisation In AngularJS Apps With Angular Translate
Internationalisation is one of the must have feature when building global reach mobile apps. An Angular Translate module can be really helpful in translating your app UI. It can be included into an Appery.io app in a few quick steps:
- Go to the Angular Translate page and download the latest release bundle. Inside this bundle you’ll find
angular-translate.min.jsfile – the one that you need to upload. - Open your AngularJS Appery.io app, click
CREATE NEW > JavaScript. Typeangular-translate.minfor the name and selectUpload from file, and browse for this file on your PC. Also, change itsTypetoAngular module, check theUse shimcheck box and finally, typepascalprecht.translateforShim exports:input. Click Create JavaScript once the file will be uploaded. - Now, another module should be created. It will be responsible for the Angular Translate configuration. Perform
CREATE NEW > JavaScript, typeAngularTranslatefor the name, and chooseAngular modulefor Type. Click Create JavaScript. - You’ll see an Angular module template and a lot of commented configuring options. First, this module requires
pascalprecht.translateas dependency, so add it to square brackets. Here is how it should look:var module = angular.module('AngularTranslate', ['pascalprecht.translate']); - Configuration logic should be added to the
module.configfunction. Here is how your whole module should look when the configuration logic has been added:define(['require', 'angular'], function(require, angular) { var module = angular.module('AngularTranslate', ['pascalprecht.translate']); module.config( ["$translateProvider", function($translateProvider) { $translateProvider.translations('en', { TITLE: 'Hello', FOO: 'This is a paragraph.', BUTTON_LANG_EN: 'english', BUTTON_LANG_DE: 'german' }); $translateProvider.translations('de', { TITLE: 'Hallo', FOO: 'Dies ist ein Paragraph.', BUTTON_LANG_EN: 'englisch', BUTTON_LANG_DE: 'deutsch' }); $translateProvider.preferredLanguage('en'); }); }]); - The last step is to create a simple UI and check the translation engine. Go to any page in your app, place a
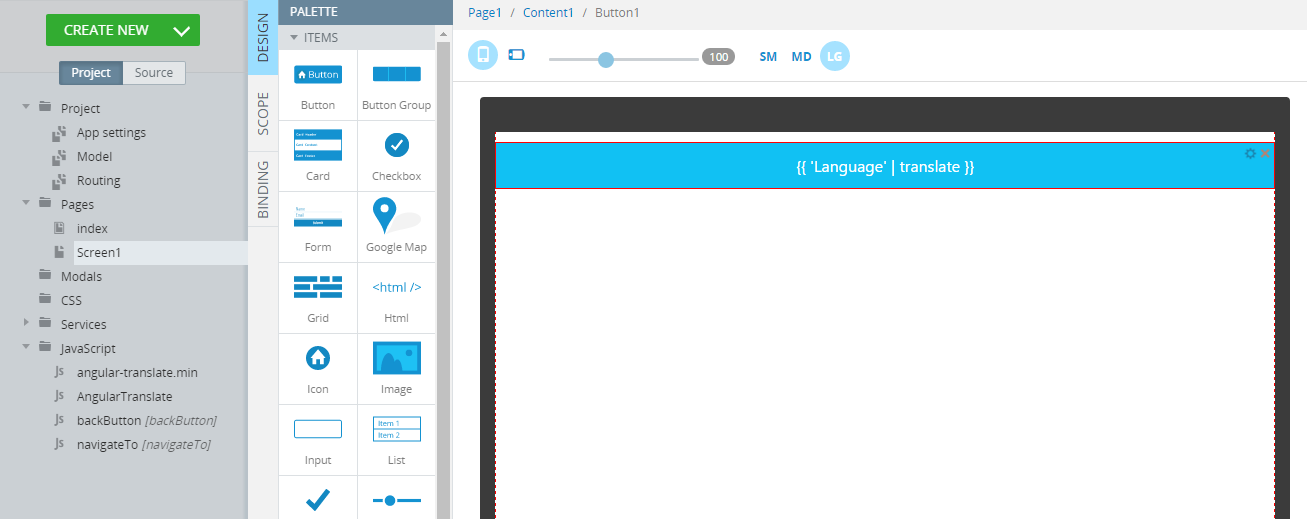
Buttonon the page and provide{{ 'TITLE' | translate }}for itsTextproperty. Launch the app! - If you see
Helloon the button – you’re done.
One option is to customise the translation mechanism to initiate the language based on the browser or device language. For example, you can get the browser or device language like this:
$translateProvider.determinePreferredLanguage();
Try Ionic app backup with Angular Translate included if you facing some issues.
Read more Angular Translate possibilities in its docs, and make sure you check out all of our mobile development tips.
Do you want to build apps fast? Start developing with our trial plan!

