How to Add reCAPTCHA to an Ionic App
reCAPTCHA is a nice service that usually added to a registration form and helps prevent bots from registering automatically. The service usually displays a small and easy challenge to a human but which would be difficult for a bot to answer. In this blog post we are going to show you how to add reCAPTCHA to an Ionic app.
Let’s start.
- Create a new Ionic app based on
Ionic Blanktemplate. - Go to https://github.com/vividcortex/angular-recaptcha, download
vcRecaptcha.js, and unzip the file. - Inside the App Builder, go
Create New > JavaScript, name itvcRecaptcha, checkUpload from fileand select theangular-recaptcha.jsfile from your drive. Fortype, selectAngular moduleand clickCreate JavaScript. - Now, open
Screen1and add anHTMLcomponent to the page. - Under the
Propertiespanel, clickEditand add the following code:<div vc-recaptcha key="'XXXXXXXX'" on-success="onSuccess()"></div>
where
'XXXXXXXXX'is the key generated on https://www.google.com/recaptcha/admin (your key must be inside the double quotes). - Switch to
Scopeview and add a new function, name itonSuccess, and add the following code to the editor:Apperyio.navigateTo("Success");onSuccess()is the scope function that executes when the correct Captcha is entered (here, another page will open). - To demonstrate this, create a new page and name it
Success. Add aTextcomponent to the page and pasteWelcome!for itsTextproperty. - Also, if you want to add a solving annotating images to your reCaptcha, go to
Project > Routing, clickManage dependenciesforScreen1, and checkreCaptcha.
That’s it. You are ready to test your app with the reCAPTCHA.
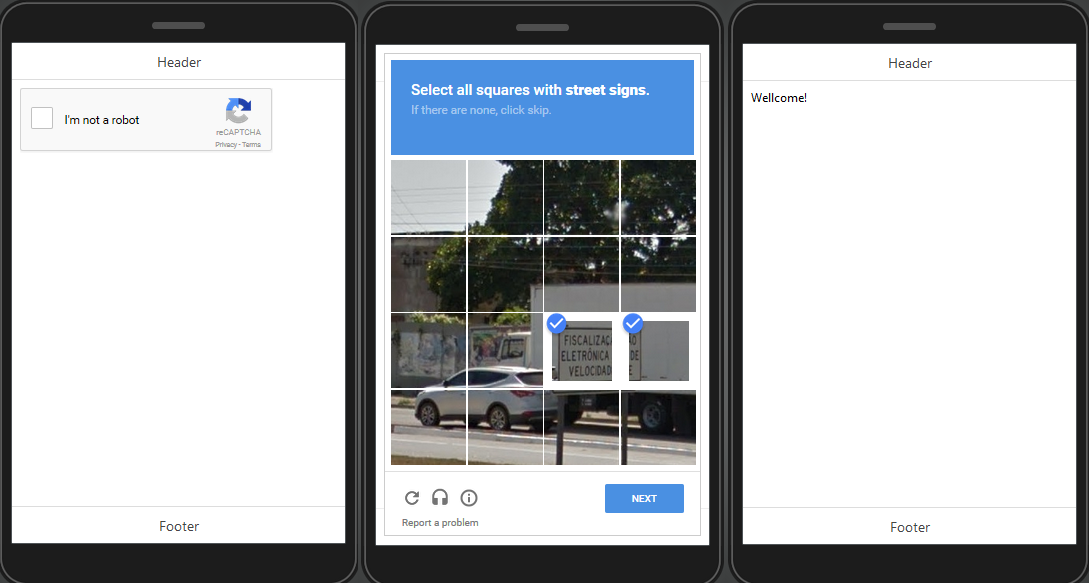
reCaptcha example.
Looking for more examples? Check out our sample apps list. Every app has preconfigured app UI and app backend for you to try.