A Quick Guide for Setting Up and Invoking Salesforce API
In this blog post you will learn how to build an Appery.io app that connects to Salesforce API. After a login into Salesforce, the app will display a list of Salesforce objects available in your account.
The complete app has the following components:
- App UI (client).
- Server Code for server-side logic to handle OAuth flow.
- Salesforce account and app to access the data in your account.
Let’s get started.
Salesforce App
The first step is to create a Salesforce app which will allow you to access your Salesforce account data.
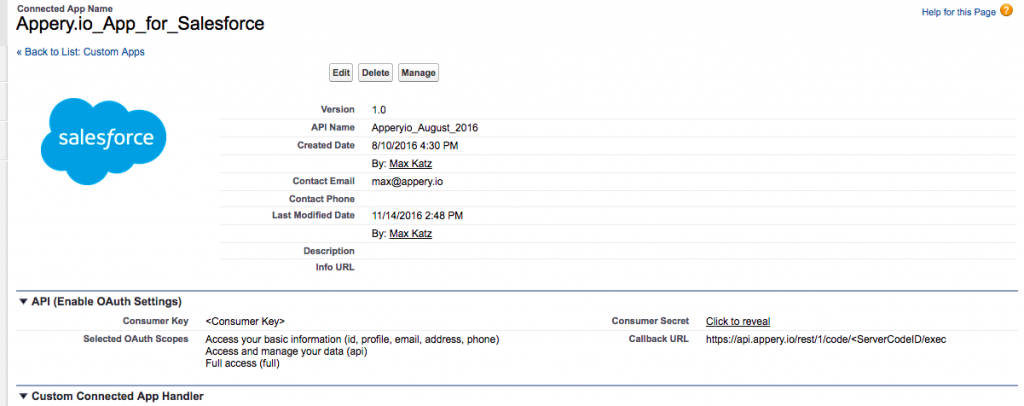
A new app is created from the left-hand menu in your Salesforce account (Build > Create > Apps). There are a number of important values that you will be using later:
- Consumer Key.
- Selected OAuth Scopes.
- Consumer Secret.
- Callback URL.
Consumer Key and Consumer Secret are generated when you create a Salesforce app. The Callback URL is set by you (I will cover this later). For Selected OAuth Scopes, you can set it to Full access plus any specific scopes. Once you have tested your app, you can start removing scopes and leave only the once that the app requires.
Once you have the Salesforce app configured, next you need to create the app backend.
App Backend with Server Code
The app backend consists of logic to handle the callback from Salesforce, get the access token and invoke a REST API to get a list of objects available in the logged in account.
When you run the app, you will be prompted to log in into Salesforce and authorize the Salesforce app created in the first step to access your Salesforce account data (what is visible defined via Scopes). Once you allow this access, you will get an access token back. The access token is required to invoke any Salesforce API.
The first Server Code script will handle the callback and return the access token.
The Server Code script is shown below. The script is called salesforceLogin.
var code = request.get("code");
var client_id = "<client ID>"; // This is Consumer Key value
var client_secret = "<client secret>"; // This is Consumer Secret value
var url = "https://login.salesforce.com/services/oauth2/token";
var redirect_page = "https://appery.io/app/view/<appID>/app/Main.html";

var response = XHR2.send("POST", url, {
   "parameters": {
      "code": code,
      "grant_type": "authorization_code",
      "client_id": client_id,
      "client_secret": client_secret,
      "redirect_uri": "https://api.appery.io/rest/1/code/<Server Code ID>/exec"
   },
   "headers": {
      "Content-Type": "application/x-www-form-urlencoded"
   }
});

response = JSON.parse(response.body);
Apperyio.response.redirect(redirect_page + "?" + response.access_token + "&"+response.instance_url);
When you initiate a login into Salesforce, Salesforce will do a callback to this script and will include a special code value. This script is setup as callback URL in the Salesforce app. To get the script URL, switch to API information tab on Server Code editor.
This code value is read on the very first line. This code value is then used to get an access token. The rest of the code is a simple REST API call with all the required parameters to get the access token.
On the last line, a redirect is made to an app page. The redirect includes the access token and the instance URL into which you signed in. Salesforce returns an instance URL which you use to invoke APIs based on your geographical location. This URL is different for everyone and thus cannot be hard coded.
Let’s look at the second script called salesforceObjects. The second Server Code scripts invokes an API to get all objects available for the logged in Salesforce account. The script is being passed two values: access token and the instance URL.
var token = request.get("token");
var instance_url = request.get("instance_url");
var url = instance_url+"/services/data/v37.0/sobjects";

var response = XHR2.send("GET", url, {
   "headers": {
      "Authorization": "Bearer " + token
   }
});
Apperyio.response.success(response.body, "application/json");
This script simply invokes a REST API and returns a list of available Salesforce objects. This script will be invoked from the app to display the objects.
Now that you are done with the app logic, the last step is to go over the app UI.
App UI
The app consists of two pages and is built using jQuery Mobile template. The first page (Login) has a button to start the login process and the second page to show the list of objects.
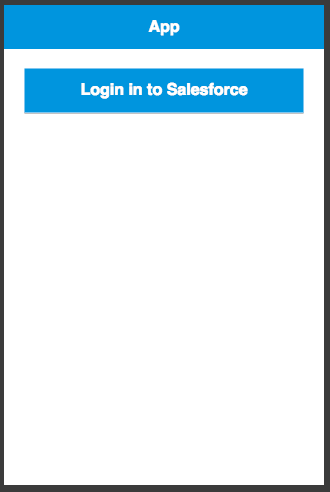
Login page.
This is the JavaScript code behind the button:
var client_id = <client ID>;
var redirect_uri = <redirect_uri>;
var url = "https://login.salesforce.com/services/oauth2/authorize?response_type=code&client_id=" + client_id + "&redirect_uri=" + redirect_uri;
window.location.href = url;
This code will redirect to a Salesforce login page.
The second page lists all available Salesforce objects for the logged in user:
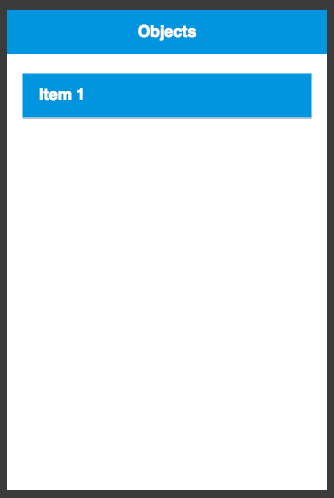
Salesforce objects page.
This JavaScript code runs on Page show event:
var pageUrl = window.location.href;
var paramsStart = pageUrl.indexOf("?");
var params = pageUrl.substring(paramsStart+1);

var i = params.indexOf("&");
var token = params.substring(0, i);
var url = params.substring(i+1);

Apperyio.storage.token.set(token);
Apperyio.storage.url.set(url);
This code saves the access token and instance URL into (browser’s) local storage. Storage variables are defined in the App Builder:

Using browser storage.
To display a lit of objects, the Server Code script is imported (Create New > Import Server Code Service) into the App Builder and is invoked from the Main page (Page show event).
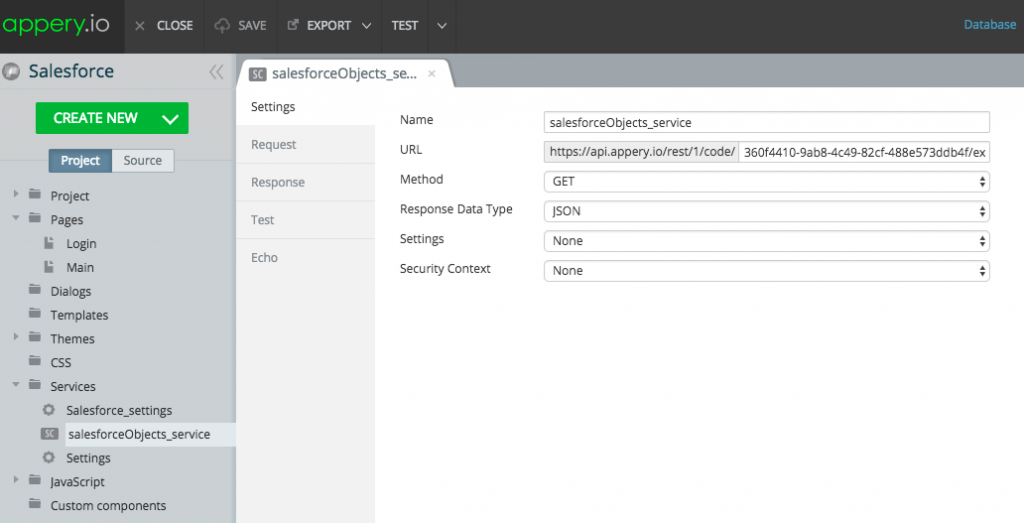
Server Code script service.
The access token and instance URL are mapped from storage:
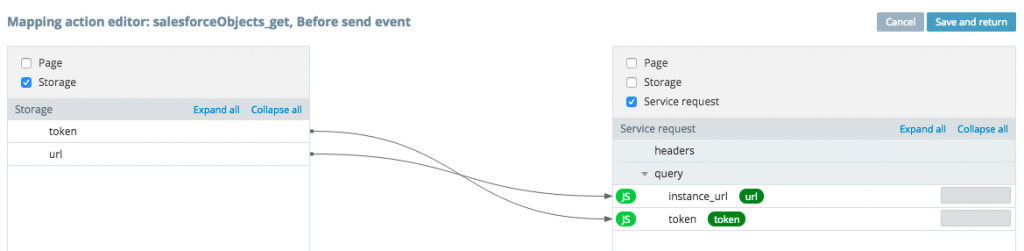
Service mapping.
That’s it for the app. Next, you can run the app.
Running the App
Before you run the app, here is again the general flow of the app.
- The app launches.
- You click on the login button. This redirects you to Salesforce login page.
- You login into Salesforce and allow to access your account data.
- Salesforce makes a callback to the first Server Code script. The script exchanges the code for the access token. The script redirects to Main page.
- The Main page is displayed.
- The access token and instance URL are saved in local storage.
- The second script is invoked from the app, it returns a list of objects which are displayed on the page.
To run the app, click Test and select the option to launch the app without the mobile frame.
The app Login page:
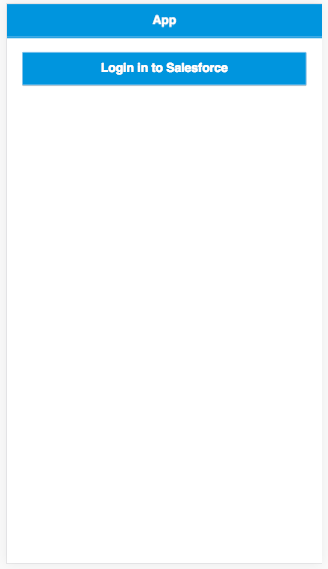
App login page.
Once you click the login button, you will see the Salesforce login page:
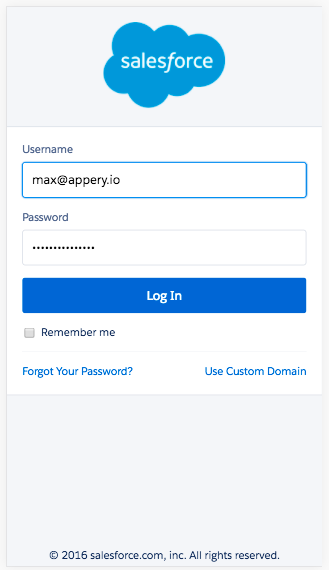
Logging into Salesforce.
Once you authorize the app, you will see a list of objects available in your Salesforce account:

Salesforce objects.
Summary
This quick guide showed you how to login into Salesforce using OAuth 2 flow and display a list of objects available in the account. We will also make this app and backend available as a sample app on our Sample Apps page.